Welcome! I’m Carolyn Dube – This colorful journey is all about the freedom of play!
Search My Blog
Search by Category
The Fine Print
Some of the links on this blog are affiliate links and I receive a small percentage. It doesn't cost you anything extra and helps keep all the free tutorials and videos coming! It's a win-win!
The website is copyright Carolyn Dube, and that is kinda common sense since this is my site.
As an Amazon Associate I earn from qualifying purchases.
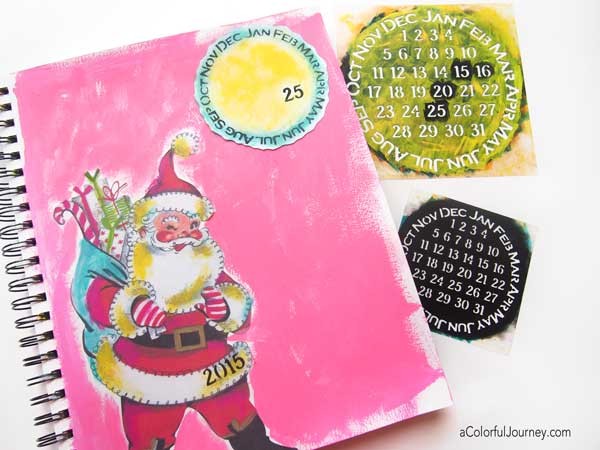
The twists and turns of time have been on my mind with the new year coming and what is on my mind comes out in my play. I was darn sure I knew exactly how my life was going to go. I was 18 and full of wisdom…or so I thought. All this self reflection led to lots of color…and a little laughing at myself and how “wise” I was at 18.
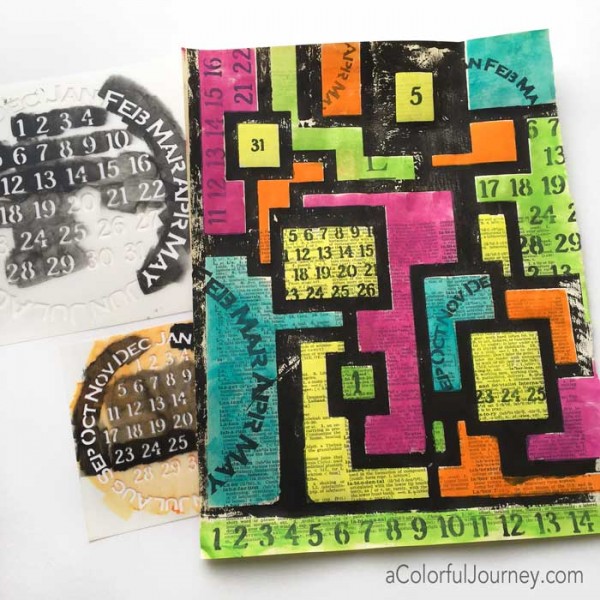
You can see how I created this art journal page step-by-step in my guest post at Create Mixed Media using the new Never Ending Calendar stencils.
It is super easy for me to get caught up in the overwhelming to-do list of the holidays, the rush to get to every event, and all at the same time be in the moment to feel the joy of the season. To get to the joy of season part, I had to find a way to chase this stress away. How did I do it? With play!
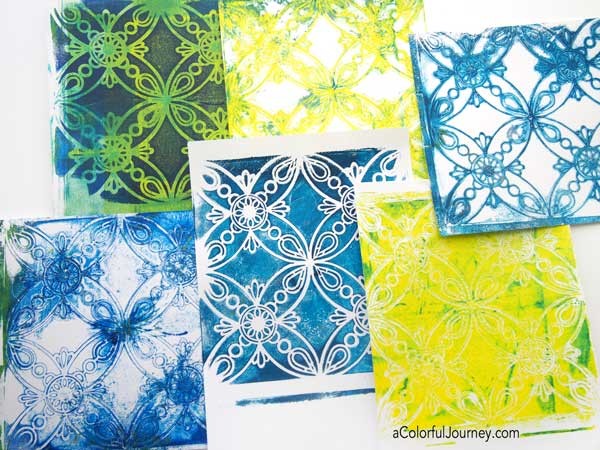
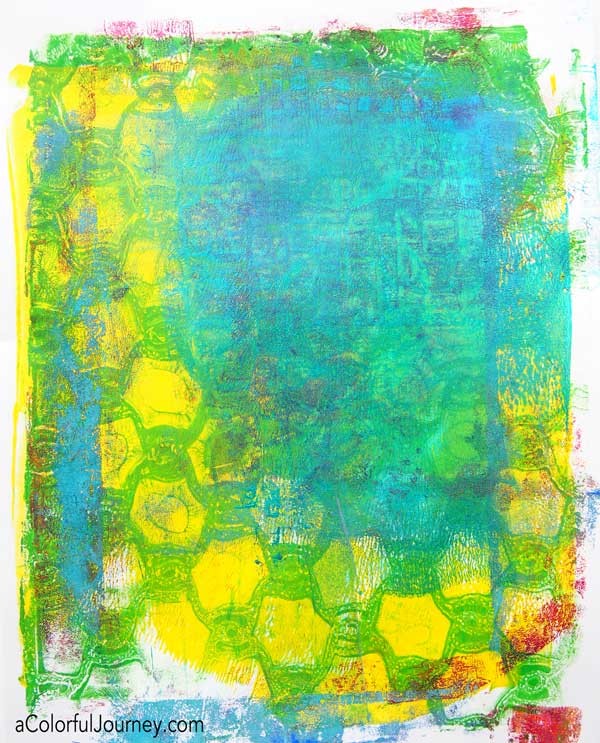
It all started playing with Gwen Lafleur’s new stencil. And once I make a Gelli print®, I just can’t stop. Okay…I don’t want to stop…because as soon as I see the prints I can’t help but smile. The colors and patterns working together, the layers of flecks of paint, the ghost like images of the stencils, it all just makes me happy. And happy chases stress away for me.
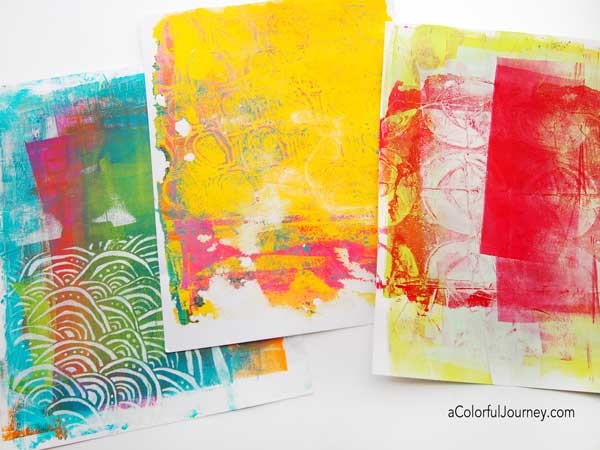
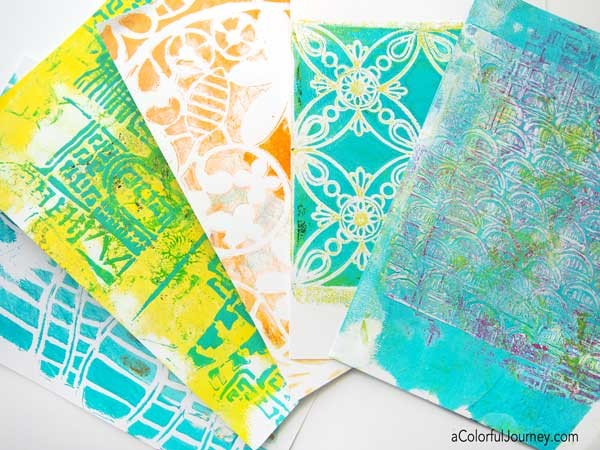
All of these papers that I made during my destressing play will be used in my art journals, collages, or any other place I would use paper. If you’re new the Gelli Plate® and would like to more about getting started with it- I’ve got a bunch of resources and videos here.
And I couldn’t forget my clean up paper. It is often as joyful a print as any other I make and today was no exception! May your holidays be full of whatever brings you joy…for me you know that will involve paint! See you on Tuesday for the next Let’s Play link party too!
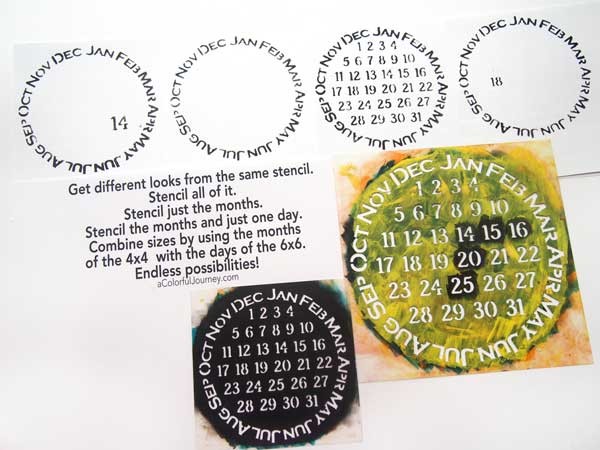
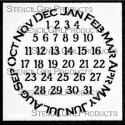
Art journaling is all about capturing moments for me. And sometimes, I want to get the date in there. But there is a catch. I generally dislike my handwriting so I’ve created a stencil that solves this issue for me, the Never Ending Calendar stencil in 4×4 and 6×6 sizes for StencilGirl. Plus, I have the flexibility to use all the techniques I can use with a stencil any time I want to embed a date in my play.
I like for my tools and supplies to do more than one thing for me and these stencils are no exception. In the video below, you’ll see how to create all 4 of these looks.
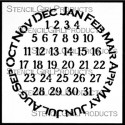
Stenciling the whole thing gives me one look, stenciling just the months another, stenciling only one of the numbers inside the circle creates another look. But I didn’t stop there…by combining the months of the 4×4 stencil with the number from the 6×6 stencil yet another look. And this is just the beginning- there are so many many possibilities with these for art journaling and memory keeping (boy, I wish I had these when I was scrapbooking all the time)!
This art journal page has room for me to add some photos of the holiday and I probably will be journaling in the yellow on the calendar. I have a huge holiday to do list…and farther behind than any other year before but seeing as how this is one thing I can check off the list you can see where my priorities are…art and play come before cleaning and organizing!
Here are the supplies I used. Some of these links are affiliate links which means I get a small percentage. It doesn’t cost you anything extra and you are helping me keep this blog and my videos ad free! Thank you- I don’t like ads any more than you do! The vintage Santa is from a digital kit by Sherri Drummond. Not sure where it is available at this time but as soon as I find out, I’ll post it here.
This website uses cookies to improve your experience while you navigate through the website. Out of these cookies, the cookies that are categorized as necessary are stored on your browser as they are essential for the working of basic functionalities of the website. We also use third-party cookies that help us analyze and understand how you use this website. These cookies will be stored in your browser only with your consent. You also have the option to opt-out of these cookies. But opting out of some of these cookies may have an effect on your browsing experience.
Necessary cookies are absolutely essential for the website to function properly. This category only includes cookies that ensures basic functionalities and security features of the website. These cookies do not store any personal information.
Any cookies that may not be particularly necessary for the website to function and is used specifically to collect user personal data via analytics, ads, other embedded contents are termed as non-necessary cookies. It is mandatory to procure user consent prior to running these cookies on your website.