≡ Menu

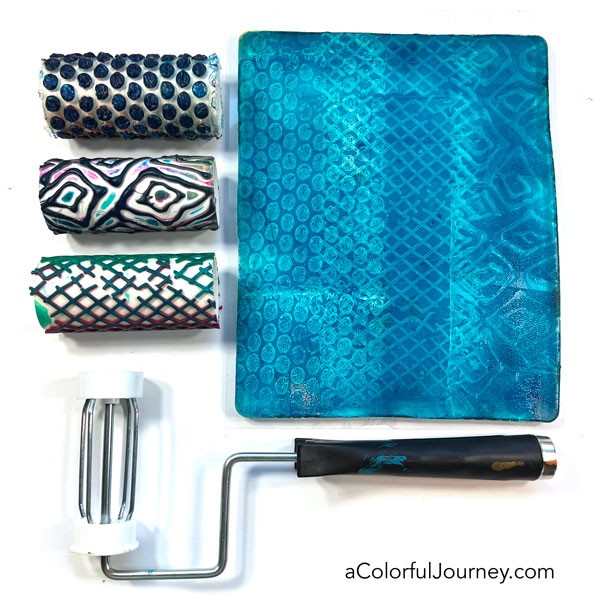
An interchangeable rolling pattern making tool for gel printing? That you can put any pattern on? YES! Just a paint roller and some PVC pipe! If you can stick it on the tube, you can make a print with it! I’m sharing what you need to know to create these, because there were a couple of stumbling blocks I ran into and I want to save you that time!

BEWARE! PVC pipe sizes are nominal which means they aren’t exactly the size they say. You’ll need to take your paint roller with you and actually test it on the PVC pipe to be sure it fits. It should be tight enough to stay in place when you slide it on but not so tight it’s difficult to put on. I bought some that I thought was the same size (the label said it was the same) but it wasn’t!

When you’re at the hardware store, the PVC pipe will come in lengths longer than your paint roller. That means you’ll need to cut it to the length you want. There are several ways to do that so when you’re at the hardware store check out the options to find the one that is right for you.

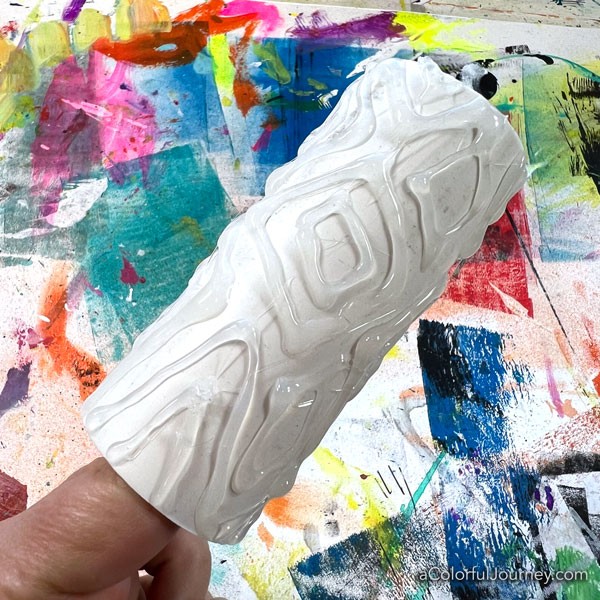
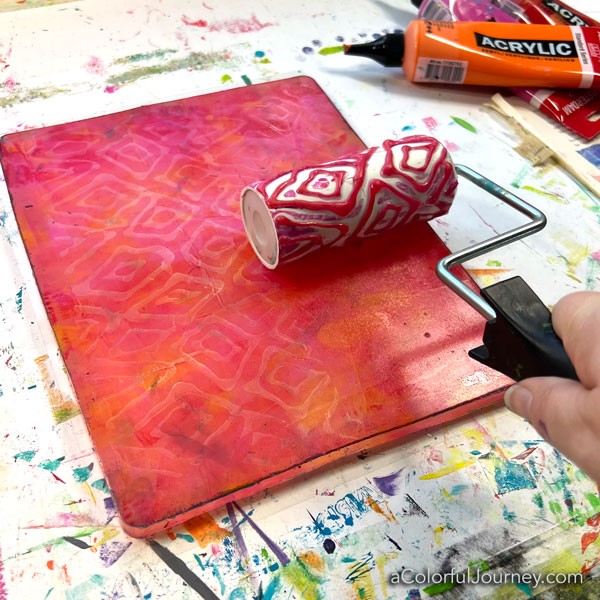
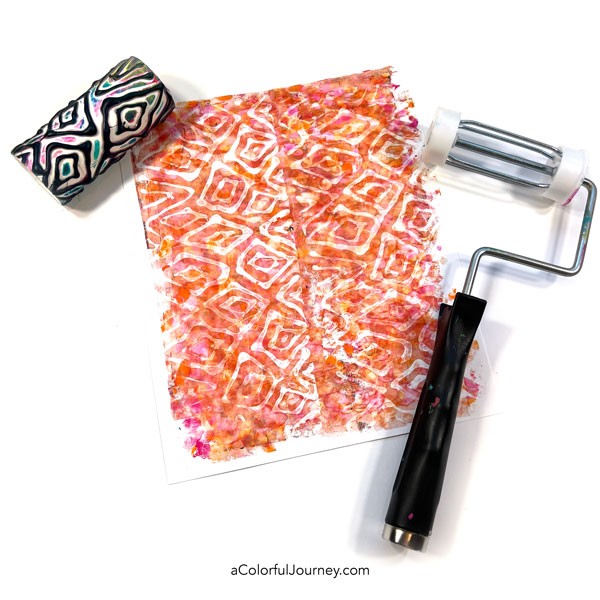
Draw a pattern directly onto the PVC pipe using hot glue. Does my design look a little wonky? That’s because when the glue is hot is more likely to drip or run a bit. I like the look it gives it but if you don’t, just let it cool a bit before turning it.

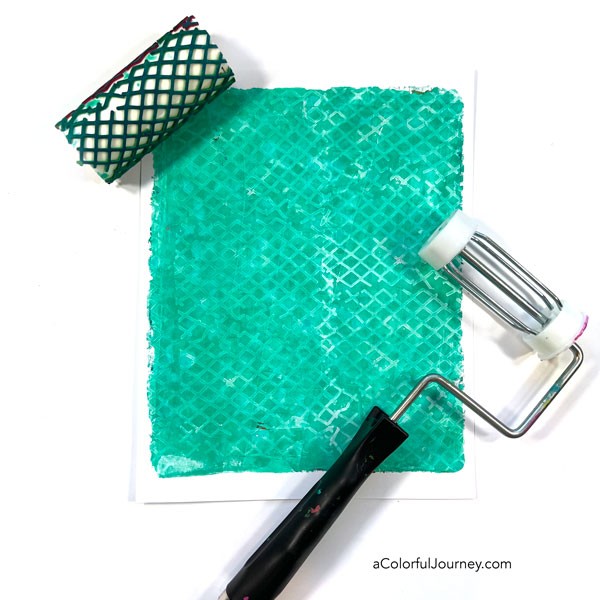
Once you’ve got your roller ready, put a thin layer of paint on your gel plate and roll on that texture!

When I’m gel printing, one fun way to add a little something to yoru print

When you’re attaching something to the PVC pipe, you’ll need an adhesive of some kind. I find double sided tape is fastest and in the video you see me use this super wide tape. I’ve got the link to it below and one thing I found wonderfully surprising about this tape is how easy it was to remove the backing.

But what if you don’t a jumbo roll of tape? Then just put several strips of normal sized double sided tape on there or any other adhesive you like!

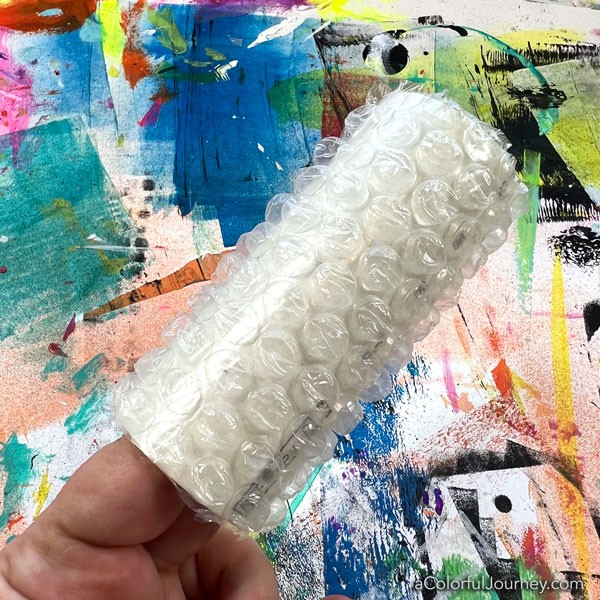
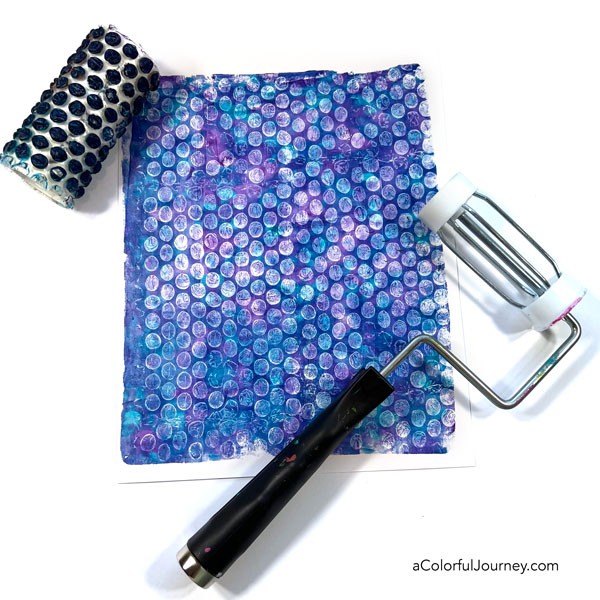
When I’m attaching something to the roller, like bubble wrap, I work carefully to make sure there isn’t any overlap where the ends meet. The overlap can create a line in the pattern which I don’t like usually.

Die cuts are another great source of patterns to stick on the roller. I die cut craft foam and use the double sided tape to stick it on there. Don’t have a die cut, then hand cut any pattern in craft foam and stick it on there!

These three ideas are by no mean everything you can do with these rollers. Corrugated cardboard, yarns and fibers, anything you’ve got! The sky’s the limit!

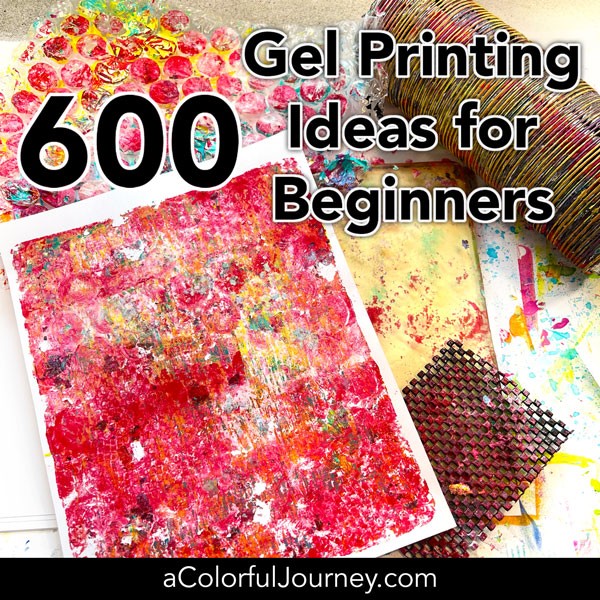
Want more ideas for gel prints? I’ve got 600 of them for you all in one video and a printable quick reference too. If you’d like me to send that to you, just use this link and let me know which email you’d like me to send it.

Here are the supplies used. Some of these links may be affiliate links which means I get a small percentage and it doesn’t cost you anything extra! And you get a really good feeling knowing that you are helping keep the free tutorials coming!

{ 8 comments }

Are image transfers on fabric washable? Why do you use tin foil? I’m sharing the answers to these questions and more in the video as I use the InkAid image transfer process on fabric. But just so you know, you can do an image transfer on many different surfaces from paper, to wood, to metal- the sky’s the limit!

When doing a fabric transfer, you’ll use more of the solution than you would on something less absorbent like paper or metal. What is that solution?

It’s the Tranferiez solution (it’s made by mixing 91% isopropyl alcohol with just a tablespoon the Tranferiez concentrate – and in the video here I show you how to easily mix it up.)

The vintage photo I’m using is printed on Transfer film using a pigment based inkjet printer. Not sure if your printer is pigment based? Simply google the name and model of your printer and “does it use pigment based ink”.

Is it washable? No BUT getting it wet and putting it through a faux washing machine (your hands in some water) can create a very weathered and worn look which is what created the variation in the fabrics used to make the cards. This would be great for any fabric art that is never washed such as wall hangings.

It’s fascinating how each image transfer was so unique after the “washing”. The areas of the magenta color that were rubbed off the most, ended up with a bit of green color to it. The blue was not rubbed and agitated in the “washing machine” as much so it was simply faded. However, the green has a couple of spots where you can see the green being rubbed off.

Can you sew on it? By hand or with a machine, you absolutely can! One thing to be aware of is that once the fabric is dry, anywhere the transfer film was, the fabric will be stiffer.

If you’re new to InkAid process, you might have questions about it. I’ve made an in depth video for you that shows the entire process and what you need to know to get started. Plus InkAid has a starter kit you can order to just try a little of this to see how you like working with it.

You might also want a few images to try the process out with, so I’ve put together a sheet of them for you. You can sign up to have them emailed to you here. Also, there’s a pdf of the steps so you can have that right next to you as you’re doing it.

{ 3 comments }

Wanderlust 2023 is now open for registration and I’m excited to be back as a guest host this year! This is the 8th year for Wanderlust and if you’ve been a part of it you know how much fun this year long mixed media art journaling course is! You also might have an idea about how fast the early bird spots go!

They’ve actually lowered the price for this year’s early bird. It’s $89 (there may be additional local taxes) and there is a payment plan option now too!

What is Wanderlust? It’s an online, year long mixed media art journaling course where you get a new video lesson (with a downloadable pdf) each Friday in 2023. There are a total of 55 lessons.

It starts January 6, 2023 but when you join now there are bonus videos waiting for you right now inside the classroom. That way you can start playing now!

There are 30 teachers which means you get a buffet of styles and techniques. There are star supplies and hero techniques which means every single lesson is different! One of the many perks of being able to explore with so many different instructors means you can try on different styles.

As one of guest hosts, I have the honor of sharing 4 lessons with you in 2023. Who are the other guest hosts? Mary Beth Shaw and Jeanne Oliver and they will each also have 4 lessons!

Who is this for? Both new and experienced art journalers. If you’re just getting started with art journaling, everything is clearly explained from the supplies to the techniques! For the more experienced art journaler, it is inspiring to get a look inside the process of the instructors, try their techniques and incorporate it with your own style.

The supportive community is the part that excites me the most every year. It’s bonus inspiration seeing how students interpret the lessons in their art journals while trying different styles. Watching the Adventures connect and support each others creative growth is contagious in the best possible way! 

Get all the details, check out each of the instructors, and join the fun here!

What’s included:

  • 55 video lessons
  • 30 teachers
  • Hosts: Kasia Avery and three guest hosts (who will each be doing 4 lessons)- me, Mary Beth Shaw and Jeanne Oliver
  • Every Friday a new video lesson and a handout to go with it
  • All videos are downloadable with lifetime access
  • A community platform to share your work and connect with others in the Adventurers Circle (it’s not on Facebook)

$89 for the first 2,000 who enroll (There may be additional local taxes.) This sells out every year very quickly so jump on in if you want the early bird price!

Looking forward to seeing what you create in Wanderlust!

{ 2 comments }