≡ Menu
Video tutorial sharing how to get your stenciling inside a glass ornament Christmas-in-July-GIVEAWAY-image

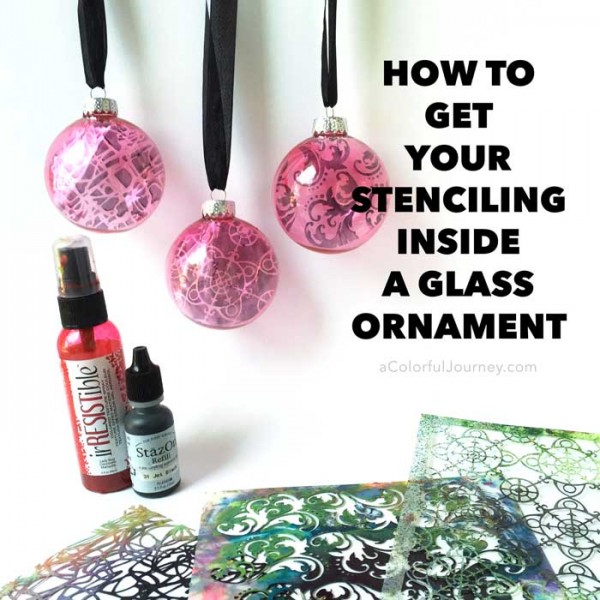
Ever try to stencil something round and smooth like a glass ornament?  It can be tough to stencil on the outside, so I found an easier way – put the pattern on the inside!

Why Christmas now?  I’m playing in the Christmas in July blog hop with StencilGirl Products and Imagine Crafts with a $100 giveaway too!  Find all the details and links to all the holiday inspiration at the end of this post.

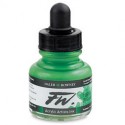
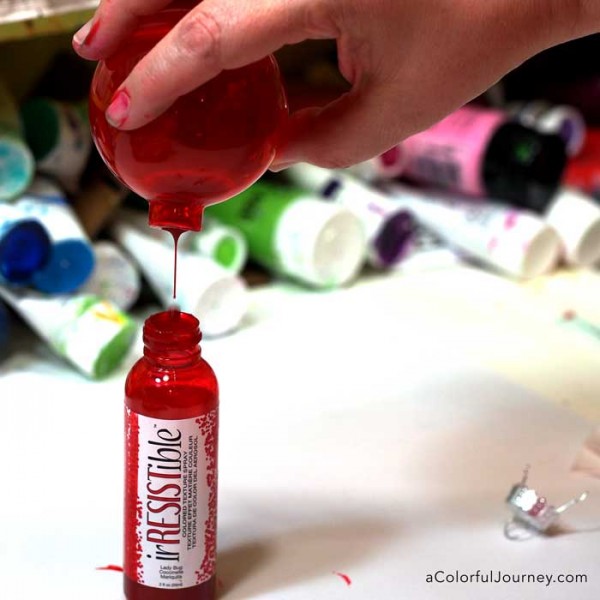
I started with clear glass ornaments available at any major craft store but that ornament wasn’t going to stay clear. I wanted some color.  irRESISTible is a wonderful texture spray but today I am not using it that way.   I am pouring some LadyBug red irRESISTible right into the ornament.

As a side note…based on my experiments, the darker colors work best because what starts out as a very deep red becomes the most wonderful translucent red by the time it has fully drained and dried.

Video tutorial sharing how to get your stenciling inside a glass ornament

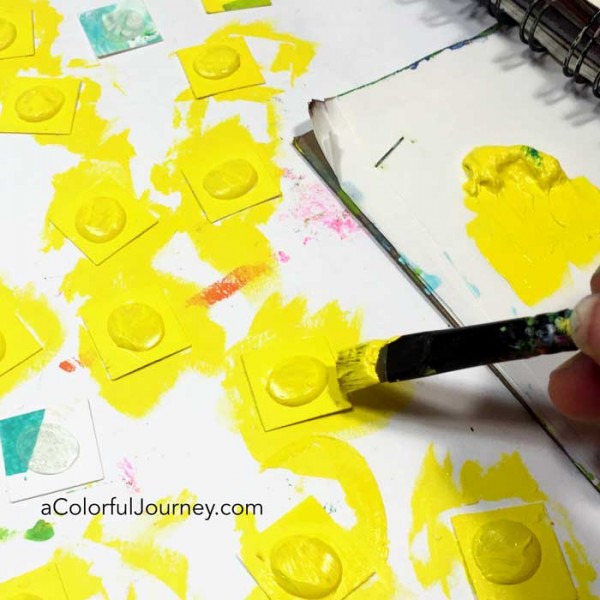
In the video you’ll see how I put these together, including how to actually get the right size of circle to fit in the glass ornament without measuring.

Watch How to Get Your Stenciling Inside a Glass Ornament on YouTube.

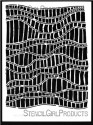
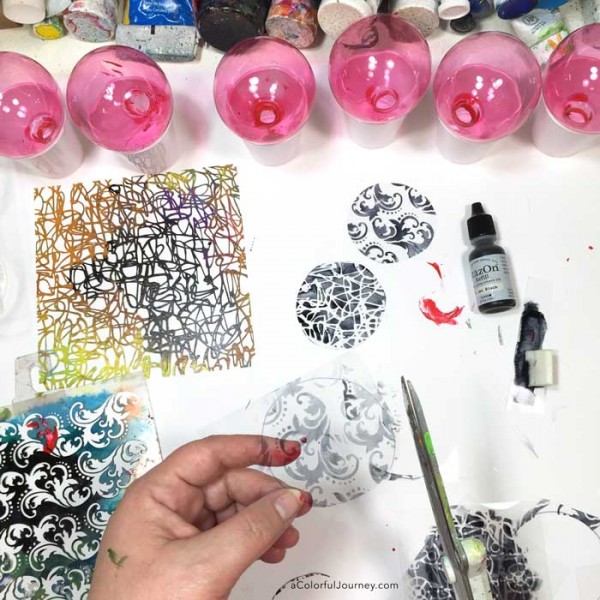
Stazon inks are easy to use with stencils and as a bonus they work on any smooth surface too.  I used MB Makes Marks Marker, Ornamental Compass Screen, and Damask Waves with a cosmetic sponge and the black Stazon reinker.

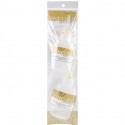
In order to get the stenciled images inside the ornament, you need something flexible and sturdy like Durlar Wet Media.  This is way easier to show than tell type of process, so check out the video where you can see exactly how to get the stenciling to be upright in the ornament.

Video tutorial sharing how to get your stenciling inside a glass ornament

Thanks for stopping by for some play! Lots holiday inspiration awaits you so be sure to check out all the blogs in the hop!

Christmas-in-July-Blog-Hop-banner

$100 GIVEAWAY!

  We’ll be picking one lucky winner
to receive $100 in Gift Certificates – a $50 Gift Certificate for StencilGirl Products and
 a $50 Gift Certificate for Imagine Crafts!

Visit each blog showcased July 9, 16, & 23 and leave your comments. The more blogs you comment on, the more chances you have to WIN! One comment per blog please.
 You will have until Saturday, July 30th at 11:59PM Central Time to leave your comments. The winner will be notified by email and announced on StencilGirl’s Facebook page on Sunday, July 31st.

Today’s Blog Hop Order

StencilGirl Talk
Gwen Lafleur
Carolyn Dube-you are here
Carol Baxter
MarkMelnick
Jowilna Nolte
Terre Fry

Day 2 Blog Hop Order

StencilGirl Talk
Janet Joehlin
Cindy Gilstrap
Anna Friesen
Alison Heikkila
Martha Lucia Gomez
Roni Johnson


Day 1 Blog Hop Order

StencilGirl Talk
Mary C. Nasser
Kristie Taylor
Karen Gaunt
Neva Cole
Nadine Carlier
Monica Edwards

{ 51 comments }

How art journaling helped me process my feelings 
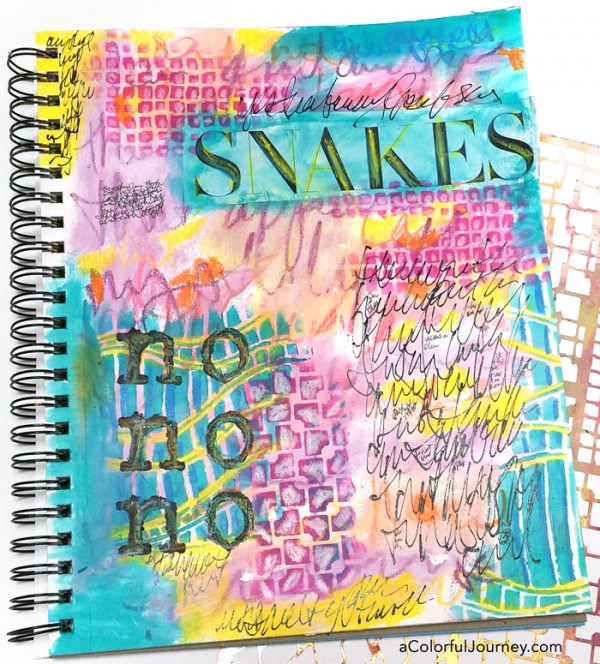
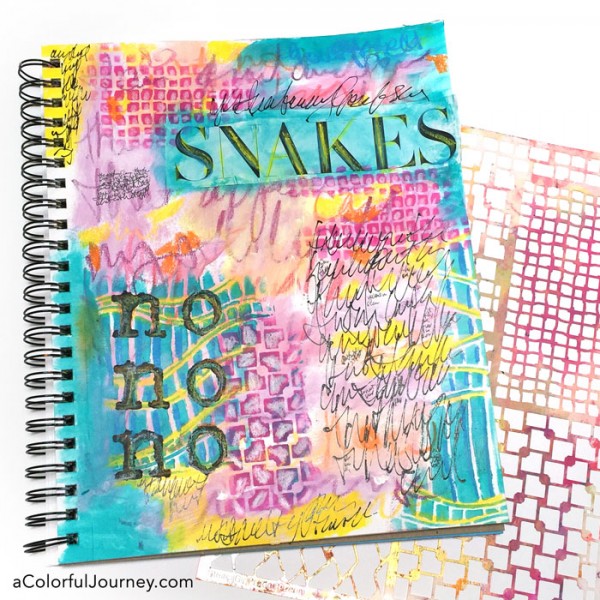
There was real terror in my studio last week.  Not artful terror.  Animal Planet kind of terror. A 3 foot long black snake.  As Indiana Jones said in Raiders of the Lost Ark, “Why did it have to be snakes?”

Of course his were venomous and angry…mine was scared and harmless.  But emotionally, I was pretty sure Indy and I were in the same situation.

Logically, I know this snake was harmless to me.  But phobias and fears don’t always respond to logic.  So, for a week I had not been in my studio until sufficient measures could be put in place and I felt safe again. What that means is the biggest glue traps ever and hermetically sealing every crack we could find!

How art journaling helped me process my feelings 
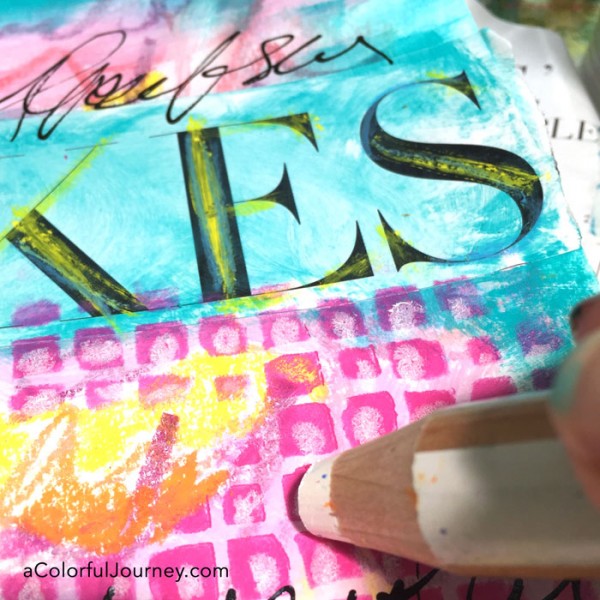
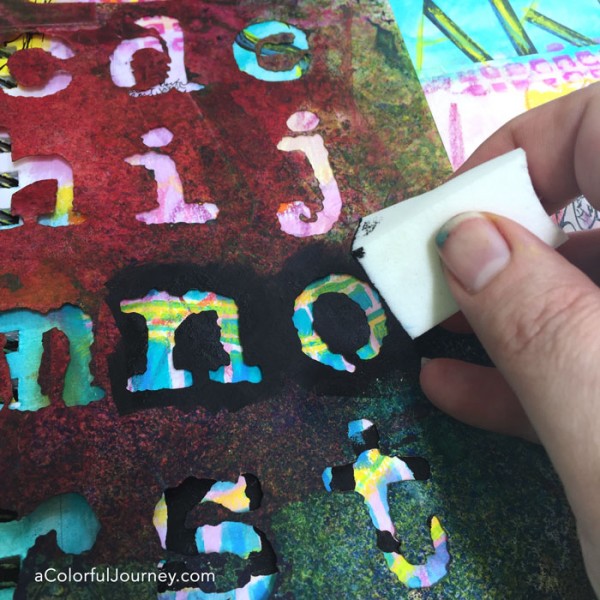
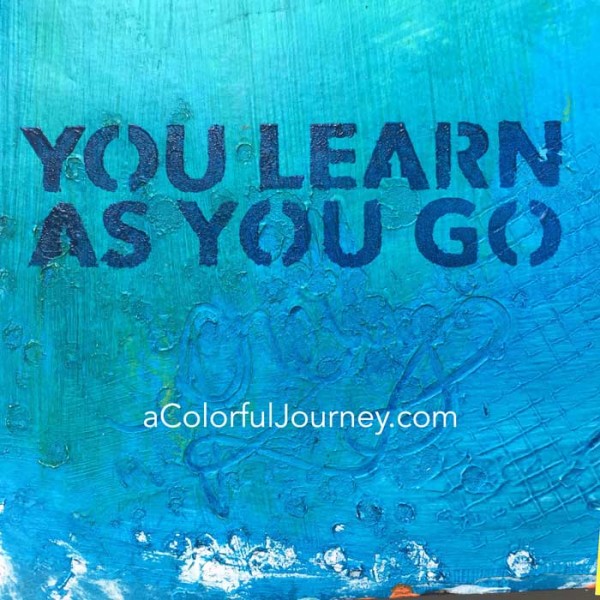
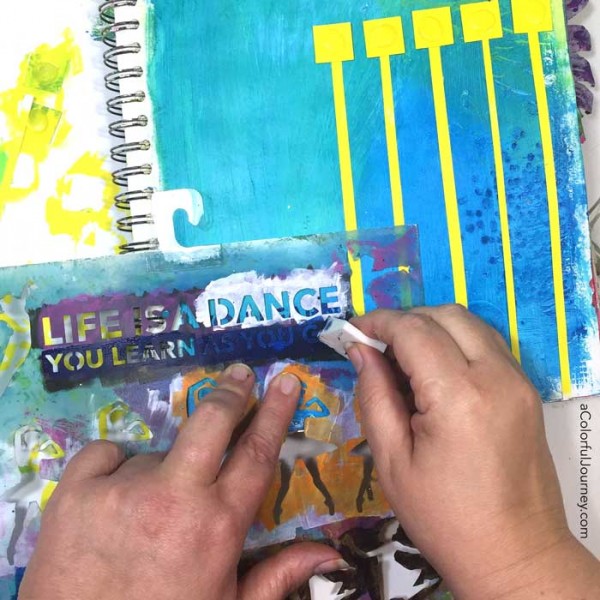
This page started when I was flipping through a magazine and ran across the S word in a headline.  I only had limited supplies available since I was still too chicken to spend much time in to the studio but I decided a little art play was just what I needed to process all the fear.

There is lots of journaling on this page buried between layers and on top of layers.  I scribbled journaled with pencils, I wrote with a fountain pen, and I scribbled with a fineliner (video on how they work here).  I had a mountain of feelings, and fear, I needed to get out.

The journaling was quite intense for me, so to take a break from that I did some stenciling with Rectangular Patterns for Play and Curvy Ladders.

How art journaling helped me process my feelings

Once the patterns were down, I started drawing on top of them with a big Stabilo pencil. Such a calming feeling to me especially after so much emotion.

How art journaling helped me process my feelings

I was feeling relief from the mega dose of panic and fear, but there was still something I needed to make clear.  NO more snakes in the studio.  I really wanted that idea of NO to be very clear.  So, out came my Vintage Typewriter stencil.

How art journaling helped me process my feelings

By the end of this page, I felt better.  I am now back in the studio and still a bit jumpy but definitely able to manage the fear. But I still do carry around my glue trap on a stick for protection…How art journaling helped me process my feelings

Here are the supplies I used. Some of these links are affiliate links which means I get a small percentage. It doesn’t cost you anything extra and you are helping me keep this blog and my videos ad free! Thank you- I don’t like ads any more than you do!

{ 9 comments }
art journaling video sharing how to be inspired by an everyday pattern

I had a plan that was inspired by a pattern on the sidewalk I noticed when I was on a bike ride. It was a crazy crazy plan.  It involved precision.  Straight lines and measuring. If this was a movie, you’d hear the ominous music playing.

But this isn’t a scary movie, it’s play inspired by the everyday, this month’s Let’s Play theme.

What is Let’s Play?  It’s all about rediscovering the ability to play. Each month I share a specific strategy that helped me recapture the freedom and fun of play. You can see all of them here. Plus get entered into the monthly giveaway by leaving a comment- details down below!

Watch How I used a pattern from the sidewalk in my art journal on YouTube.

Here’s the pattern than made me obsessed with using a grid in my art journal.

Art journal play inspired by the everyday

The moment this  pattern grabbed me, a plan that was destined to lead to an OOPS was hatched.  First, I would paint over ancient glue dots to create the raised bumps.

Art journal play inspired by the everyday

Next came the perfectly straight strips of paper that would make the grid lines under them.  I measured. CAREFULLY.  Really I did!  But the strips of paper did not come out as expected.  No fault of the paper cutter.  This was total user error.  OOPS!

art journaling video sharing how to be inspired by an everyday pattern

But I recovered.  I picked the most similar ones to use for building a precise grid. Or so I thought I would be building a grid.  I really wanted to build a grid.  In the video, you see why it didn’t turn into a grid.

Those tall yellow ledges were just the perfect platform for the leaping, running, dancing girl from my Learning to Dance stencil.  The title didn’t fit perfectly in the space I wanted, but that’s no problem with a stencil!  It’s easy to rearrange the words to fit the space.

art journaling video sharing how to be inspired by an everyday pattern

Two things were very clear to me at the end of my play session.  One, this page isn’t complete yet.  Two, I was done working on it for now, after all an art journal page does not have to be finished in one session.

Of course, I’ll be sharing where it goes next.  Get signed up for my newsletter (if you’re not already) and you’ll be sure to know what happens next to this page!

art journaling video sharing how to be inspired by an everyday pattern


This month's Let's Play theme is all about being inspired by the everyday

Want to see more Let’s Play videos? You can find all the weekly posts here.

Sharing your play:   I, and a whole bunch of others, would love to see what you’re creating!  We’re sharing it in the Facebook group called A Colorful Place to Play. Why Facebook?  I’ve listened to your feedback about how and where you’d like to share your play instead of the link parties.

Monthly giveaways:  Leave comment on any (and all for more chances) of the weekly Let’s Play blog posts to be entered and one winner each month will be chosen by random.org.  Want more chances to win a $50 gift certificate to DickBlick.com?  Pin any of the images from the page or share about it on Facebook- then come back and leave a comment telling me what you did and you can have more chances to win! Giveaway closes the Sunday, July 31st at 11 pm EST and the winner will announced on the blog the following Monday.

Congrats to Margaret Price, last month’s winner!

{ 25 comments }