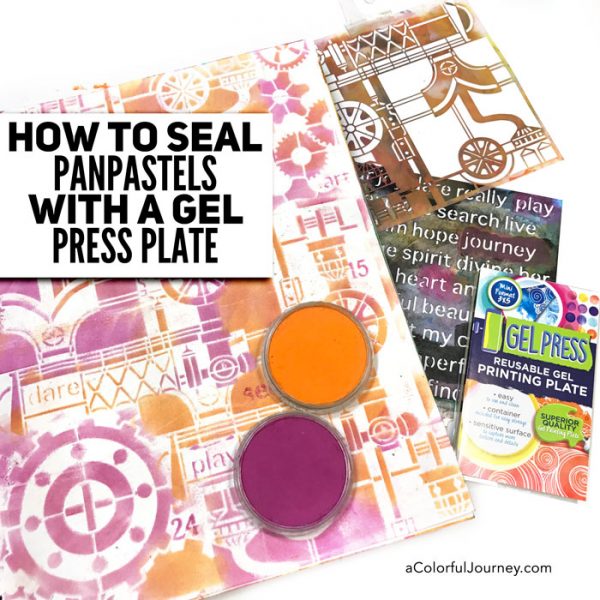
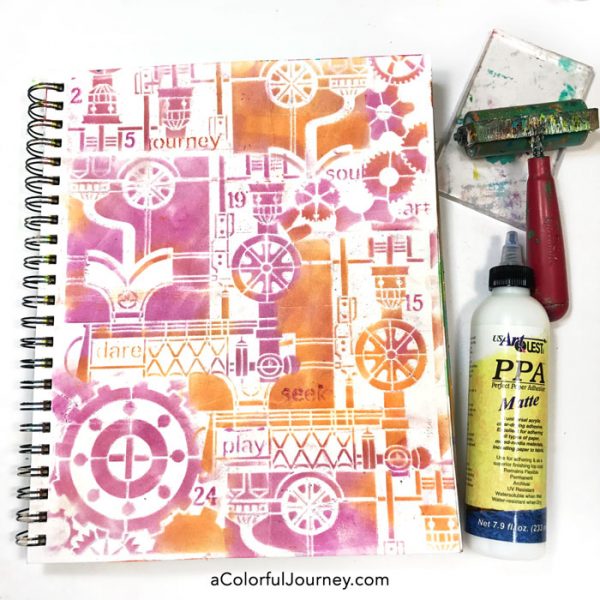
Building an art journal page with PanPastels is instant gratification. No pesky waiting for the color dry. But how do I seal PanPastels so they don’t smear and can pass a white glove test? One way is with a gel printing plate!
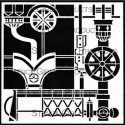
In the video, you’ll see how I built this steampunk page by combining pieces and parts of several stencils from StencilGirl and then how to quickly seal them!
Watch How to stencil and seal PanPastels in an art journal on YouTube.
I had the rainbow of PanPastels out for me to play with but only orange and magenta called to me today. Never fear the rest of the rainbow…I’ll use you next time!
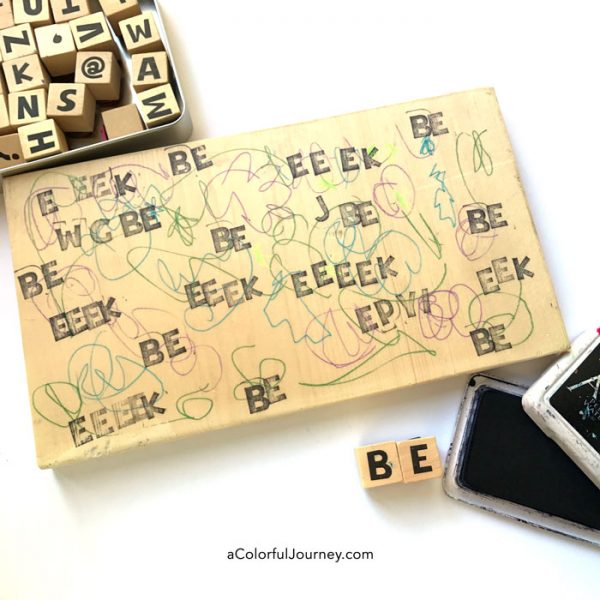
The steampunk vibe of the Gears and Machinations stencils called for words. Not just any words but words to fit the colorful factory found on the page.
Adding text to my art journal pages lets me customize each and every page. Having a stencil loaded with a variety of words to choose from means I can find just the right words for each page.
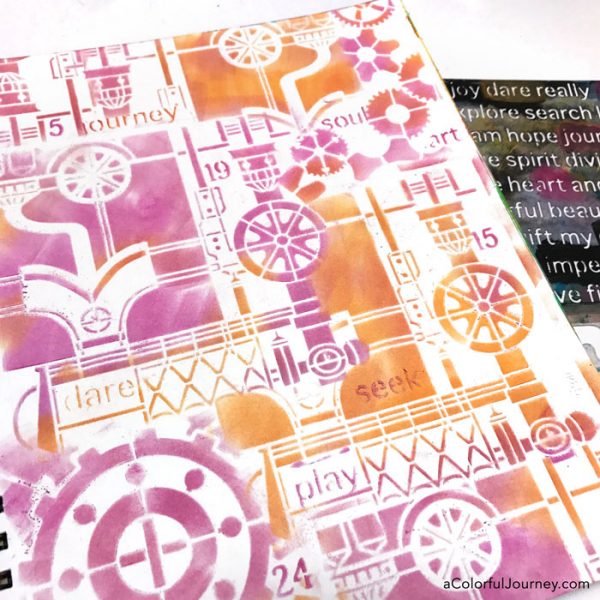
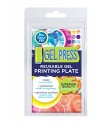
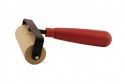
I used the 3×5 size of Gel Press Plate but you can use any size you have. This just happened to be the one closest to me at the moment. Why PPA matte by US ArtQuest? Because of how wonderfully matte it is and it is artist grade so it won’t yellow over time.
Are you new to gel printing? You can see another way these mono printing plates can be used in this playful blog post.
Here are the supplies I used. Some of these links are affiliate links which means I get a small percentage. It doesn’t cost you anything extra and you are helping me keep this blog and my videos ad free! Thank you- I don’t like ads any more than you do!


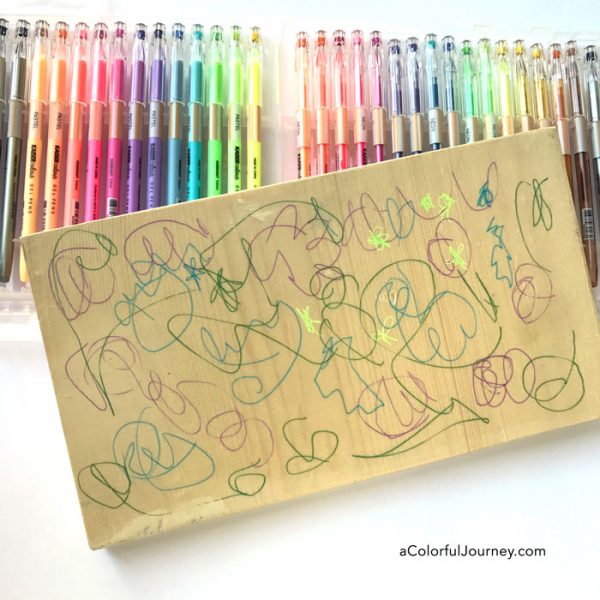
 I was completely in my head when I tried to play. Any idea I had was shot down instantly. That first step of getting started felt paralyzing. My muse had left the building. Play was not going to be happening with this mindset. But this has happened many times to me and in the video, I am sharing how to get the muse to come back.