≡ Menu
Mixed media stenciled wall art that started as one big mess and became something wonderful

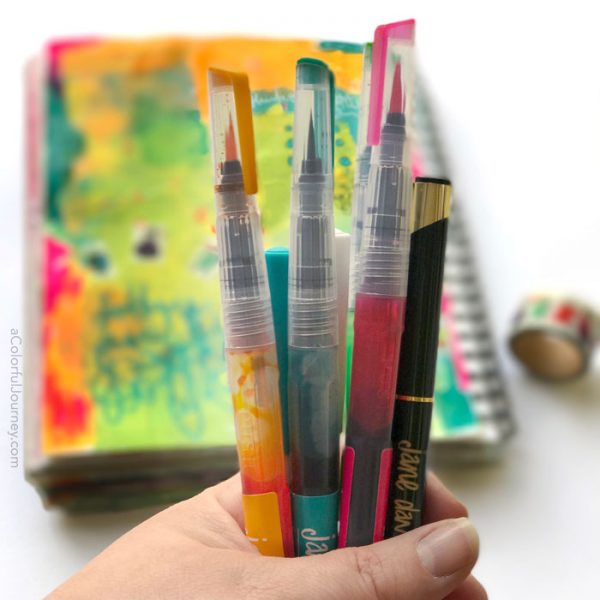
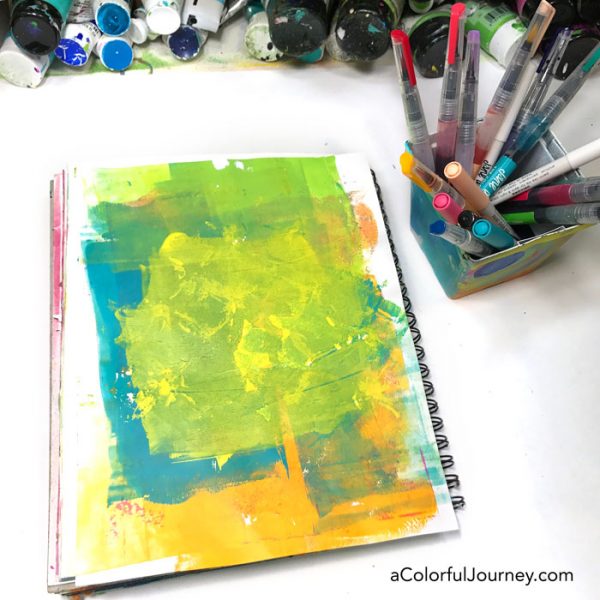
Making a mess is all about discovering what can happen.  Sometimes, it’s more mess.  Sometimes, it’s something I love.  The fun is I never know which it will be when I start playing.

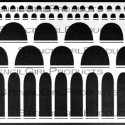
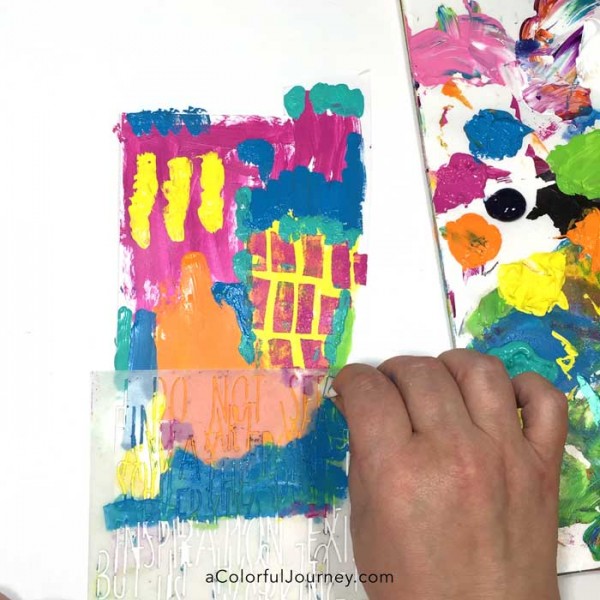
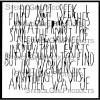
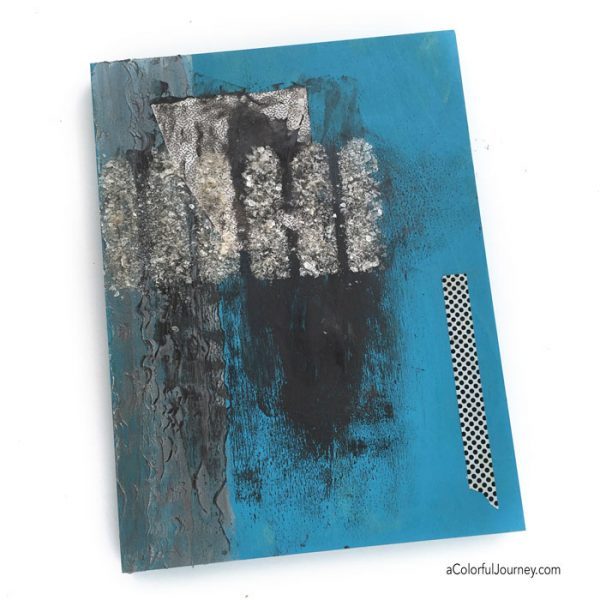
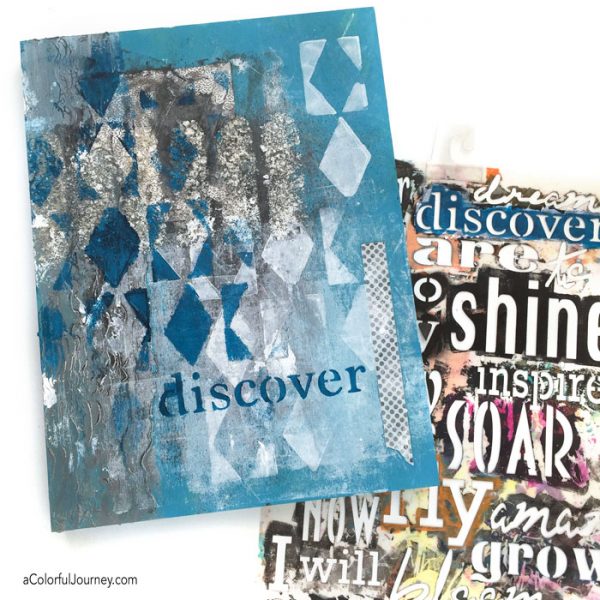
This wood panel began with layers of texture.  No goal, no plan, no direction – just a mess of textures.  Those mica flakes from USArtQuest attached with glue through my Arched Aqueduct stencil was the only part of this I liked.  I really didn’t like the dark color or anything else on it, but that keeps the mystery alive since I never know what just one layer will do to it.

Mixed media stenciled wall art that started as one big mess and became something wonderful

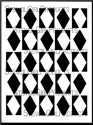
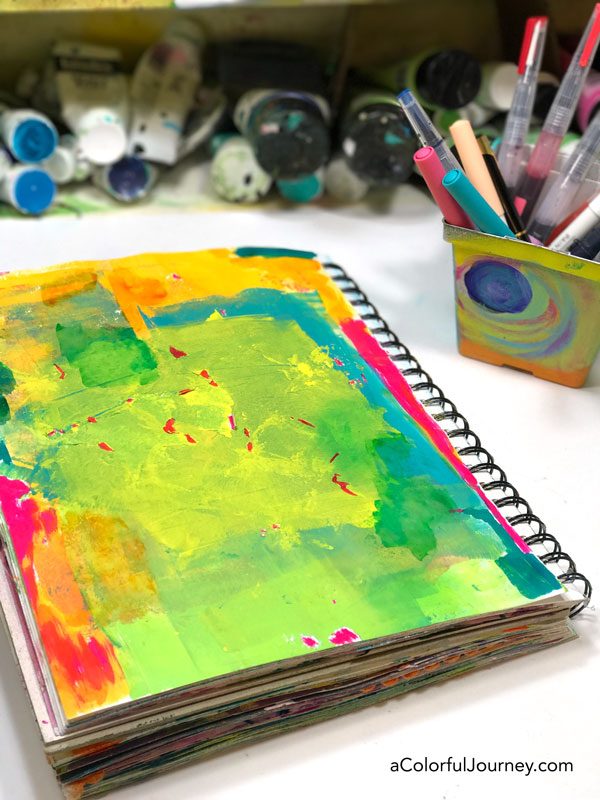
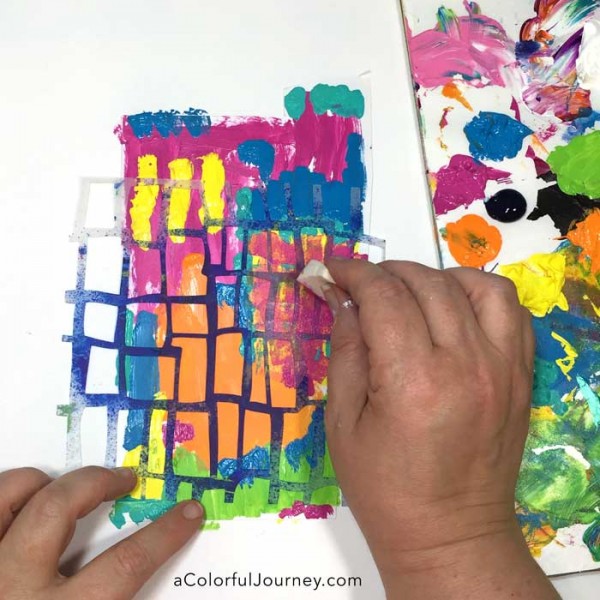
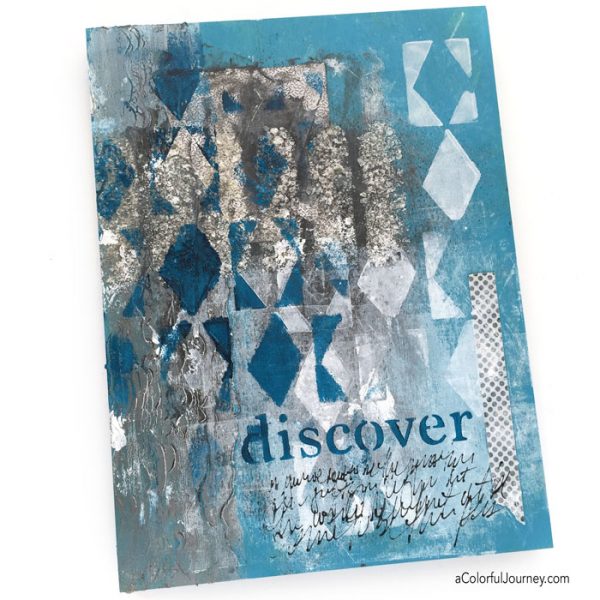
When I added the white paint using my Alternating Diamonds stencil from StencilGirl, suddenly I loved it.  So much so that I added another layer in blue right on top of the textures along with a little white washing on the bottom.  Mixed media stenciled wall art that started as one big mess and became something wonderful

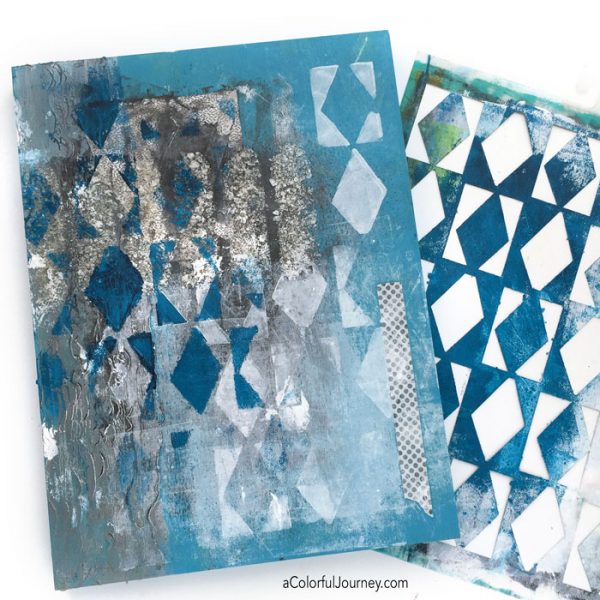
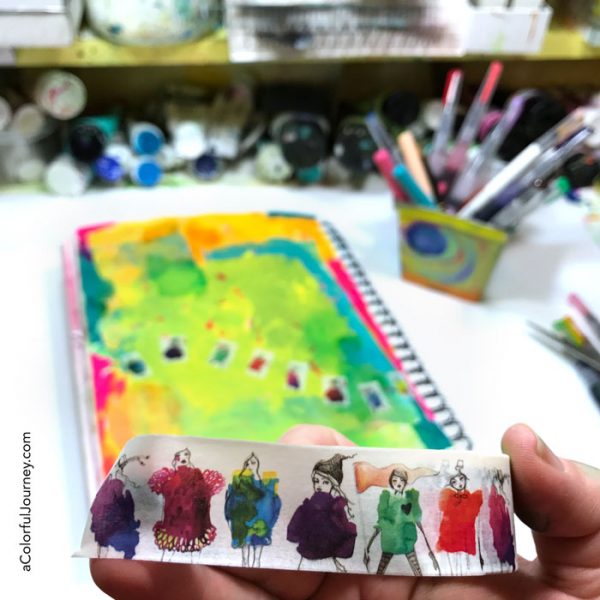
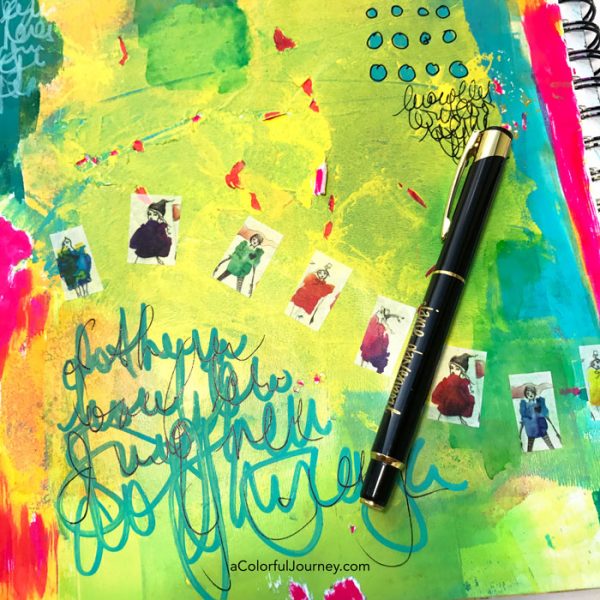
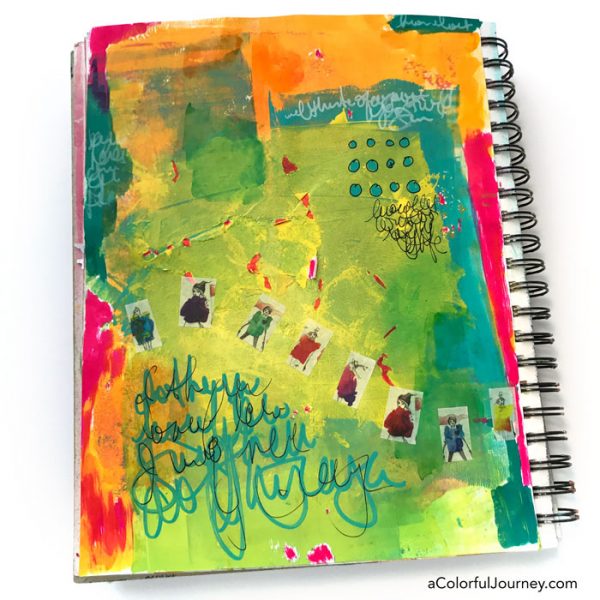
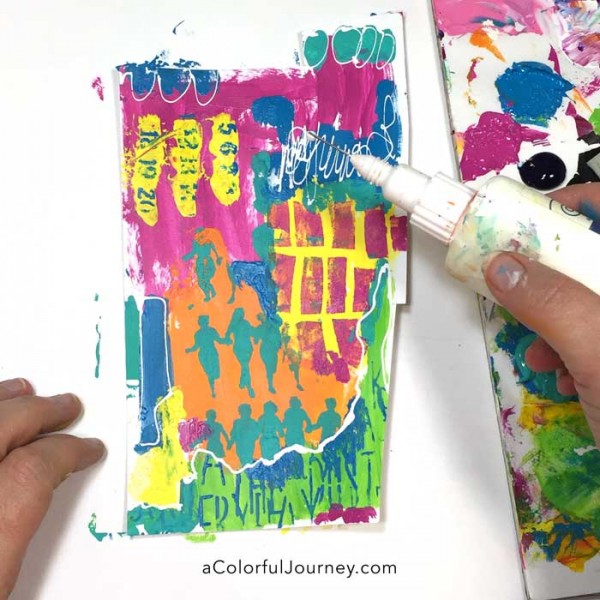
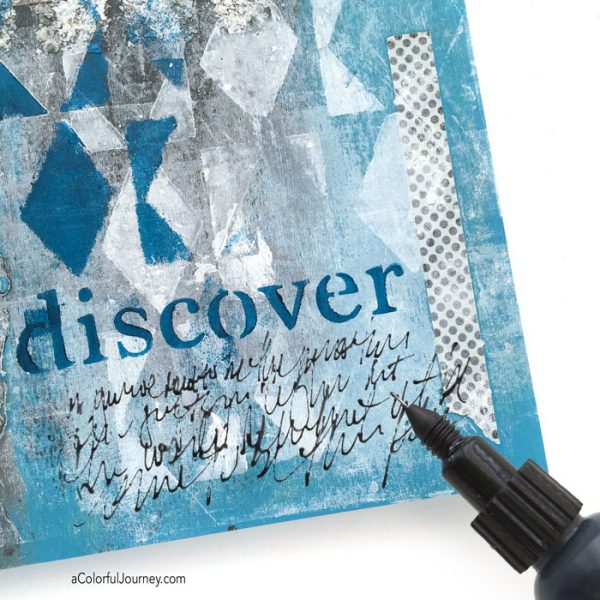
Just one layer and what was yuck was transformed to something I wanted to put on my wall. Thanks to serendipity, there was just the right amount of space for the title of this, Discover using the Now is the Time stencil.

Mixed media stenciled wall art that started as one big mess and became something wonderful

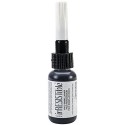
A bit of scribble journaling to capture the feelings of this play with a Pico embellisher completed it.

Mixed media stenciled wall art that started as one big mess and became something wonderful

The adventure of going from ugly to something I want to hang on the wall is one of the many reasons I love mixed media play.  So next time you have an ugly layer, just know that you may be only one layer away from something  you love.

Here are the supplies I used. Some of these links are affiliate links which means I get a small percentage. It doesn’t cost you anything extra and you are helping me keep this blog and my videos ad free! Thank you- I don’t like ads any more than you do!


{ 2 comments }
Trying out Jane Davenport's mermaid markers and more in my art journal -video by Carolyn Dube

Jane Davenport’s new media line called to me like a siren to a sailor as I walked by the display at Michaels.  Washi tape, Mermaid Markers, how could I resist?   I picked up a few of them and took them for a ride in my art journal to see if they were as wonderful as I hoped.  Hint…YES!

Watch Trying Out Jane Davenport’s Mixed Media Supplies on YouTube.

The gel print was chosen on purpose.  It has areas of naked paper, areas of paint, areas that are smooth and areas that are highly textured.  I wanted a variety of surfaces to see how these supplies performed.

Trying out Jane Davenport's mermaid markers and more in my art journal -video by Carolyn Dube

The Mermaid Markers worked beautifully and I loved the ability to do little fine details by using the tip or coving larger areas with the sides of the brush tip. Another joy of water pens is that I control how much ink is on the tip based on how much I squeeze the pen.

Trying out Jane Davenport's mermaid markers and more in my art journal -video by Carolyn Dube

The washi tape created a rainbow fashion show across my page.  By cutting the women apart, it was a breeze to create a curve along the page.  Since washi tape can be repositioned, there was zero pressure to get the spacing “right” the first time and that is the only reason the woman in the yellow dress fit.

Trying out Jane Davenport's mermaid markers and more in my art journal -video by Carolyn Dube

I saved the biggest challenge for the end of this page – scribble journaling.  Jane’s opaque Paint Over Pens were actually opaque, including the white.  Can you tell I’ve bought other pens over the years that say they are opaque and weren’t?  The traumas I have endured art journaling lol.

The Inkcredible Pen, a fountain pen, had to write over a bumpy textured painted area and do it smoothly without snagging the tip.  Smooth as butter, the pen was magnificent.

Trying out Jane Davenport's mermaid markers and more in my art journal -video by Carolyn Dube

If I was grading Jane’s new products, they would get an A+ from me! Now I’m off for more play!

Trying out Jane Davenport's mermaid markers and more in my art journal -video by Carolyn Dube
{ 8 comments }

O.O.P.S.!  I put way too much paint on my palette for my last project.  Not a mistake.  Not a fail.  It won’t be wasted because it is just an Outstanding Opportunity Presenting Suddenly for more play with stencils!

I even turned this one into a free Spark of Art-spiration…so you can play too!  You can have it sent to your inbox- just use the button at the end of this post.  If you are already signed up…this spark came to in the last newsletter- so you already have it ready to go!

Watch Stencil Play With Leftover Paints on YouTube.

Twist my arm to force me to play.  I grabbed a scrap of paper nearby and started randomly using up that paint.

stencling-with-wet-paint-carolyn-dube-2

Brick and Mortar by Mary Beth Shaw was calling to me. Since I’m using up paint, I was very generous with how much paint I used.  That increased the risk of paint running under the stencil and that is just what I wanted for this imperfect and messy play.

stencling-with-wet-paint-carolyn-dube-4

I wanted fine lines of blue on the green so my Picasso’s Words stencil did just the trick.  One thing I love about stenciling is that you can work around irregular shapes quickly.  I could see where the green was so I only added the blue there.

In the video, you can see how this works with both a clean and a dirty stencil.  Shockingly, I actually had a clean stencil which doesn’t happen very often!

stencling-with-wet-paint-carolyn-dube-5

Those messy numbers were courtesy of using my Never Ending Calendar stencil on very wet paint.  You can actually see the suction of the super wet paint as I pull the stencil up in the video.

Since I refused to wait for anything to dry or use a heat gun to dry it, out came the fineliner for some writing.  If you’re new to fineliners, I have a video here that explains them in depth.

stencling-with-wet-paint-carolyn-dube-3

Would you like to add some pattern to this? I’ve turned the first stage of painting into a free downloadable Spark for you.  You can get it delivered to you here.

Yes, I want the free download!

Here are the supplies I used. Some of these links are affiliate links which means I get a small percentage. It doesn’t cost you anything extra and you are helping me keep this blog and my videos ad free! Thank you- I don’t like ads any more than you do!

{ 1 comment }