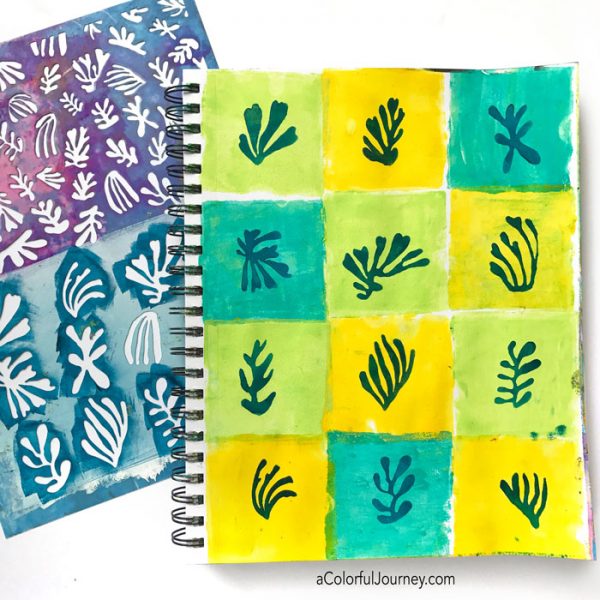
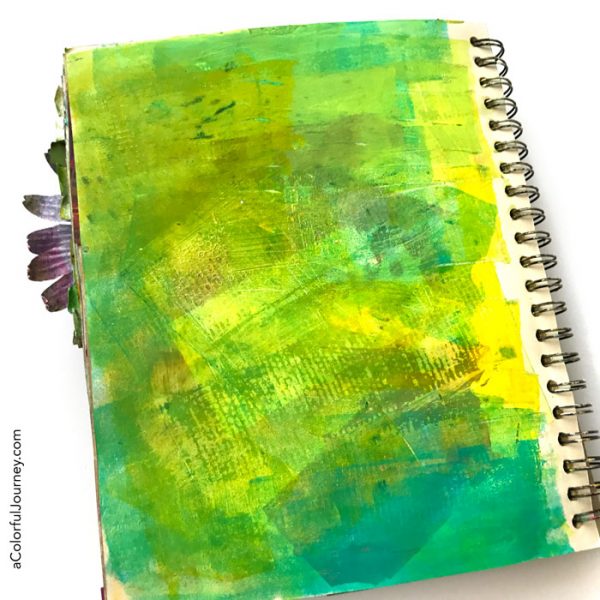
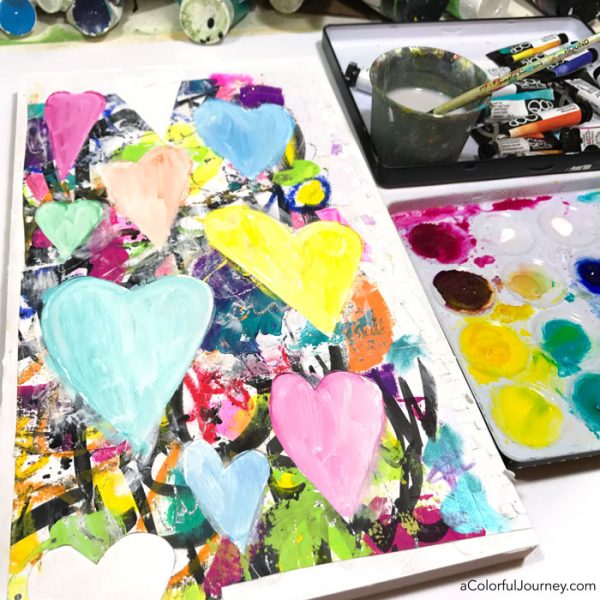
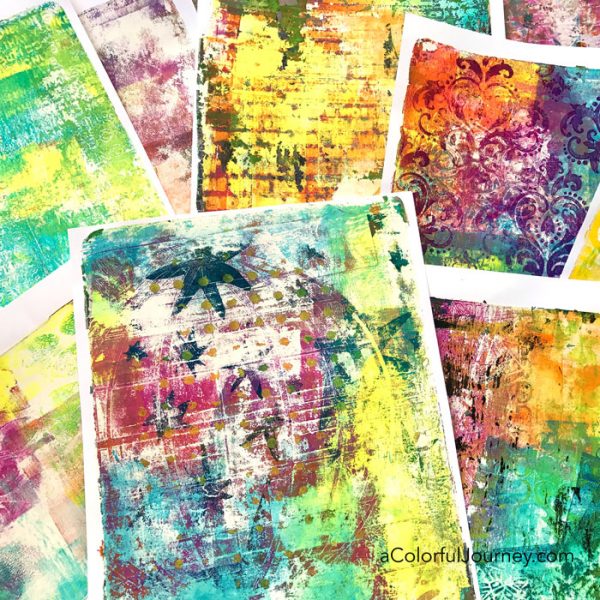
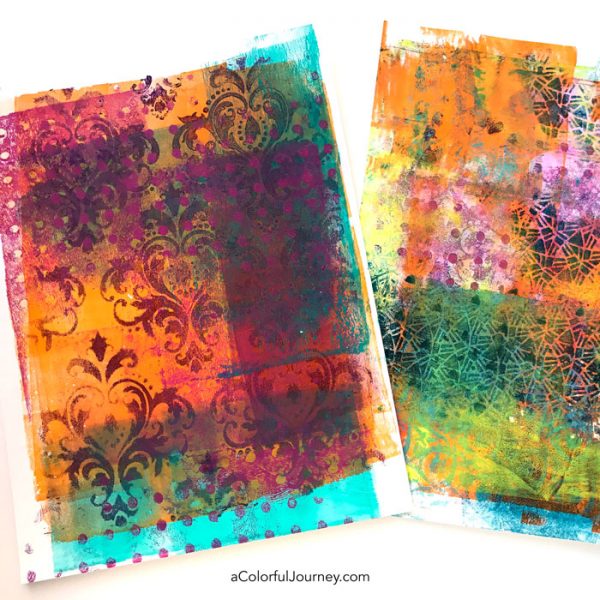
OOPS! The plan was to build the grid with 3 colors by having each color in each row and no color touching itself. I thought it was a solid plan.
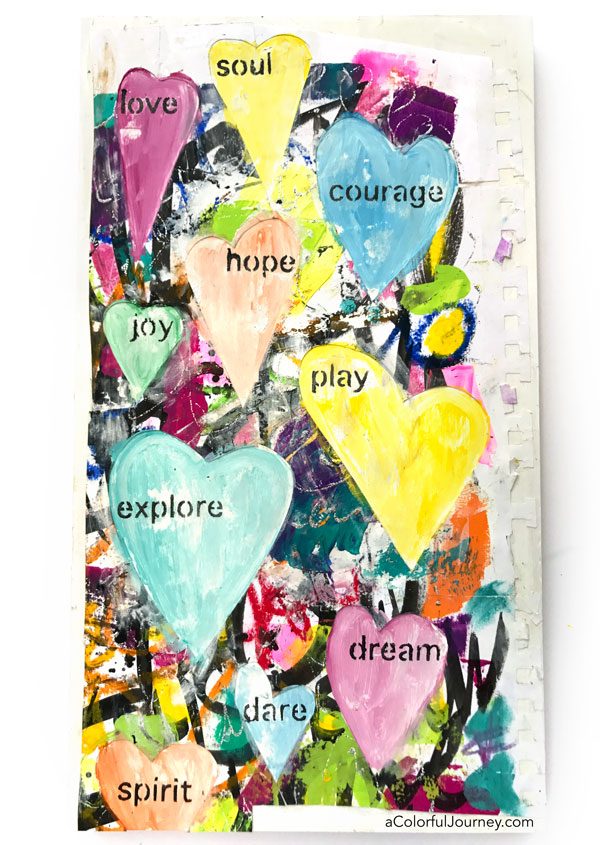
It wasn’t, since after row #2, I was backed into a corner. Okay, that sounds a bit dramatic but for a fleeting second that is how it felt until I said O.O.P.S. (Outstanding Opportunity Presenting Suddenly). When I finsihed the grid with the Cutouts Inspired by Matisse stencil, I realized that this grid was far better than the one I planned.
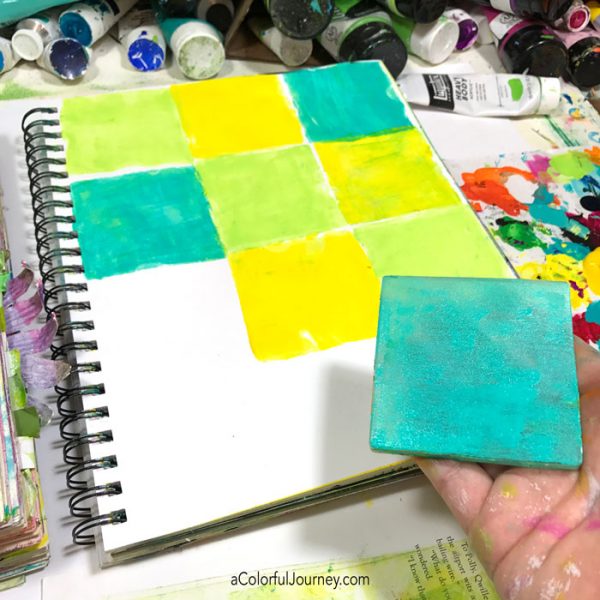
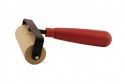
Using a square Gel Press Plate to build the grid had a side benefit. Often, when gel printing, the clean up pages become wonderful all on their own. In the video, you’ll see a brownish blah page become layered with color just from cleaning off the brayer along with tips for how to stencil crisp images.
Watch Making an art journal page with a gel plate and a Matisse inspired stencil on YouTube.
New to gel printing? I’ve got a step by step guide for making your first print.
Apparently, geometry was not my strength in school. The proof (yes, pun intended for those who also dreaded writing those in geometry) is that I turned the gel plate square in the video so that it would fit better…um…squares are the same length on each side.
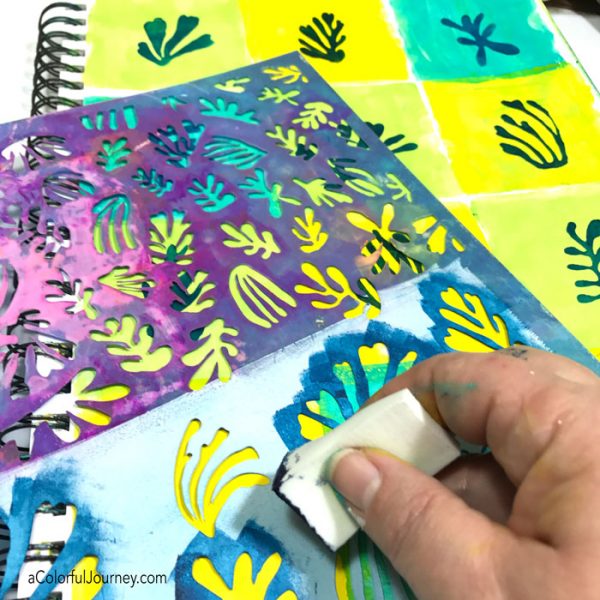
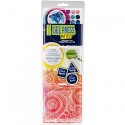
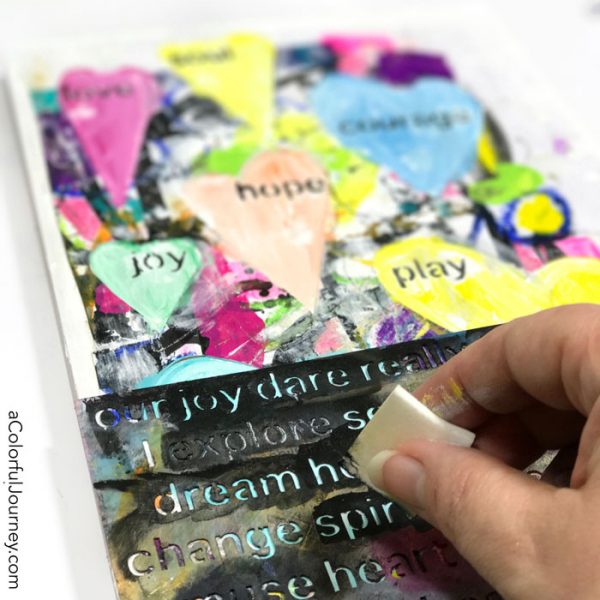
Getting a crisp stencil image is easy as 1-2-3.
- Use small amounts of paint or a thick paint, like a heavy bodied paint. If using a thinner paint, just blot the sponge off on scrap paper before stenciling.
- Pounce the cosmetic sponge in an up and down motion and not side to side because that is more likely to force the paint underneath it.
- Use light pressure when stenciling. Pushing down with lots of pressure does make it go faster, but it is more likely to make paint squish under the stencil.
Here’s the clean up page created by just cleaning the brayer over and over on a page that had some yucky brown on it. Now I have an interesting background ready to go for another play session.
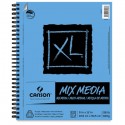
Here are the supplies I used. Some of these links are affiliate links which means I get a small percentage. It doesn’t cost you anything extra and it helps keep the free tutorials coming!


 These pulls always bring gasps of excitement as the first corner is pulled off and you get a hint of the colorful magic about to be fully revealed. The best part is once you know the secrets then you can actually control when those prints are going to happen. It isn’t random and it isn’t some unexpected surprise, but it is always amazing to see it pull off the plate!
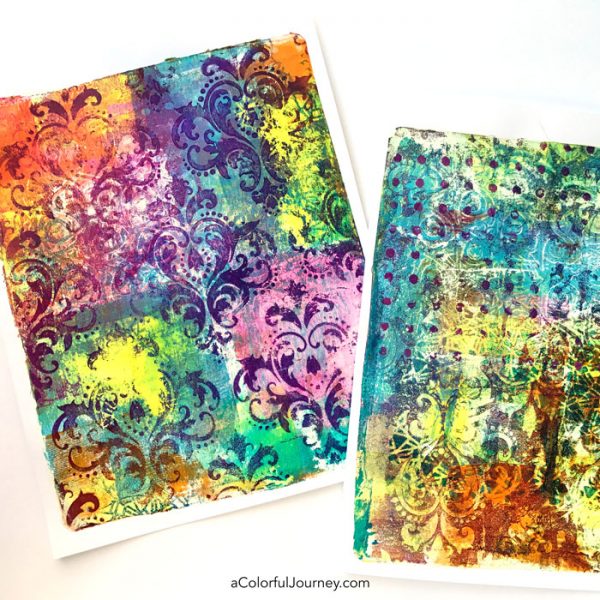 All you need to bring to class is a soft rubber brayer, 5-6 of your favorite colors of acrylic paint, white heavy body paint (or other very opaque white paint) and apron. Gel plates are provided courtesy of
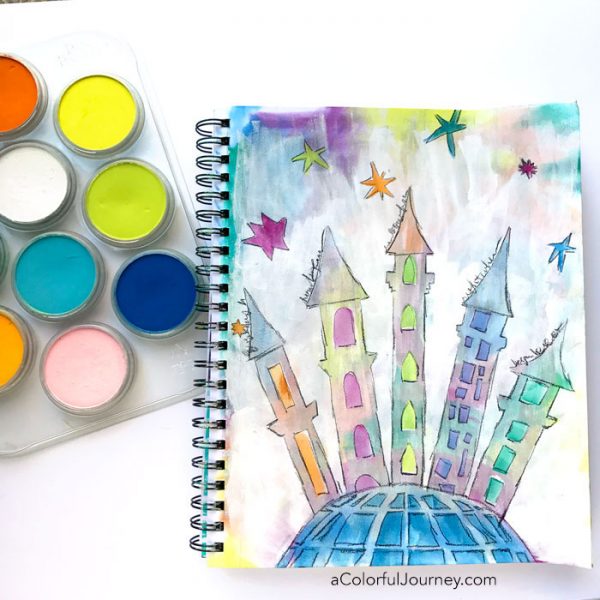
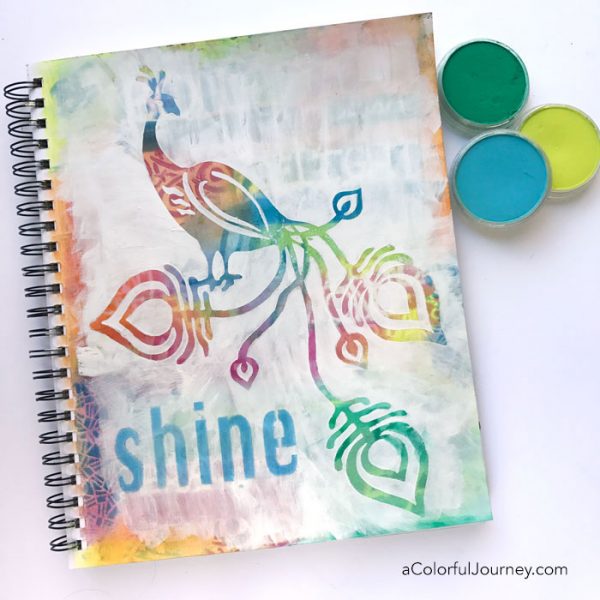
 You’ll seal them in three different practical ways in this workshop, all indoor techniques so no stinky sprays. Each way will fully seal the PanPastels and create a unique look. Knowing these different techniques is incredibly handy when building up layers on an art journal page. A full tray of PanPastels are available for your in class play courtesy of PanPastel plus a huge selection of stencils will be there courtesy of