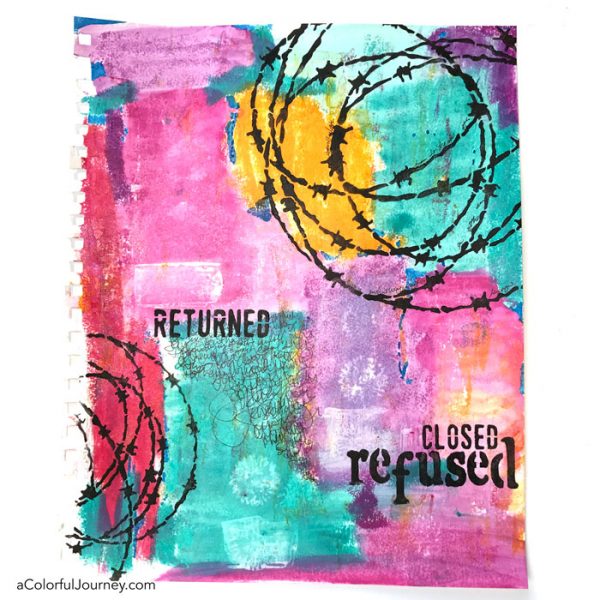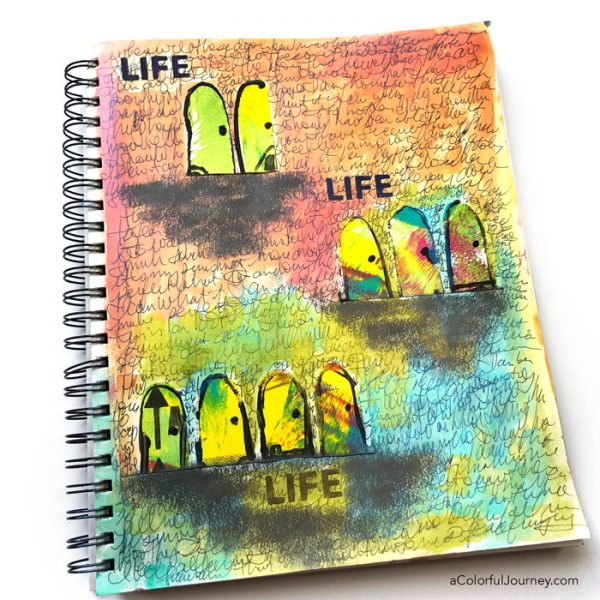
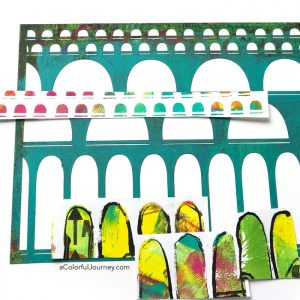
The idea of doorways was stuck in my head the moment I saw these scraps. I became fixated on them the same way a song gets stuck in my head. Little did I know what these treasured leftovers would get me thinking about.
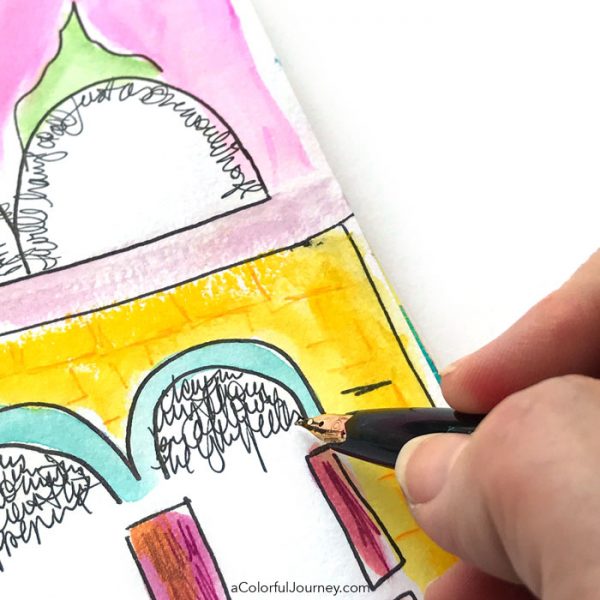
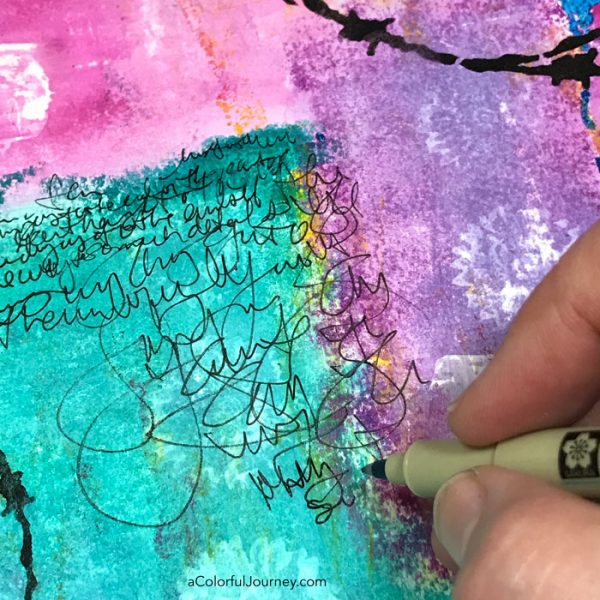
Once the bits, gel printed using my Arched Aqueducts stencil, were glued down on the page, all that open area became just the space needed for some journaling. Lots of journaling it turned out.
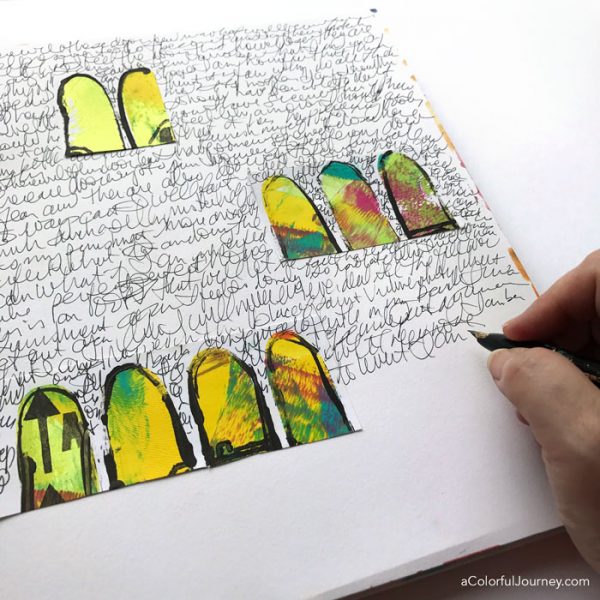
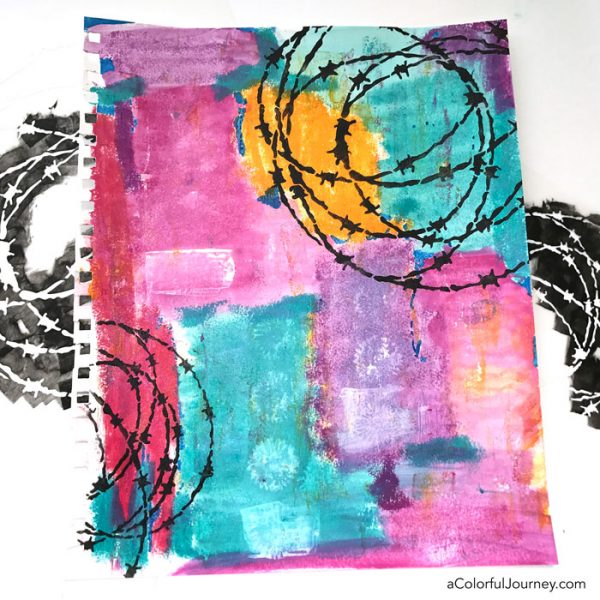
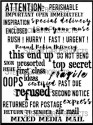
My latest, and so far greatest it feels, O.O.P.S. is a broken ankle. Every mistake is an opportunity, after all O.O.P.S. stands for Outstanding Opportunity Presenting Suddenly. I must confess, I needed the muse to remind me of the opportunities in it today.
As I scribble journaled, I realized how much this whole event has changed me. I am getting a new perspective on patience. I am seeing the world from a very different view. I am learning to be more mindful and being grateful for the little things that mean so much.

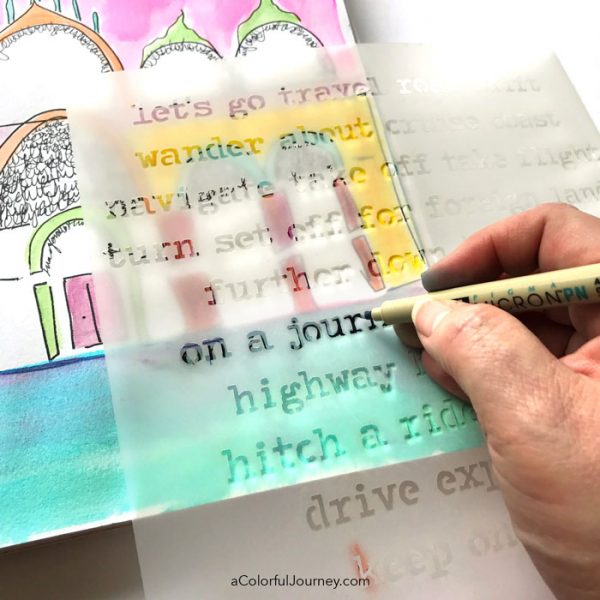
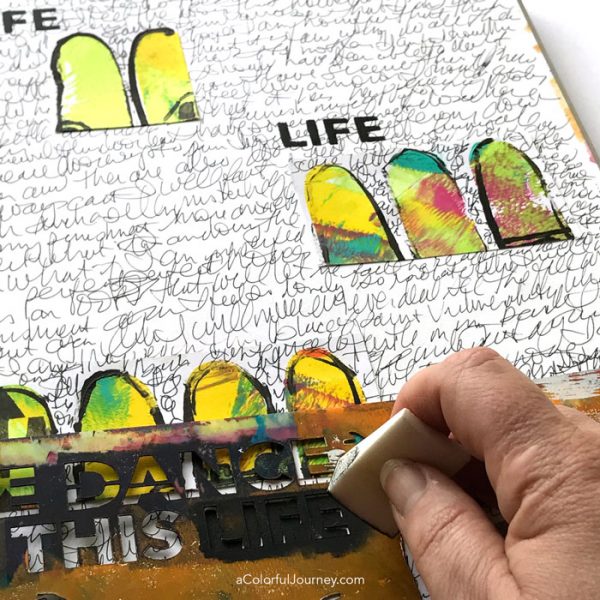
The stenciled word Life, using my Dance of This Life stencil, is there to remind me that my life is a compilation of all the doorways I have walked through…or fallen through.
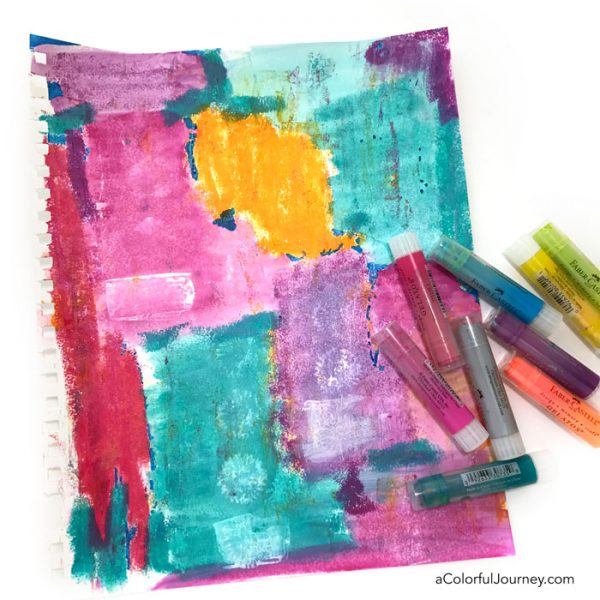
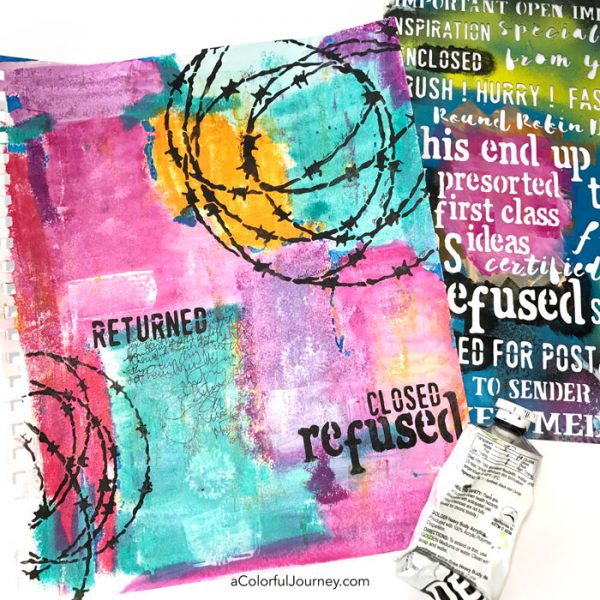
With a shifting mood, it seemed only fitting to use a paint called Color Shift by Plaid to add some much needed color the page.
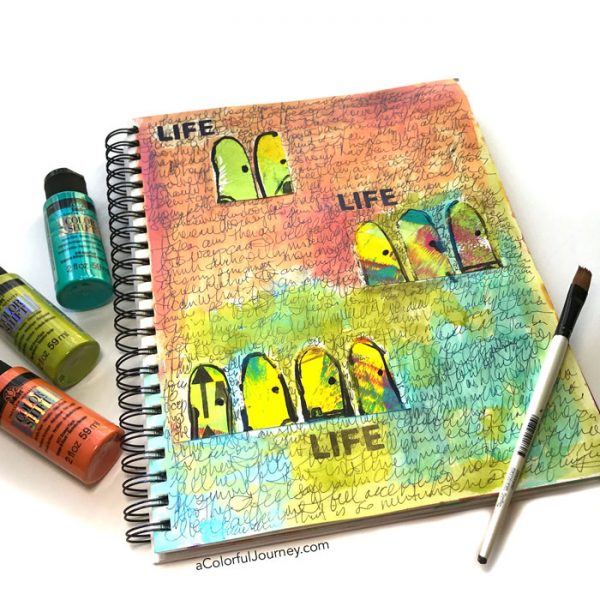
Now that I have gotten the ideas of doorways out of my head, it’s time to look at the pile of scraps again to see where the muse is taking me next.