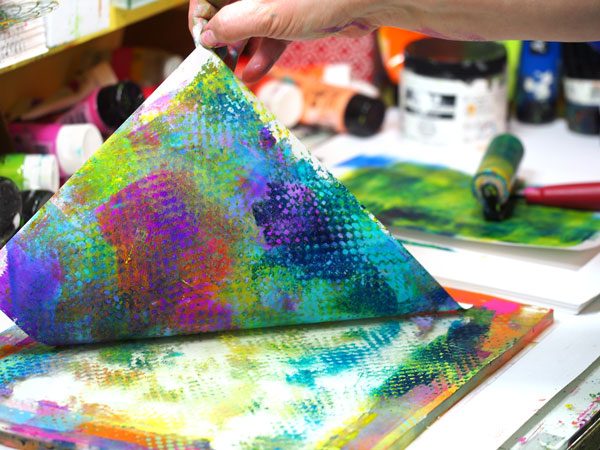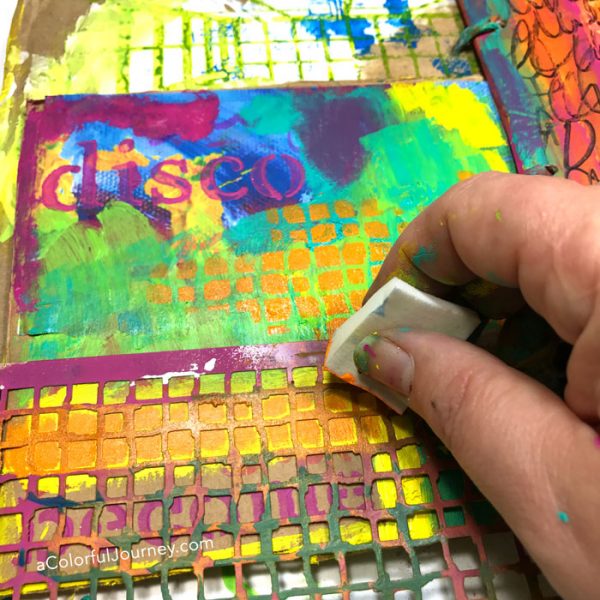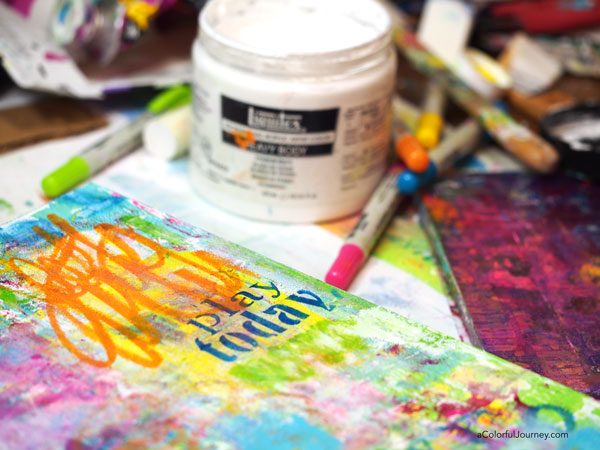
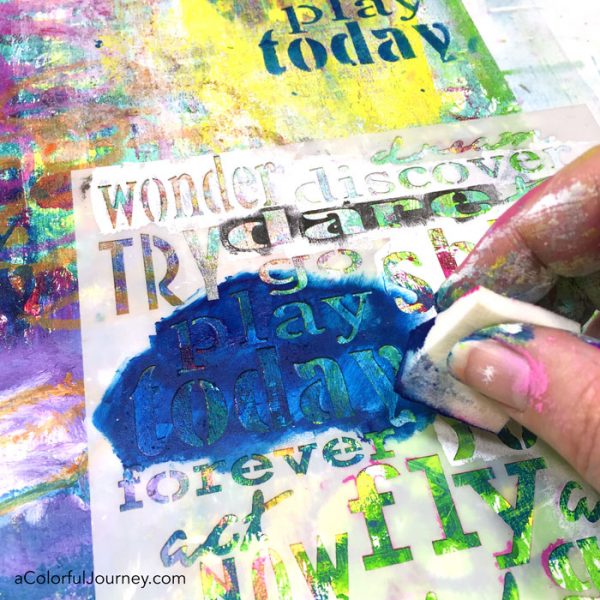
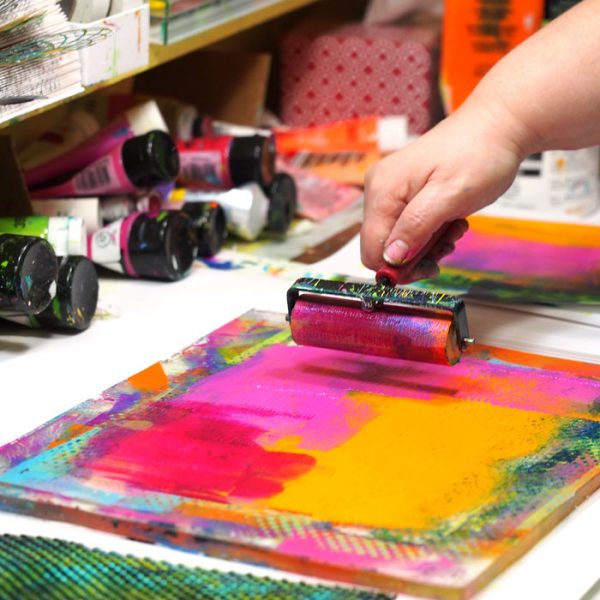
Cleaning and play can go hand in hand. Not house cleaning…but cleaning excess paint off stencils. My fast and favorite way to clean off an inky or painty stencil, especially when gel printing, is by blotting it off on another surface like an art journal or in this case a wood panel.
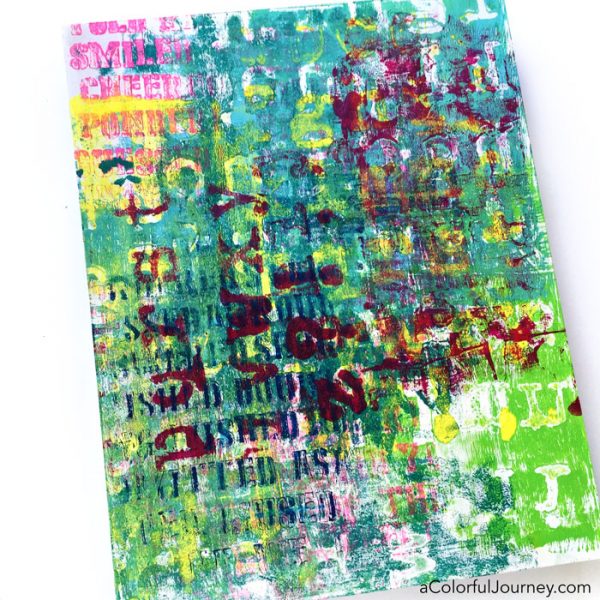
Since this is not the actual piece I was working on as the stencils got painty, I just tossed them on to it willy nilly. Clearly there were no worries of colors being placed strategically since this is a bit of a hot mess. Excess paint was stenciled too since I usually have way too much paint on my palette. Wasting color is a crime to my muse so I use every drop possible.
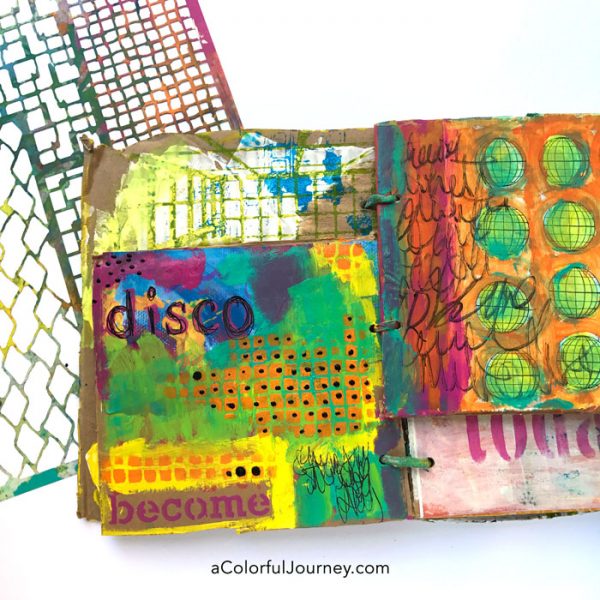
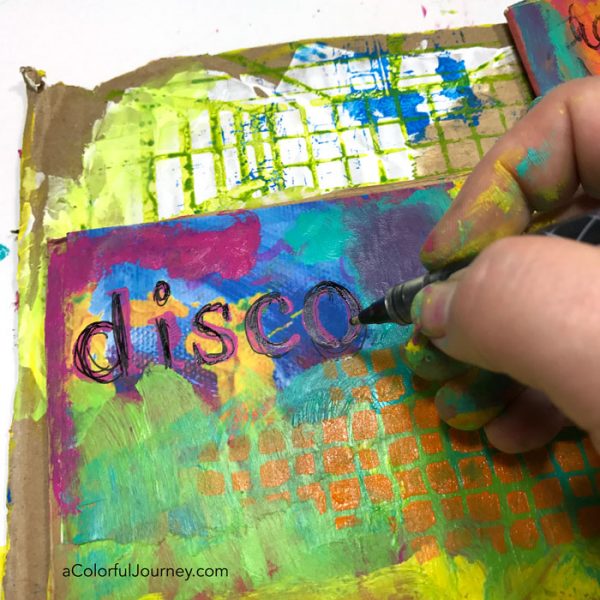
Now that I had a messy place to start, the play began with careful mark making. If you’ve seen much of my play you probably heard a bit of sarcasm in the “careful mark making”. I just scribbled away like a little kid with Distress Crayons.
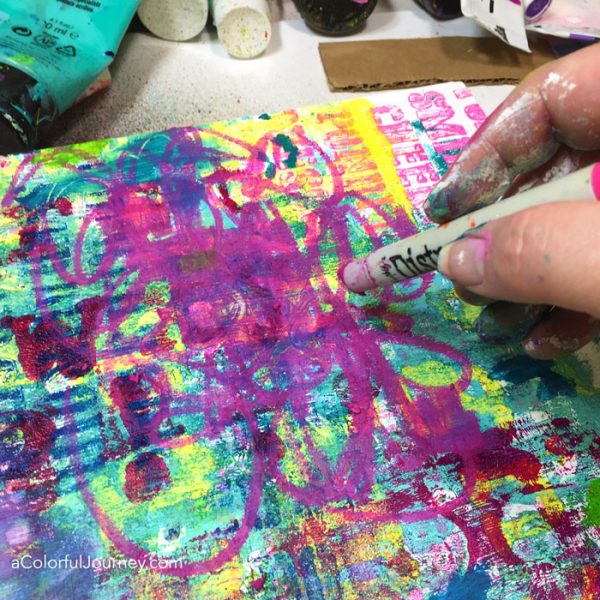
This still looks like a big hot mess. It has no direction and no pressure to be anything but play full of happy moments seeing the layers of colors build up.
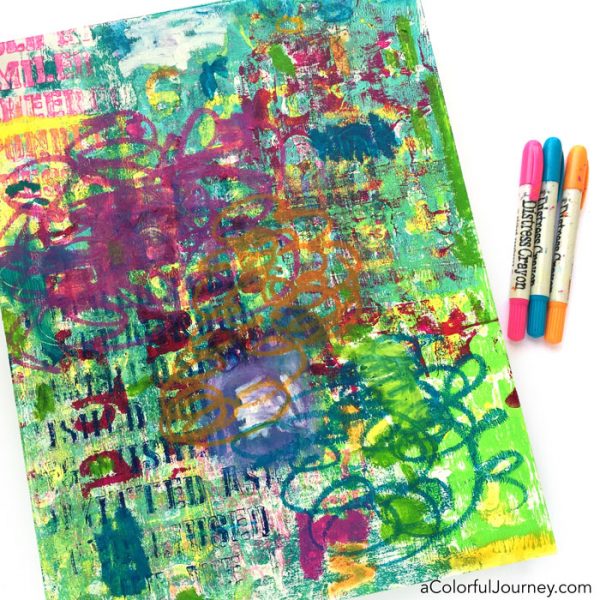
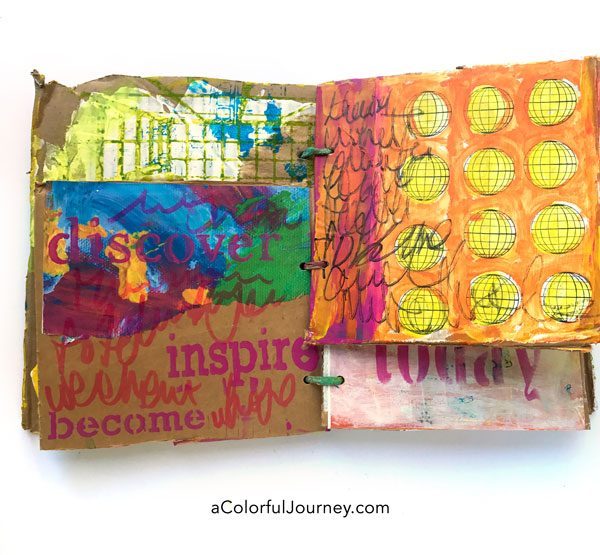
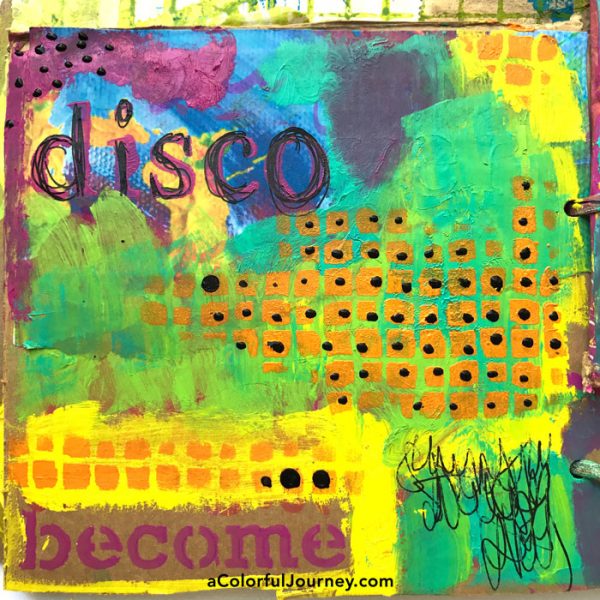
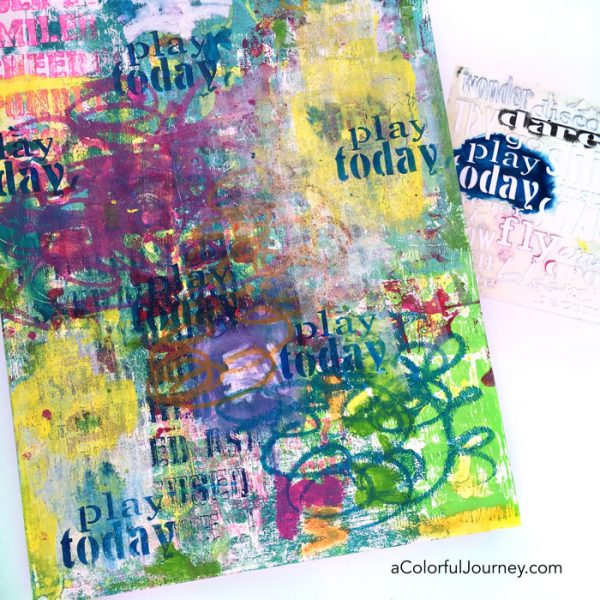
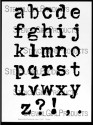
Paint was smeared in areas for no reason other than the fun of smearing paint and that created some open spaces. Those open areas created places to stencil the words that summed up the meaning and reason for this piece. Play Today.
I could have stopped at just one Play Today, but why! If one Play Today was good, then more is better!
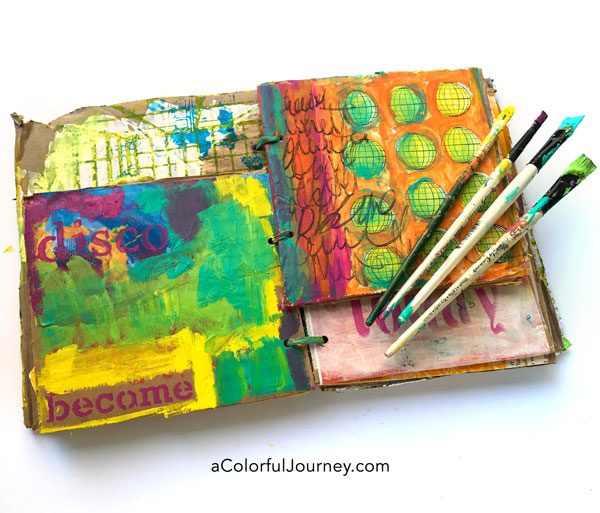
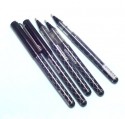
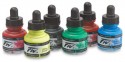
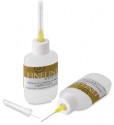
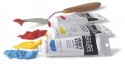
Here are the supplies I used. Some of these links are affiliate links which means I get a small percentage. It doesn’t cost you anything extra and it helps keep the free tutorials coming!
 Imagine an artful weekend of gel printing loaded with techniques and projects all while being pampered…a private room,scrumptious homemade meals and freedom to work at your own pace! Cozing up by the fire laughing and playing, pouring a glass of wine and having a quiet conversation, or enjoy the walking trails and labyrinth. That is Print it! Make it! Love it!
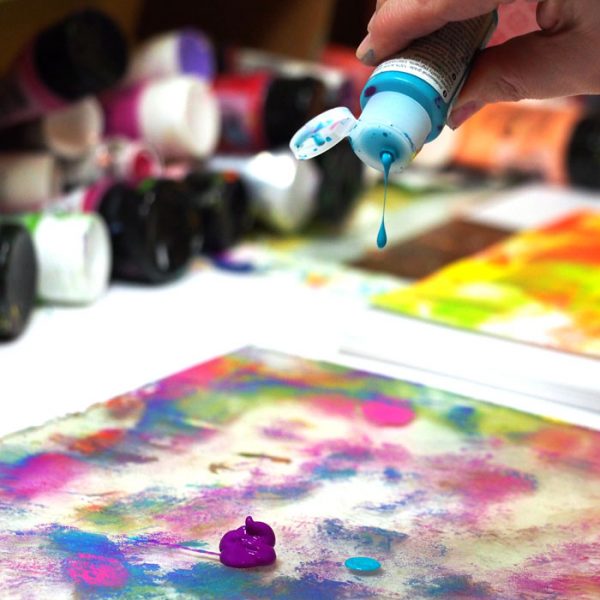 I’m there to help you by sharing techniques I’ve learned through years of printing, by answering your questions as they pop up, and guiding you through the building up of layers. I’m delighted to be co-teaching with the talented Kari McKnight Holbrook, frequently seen in Cloth Paper Scissors.
 Join me and Kari McKnight Holbrook for a weekend of gel printing hosted by the heartful Glenda Miles this November. The all inclusive fee of $545 includes (early bird price and bonus $25 StencilGirl gift certificate) all your meals, light snacks, private room and ensuite bathroom, a goodie bag and so much more! But the early bird price flies away on Saturday, May 27th. You can find all the details and registration info here.