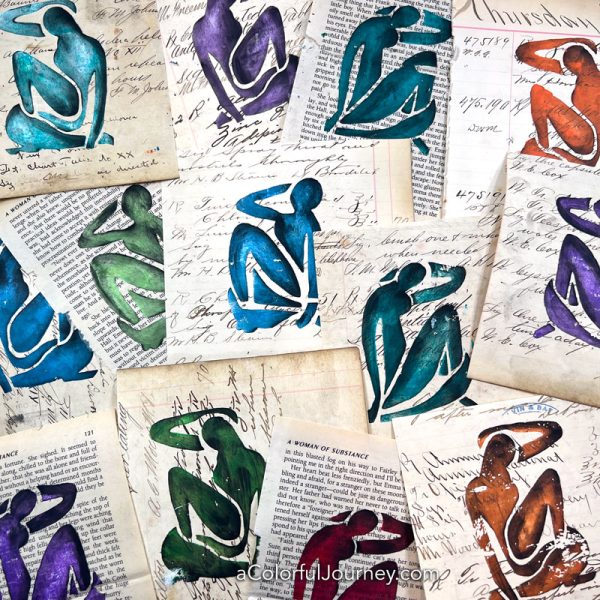
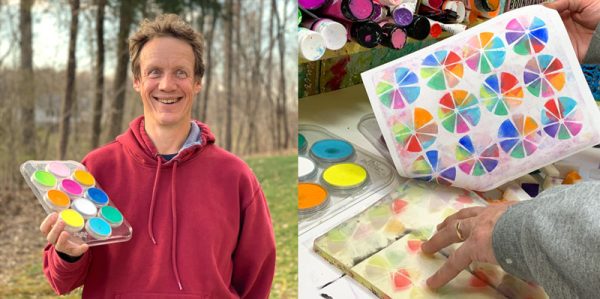
A question I’ve been asked repeatedly over the years is, “What do you do with it?” The it being an art journal or a stack of gel prints or ATCs. This question can be taken two ways. It can be meant in the spirit of what’s the next step in the process or it can mean what’s the point of making it? The latter is the question that I’m answering here.
There is one big reason why I create and under the umbrella of that are all sorts of little reasons. It’s fun. It brings me joy. Color excites me. It’s a stress reliever. It’s a way to process feelings. It’s a way to meditate. It rush that comes with exploring and experimenting. The list could go on and on.
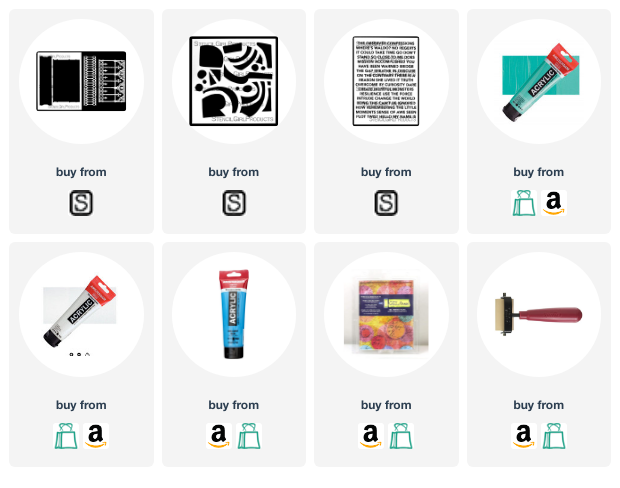
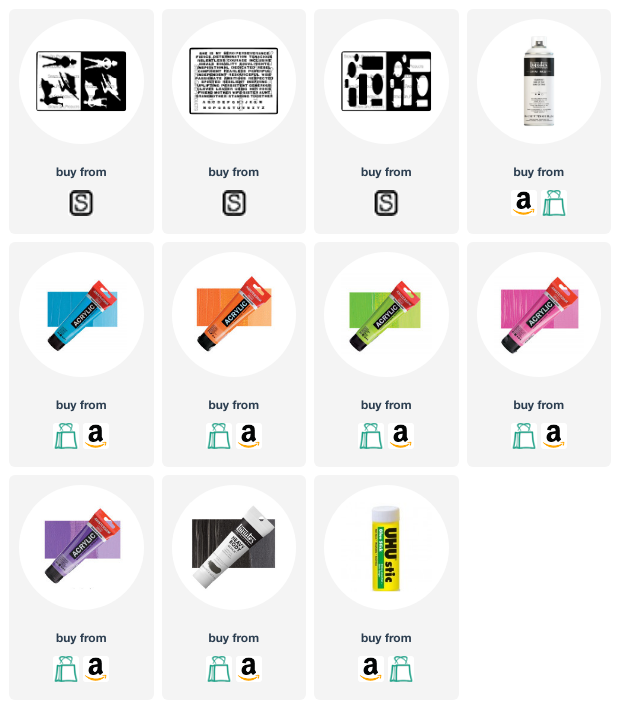
***You can find all the supplies used at the end of this blog post.***
But the big reason why I create is it lets me be the complete me. The bruised parts, strong parts, the playful parts, the childish parts, the serious parts, they’re all welcome when I’m creating. Could it also be called the true me or the authentic me? Absolutely.
Why do you create?
Why an individual creates is personal – there is no right or wrong answer. So what about you, why do you create?
You may know exactly why you do or you may not. There is no correct answer here. If you’re exploring your creativity, to spark some ideas, I’ve got a list below of reasons why someone creates. I didn’t write these, they’re all courtesy of my fabulously wonderful newsletter readers. Yes, I am biased!
- Creating is very calming for me
- It’s been in me since 6 years old when I used to make different clothes for Brenda Starr comics and redo paper dolls. Can’t help it.
- It makes my heart happy, and feeds my soul!
- It’s relaxing and I love scrapbooking
- Pure enjoyment
- IT IS THE GREAT ESCAPE FROM THIS CRAZY WORLD.
- It gives me a satisfying feeling when I create.
- To feel creative
- It feeds my soul, brings me joy, calms me and turns off my brain (sometimes even relieves my chronic headaches when they spike – for real!)
- Color makes me happy
- Because I have an artistic head
- My biggest reason for creating is that making art for myself is soothing, exciting, and because I can do it. My husband did not want to support me while I worked on my art. So I dreamed of the day I would retire and be an artist. It’s sad that my husband has passed, but am thrilled I am able to create art as my love while I am now retired.
- To have a mind-body connection
- Because I am a creator in every aspect of my life (music, electronics, woodworking, dancing, writing)
Because art was on my bucket list and now I am like a kid in a candy store – I just can’t get enough, I love every single bit of it.
Because art makes me a happier person and completes me like nothing else has (even though many other things are enjoyable – art fills me with joy just like nature does)
Because when I am doing art, no matter what aspect I reach a peace and harmony I don’t reach anywhere else
Because I lose myself and am truly “”present”” I don’t even quite achieve that in meditation – close, but not like I do when I am doing art. Only other place I do that is in the country and reading a good book.
Because it excites me – each day is a new thing – a new achievement. It is exciting to see what I can do and every new day is a day I can achieve something new
This is just off the top of my head but I bet if I thought about it over a day I would have pages filled 🙂 - I don’t really know, it’s just a compulsion to keep learning new things. Sometimes it’s frustrating and very unfulfilling, but other times it’s such a rush to create something delightful or interesting.
- The biggest reason is because it is a part of me–like my arm is part of my body.
- Mostly because of the joy and excitement of making things to give and to sell.
- It makes me happy!!!
- I enjoy it !
- Art is my spiritual practice
- Can’t live without it
- Fun relaxing way I set aside a little time for myself.
- To clear my mind when I have too many ideas in my head.
- Emotional release; it fills my heart with joy
- I think I am trying to harness my imagination into something tangible
- It fulfills my need to “play with color.”
- I paint to control my chronic pain (osteoarthritis and fibromyalgia) and to reduce my stress as I care for my husband who has Alzheimer’s.
- The urge is sometimes overwhelming & I might explode if it isn’t released
- I like to make stuff and in the making, I solve problems, think more deeply about other areas of my life, and I am able to consider more points of view while immersed in paint or glue or whatever medium I am working with. I like to make cards and gifts and specialized journals for friends and family. And it’s just fun to paint and spray and smoosh and scribble and wash and overpaint and add this and add some of that and see what happens.
- “It makes me feel good. I love to look at the work in different stages and I usually enjoy the process. Sometimes I may do something I don’t like but with mixed media process I’ve found that I can always cover up and try something else. It centers my mind on the creative process and helps keep me from dwelling on my problems and I end up with a piece of art I can look at over and over in my journals or individual works. Also I love love love learning (and the buying of new materials) many techniques and can spending hours watching videos and reading technique books then practicing those techniques.
- It takes me away from the everyday stresses and problem of life and it makes me feel good.
- I feel it. I feel like I need it. It makes me feel good! I can forget my real life stresses when I am creating. I don’t have to do it “right” or be good at it. It’s fun. I feel accomplished when I create something no matter what it is. I love to use up old supplies I’ve been collecting. It feels good to finally use things. Again, it all FEELS good.
- For the same reason that I breathe: because I must, or die
- It brings me joy
- To stay sane.
- I’m compelled to!
- I create to “Celebrate”, to “process” (stuff that’s going on), “Just because”, and ….. mainly because I love it.
- To keep me sane in this fractured world.
- Love the process and sense of accomplishment
- It is fun. It is freeing. It satisfies my curiosity, I love to play what if. What If I try this color with that? What If I use this supply in a different way? I love the process. Product is not necessarily my end goal.
- To honor and give thanks for the creative spirit within me; to share the beauty I see.
- I deal with a LOT of stress everyday-creating always relieves some of the stress-when I let myself create!
- I have an almost physical ache to make something, anything
- Creating makes me feel original and full of creative talent and most important, it makes me feel joyful!
- I just feel compelled to create. Always have.
- It gives me a chance to totally concentrate on something else (the creation I’m working on) and set aside my cares and worries for the time being, and sometimes I actually create something I like that makes me say to myself “I can’t believe I did that–it turned out great” (maybe not the way I envisioned it but even better)! Creating is learning to play again!
- I have to. I’m driven too. Yet I’m not creative enough to call myself an artist—I have no original thought. I take classes all the time. I need to have my hand held. But nevertheless I’m still driven too. I think it also helps my mental health, it’s like therapy.
- A lot of torments in me… and I feel much better when they become piece of création.
- “Because I admire all kinds of art I want to be involved in making it too. There is a zone where your mind and heart and soul goes when you are creating and it is pure peace.
- To center myself
- Because the day doesn’t seem right unless I create SOMETHING….even if its only a doodle!
This list could go on and on because so many kind newsletter readers shared their reason for creating, but I think you’ve got a enough here to get you started.
What’s your reason for creating?
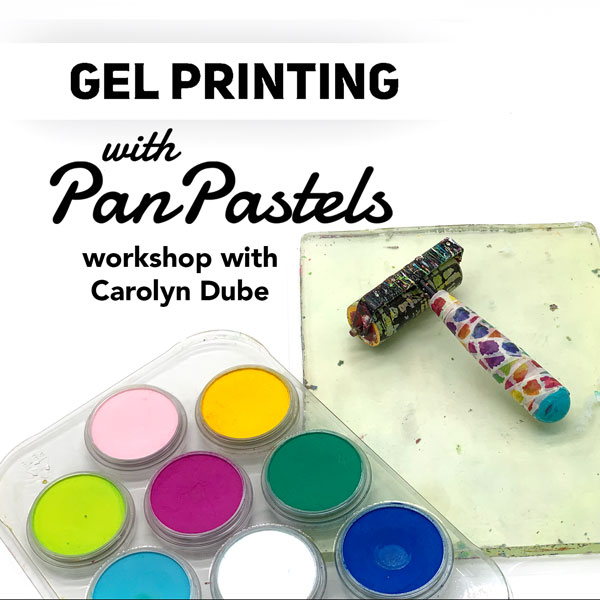
Here are the supplies used. Some of these links may be affiliate links which means I may get a small percentage and it doesn’t cost you anything extra! And you get a really good feeling knowing that you are helping keep the free tutorials coming!