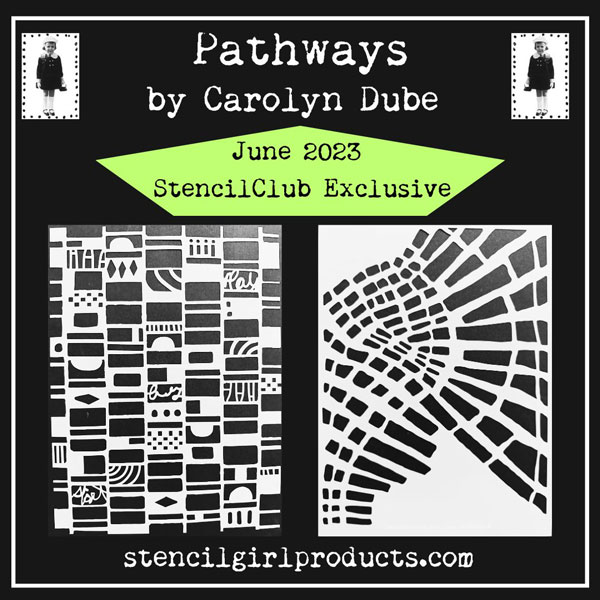
The Pathways collection for this month’s StencilClub set was inspired by various sidewalks, walkways, and promenades that hold a special meaning for me. Even though many feet walk over the same ground, our journeys are unique. We each have our own path.
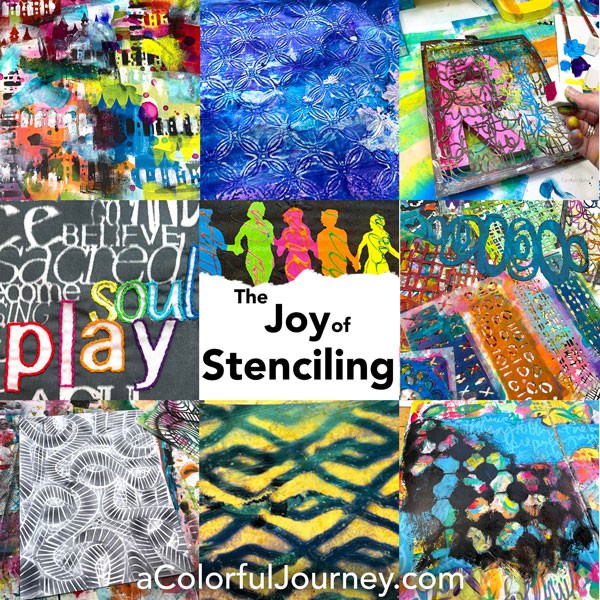
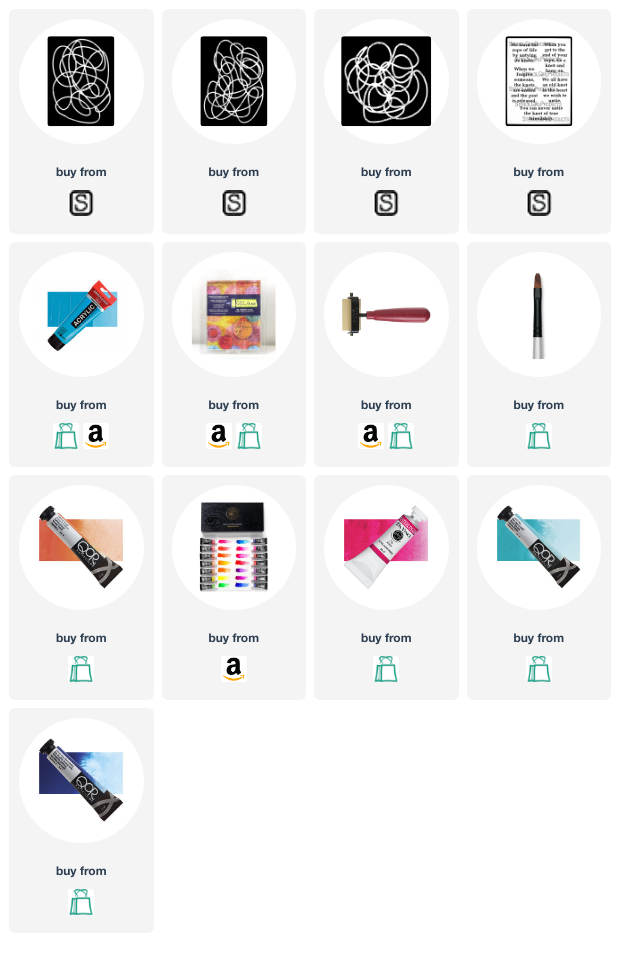
I’m honored to be the June 2023 StencilClub designer for StencilGirl Products. What is StencilClub? It’s 2 exclusive, club only 9 x12 stencils that ship on the 15th of each month. Along with the stencils, you also get a members only video by the designing artist. That’s me this month and there’s a sneak peek of my project at the end of this post. It’s just $25, shipping included! You can find all the details here. Then, on top of that, you get 20% off any other stencils you order in the public collection.

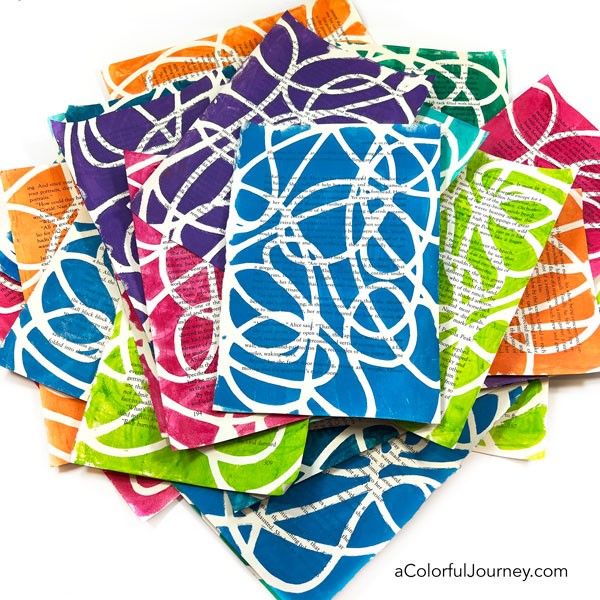
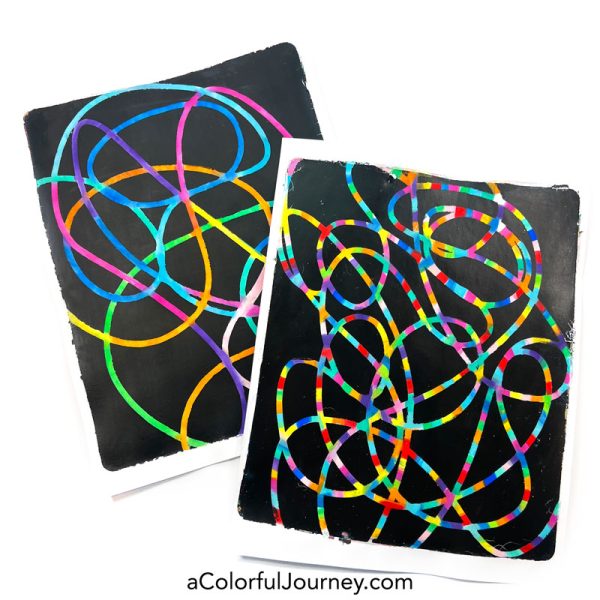
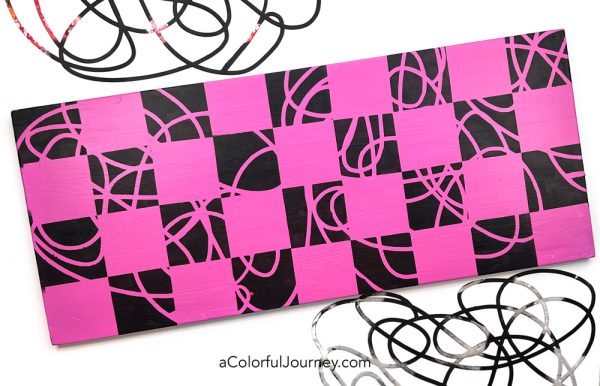
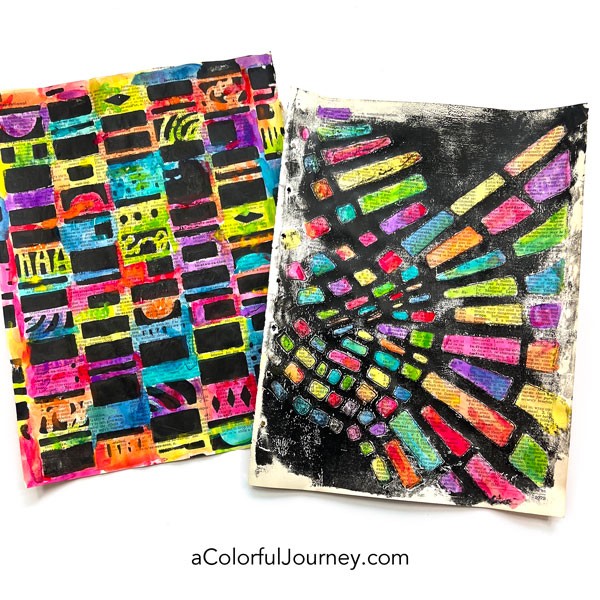
The stencil on the left incorporates bits of the mosaic walkways of Corinth, the oversized stepping stones of Pompeii and the shifted cobblestones along the promenade in Ephesus.
The stencil on the right had a more playful source of inspiration, watching kids use big buckets of sidewalk chalk to turn plain cement into works of art!

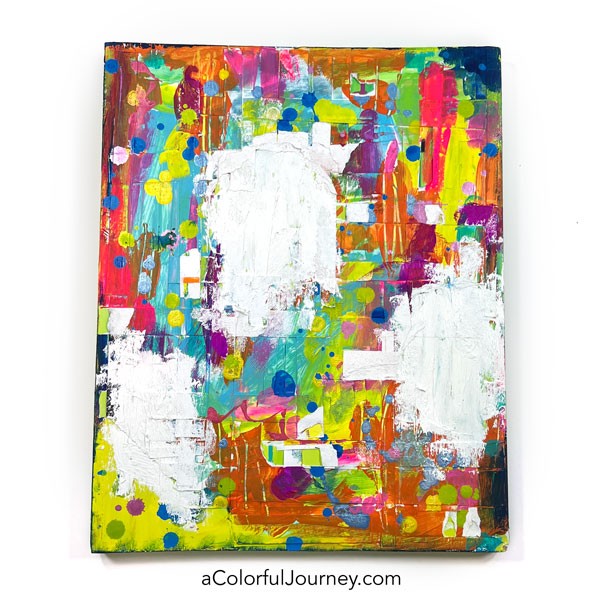
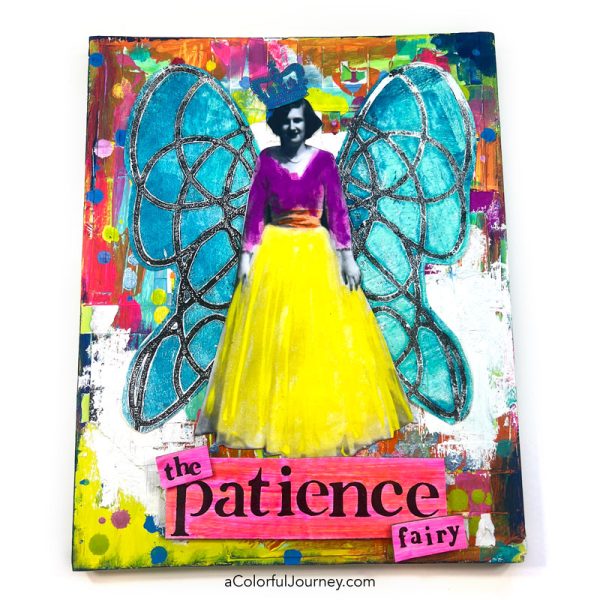
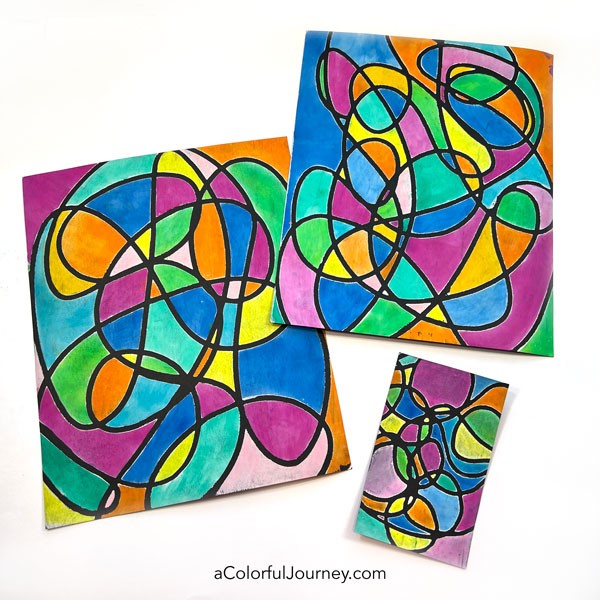
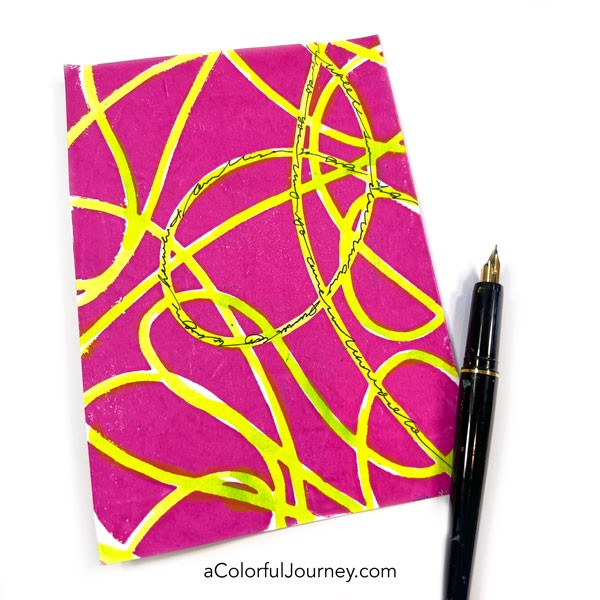
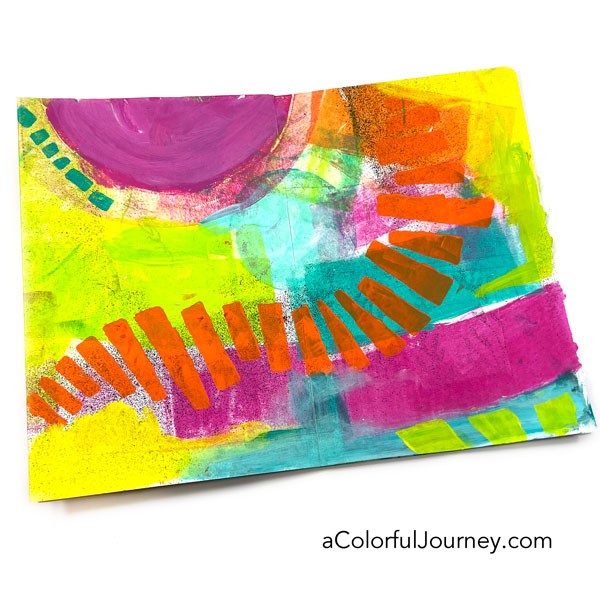
A great thing about stencils, you have the flexibility to use the entire stencil or pick and choose parts to use. Below, I’ve made an abstract art journal page using the other stencil in the Pathways collection.
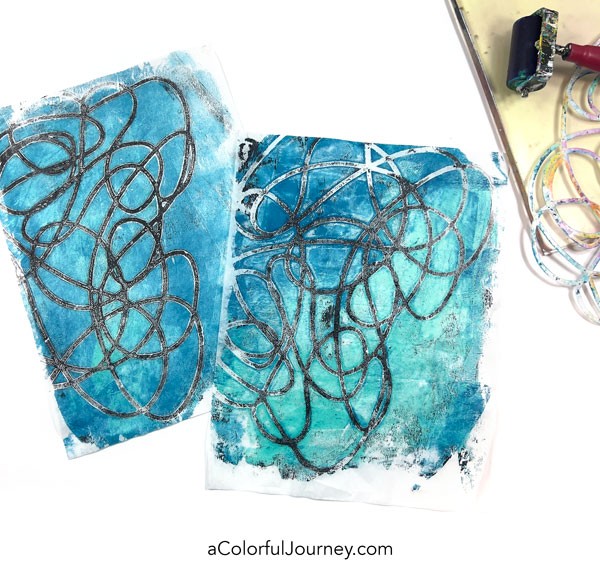
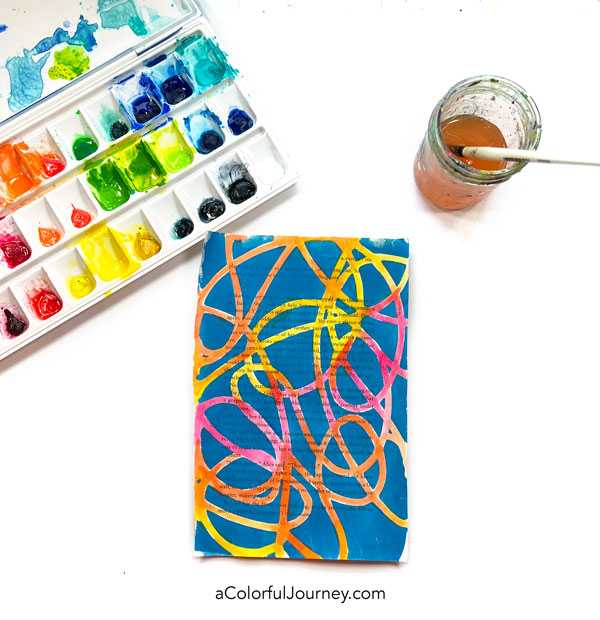
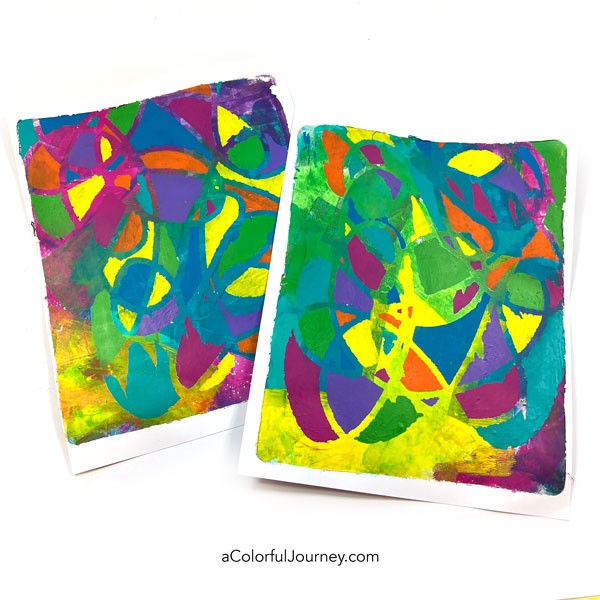
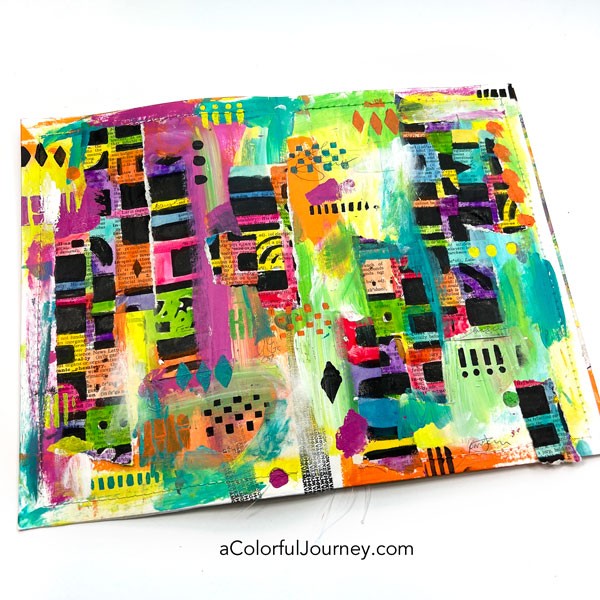
Here’s a look at what we’ll be creating in my members only video inside StencilClub. We’ll be gel printing some book text and then turning it into a colorful art journal page.
Naturally, the techniques I’m sharing can be used with any of your stencils.
The StencilClub Pathways collection ships on June 15, 2023 and I can’t wait to see how you use them! If you’re already a member, you’re all set! Not a member yet? You can find all the details here.