The plan for this canvas went horribly wrong. The idea in my head did not translate one bit the way I intended on the canvas. That is a polite way of saying “Yuck, it was rear end ugly!” But it was just an O.O.P.S., an Outstanding Opportunity Presenting Suddenly, that started the journey of this canvas.
After saying O.O.P.S., I ripped off as much of the glued on elements as possible and grabbed more paint. There is freedom in ugly, because there wasn’t any way that I could make it any worse.
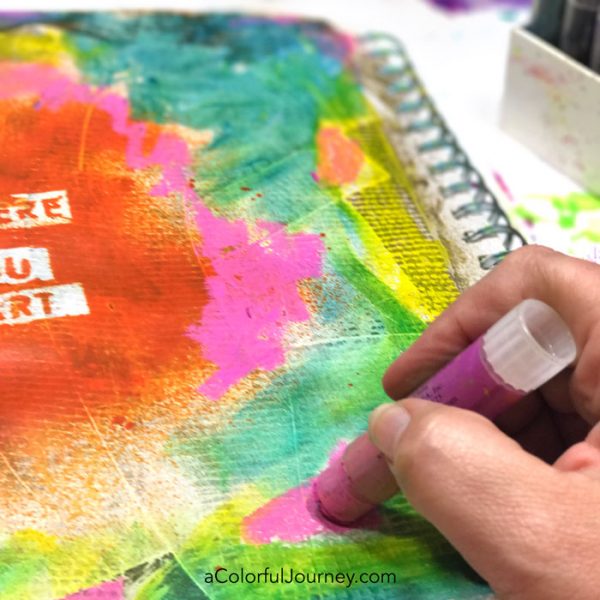
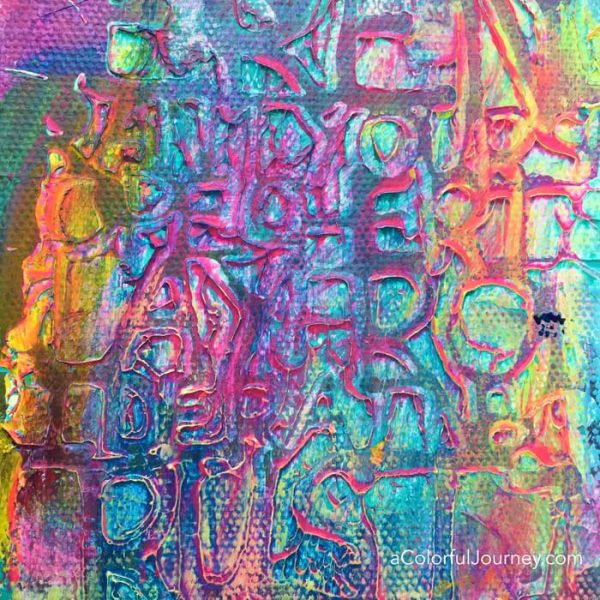
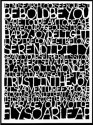
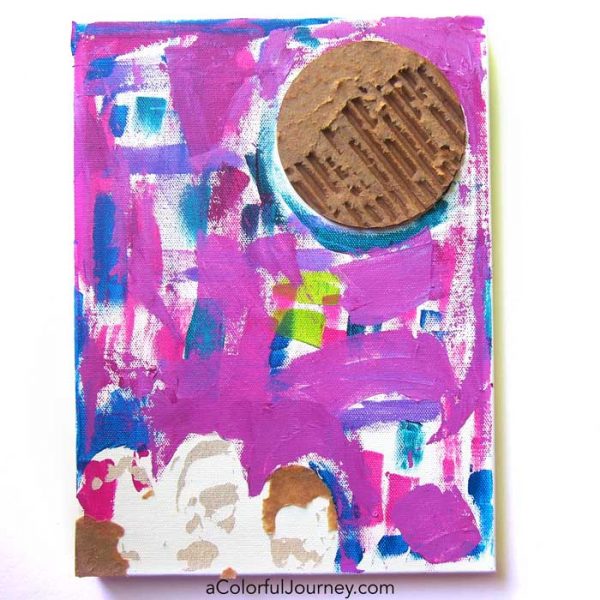 The texture of the ripped off elements inspired me to add more texture with modeling paste and my Words to Live By stencil. If you’re new to modeling paste and want to know more of what it can do, take a look at the Modeling Paste Play mini workshops.
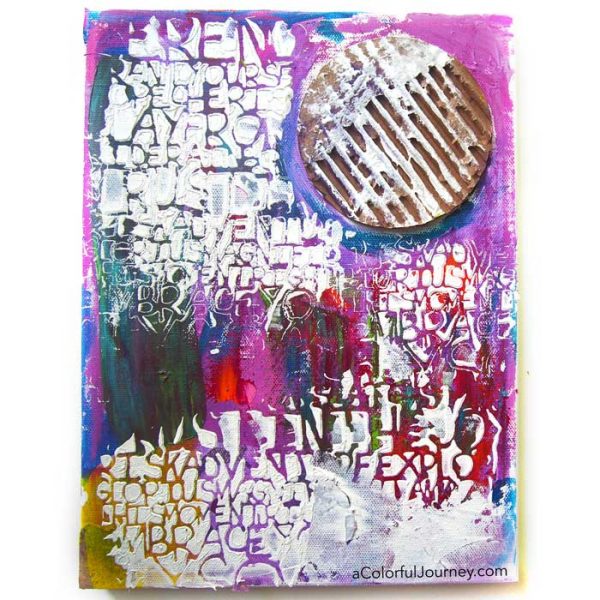
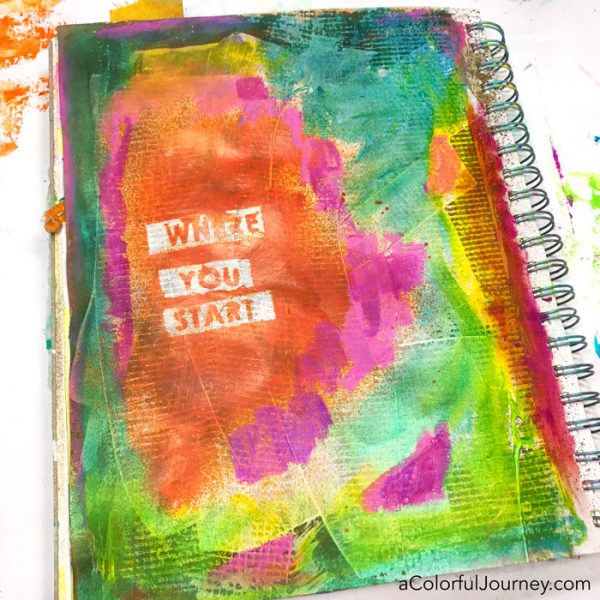
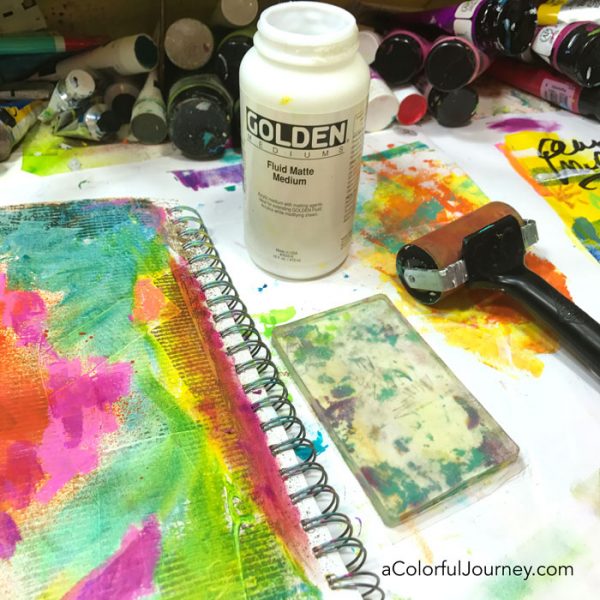
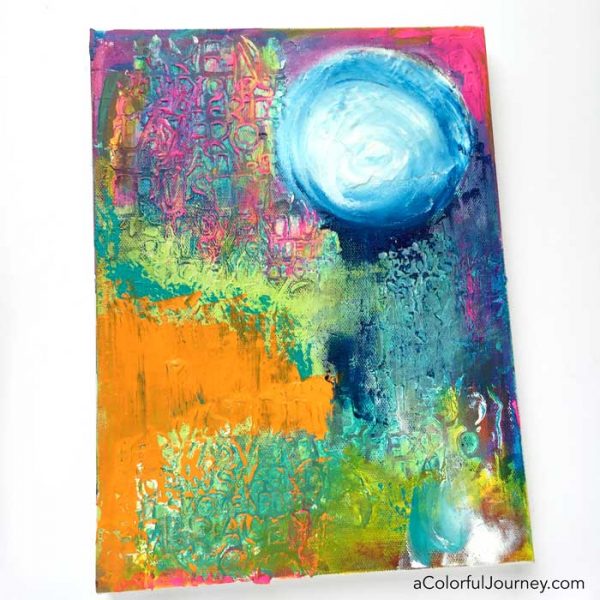
Once the modeling paste was dry, the rainbow play began.
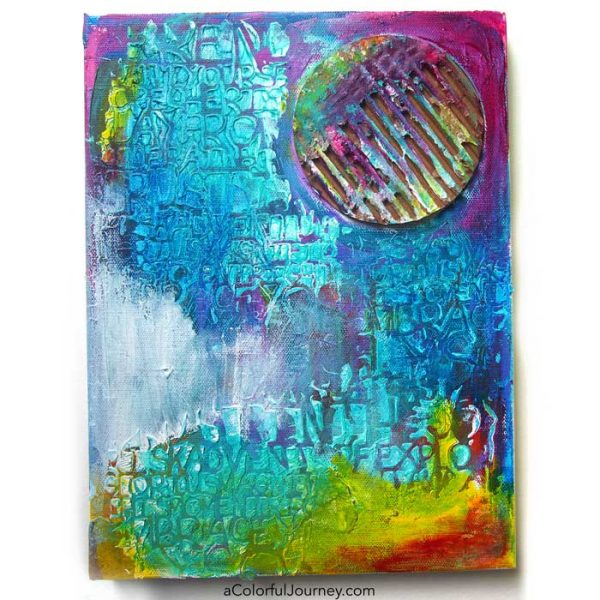
That thing that I detested so in the beginning, became a playground for layering color. That cardboard was pure rainbow joy to me, but it was about to be sacrificed when the muse pointed me in new direction.
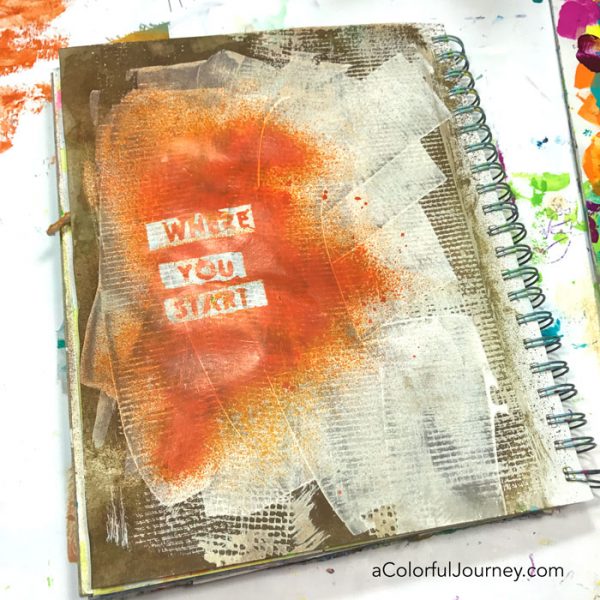
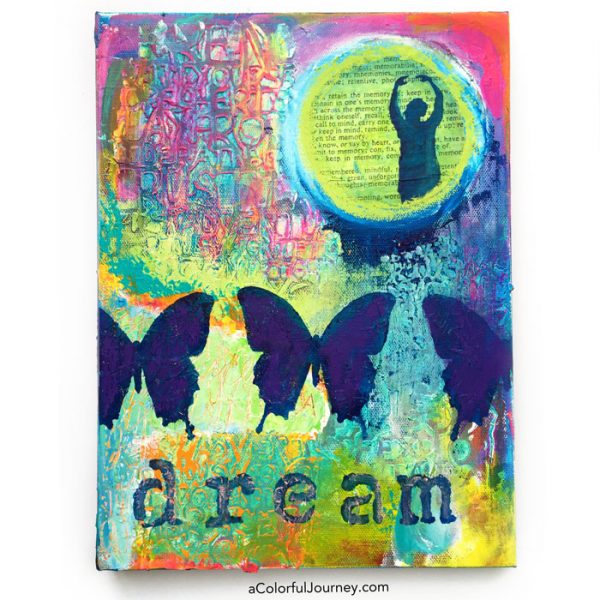
As more color was added to the canvas, the muse kept saying make the colorful cardboard circle a glowing white moon. How on earth was I going to cover up that magical rainbow on the cardboard. I couldn’t! I wouldn’t!
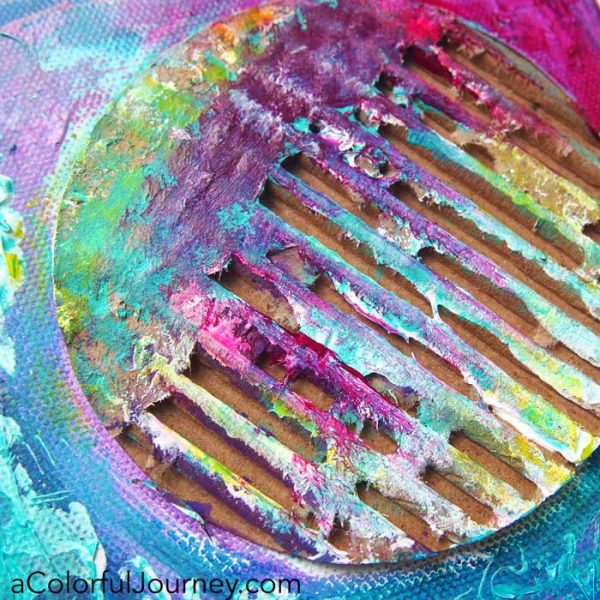
As I fussed at the muse about this, she gave me a head slap and the idea to just remove the cardboard. I used a knife and carefully ripped it off the canvas as if I was removing a piece of the Sistine Chapel.
She was right, I had to admit. The circle was much better without the cardboard because it let the rainbow texture next to it stand out more.
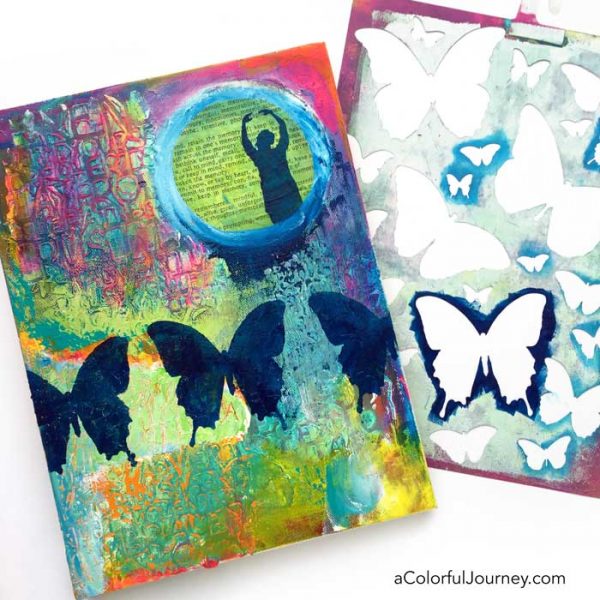
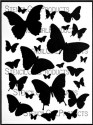
The direction the muse pointed me in was a crazy silly dream that I had about the man in the moon dancing and conducting a symphony of butterflies fluttering about the world.
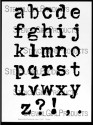
The title, courtesy of my Vintage Typewriter Alphabet stencil from StencilGirl, became the final element.
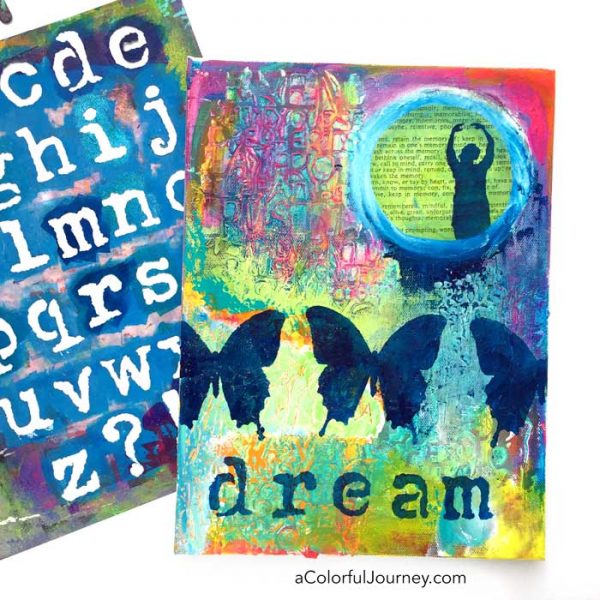
This went from so-ugly-I-didn’t-even-take-a-picture to something I adore all because of an O.O.P.S.
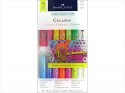
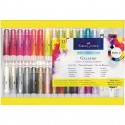
Here are the supplies I used. Some of these links are affiliate links which means I get a small percentage. It doesn’t cost you anything extra and it helps keep the free tutorials coming!
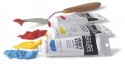
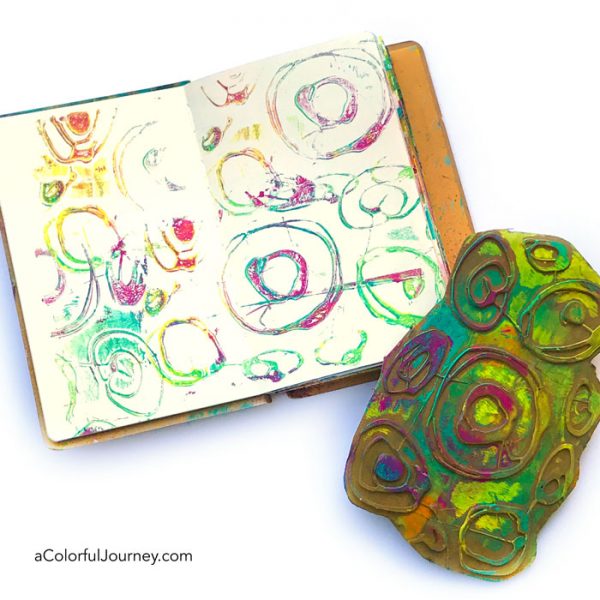
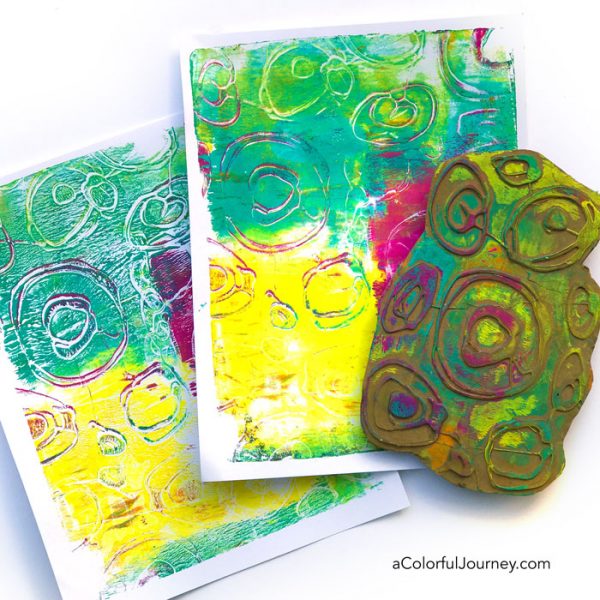 Making patterns for printing with hot glue and cardboard is a time honored way to play. But how do you get the hot glue uniformly smooth for the best printing? What’s the no fumble way to use them when printing? How can you stamp a good impression in an art journal using regular acrylic paint (and this used to frustrate me so much until I found a solution)?