≡ Menu

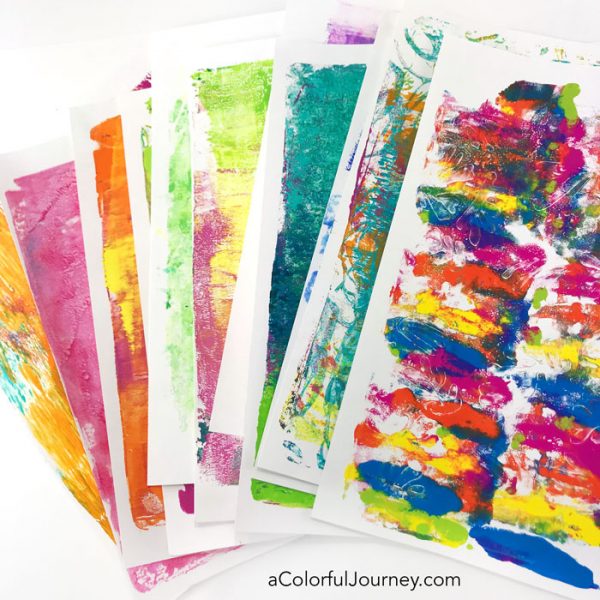
What happens when a group of women spend the weekend playing at the Print it. Make it. Love it! retreat?  Joy!  Laughter! And a whole lot of prints!

Before I tell you all about this weekend, let me just say a huge THANK YOU to every woman who took a weekend out of their busy lives to play! I am honored that you came!

This event was organized by Glenda Miles, Kari McKnight Holbrook, and myself and you bet we’re doing it again in September 2018.  Want to know when registration opens up for the next one? Get signed up for my newsletter to know as soon as early bird registration opens!

All this play couldn’t have happened without the support of amazing sponsors!    Gel Press made it possible for everyone to use not one plate…but two!  And what doors that opened up creatively!

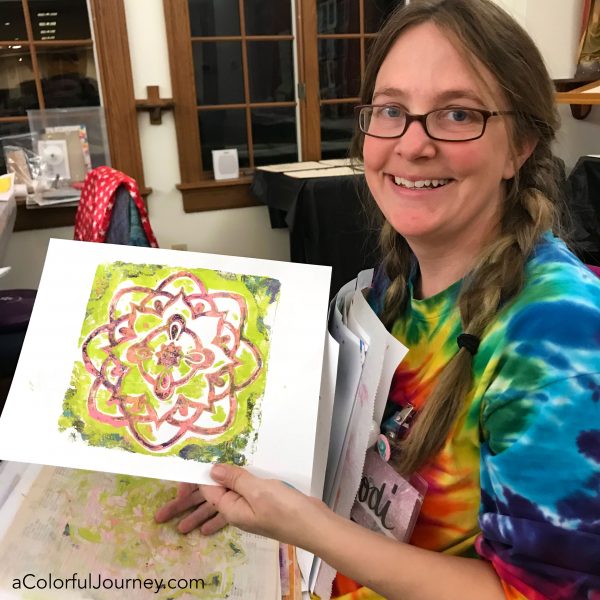
There were all sorts of Gel Press plates to play with too, like the Impressables that Jodi used for this print.

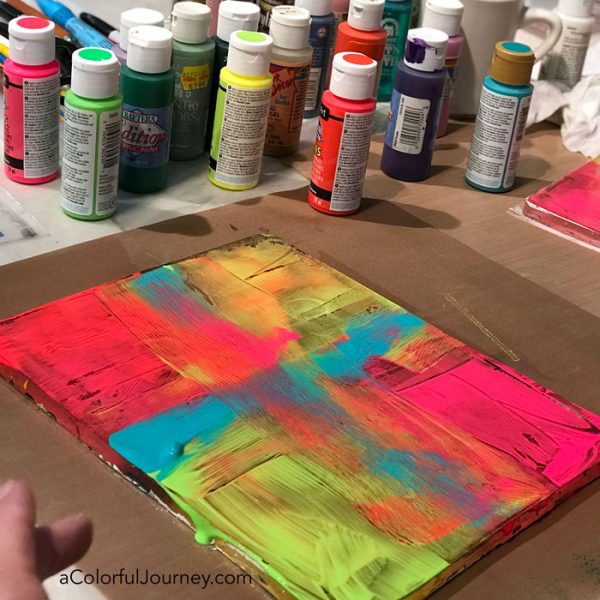
DecoArt made it possible for everyone to experiment with colors inside and outside of their comfort zones.

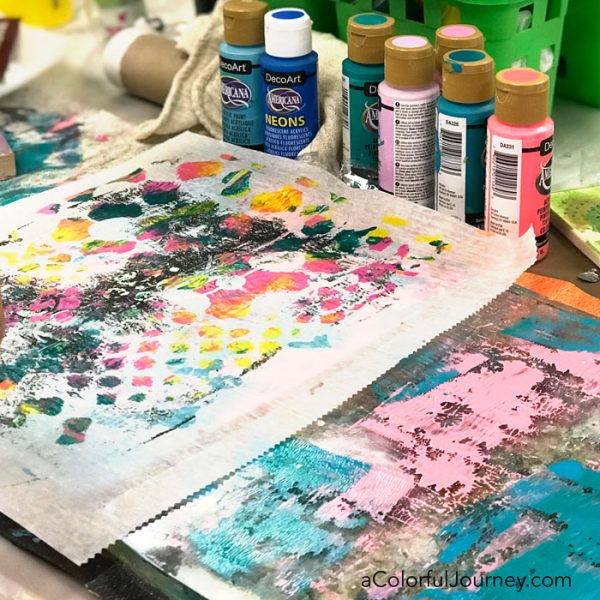
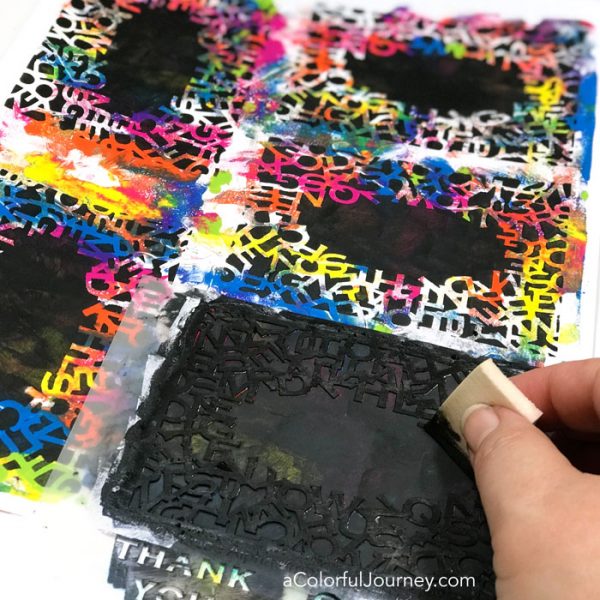
StencilGirl had a plethora of designs for pattern making and printing play for everyone to use.

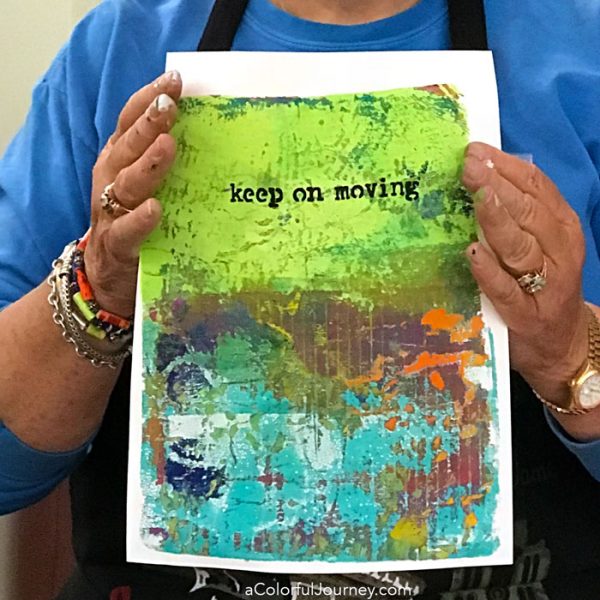
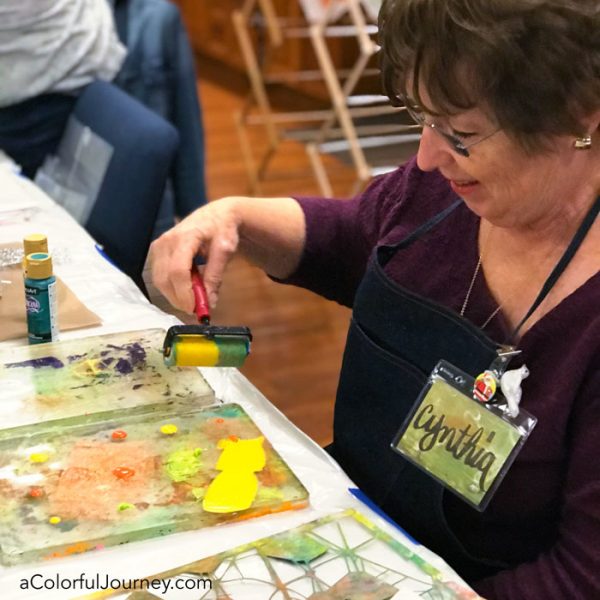
Cindy dove into the color and embraced the play making prints.

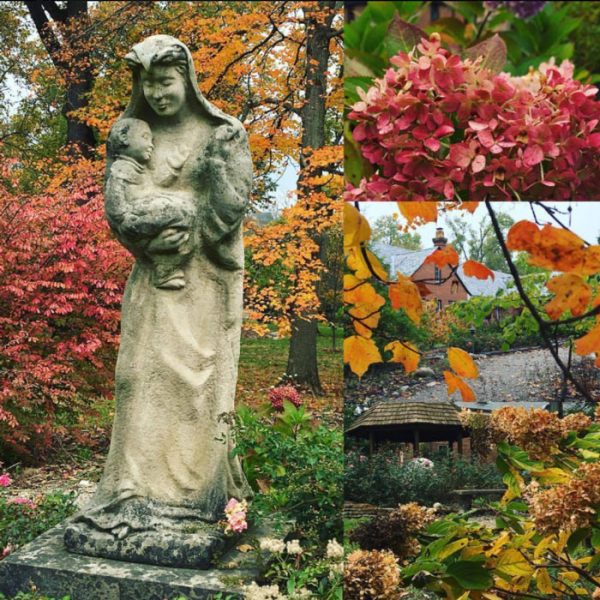
Where did all this fun happen? At the Transfiguration Spirituality Center, an amazing retreat center that is filled with such kindness and peacefulness…well it was peaceful until the laughter during the White Elephant event Saturday night that is!

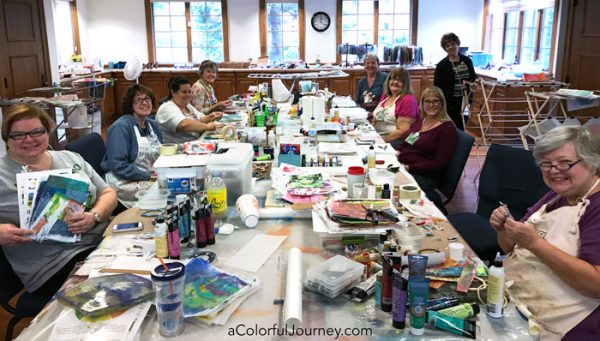
We had the entire building to ourselves, so that meant we could leave our stuff out all day and night and even print in pajamas!  These incredible ladies took advantage of being able to print 24/7.

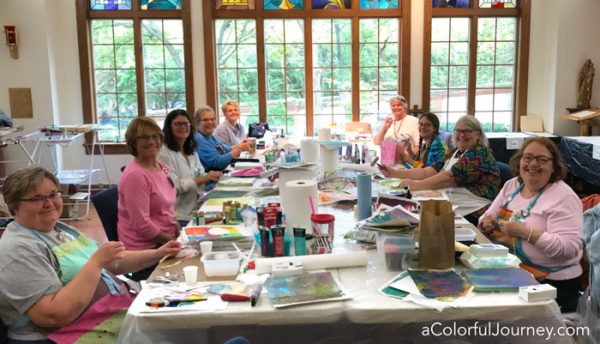
The naturally early risers headed out to print before breakfast and the night owls were printing until after midnight!  I was grateful for these group photos because I didn’t take nearly enough photos of all their play.  Forgive me ladies!

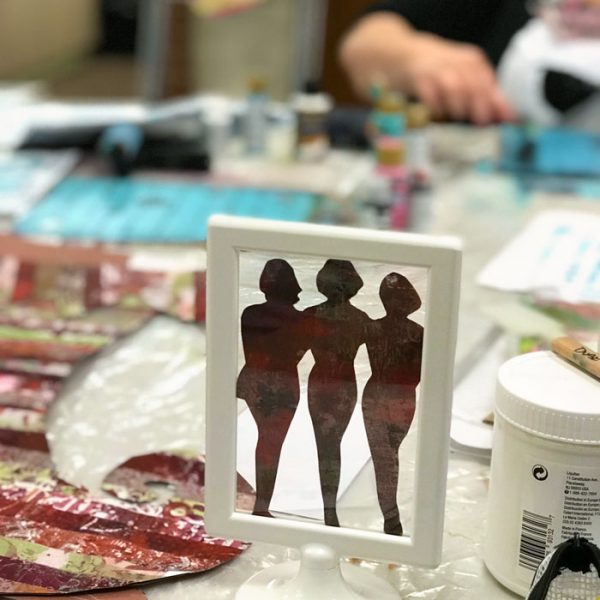
Getting to know these amazing women from all walks of life was the treat of treats for me.  Seeing this frame that Mary Ellen put together says it all- our tribe.

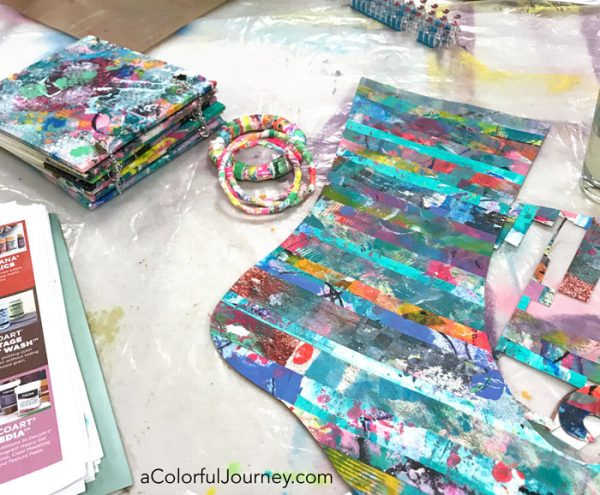
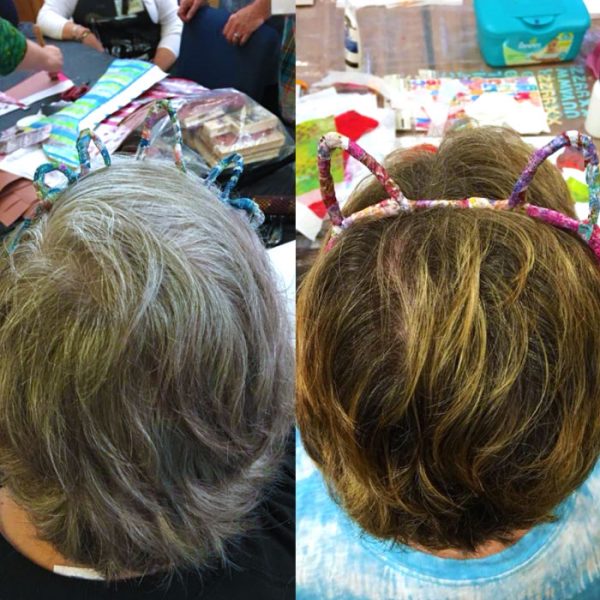
There was creative freedom…the techniques were shared but each person could take it where they wanted!  For example, I shared how to make bracelets and from there some created a tiara, cat’s ears, and a necklace too! (That’s Joanne and Kathy sporting their head gear.)

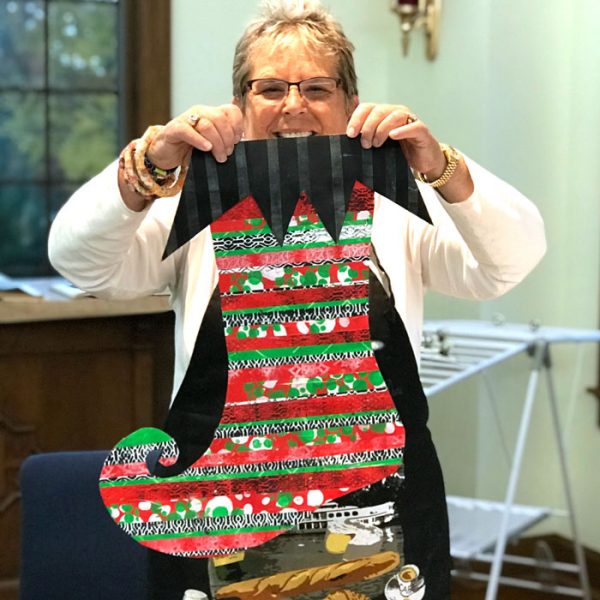
Pat’s all smiles with her holiday stocking ready to go!

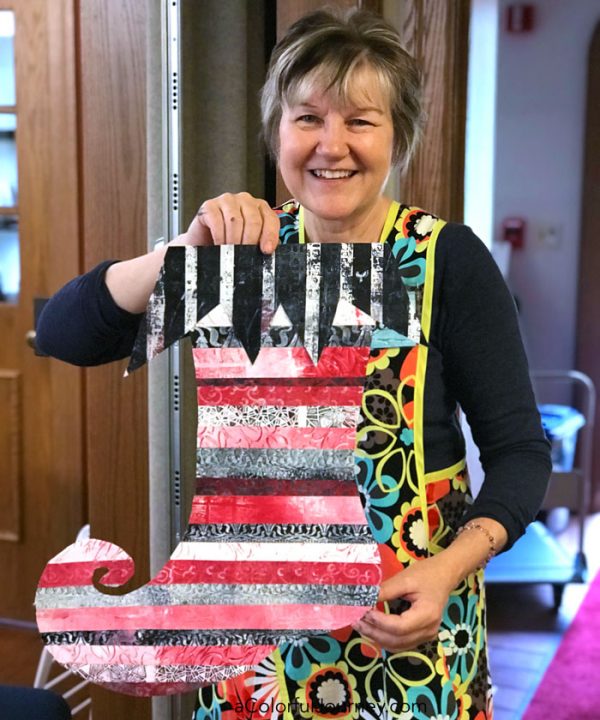
Julie was just one of the many women I have known online that I had the honor of meeting in person this weekend.

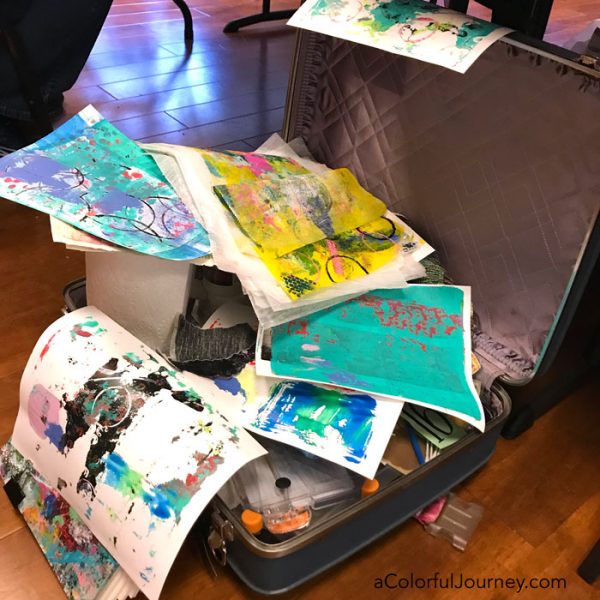
The prints (and everything else) were all packed up on Sunday…and I already miss these ladies and the laughs we shared! Hurry up 2018 so we can do this again!

{ 14 comments }
What can you do with gel prints? One thing is making quick cards with a stencil! Video tutorial by Carolyn Dube

What can you do with your gel prints? One things is handmade cards!  I love sending them but whenever I need one to send, I don’t seem to have the time to make it.  So I created the Alpha Jumble stencil as a shortcut so that even on busy days, I can get something from the heart into the mail.

Watch Using gel prints with a stencil to make quick cards on YouTube.

New to printing or want to more techniques?  I’ve got a whole page of gel printing resources for you!

I grabbed a few of my gel prints from my stash.  This technique works with any type of print from bold and busy to soft and subtle.

What can you do with gel prints? One thing is making quick cards with a stencil! Video tutorial by Carolyn Dube

Using the fancy (from any drug store) cosmetic sponge, stencil with paint onto the gel prints.  I tend to use either black or white paint for this stenciling.
What can you do with gel prints? One thing is making quick cards with a stencil! Video tutorial by Carolyn Dube

When they’re dry, cut them out.

What can you do with gel prints? One thing is making quick cards with a stencil! Video tutorial by Carolyn Dube

The sentiments on the stencil fit in the center, so by adding those to the papers, I have a complete card almost ready!

What can you do with gel prints? One thing is making quick cards with a stencil! Video tutorial by Carolyn Dube

I left some blank because I will write inside of them and add them to art journal pages, some will become ATCs, and some are still blank so they are ready for me to quickly add a word that I need to create just the card I need in the moment.  That makes it even quicker for the next card!

What can you do with gel prints? One thing is making quick cards with a stencil! Video tutorial by Carolyn Dube

To put the cards together, I felt like doing a bit of sewing. I just as easily could have glued them, but the muse said stitching today.  I quickly added a piece of scrap painted book text behind the Happy Birthday day card, but the other two were just the stenciled gel print.

Notice the recurring quick theme here?  Life gets busy but carving a few minutes of creative time really makes my day so much better, just ask my family how cranky I get if I don’t get that time!

What can you do with gel prints? One thing is making quick cards with a stencil! Video tutorial by Carolyn Dube
{ 4 comments }
Rainbow stencil video tutorial by Carolyn Dube

Rainbows are happy and colorful but they symbolize so much more that just that!  They are the hard won reward for making it through a difficult storm. Arting with my Painted Rainbows stencils is one way that I celebrate the journey of making it through those tough times.

In the video, you’ll see 2 techniques – how I create the rainbow and how I use the paint drips to create a quick dripped edge on my art journal.

Watch Rainbow Stencil Tutorial on YouTube.  You can find this stencil, and all my others at StencilGirl Products.

To build the rainbow, I start by stenciling only some of the colors through the Painted Rainbows stencil with no precision.

Why is there tape on the stencil?  Because I felt like a straight line at the bottom instead of the drips today.  Masking with just a piece of washi tape, I have the option to make it fit my mood and as a bonus it will hold the stencil in place. Since washi tape is low tack, it will be easy to remove without ripping any paper.

Rainbow stencil video tutorial by Carolyn Dube

After I’ve removed the stencil, then I add in the other colors.  Using a cosmetic sponge imprecisely, I let the colors overlap and mingle.  A piece of paper is acting as the mask for me as I do this so that my bottom edge stays crisp and straight.  Next, it’s on to using the drips!

Rainbow stencil video tutorial by Carolyn Dube

Now for the drips!  I love the look of dripping paint but don’t have the patience to wait for dripping paint to dry.  Using a stencil to create them means the dry time is much much shorter.

In the video, you’ll see how I move the stencil up and down to create drips of different lengths and why I flip the stencil over and use both sides for the drips.

After doing a few of the drips, the analytical portion of my play began.  I make it sound like there was deep thought involved but not really. I just looked at the drips and decided where I wanted a longer one or a shorter one and then found that size on the stencil.  But that is more thinking that I usually do when playing.

Rainbow stencil video tutorial by Carolyn Dube

Thanks for stopping by!  If you’re new to stencils, you can see more of my blog posts and videos using them here and you can see all of my designs at StencilGirl Products.

{ 2 comments }