
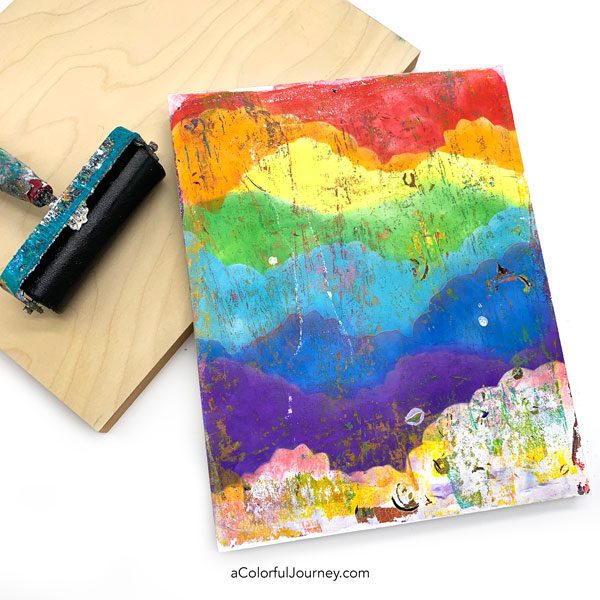
What can you do with that gel print that you loved the instant you lifted it off your plate? Put it on your wall! I’m not a huge fan of frames, or I should say that I love big expensive frames that are out of my budget. So I prefer to mount prints on wood panels.
I’m using an 8 x 10 wood panel and an 8 x 10 gel plate, so no need to measure. But how do I get it to match up perfectly? Measuring is out because no matter how many times or ways I measure, it never comes out right. But there is a way to get the edges all lined up, without any measuring!
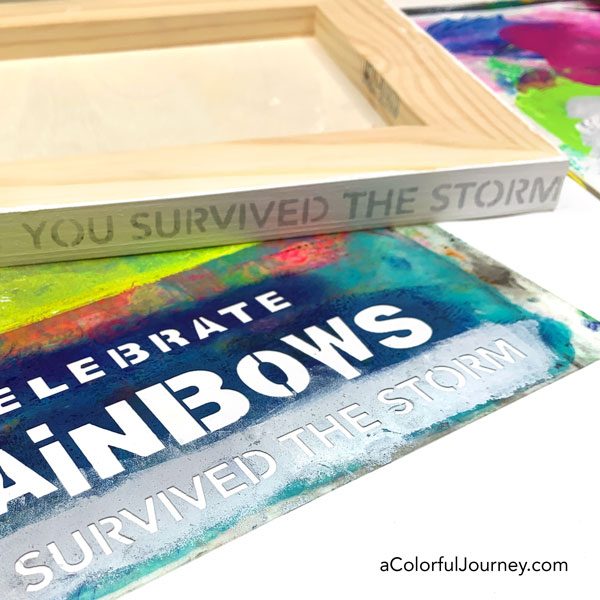
How did I create the print? Using the techniques from my online workshop, Gel Printing with PanPastels. The patterns that I used for the clouds is one of the included downloads – along with 3 bonus videos and more- you can get all the details here.
Step 1: Get the wood panel ready by
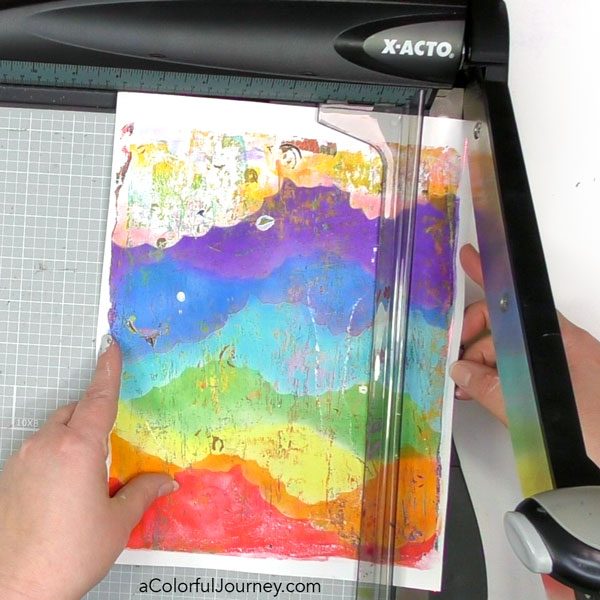
Step 2: Trim 2 sides of the print. You don’t need to measure, just be sure to get straight cuts. Only one corner will be trimmed, the other 3 will be cut after it is glued to the wood panel.
Step 3: Attach the print to the wood panel with gel medium. Spread it evenly on the wood panel and to the back of the print. The print only needs a thin layer but be sure to get it all the way to the edges.
You have a moment or two of wiggle room once you put the print on the panel, so be sure that the corner you trimmed and the 2 sides you trimmed are lined up as flush as possible.
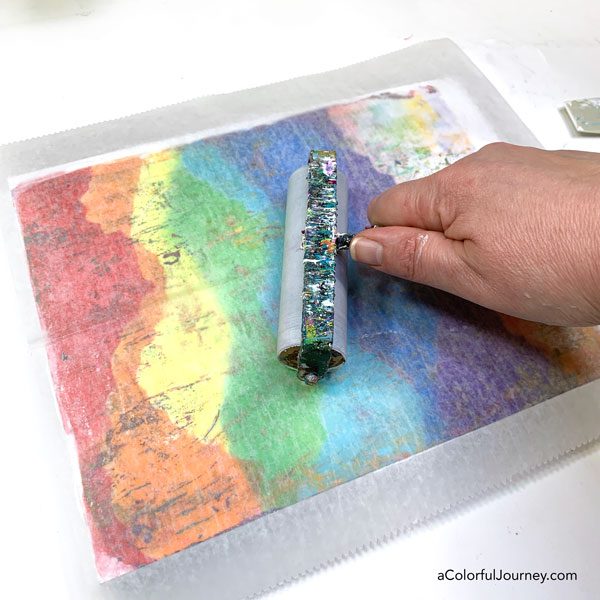
Then put a protective piece of paper on top and brayer over it. This will push the paper flat to the wood and squeeze out any excess gel medium. Wipe off any gel medium that squirts out.
Step 4: Put a protective something on the print, like freezer paper, then stack something flat and heavy on it. This will keep it from getting any bubbles or warping while it dried. Then the hard part- wait overnight for it to completely dry.
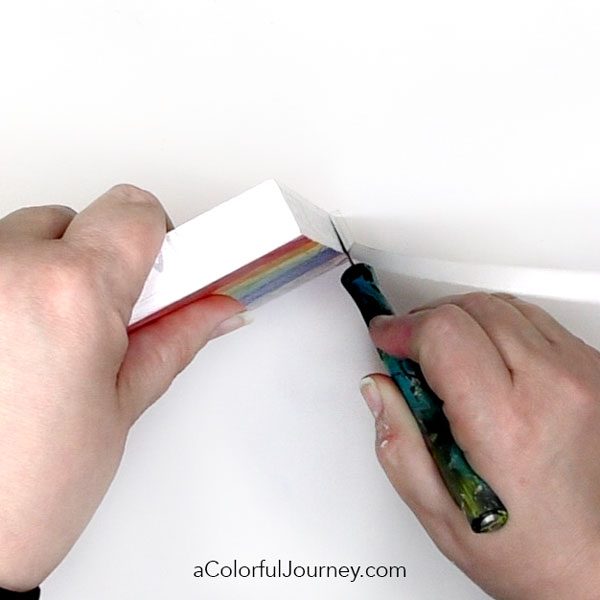
Step 5: Trim off the excess paper. It must be completely dry for the blade to cut it smoothly. Also, a fresh blade is extremely helpful for getting a clean cut. Hold the blade flat against the wood and then use a sawing motion to cut
Step 6: Put the mounting hardware on it. By mounting hardware, I mean a Command Adhesive Picture Hanging strip.
If you’ve got any prints that you love, mount a few on wood panels
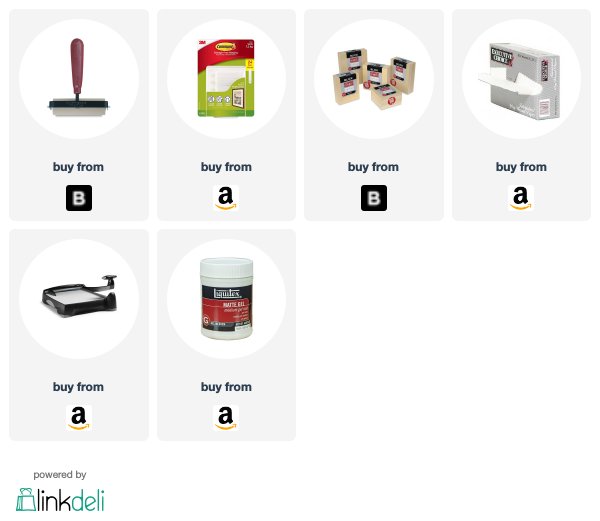
Here are the supplies used. Some of these links are affiliate links which means I get a small percentage. It doesn’t cost you anything extra and it helps keep the free tutorials coming!

Wow doesn’t your panel look fantastic. Great tips thank you and I am in love with your paper trimmer. x
This was awesome! I am measuring challenged too!
Love this! I remember my dad mounting his photos on wooden blocks back in the 70s and 80s, but I had no idea actually how he did it. And your paper cutter reminds me so much of his — wow!
Does the strip come cleanly off the wall If you want to take the panel from the wall?
It’s a command adhesive and they have always come off cleanly for me- but if you are concerned about that be sure to read the packaging – they go into detail about to get it on and off without impacting your wall.
Thanks, great idea!
Did you make (paint) your shirt? I love it!,