
Something I was wrong about, an old cookbook, and a pesky question I’ve asked for years all have something in common: my newest workshop, The Joy of Stenciling.
You might be familiar with the iconic cookbook that my mother used a lot while I was growing up, The Joy of Cooking. That book was a reference for her, giving her new ideas for dinner, information to improve her understanding of cooking and clear and precise recipes. That’s what this workshop is, but for stenciling.
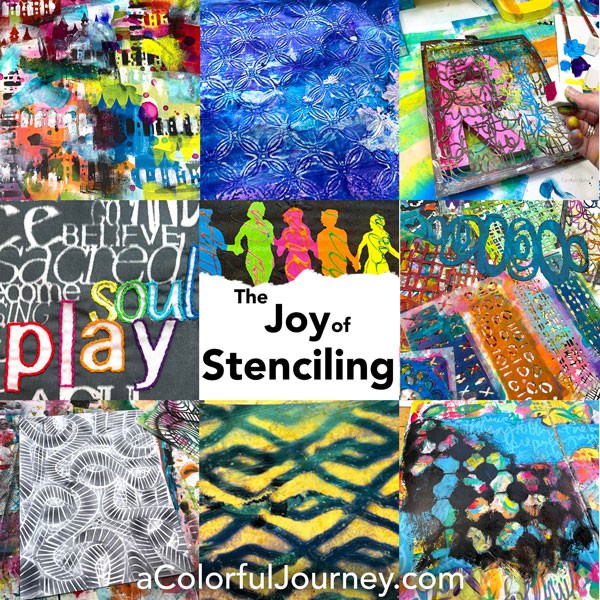
The Joy of Stenciling is a place to get new ideas for how to use your stencils and along the way deepen your understanding through step-by-step technique videos. Since you’ll have lifetime access and all the videos are downloadable, you’ve got the ability to refer back to it as often as you want.
“Thank you Carolyn for showing me I can be brave and adventurous with stencils.” -Sabrina Conroy
I Was Wrong
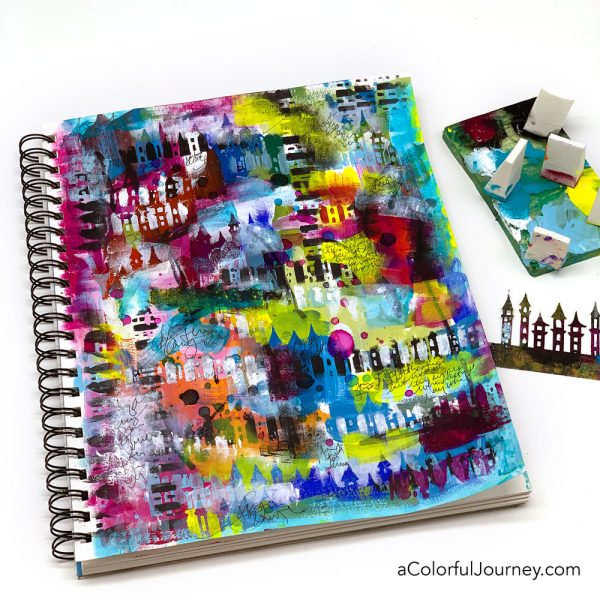
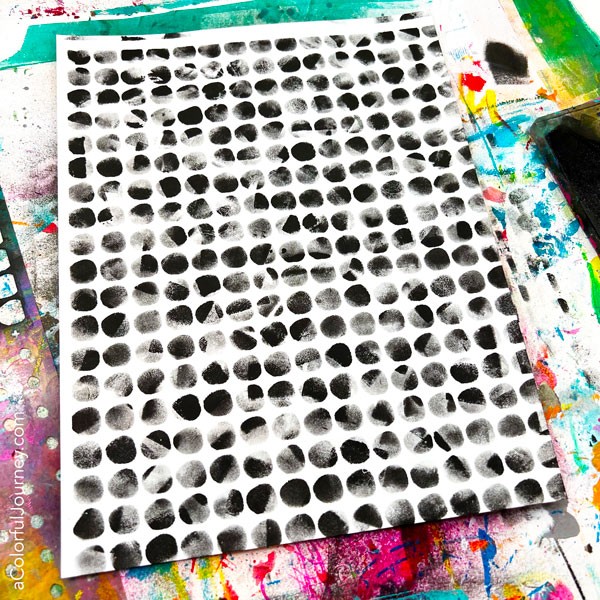
When I stood in the Ben Franklin craft store 30+ years ago and bought my first stencil, a fleur-de-lis, I only expected to get one look from it, that basic fleur-de-lis. The more I’ve played with stencils, the more I’ve realized how wrong I was back then. Any stencil can create multiple looks. All those hints and bits of pattern on the art journal page above were created using one stencil, the castle tower.
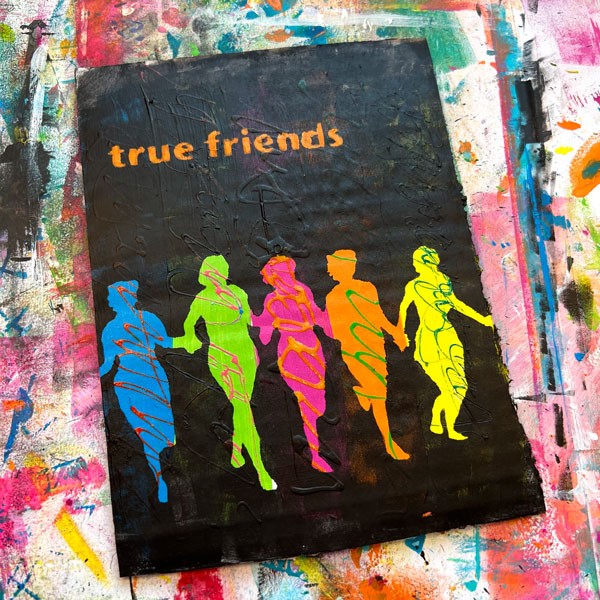
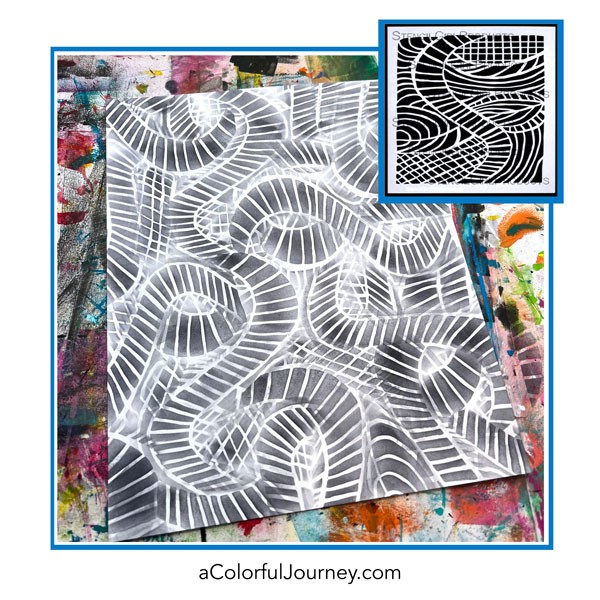
What about masks? Technically the tower stencil above is a mask, and I’ve gotten into lively debates on how you classify something as a stencil or a mask. No matter what you call them, they are useful, especially when you have a mask and stencil set.
In this workshop, I show you how I use masks and stencils together to take the guess work out of image placement. I knew before I committed with the paint that the colors were exactly where I wanted them to be. That takes the pressure off when stenciling!
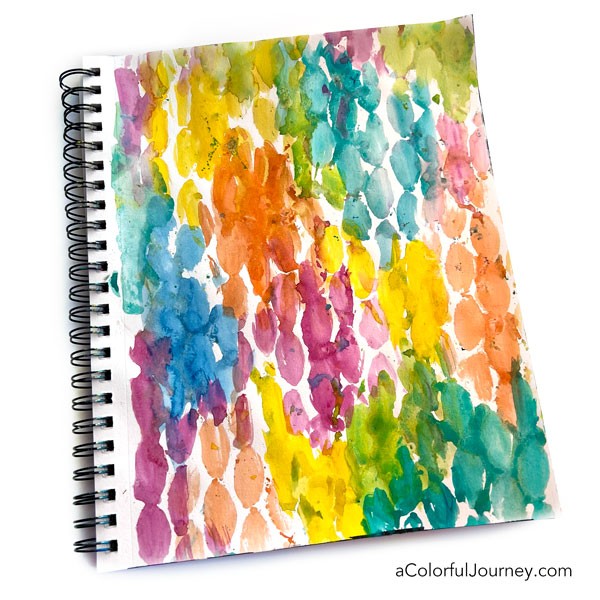
These circles could have been simply one solid color but are much more interesting when you create organic areas of pattern inside them. Is there a special tool that does this? Nope, this technique uses a cosmetic sponge from the drug store. Little things can make a big difference and it’s all step-by-step in this workshop.
“So nice to feel like I have control of what I’m doing.” -Anna Javier
Do you have to use a stencil exactly as it is? Nope. You can easily reshape a stencil design to create one of a kind looks even if it’s not a repeating design. One stencil has many many options!
How do I make decisions about which art supplies to use with the stencil? It depends on the look I want. There are days I want a precise, crisp look like above and there are days when I want a loose free flowing vibe with hints of pattern in there.
Understanding why stencils behave the way they do makes it easy to choose the right supply for the look you want. Throughout the workshop, I share the why and the how, so that when you’re looking at your stencils, you can apply the ideas to create the looks you want.
Why? That’s a question I ask myself all the time when I play because I need to understand why things happen the way they do. When things go well, I want to know why. When things don’t work, I want to know why. This question made me a pest when I was kid, but as an adult it has led me to figure out the key factors for stenciling and more importantly, how to strategically apply them.
Are the 22 lessons in this workshop random? Absolutely not! I carefully chose each lesson. Since there are an infinite number of ways to use a stencil, it’s impractical to show every possible technique- I selected the techniques that would most quickly deepen your understanding.
This is a list of the 20+ lessons you have immediate access to as soon as you’re registered. You bet, there are closed captions on them.
- The Most Important Factor
- Creating Faded Edges
- Living on the Edge
- Touchable Texture with Just Paint
- One Technique Two Ways
- Cheat Sheet for Positioning Stencils
- Non-repeating Patterns
- What to Know About Stenciling On Busy Backgrounds
- Using Masks
- Choosing Colors
- Removing Paint
- Dreamy Stenciling with Citrasolv
- How to Experiment with Techniques
- Turning a Stencil
- Getting a Different Look Using Just Parts
- Reshaping a Design
- Loose Layers
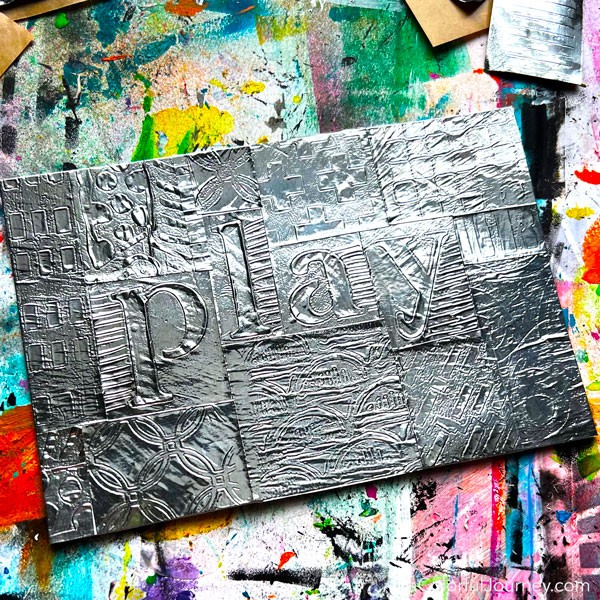
- Metal Embossing
- Tinfoil Embossing
- Stitching and Stencils
- Stenciling with a Pencil
- Fixing a Hot Mess
- Cleaning & Storing Stencils
On top of all the videos being downloadable, there’s also a 14 day no hassle money back guarantee.
Bonus Videos
“But wait, there’s more!” to quote Ron Popeil. There are 2 bonus techniques too for you.
The Sneaky Way to Use Modeling Paste with Stencils so that you don’t have to wait for modeling paste to dry in the middle of your play and how to create modeling paste cutouts without cutting.
Making It Personal is all about taking a stencil design and making it uniquely yours. As I’m playing you’ll see what I do when it all feels ugly to shift it to something I love.
The Most Important Question to Ask
What is the most important question for you to ask? The one that you have when stenciling. I’ve found over and over when teaching, getting answers to your specific question moves you forward in a big way. Why? Because there’s often a little something that hasn’t clicked yet for you and once that does, the flood gates open when you more fully understand what’s happening.
Inside the workshop, you can upload photos of your stenciling and any questions you have to the lesson pages. I personally answer them all. If you ask about why the weather is so hard to predict or how to train your dog not to bark, I don’t have answers to those. But stenciling questions, those I have answers for.
I’ve seen it time and time again in workshops, the more you understand why stencils do what they do, the easier it is to have more fun with them so join me for the Joy of Stenciling!
“I like this workshop because Carolyn explains how we can get the looks we want!” -Amy Schneider
$49
FAQs
No surprise that we’ll be using stencils in this workshop. You can use any stencils, any pattern, any size you like. I’ll be using all StencilGirl Products stencils in the workshop.
What will we be using with the stencils? I encourage you to use what you have, substitute with any supplies you like. Once you see the technique and understand how it works then you can look through your supplies to find the best one to use.
The general supplies are paint, watercolors, spray inks, ink pad, markers and pens, watercolor pencils, fabric, thread, tin foil from the grocery store, foil tape, sandpaper and Citrasolv from the hardware store. Inside the classroom, there is a supply video for you.
Do you have to have all of this stuff? Nope. One of the great things about an online workshop is you have the freedom to watch a technique to see an art supply in action before deciding if you want to buy it because you might already have something in your stash that will do something similar.
This is a self paced workshop, so as soon as you get registered, you’ve got access to all the lessons. Approximately two weeks after that you’ll have access to all the bonuses.
Lifetime access which means you can do this self paced workshop at whatever pace fits your schedule best. Binge it all in a weekend or do one video a week, or anything in between.
No, there is not a Facebook group. You can share photos of what you’re creating and ask questions inside the classroom on my site.
Absolutely! There’s a no hassle 14 day money back guarantee. If you feel the workshop isn’t right for you for any reason, simply send me a one line email that you’d like a refund within 14 days of when you register. That’s all there is to it. It’s important to me that you have the workshop that’s right for you.
Yes, all the videos have closed captioning on them.
Once you register, you’ll receive an email with your username and password. You’ll use those to log into the classroom to access the lessons and videos. You can do this on a computer, a tablet, or mobile device.
This is a self paced workshop so you can watch the videos when it fits your schedule.
All the videos are downloadable and have closed captions. You have lifetime access once you’re a member, so you can stream them online or watch them offline- whichever fits your schedule best.
I am here to help you throughout the workshop, so if you have any questions about the lessons or videos, simply ask them on the lesson page and I’ll get you an answer.
Have a question right now about the workshop? You can email me at https://acolorfuljourney.com/contact/
The videos vary in length but most are between 10-15 minutes long. They are all carefully edited so no waiting for paint to dry.
$49
Have a question that isn’t answered here? You can send me an email here and I’ll get you an answer!
