This idea, to combine stencils and image transfer was a total O.O.P.S., an Outstanding Opportunity Presenting Suddenly. I thought perfect little butterflies would transfer. Nope. Not a one. In fact, it looked terrible. But, that led me to the next layer, which turned that something ugly into something so much better than I had planned!
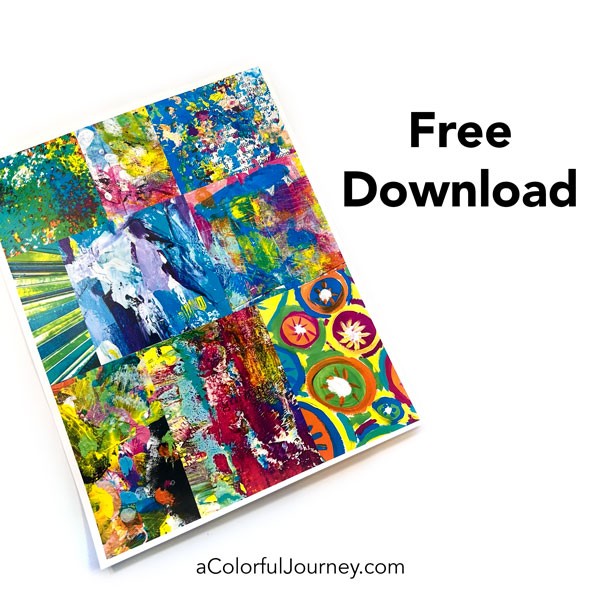
It all began with a colorful image printed on InkAid Transfer Film. This is a collage made up of 9 Sparks of Art-spiration that I’ve sent out in my free newsletters. If you’d like to play with the same image, I’m happy to email you a free download of it- just go here. This is will also get you signed up for my weekly newsletter that includes a brand new Spark of Art-spiration printable for you.
The image transfer is done using the InkAid process. If you’re new to InkAid image transfers you might have some questions like how do you mix the Transferiez solution, or will your inkjet printer work well with the process. I’ve got a video that goes step-by-step through the process so you are comfortable making your first transfer.
Start with a generous, and I mean generous layer of Transferiez solution. I use enough that it soaks through my cardstock. That’s why I have the tin foil under my paper, to keep it from getting all over the counter. I could have used a piece of plastic, but the tin foil was closer.
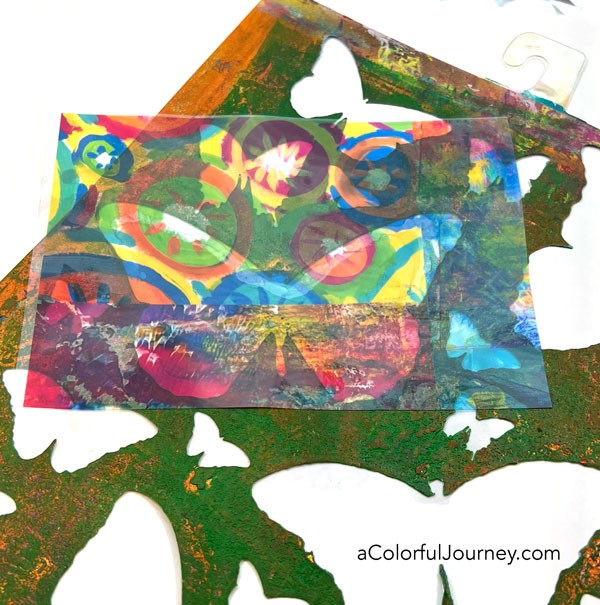
Working quickly, get the stencil and then the image transfer film on there. Brayer or push down the transfer film. The stencil is Butterfly Journeys that I designed for StencilGirl Products. Along with the stencil, it also includes 4 butterfly masks.
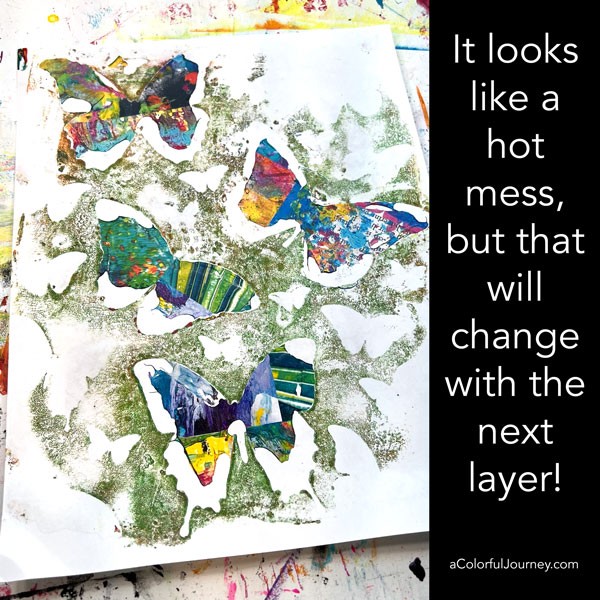
Be prepared, that when you lift up the InkAid image transfer film, it will look like a hot mess, but that will change with the next layer!
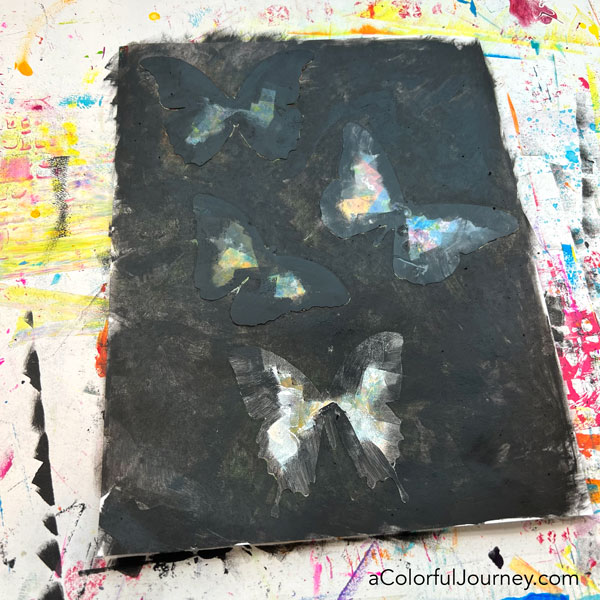
Place the masks over the butterflies and add a layer of black paint. Or any other color you want!
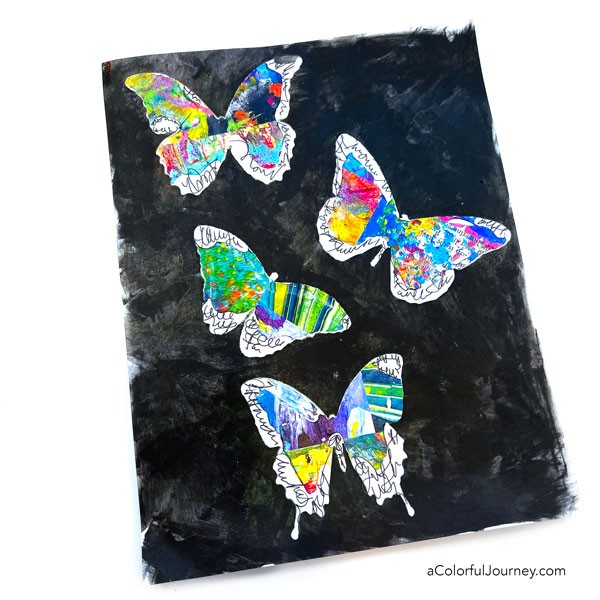
Now these butterflies have serendipitous wings, far more interesting to me than a “perfect” transfer! But that white space is calling to me, tugging at me to add something more there.
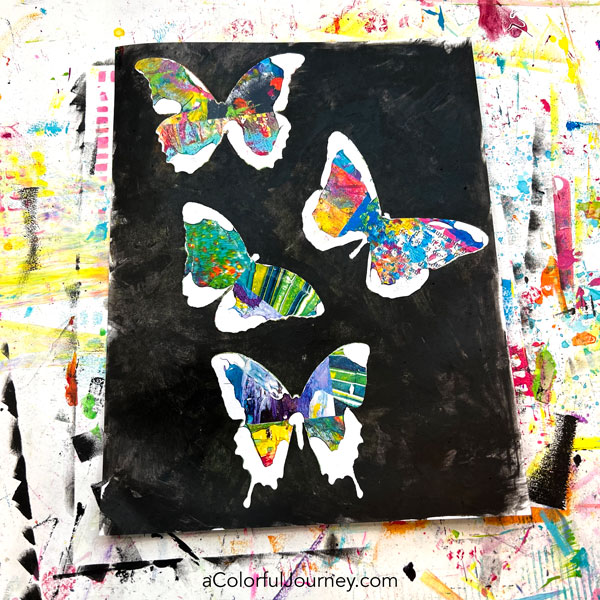
Journaling! That’s what the white space needed! As I’m writing, I am thinking of real words, and writing them in a very loose way. By doing scribble journaling, there’s zero pressure to get words spelled correctly or sweat the grammar.
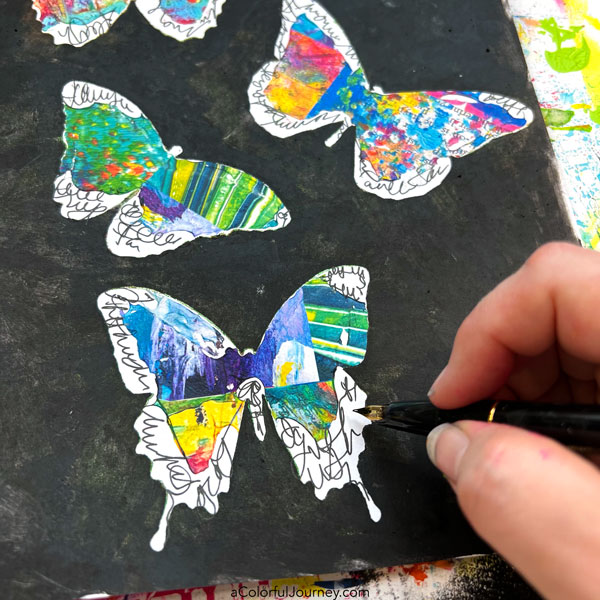
Adding that layer of paint turned a messy caterpillar (the imperfect image transfer) into a beautiful butterfly!
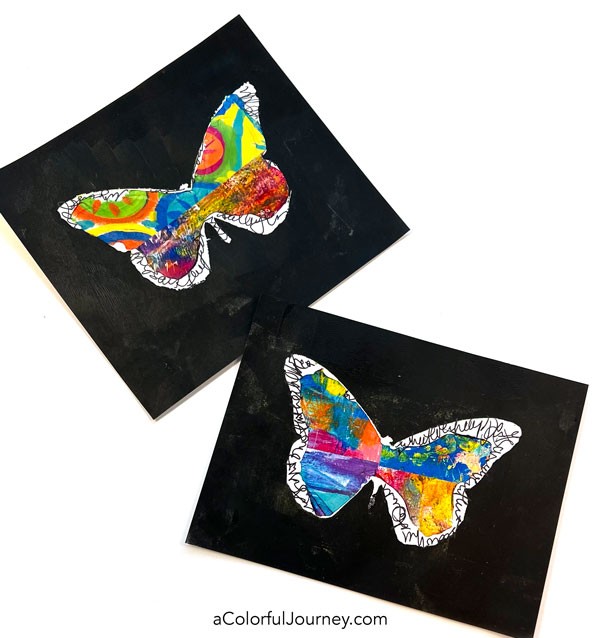
The best part is that every butterfly will be unique! What will I do with these? Could become cards, the start of an art journal page, or could simply put them in a mat and frame them as they are!
If you’d like to play around with the same image I used, let me know what email you’d like me to send it to, and that will also get you signed up for my weekly newsletter, that has a brand new Spark in it for you to download!
Here are the supplies used. Some of these links may be affiliate links which means I get a small percentage and it doesn’t cost you anything extra! It doesn’t cost you anything extra and you get a really good feeling knowing that you are helping keep the free tutorials coming!
Heads up, the cardstock can really fluctuate in price on Amazon. If it seems strangely expensive one day, wait a day or two, and often it goes back to “normal”.



Carol what pen are you using in this video. It looks like a dip pen but with a different point. I have problems using conventional dip pens, so would like to try this one. Thanks for all your videos and sparks.
It’s a fountain pen not a dip pen Gloria and I’ve got it linked up in the supply list for you- I too don’t rock the dip pen well, prefer ones that have a cartridge in them. Hope that helps!