Seth Apter over at The Altered Page is hosting his annual hunt for buried treasure – in your old posts. I looked back and found this! Check out his site- so many great places to unearth creative treasure!
Excavating Paint
Alcohol dissolves paint. When I heard that I realized it could so work to my advantage. I used old photos that were less than desirable shots – you know the blurry, off center, etc. photos. I have a huge stack of them. Now some are great starting points for an art something or other.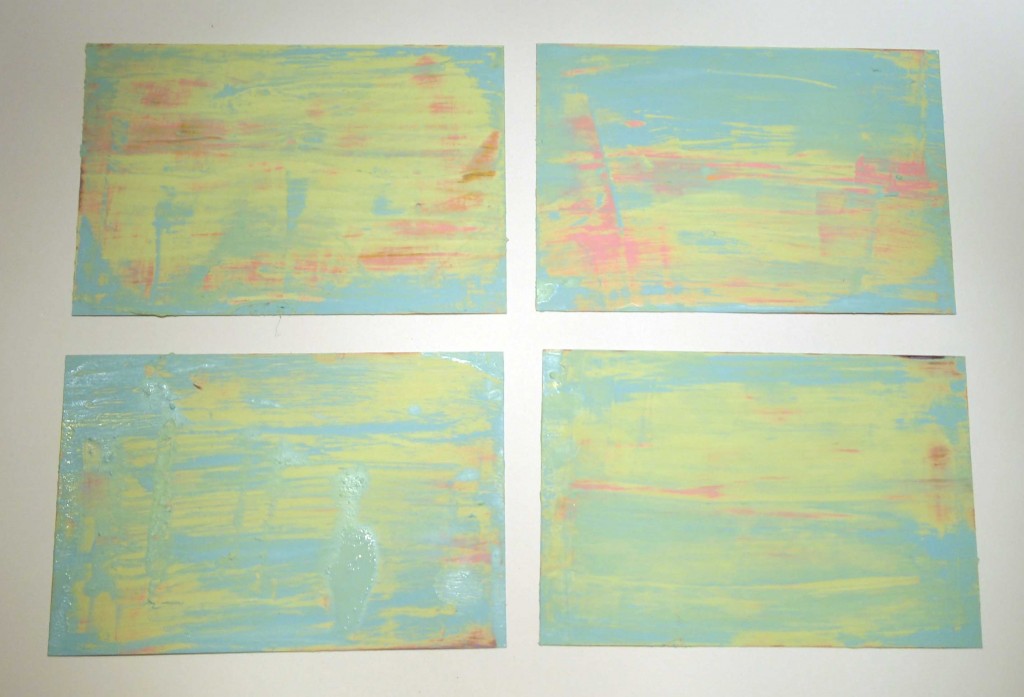
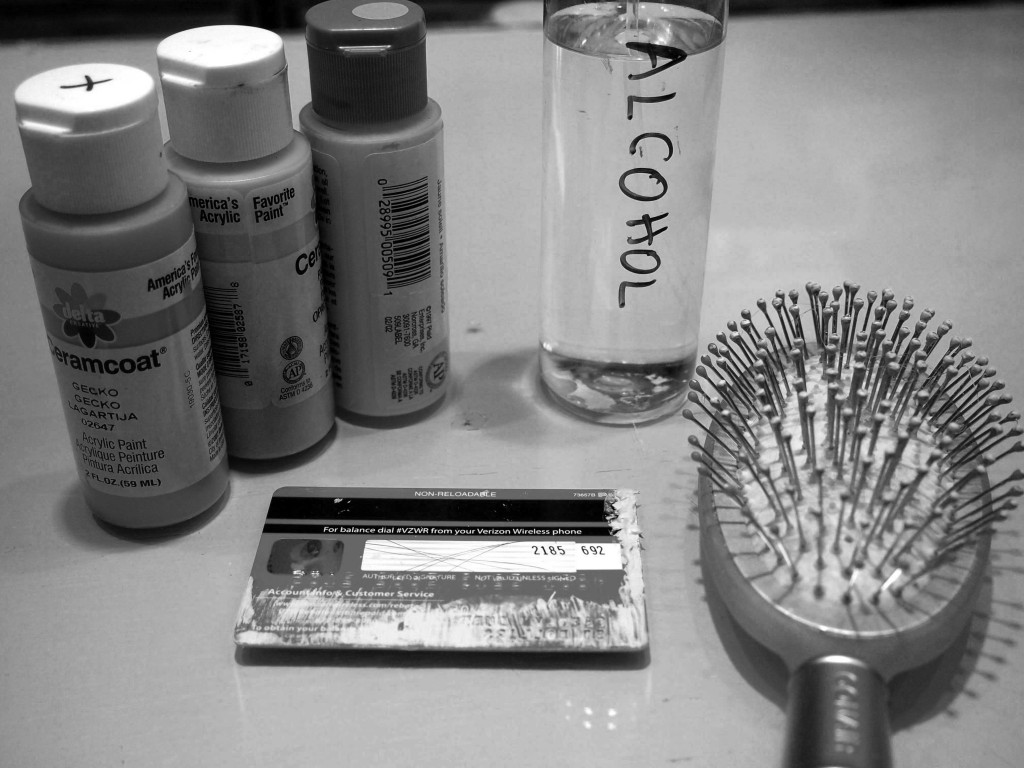
First, prep the photos. I did a whole bunch at one time so I’d have lots to play with later. My first layer was purple. Let it dry.
Add a layer of orange. Let it dry.
Add a layer of pink. Let it dry.
Add a layer of green. Let it dry.
Add a layer of blue. Let it dry.
Get the idea? Well, I found out that 5 layers was a bit much. I really only saw the top three colors. Next time I’ll only do 3…
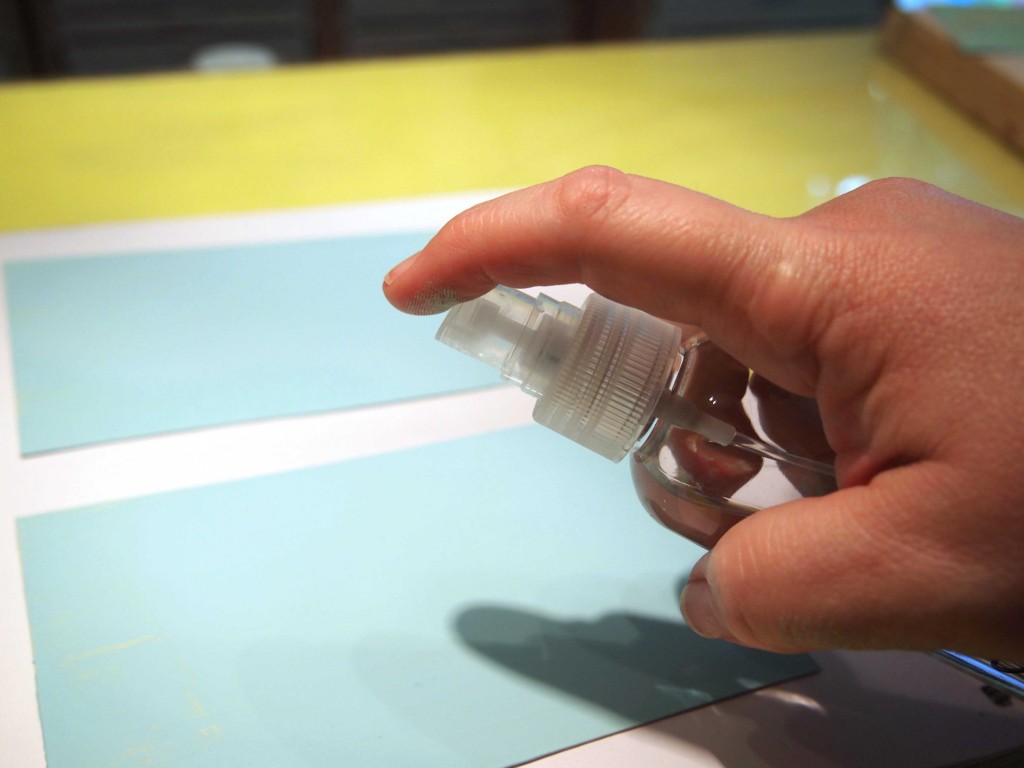
Second, spray alcohol on the painted photos. I am working on a gesso’d journal page because this gets messy and I love the look of the smeared paint. Let the alcohol sit for 15-30 seconds. Add more at any time if needed.
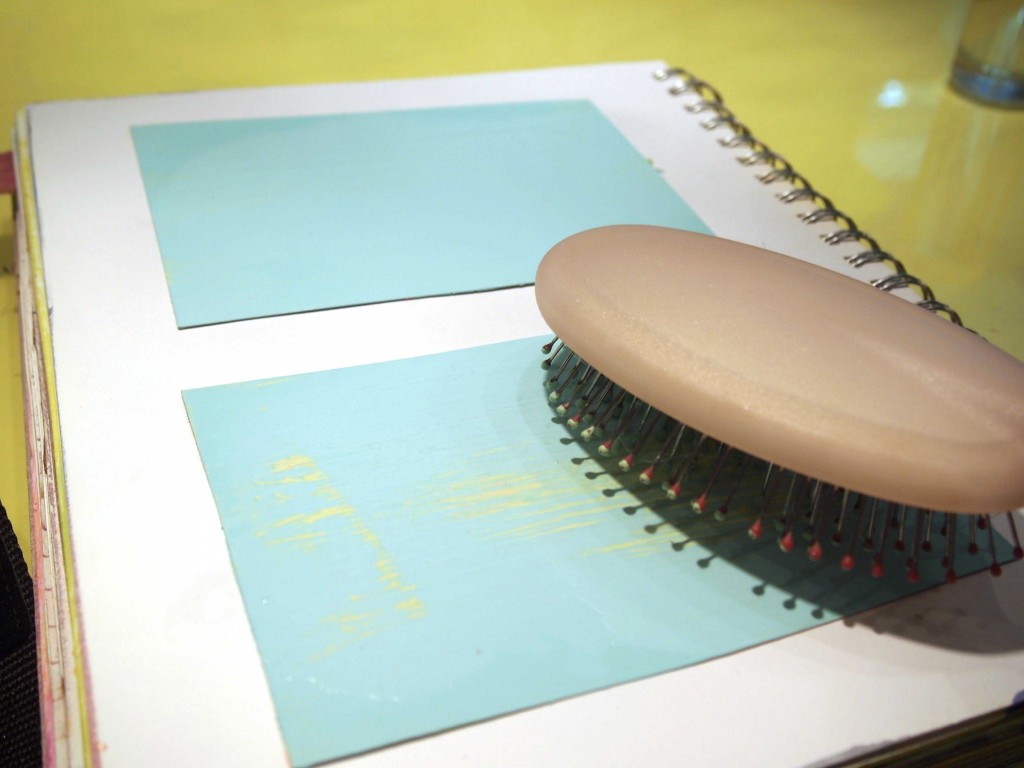
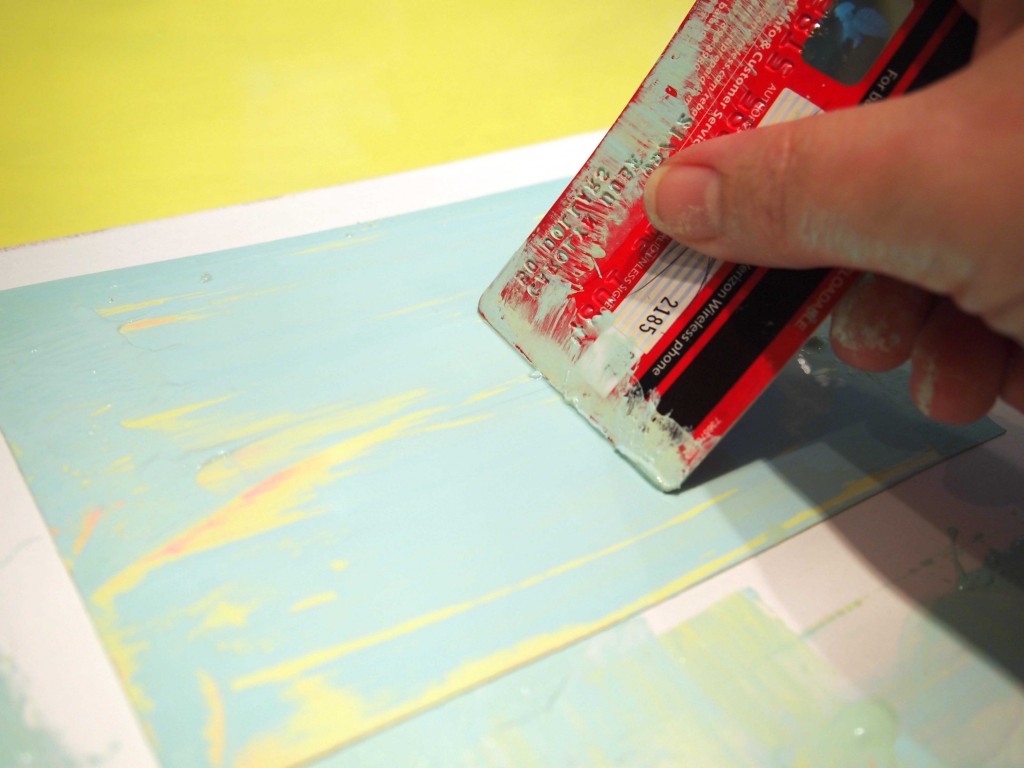
I clean off the credit card by wiping that wonderful paint goo on the journal page (see below). That way not a drop of paint is wasted!
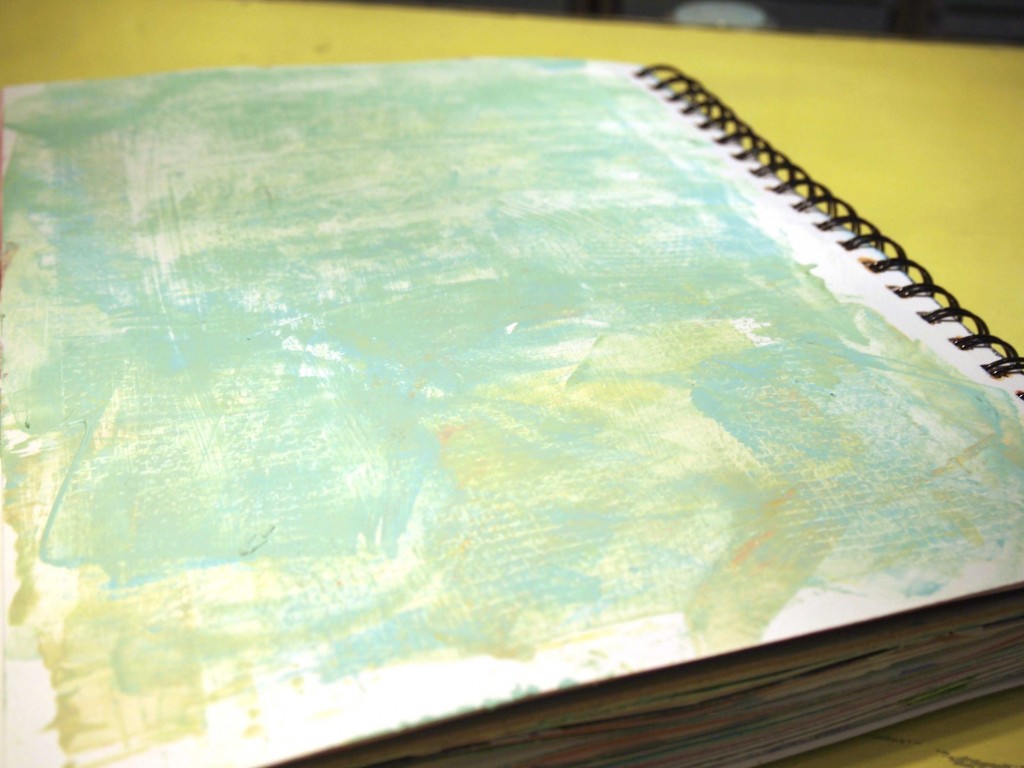


OMG!! I running to go find some photos!!! Did you use photo lab printed ones or photos printed at home?
These were back from when I had them printed at the lab. Had a huge stack of ones that were horrible shots (esp. from pre-digital camera era-that’s how long I hung onto these)!
Insanely awesome and incredibly beautiful!!!!
What fun. I guess it’s the photo process that helps with the paint and alcohol. I wish I’d saved some of my old photos for this very purpose. Great tutorial.
You don’t need photos- they just happened to be what I had that would take paint well without warping and was a good size. You can do this on any surface that takes paint!
cool- I have to try this!
I love the idea of buried treasure in old pages.
Rinda
Very inspiring idea. Thanks. Glad I found you from the Buried Treasure link.
Cool technique. Definitely going to try this!!
Loved this Buried Treasure post and I really enjoyed visiting your blog!
marvelous technique from the way back machine, not sure if I ever saw this one. xox
Brilliant “find,” Carolyn! I love new techniques, and this is one we can all do! Thanks for the tip!
Cool! Found you via The Altered Page & Seth’s Buried Treasure links – this is a neat process that I can’t wait to try 🙂 Thanks for posting (and, reposting!)
~ gem
This is fantastic! So clever!
I am so doing this!
This was an awesome treasure!
Oooh, that’s a good one! What a great surface to use AND you’re making the ‘uglies’ beautiful again.
This is too cool! oooh, I can’t wait to try it…thank you for sharing 😀
great tutorial, thanks for digging this up..
I’m thinking magazine pages! oh……………..can’t wait to try this!
Thanks!!!
Carolyn, I just popped in from Seth’s Buried Treasure project and enjoyed my visit to your blog. Such a wonderful treasure you have uncovered. I had never seen this technique before and so glad that you shared all the how tos. I definitely want to try this and will be looking through my old photos. It was great to find you and I will be following your blog through Bloglovin’
🙂 Chris / CS Designs