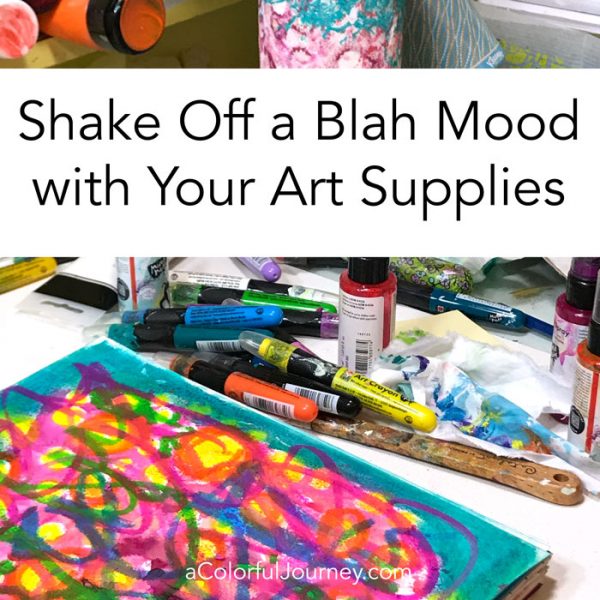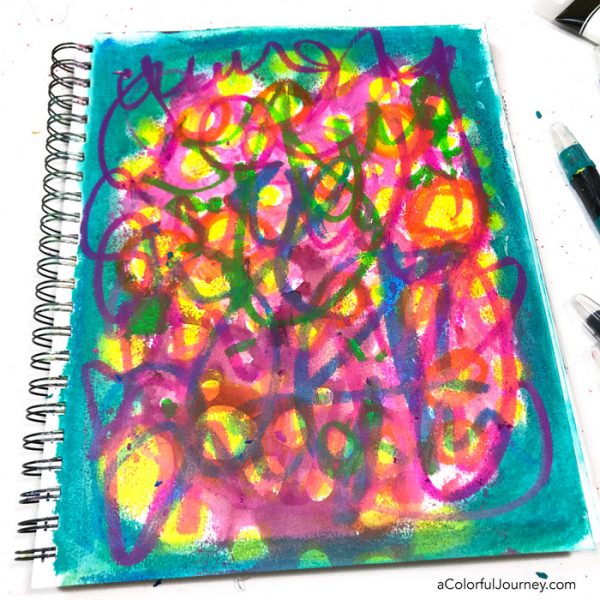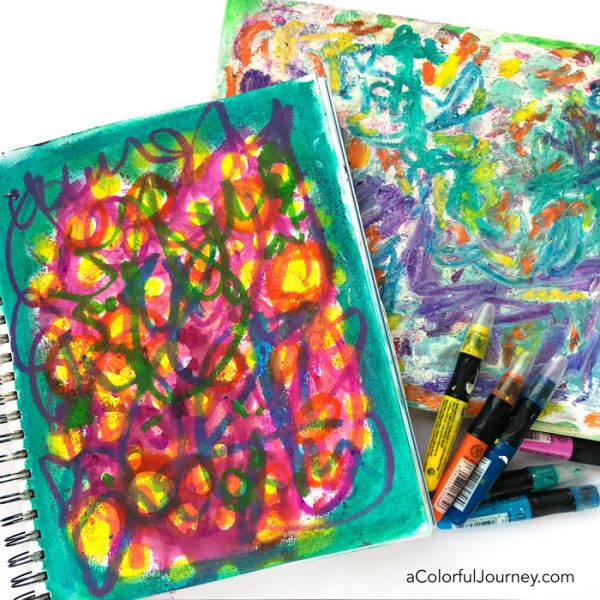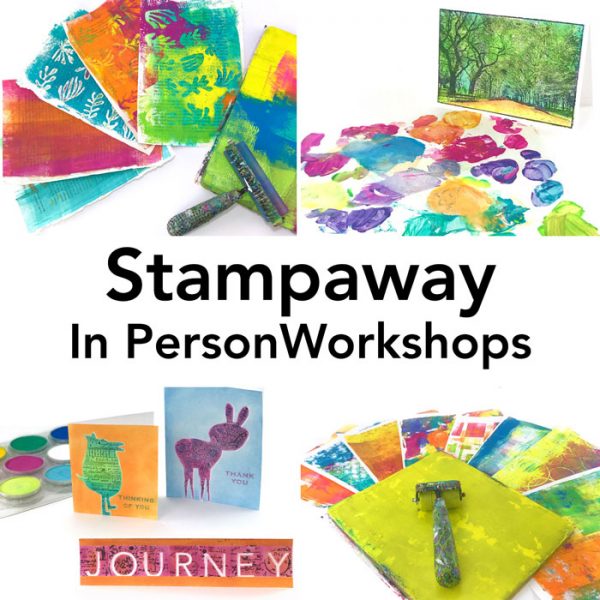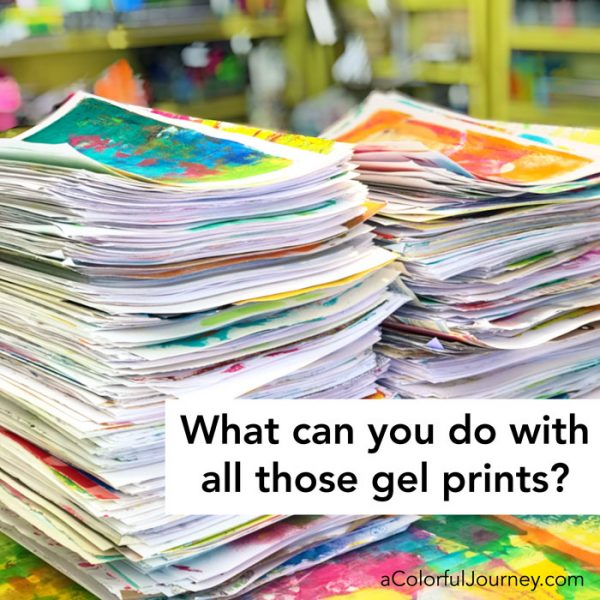
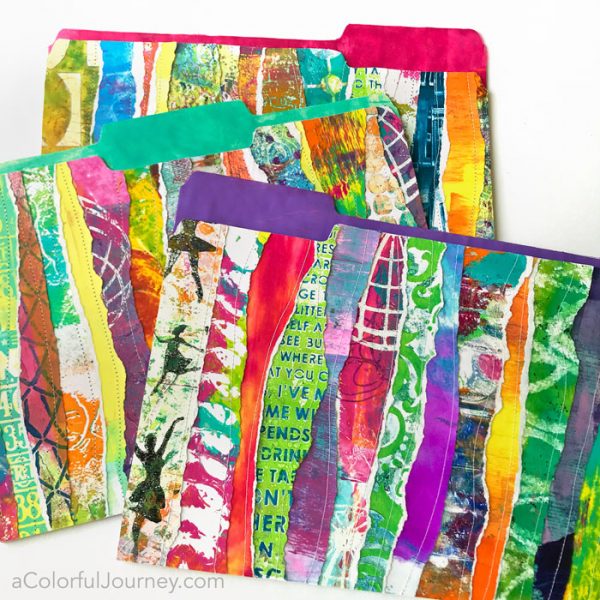
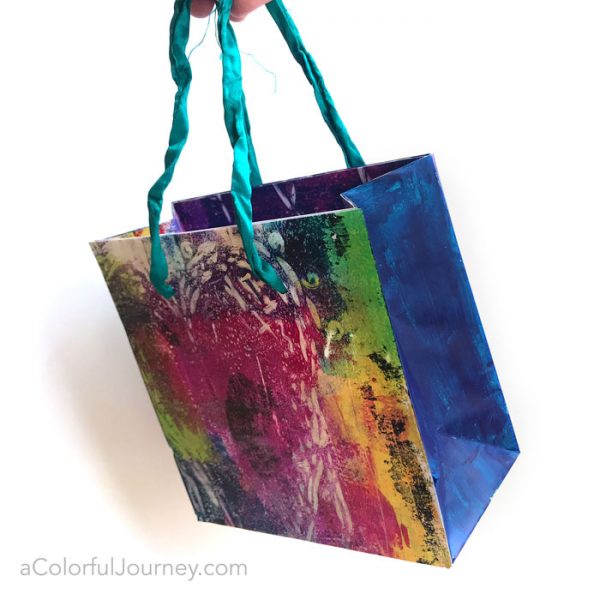
You’ve got a stack of gel prints but what can you do with them? Lots! You can celebrate with them, organize your office in style, wear your prints, play games with your prints, light up your home with gel prints and more. So many possibilities.
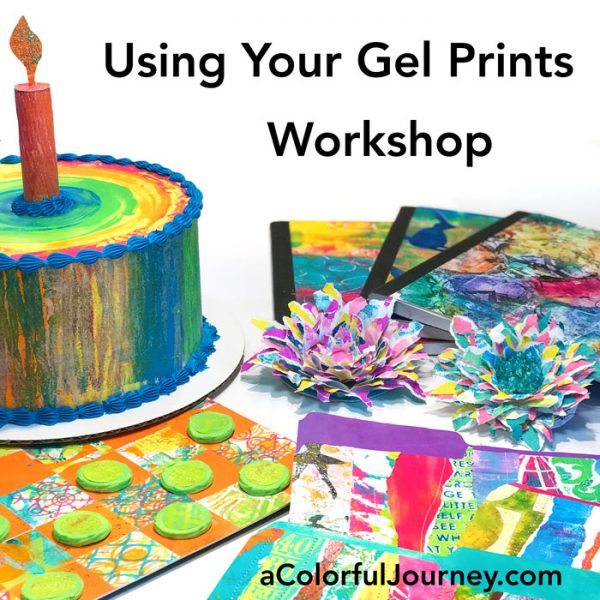
But where do you start? How do you choose which prints to use and know which glues are best? How do you make patterns so that everything lines up and looks good? That’s why I created Using Your Gel Prints, to show you step-by-step how to make it all. I share my short cuts and the logic behind the choices so that you can get started using that stack of prints you’ve made.
When you give a gift made with a gel print, there is a wow factor. Not only is it a personal gift that you’ve created just for them but they can’t fathom how you did it. The length of the projects in the workshop vary. Some are more involved and some are quick, which is great if you’re making multiples of a project.
This workshop is currently closed BUT get your email on the waitlist and you’ll be the first to know when registration opens back up!
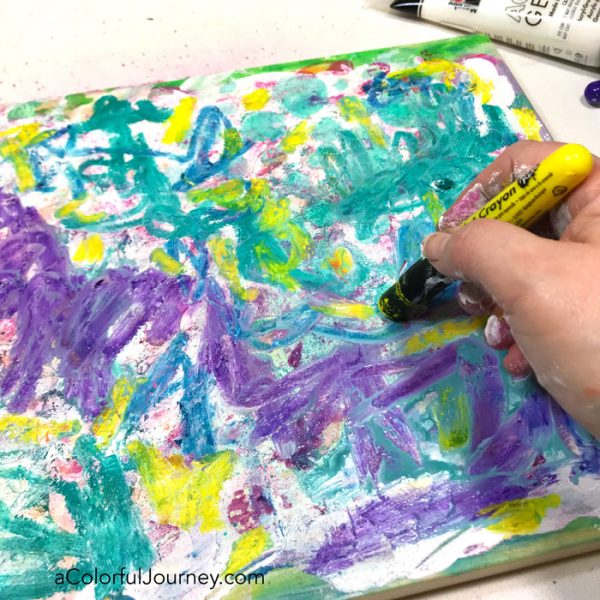
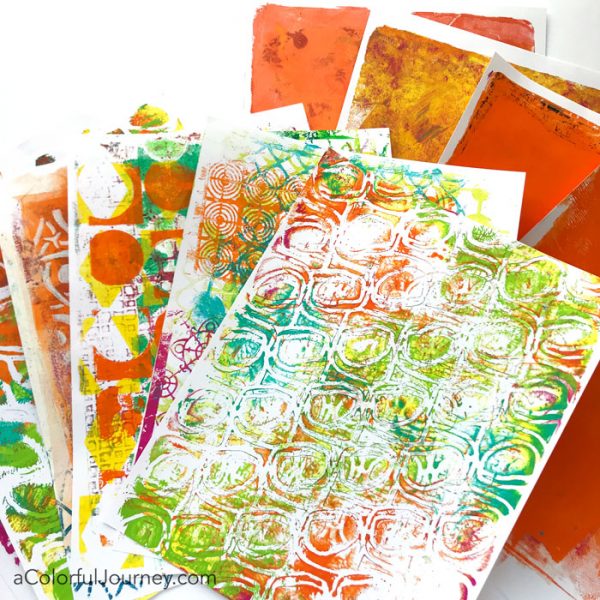
A bonus of these projects is that they are a way to use even so-so prints. You know, the ones that aren’t your favorites. We’ll be using the “good” prints too, but most of what is used in the videos are not the best prints.
But how do you choose what prints to use? In the videos, I’m sharing the reasons why I make the choices I make for everything from print selection to which glue to shortcuts so you get the most fun with the least amount of work. And there are no rulers used for measuring in this workshop.
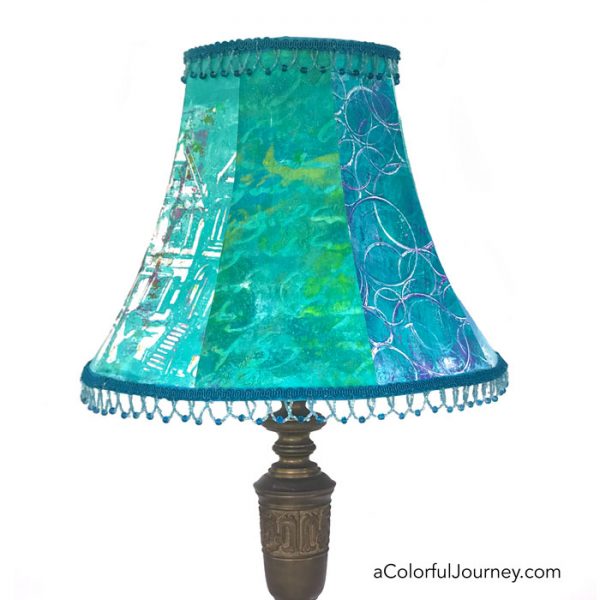
How long are the videos? Anywhere from 5 to 30+ minutes depending on the project. Some of the projects are quick for when you have just a few minutes and others are longer. For example, the lamp project.
In the 3 videos for the lamp, you get details on how to pick a lamp shade, how to easily create a custom pattern for the panels, picking out prints to use, attaching the panels, and all of this is done without any measuring.
Right now, there are 15 projects in the classroom waiting for you. Once you join the workshop, you’re got them all and more. What that means is when new projects are added, you automatically get those too. Over time, as more projects are added to the workshop, the price will increase for new members, but not for you since you’re already in.
There’s a 30 day money back guarantee. Why do I offer that on a self paced workshop? Because I believe in this workshop and I want you to have the workshop that is right for you.
Frequently Asked Questions
Who is this workshop for? Anyone who has some gel prints already made. No experience is needed in any way.
How many projects are there in the workshop? 15 currently and more will be added in the coming months.
How many prints do I need to have? You can use a many or as few as you wish. There is no set amount needed. This workshop is all about using gel prints not how to actually print them. If you’re looking for techniques for how to make gel prints, then my Gel Printing FUNdamentals workshop.
When does it start? Right now. This is a self paced workshop which means you have access to all of it as soon as you’re registered. You can watch it at your pace.
How long do I have access? Lifetime. Once you join the workshop, you’re in. That means when new projects are added, you automatically get those too. Over time, as more projects are added to the workshop, the price will increase, but not for you since you’re already in.
Are the videos downloadable? Yes, for both desktop and mobile. You can stream them or watch off line, whichever is best for you.
What computer skills do I need to watch this workshop? You need to be able to access the internet and push play on a video. You can test it all out, to see if your computer or device works by joining my free workshop, Permission to Play. If you can make those videos play, then you know you are all set for any of my online workshops.
What supplies will I need? Naturally, gel prints. Then adhesives and glue, such a gel medium, a glue stick, 3-1 Glue, and double sided tape. Other basic supplies are a craft knife and paper trimmer. We will also be using a sewing machine for a several of the projects. Beyond that, the supplies vary by project and I highly highly encourage you to use what you have on hand and substitute with any supplies you prefer.
Do I have to use exactly what you use? Absolutely not! Substitute with whatever you have on hand or are most comfortable using.
Is there a guarantee? Yes, a 30 day money back guarantee. Why do I offer that on a self paced workshop? Because I believe in this workshop and I want you to have the workshop that is right for you.
What’s included in Using Your Gel Prints?
- Detailed step-by-step videos for 15 projects in the classroom right now plus more upcoming projects
- Lifetime access, so you have as long as you need
- All downloadable videos, for both mobile and desktop
- Immediate access once registered
- 30 day money back guarantee
This workshop is currently closed BUT get your email on the waitlist and you’ll be the first to know when registration opens back up!