≡ Menu

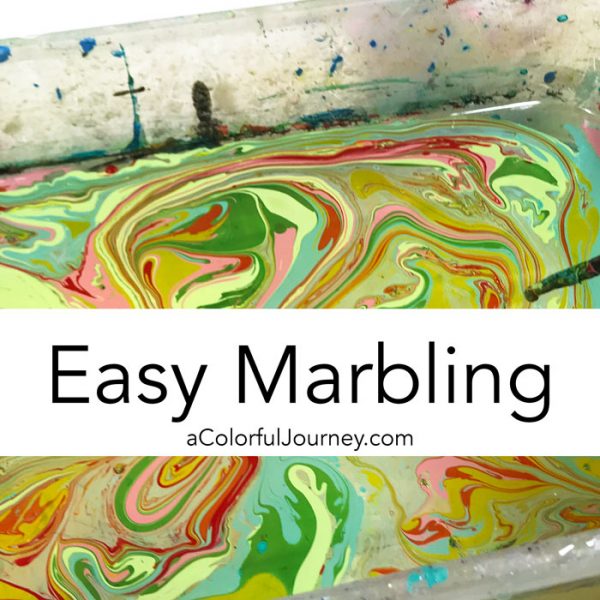
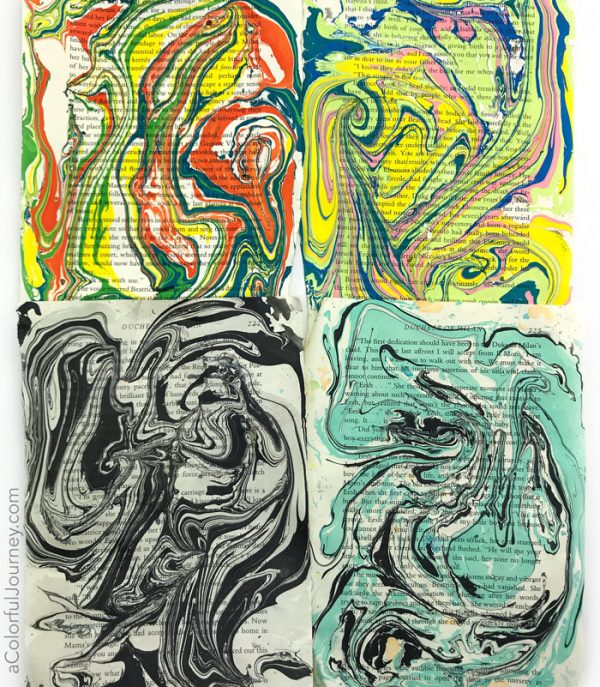
What happens when primary colors mix and mingle while making a flip pour?  Rainbow happiness! Just the 3 primary colors were added to the cup, along with white, and a whole lot more color appeared. Along with a whole bunch of cells.

Watch Rainbow Flip Pour from just the Primary Colors on YouTube.

To help you get started with paint pouring, I’ve created the free Paint Pouring Blueprint- get it here. Everything from set up to mixing to pouring is covered.

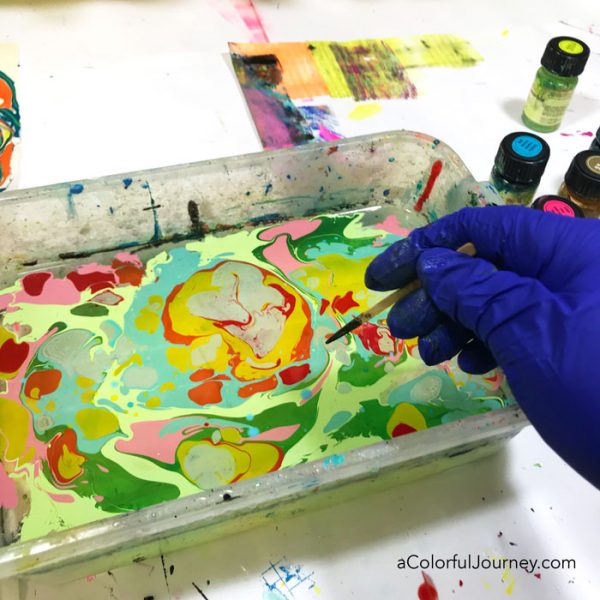
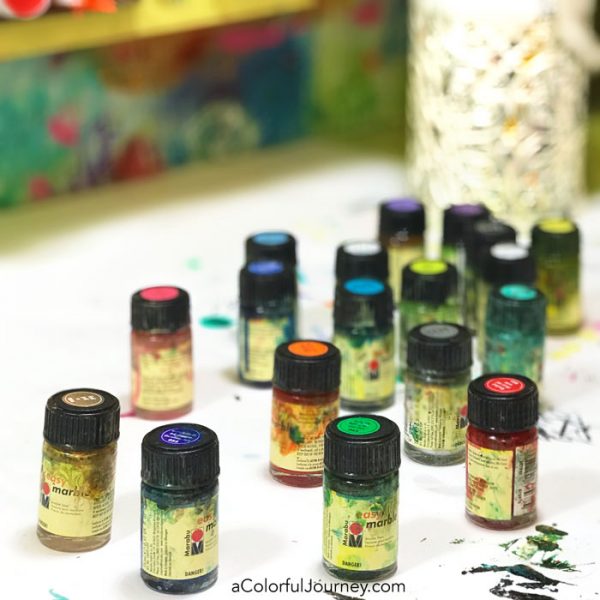
Just the 3 primary colors and white made this pour. A yellow, a magenta for the red, and shades of blue, plus good old stand by white paint were all the colors used. This isn’t just paint in here, it’s also Floetrol. If you’d like to see how to mix the paint and Floetrol together, check out this video.

To help make the cells extra wonderful, a drop or two or three was added to each jar of dimethicone.  It’s used in cosmetics but makes wonderful cells. You can also use silicone oil, like used for treadmills, to do the same thing.

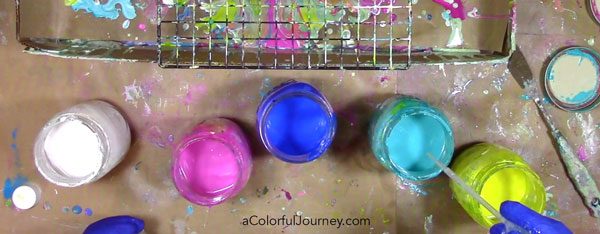
Once you have all the paint you wanted in the cup, put your canvas or wood panel on top and flip it over.  The suction will hold the cup in place so none of the paint will escape.

Lift up the cup and watch the rainbow appear but be sure to say Abracadabra before you lift the cup, after all, it’s color magic about to happen there!

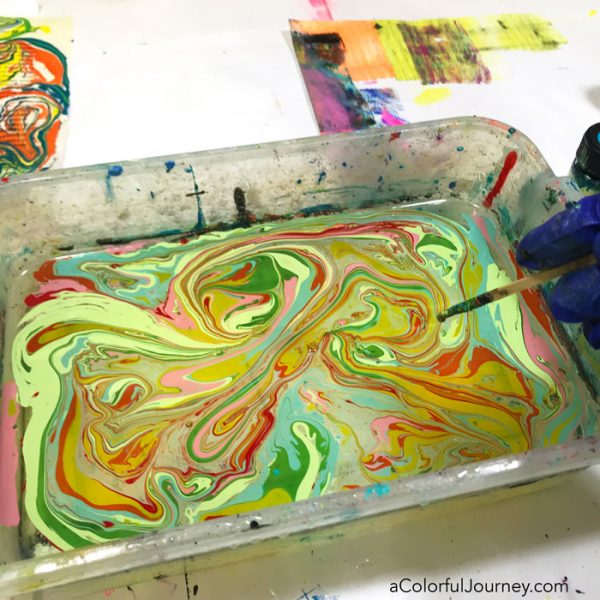
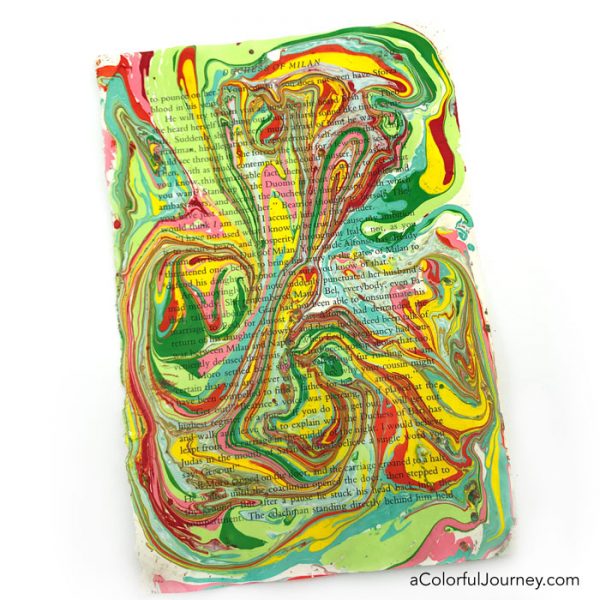
Here’s what it looked like soon after the cup was lifted.  Way more color variation than what was added to the cup. But it wont’ stay exactly like this. Gravity will pull on it and stretch parts out.

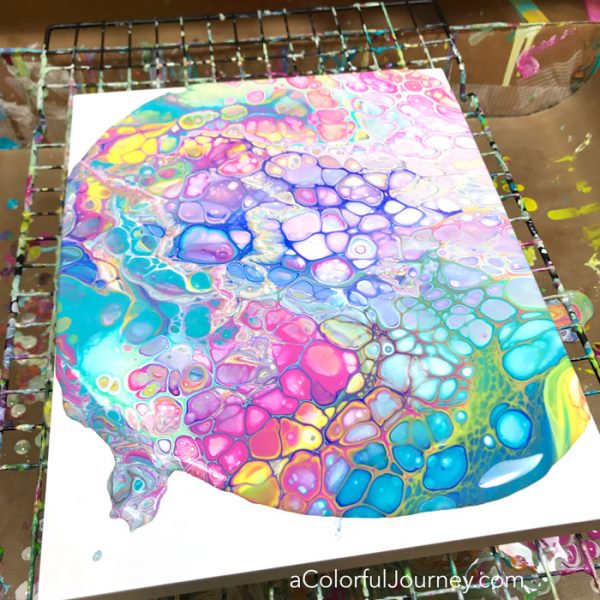
Here it is all dry, with all those glorious cells swimming about.  It’s like there is a rainbow ocean flowing through it!

Want to see more paint pouring tutorials?  Click here for more rainbow fun!

Here are the supplies used. Some of these links are affiliate links which means I get a small percentage. It doesn’t cost you anything extra and it helps keep the free tutorials coming!

I used Dimethicone, but you can also use silicone so I put that on the list below for you too.  The Floetrol, by Flood, comes in several sizes, so you have options for that in the list too. 

{ 11 comments }

I’m using the Japanese technique of Kintsukuroi in my art journal. What is that? It involves ripping up the page! Check it all out in my guest post on the guest post on the Stampington and Co. blog.  You bet there’s video too!  Thanks Stampington for inviting me to play!

Where did the inspiration for this come from? It was inspired by Jewelz Gibson and Kellie Wilkinsons’ post in my Facebook group, Rediscovering Your Creativity.  Stop on by and see what inspires you!

{ 0 comments }

There are only 3 steps to making these marbled papers. To get set up, all you need to do is put plain old tap water into a container then get ready to have fun playing!

  1. Sprinkle on the Easy Marble.
  2. Swirl the color around with a toothpick.
  3. Put your paper on the water and lift up the color.

Watch Easy Marble and Book Text on YouTube.

No matter how many colors you sprinkle on the water, it won’t make mud. Sprinkling is easy because there is a special cap on it so just a drop at a time comes out.

To create the swirls and pattern, take a toothpick or similar item, and drag it through the color.  Then just put your book text, white paper, whatever you are marbling, into the water.  Lift up the paper out and you’ll have all that color now on your paper.

Set the paper aside to dry.  When I pull the paper out of the water, I put it on a paper towel on the counter to dry.  There is very little wrinkling this way. If your paper wrinkles up for you, after the paint is completely dry, you can press it flat by putting it under a heavy book for a day.


Monochromatic or rainbow?  You have the freedom to make the color combinations you want because it is all the same easy peasy technique.

These bottles look little, but they are mighty.  Since only a drop comes out at a time, I was quite surprised by how many papers these can make.

What can you do with your marbled papers?  Art journals, collage, ATC’s, cards, scrapbooking layouts – anything you enjoy making with paper!

Want to see what I do with these papers? Get signed up for my newsletter and you’ll stay up to date on what is shared plus you’ll get weekly creative encouragement and inspiration.

Here are the supplies used. Some of these links are affiliate links which means I get a small percentage. It doesn’t cost you anything extra and it helps keep the free tutorials coming!

Colors of Easy Marble in the video: white, orange, lemon, reseda, cherry red, azure blue, black, rose pink, light green, aqua green, light blue, silver, turquoise, and dark ultramarine.

{ 9 comments }