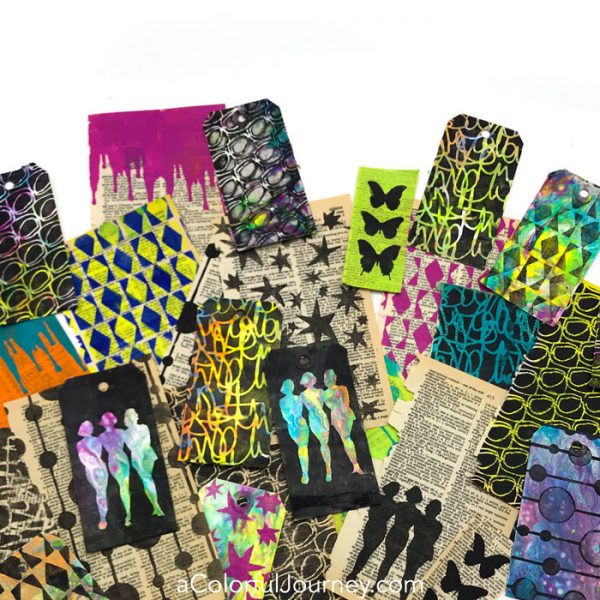
Let’s chase away the blank page and say goodbye to all the pressure that can accompany that blankness, by gel printing directly in the journal. Why do I love to start an art journal page this way? Is it because every drop of paint is used? Is it because there is zero pressure? Is it because it’s exciting to see the colors mingle? Yes to all of them!
Watch Gel Printing, Stamping and Mousse in an Art Journal on YouTube.
If you’re looking for more ways to use your gel plate, to play with the rainbow and never make mud, and to have fun printing then check out the self paced Gel Printing FUNdamentals.
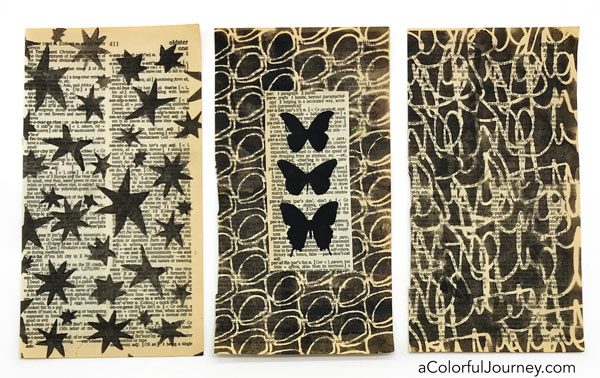
What’s that texture tool I used to make the pattern? It’s textured wallpaper. What can you do if you don’t have that lying around? Have any of those embossing folders? Those will create a raised pattern on the paper that you can use just the way I did the textured wallpaper.
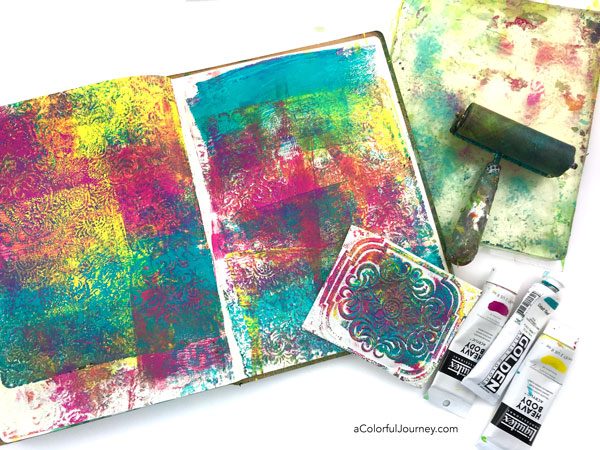
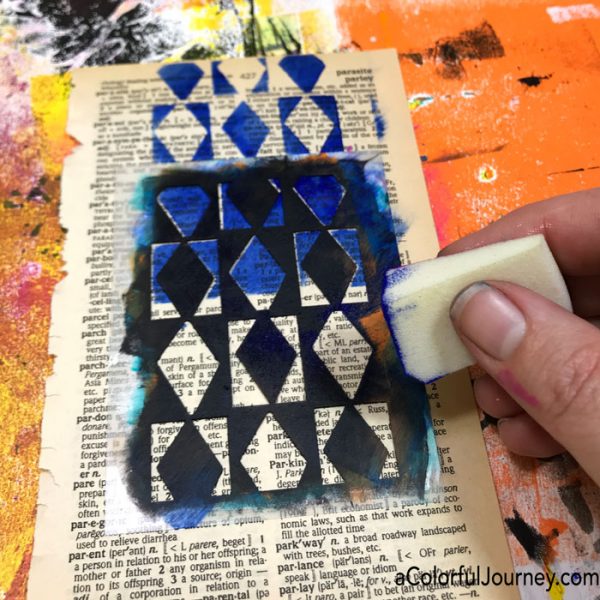
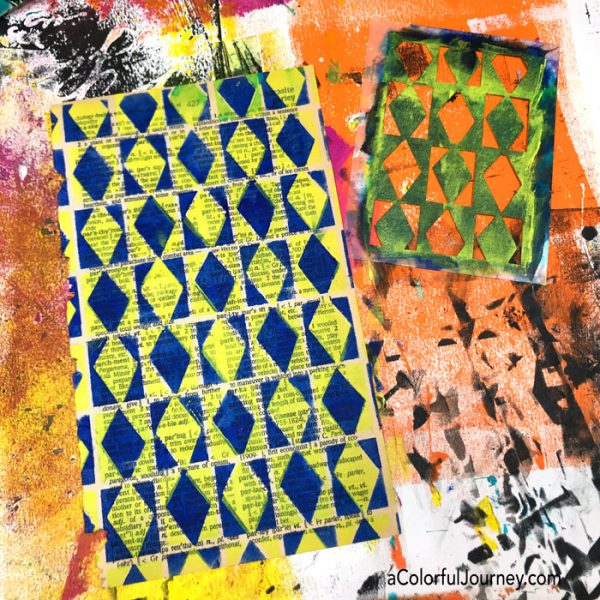
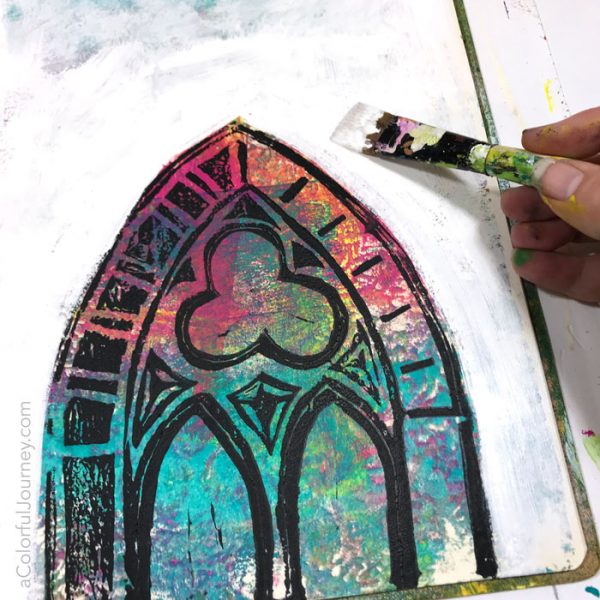
The gel plate was my “ink pad” for stamping. And by ink pad, what I mean is a place to put the paint so that not a drop is wasted. The paint left of the plate after I was done stamping was used to make prints.
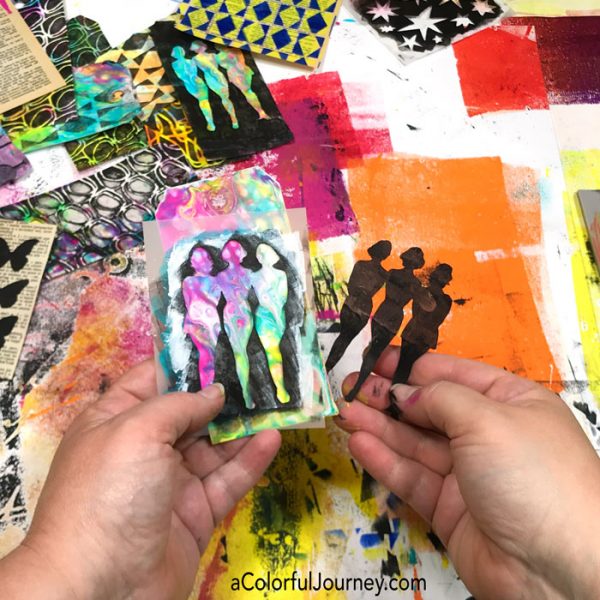
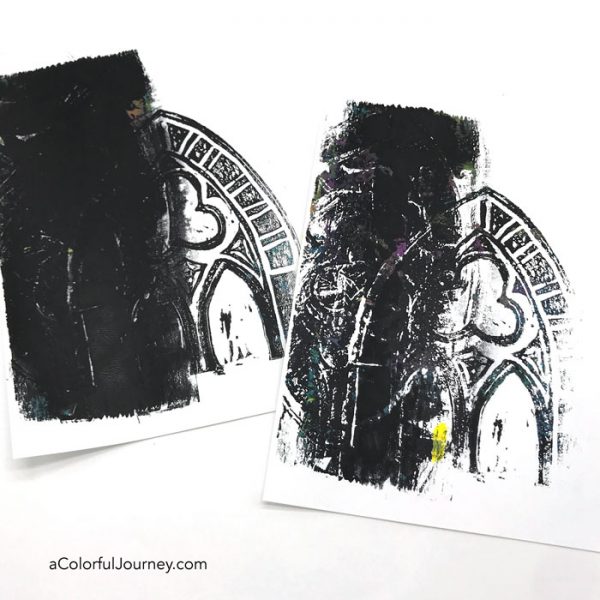
The ghost print made me extremely happy but what about the other print? It didn’t rock my world. That happens sometimes. But I’m keeping that print because I know it too will become one I love. How I build up layers, the decision process for how to transform ho hum prints into something so much more is all a part of Gel Printing FUNdamentals.
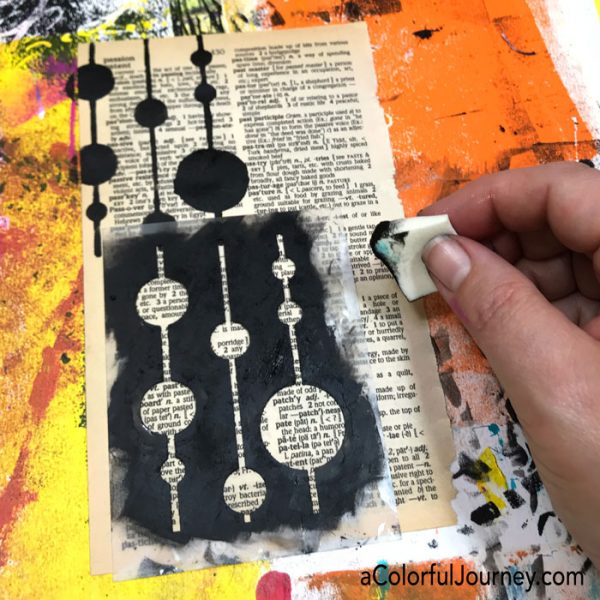
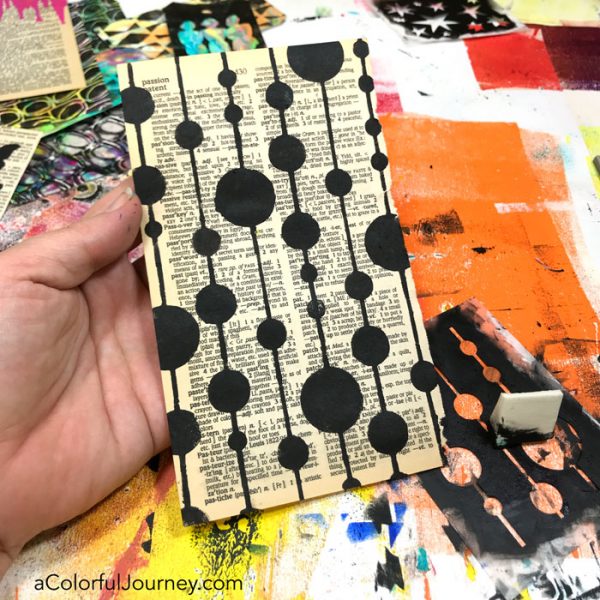
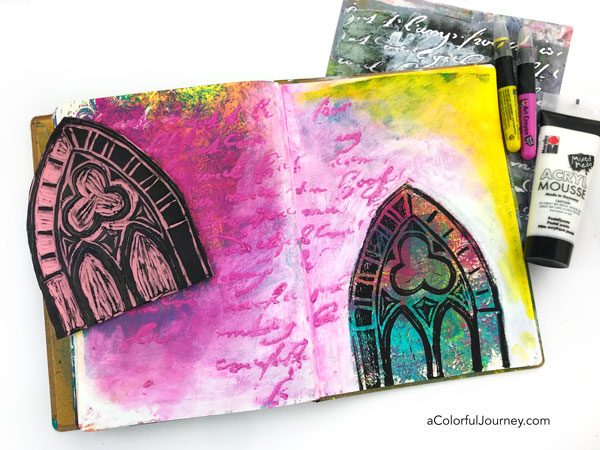
Once it is stamped, then it is time to cover up the background with a touch of white.
If you’re wondering how to carve a big stamp, I’ve shared my process in this video.
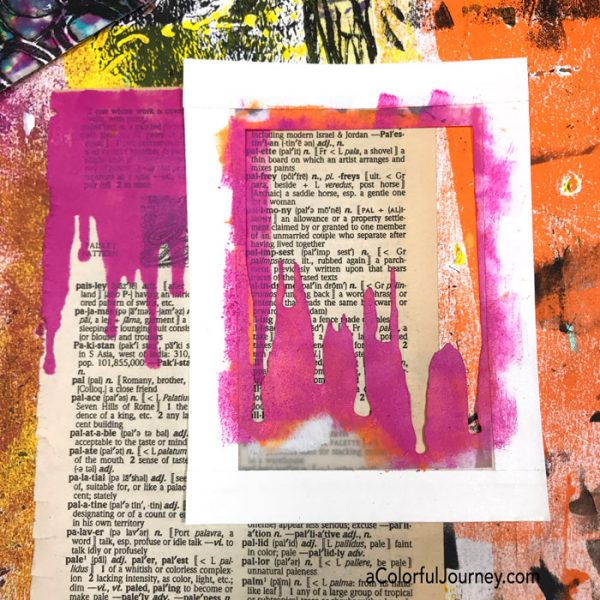
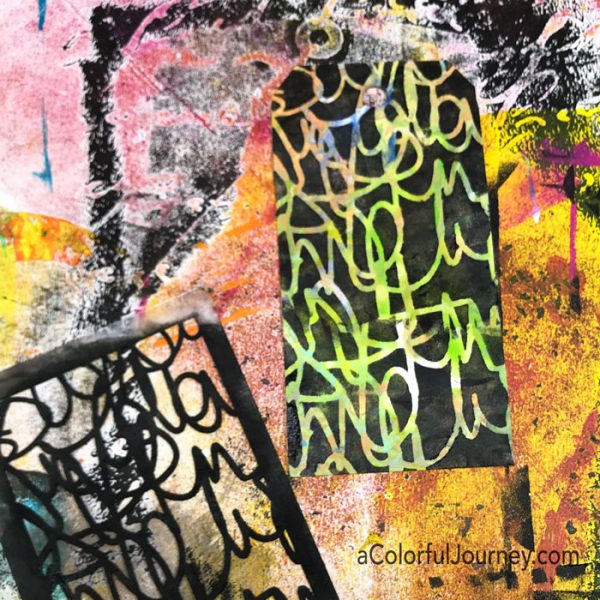
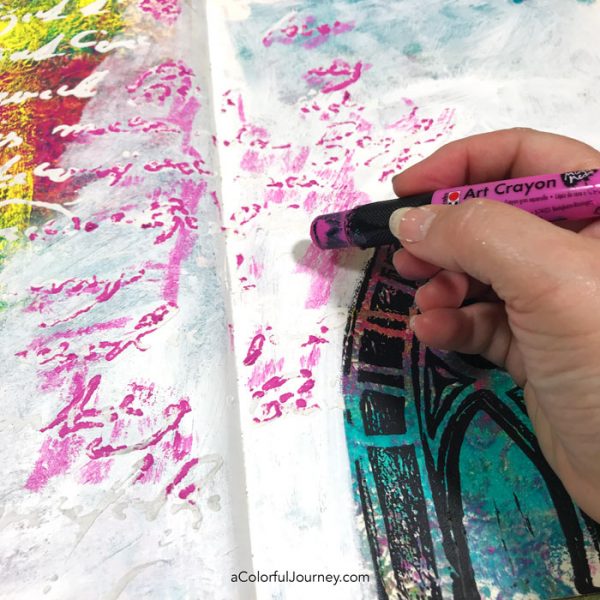
On top of the white paint is white Mousse. What is Mousse by Marabu? It is like a texture paste with a fine grit to it that dries in a few minutes. I used white and put it through my Rembrandt’s Words stencil . White on white is tough to see. But it wasn’t going to be white for very long!
By going over it with an Art Crayon, the Mousse was grabbing the color. Art Crayons react to water, so using a baby wipe, the color blends and smears and moves easily. It’s so creamy that you can also just use your finger to move it around too.
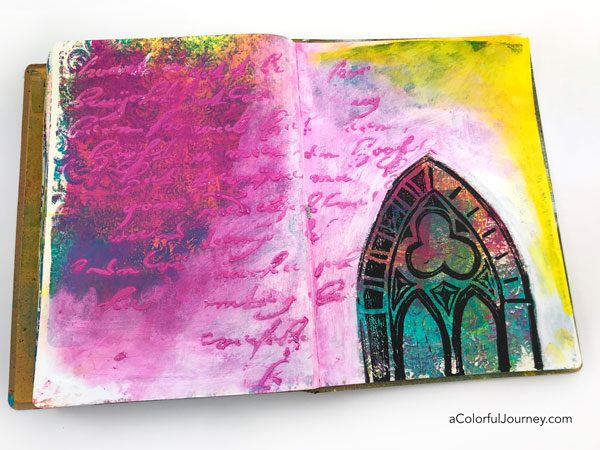
In the video, you’ll see the “struggle” I went through to cover up this background. It always adds an extra bit of excitement for me when part of me wants to keep something and part of me wants to cover it up.
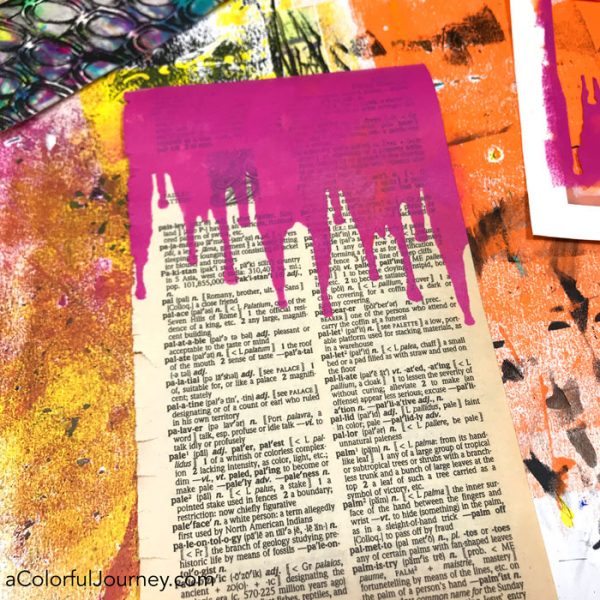
Of course, nothing is every really fully covered, like here where the background peeks out from around and under the pink.
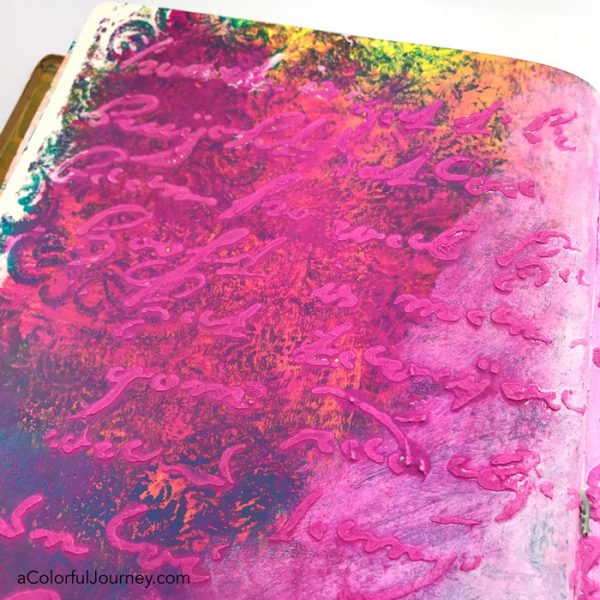
Here’s where I stopped playing today because of the Art Crayons. Right now they are creamy but if I give them some time to dry, they will become matte. That means things like colored pencils will be able to write on them. Love that it can be creamy to start then matte when dry because it gives me so many options for how to use it!
Now you know one of the ways I deal with the blank page so next time you feel any pressure from a crisp, new page, grab your gel plate and get that color on there!
Here are the supplies used. Some of these links are affiliate links which means I get a small percentage. It doesn’t cost you anything extra and it helps keep the free tutorials coming!
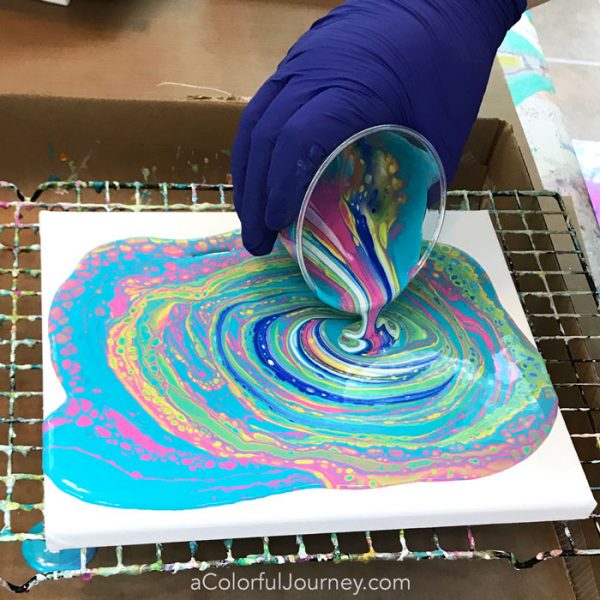
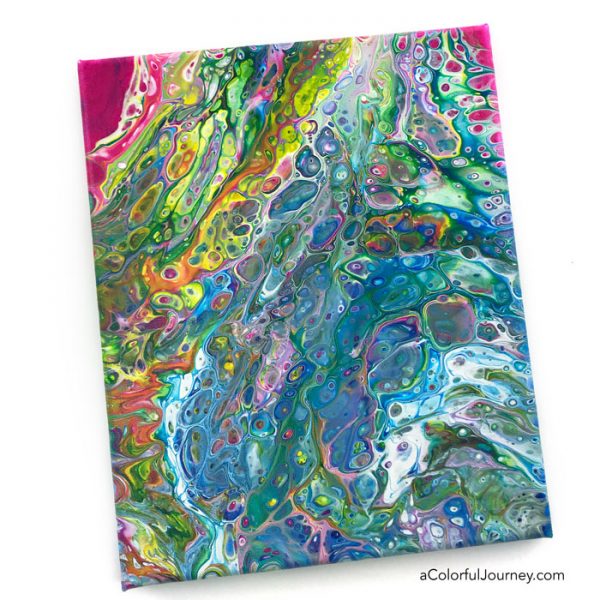
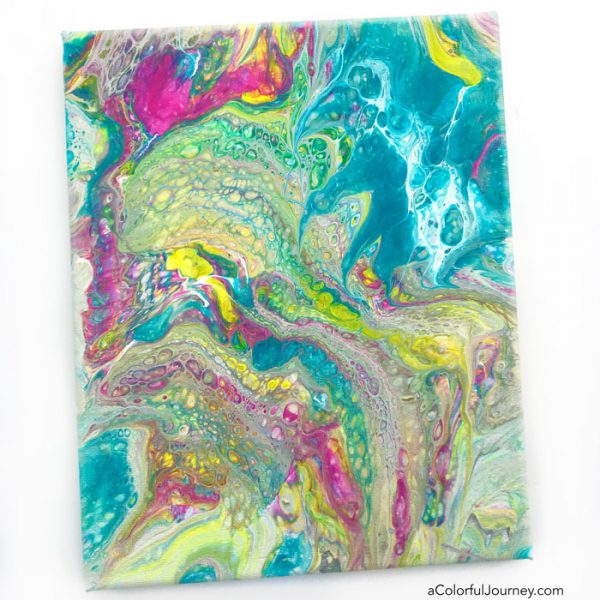
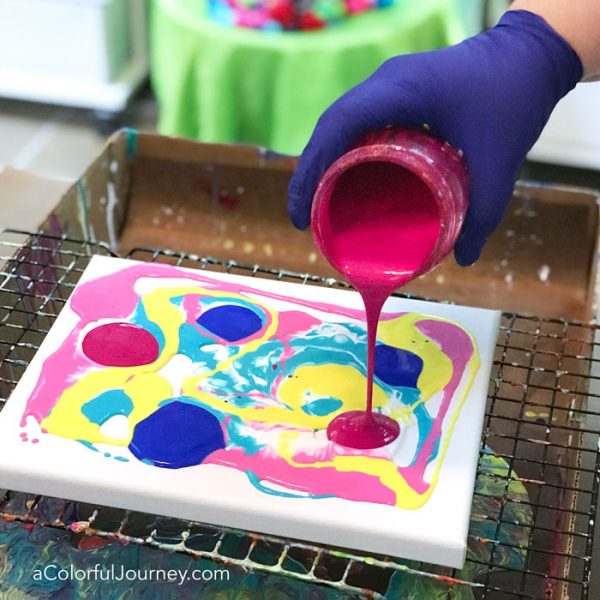
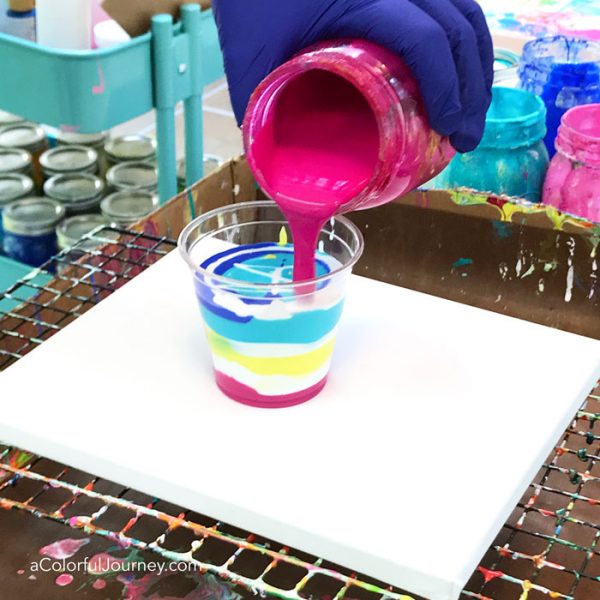 What supplies do you need to bring? All you need to bring is an apron. Everything else, and I mean everything, is included. Deco Art Pouring medium, cell making additives (yes, more than 1), paints, 10 canvases (8×10 size) and more. Everything you need to make ten canvases in one day. Even lunch is included from Evonda’s Cafe.
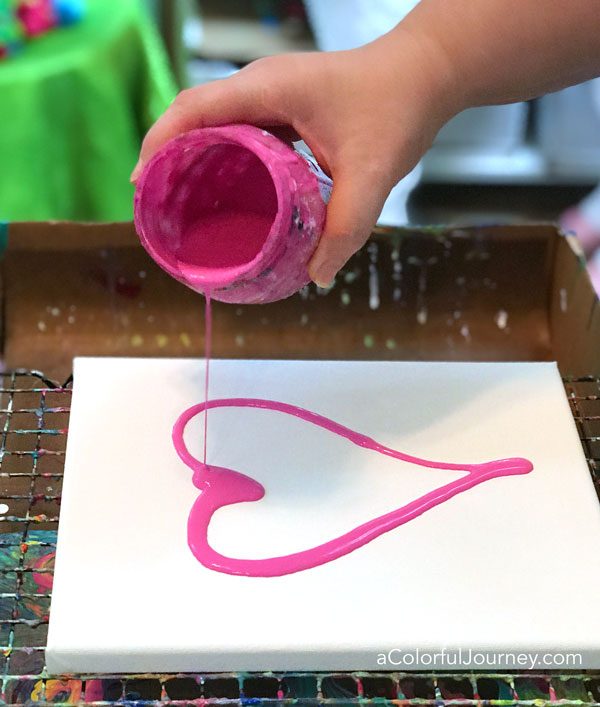 What’s the benefit of making 10 in one day? The play and the practice.