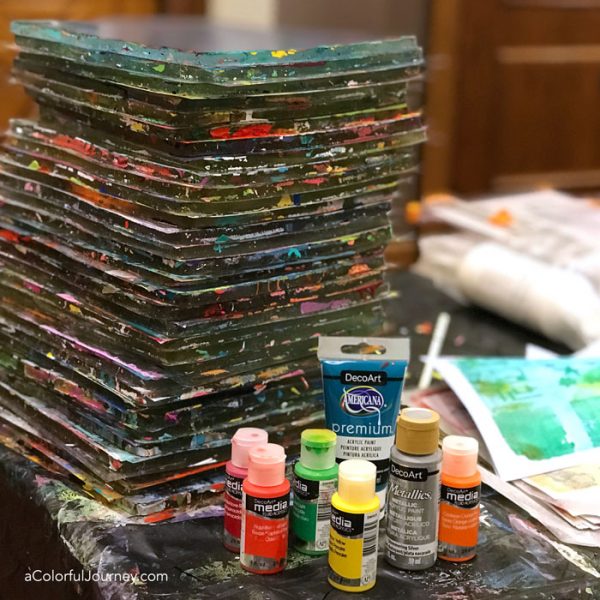
There are a 1,ooo ways to use a gel plate and what do I do? One of the simplest, most basic techniques. Why would that be a good thing? Because it kept me from falling into the trap of overthinking.
Over thinking takes all the fun out of the play and I could feel my mind heading towards being stuck in the quicksand of over thinking. In the video, you’ll see how I go simple to stay out of the trap and the spot where I started overthinking.
Watch How to Avoid Over Thinking when Art Journaling on YouTube.
Over thinking things takes the fun out of play and blank pages can quickly trap you in your head.
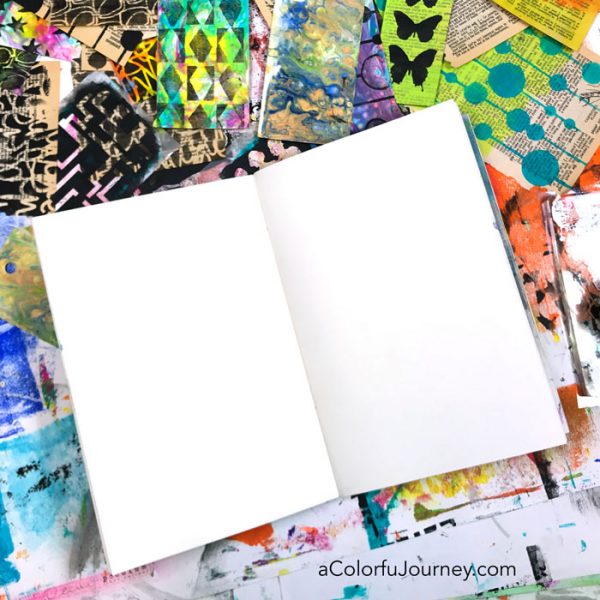
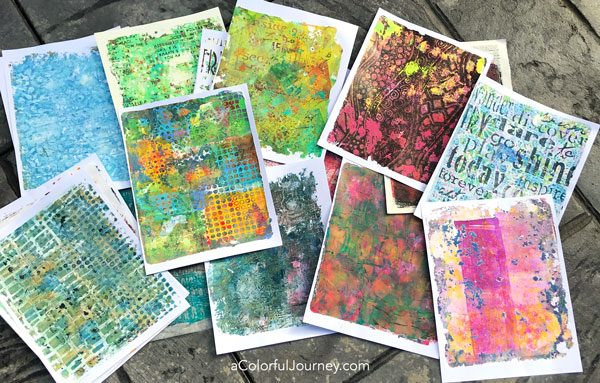
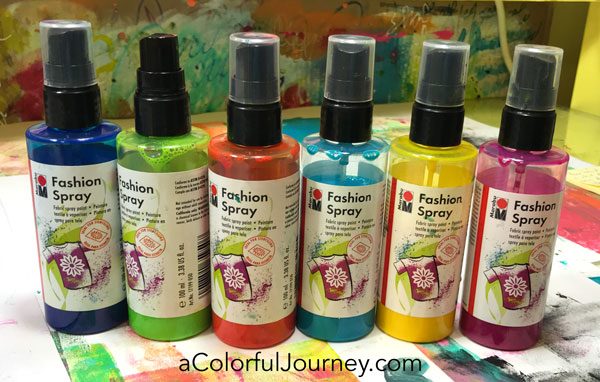
To avoid the trap of overthinking, just get something on there willy nilly. Put paint on the gel plate and slap it right on the journal. It doesn’t have to be any harder than that. Use a little or a lot of paint. Use a stencil or not.
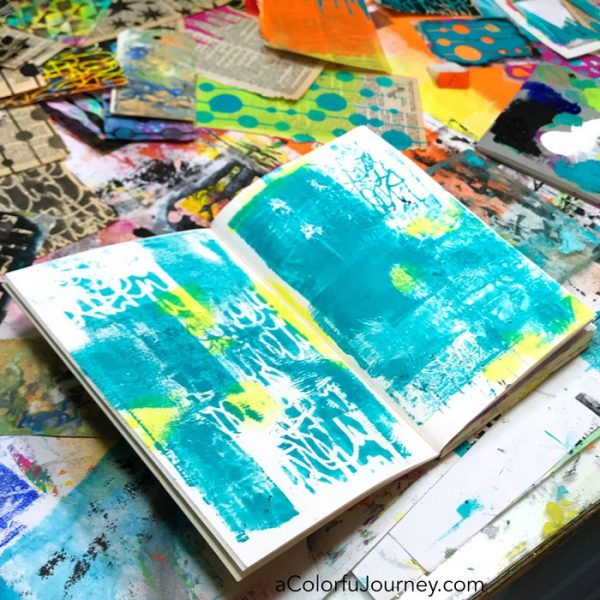
Use whatever colors you have, use whatever supplies you have and have fun adding layers to the page.
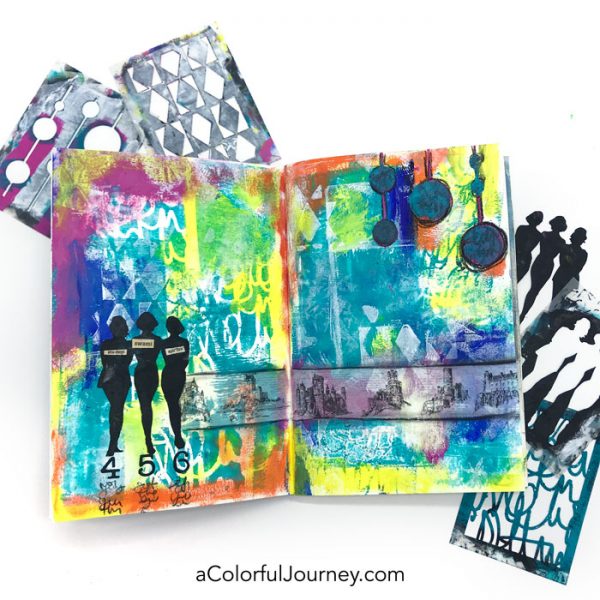
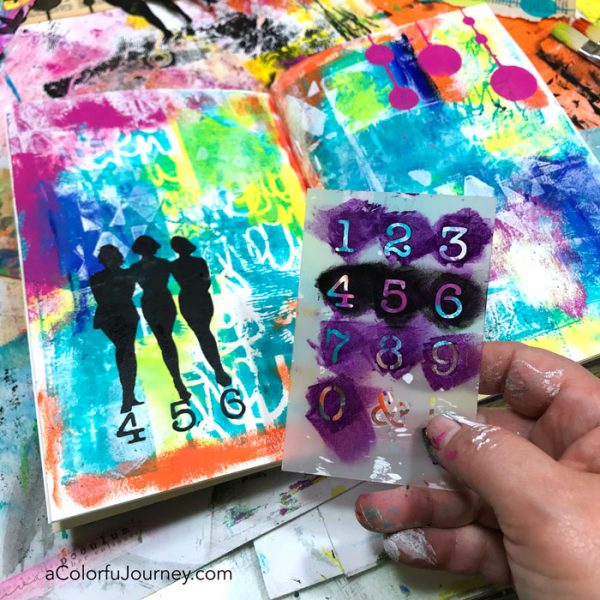
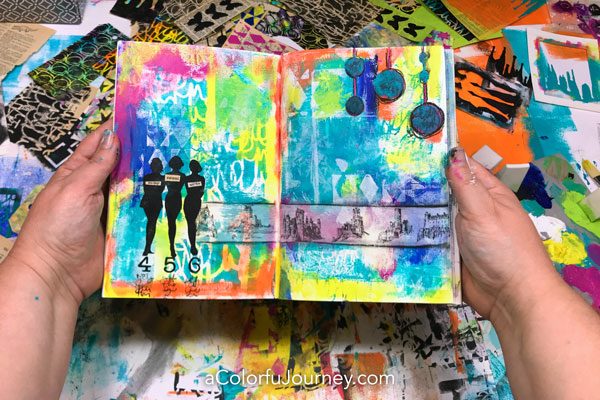
The StencilGirl stencils used on this page are all ATC sized that I designed and come 9 designs to a stencil. This set also includes 2 masks. Just because they are little doesn’t mean they can only do small things. The patterns can be used to fill any size and I share how to do that in this video.

The numbers are also from an ATC stencil, but this one is designed by Mary Beth Shaw, the founder of StencilGirl.
Why didn’t I number them 1, 2, and 3? Because I just picked a row with out overthinking it.
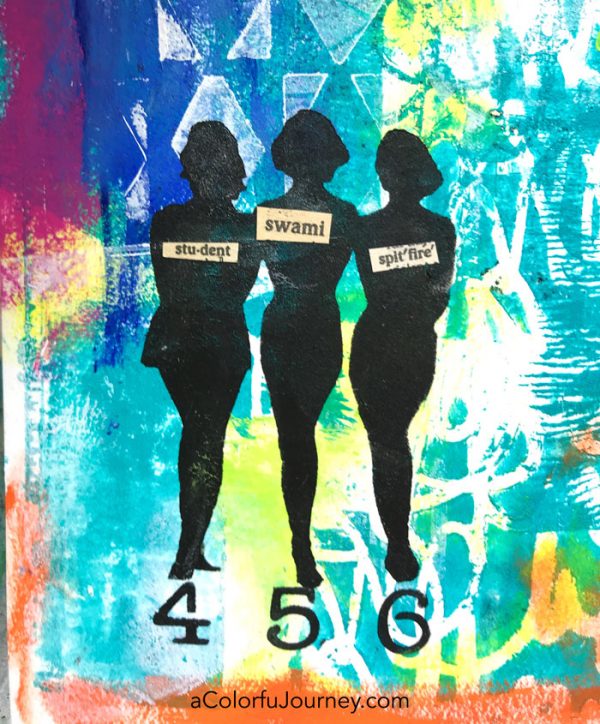
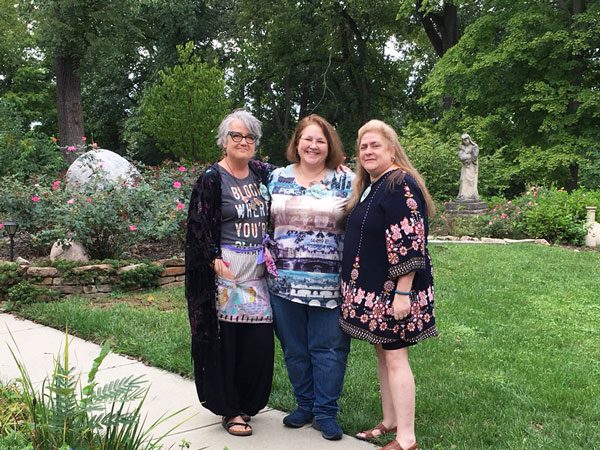
For all my talk about not overthinking, I got caught in over thinking the words on these 3 women. I hunted through book text for almost 20 minutes to find the right words for them. Why did it take so long? It was like going on a scavenger hunt without knowing what you’re looking for. Eventually, I found the 3 “right” words and the reminder that over thinking is not where the fun happens.
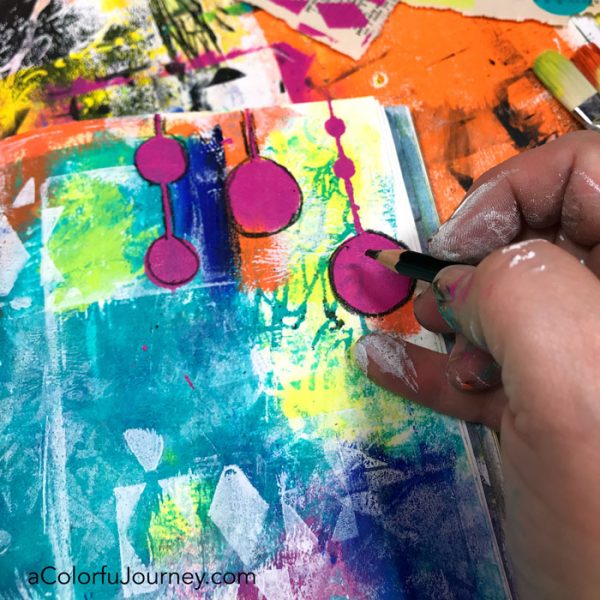
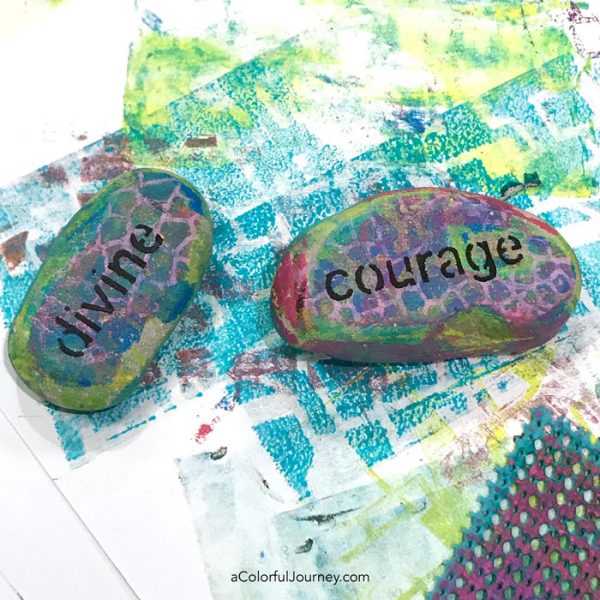
If you ever want a stenciled shape or pattern to pop on a busy background, try outlining it.
The washi tape created a problem. I wanted it to be behind the women and not just on top of their legs. That’s where the mask that is included with the stencil was so helpful. It let me cut the tape to the shape of her leg quickly and easily.
I do my very best to find you links to every supply that I use, but sadly, there is no link for this particular washi tape. Just couldn’t find it anywhere.

When I scribble journal, I am writing real words but don’t worry if you can’t read them, neither can I. It isn’t about reading the words for this type of journaling, it is about the process of honoring those thoughts and just getting them out.
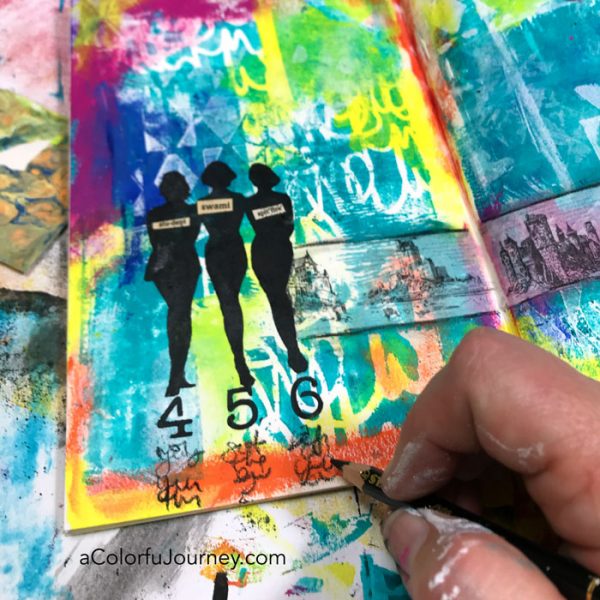
Here’s where the page felt complete for now. There might be more added to this page, and you bet I’ll share whatever happens. Be sure to be signed up for my newsletter, that way you’ll know be in the know!
Here are the supplies used. Some of these links are affiliate links which means I get a small percentage. It doesn’t cost you anything extra and it helps keep the free tutorials coming!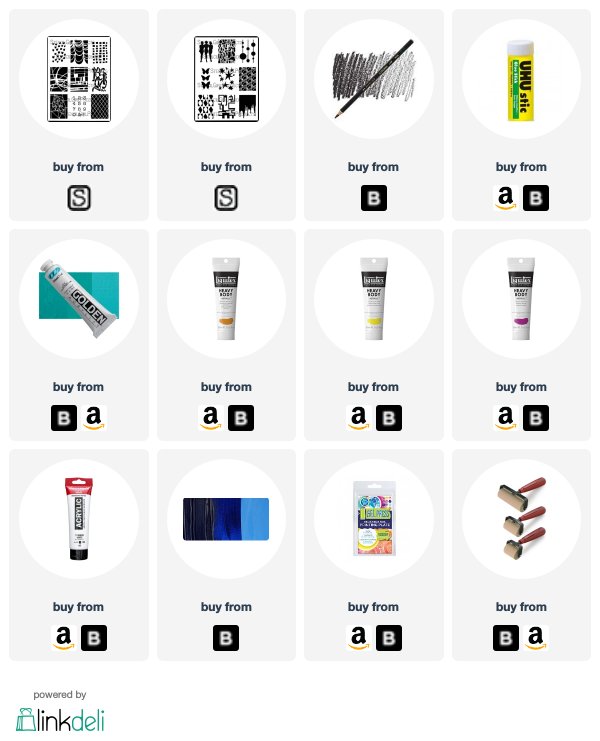
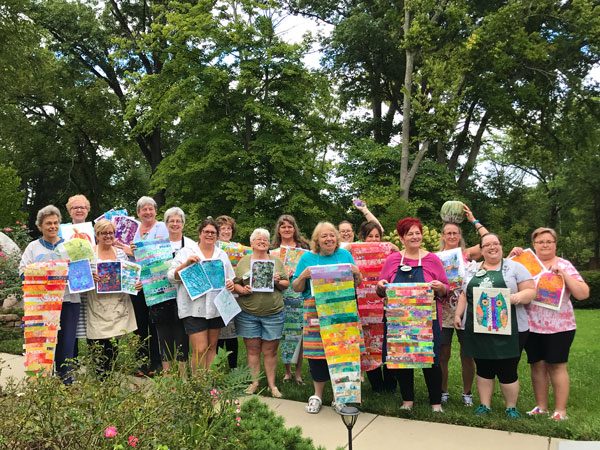

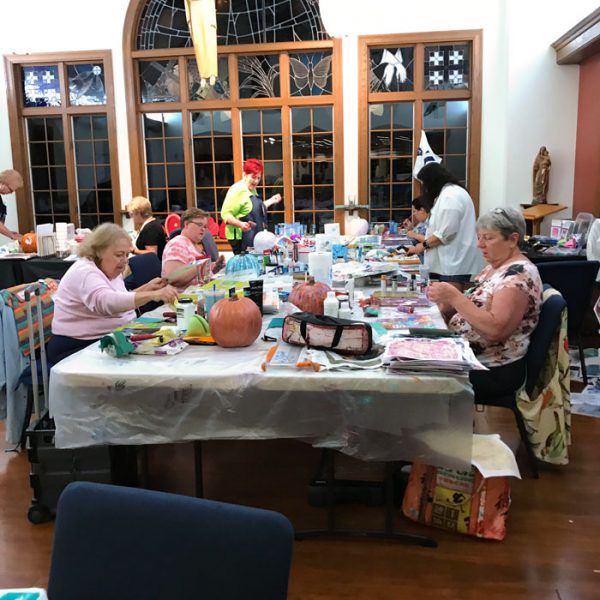
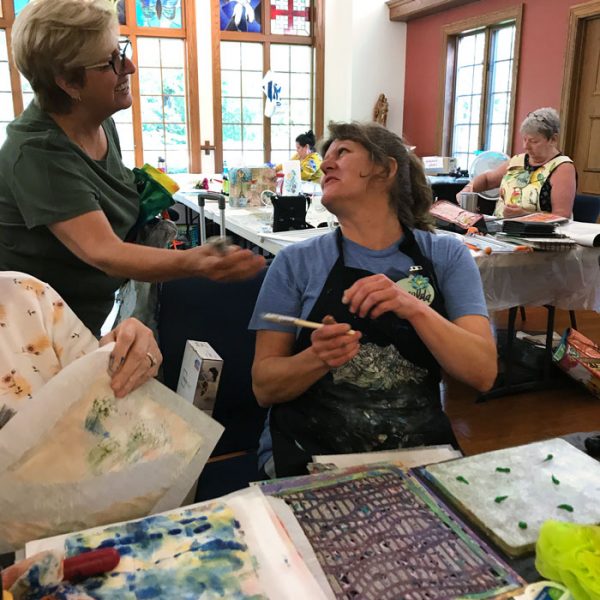
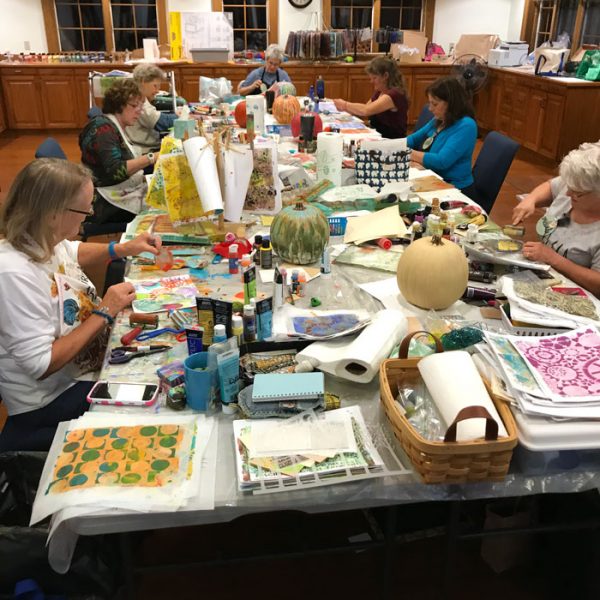
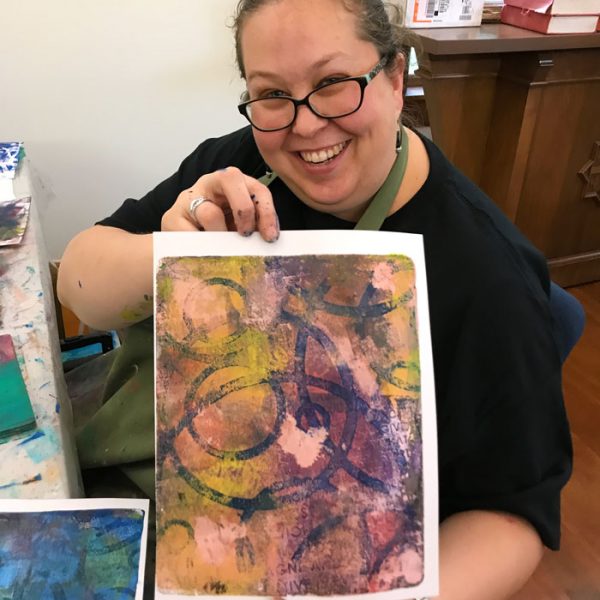
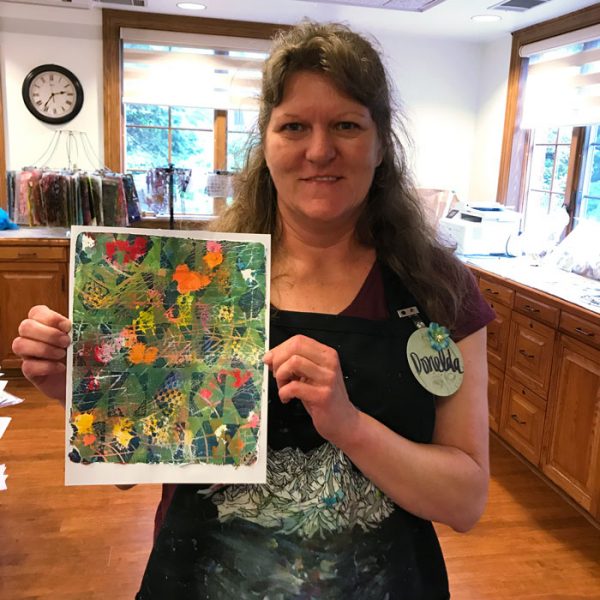
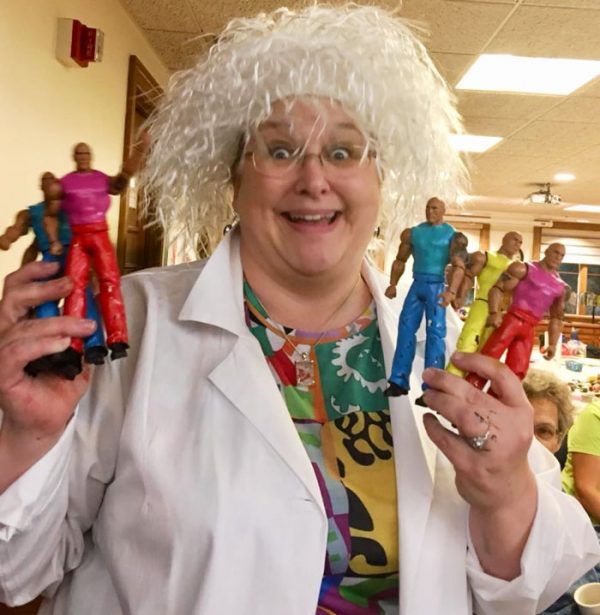
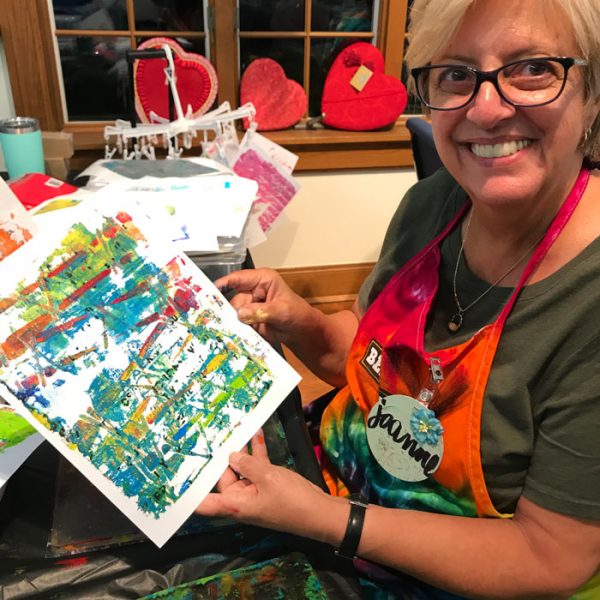
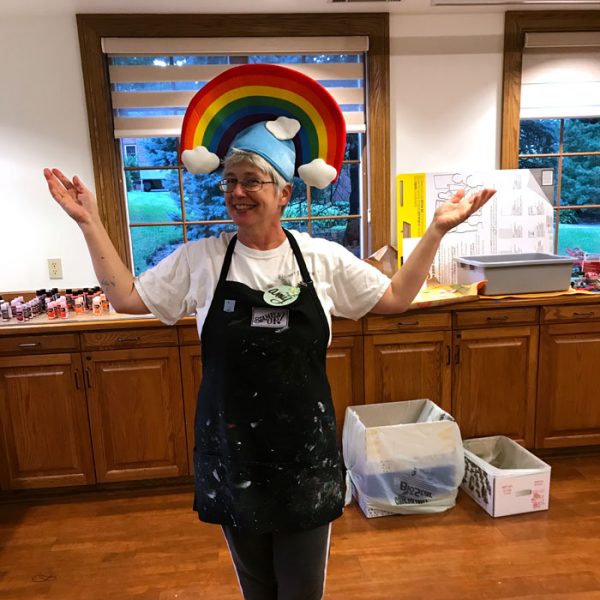
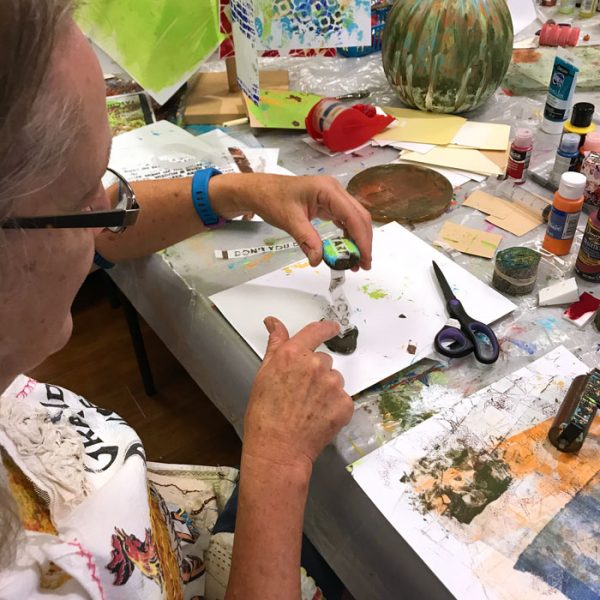
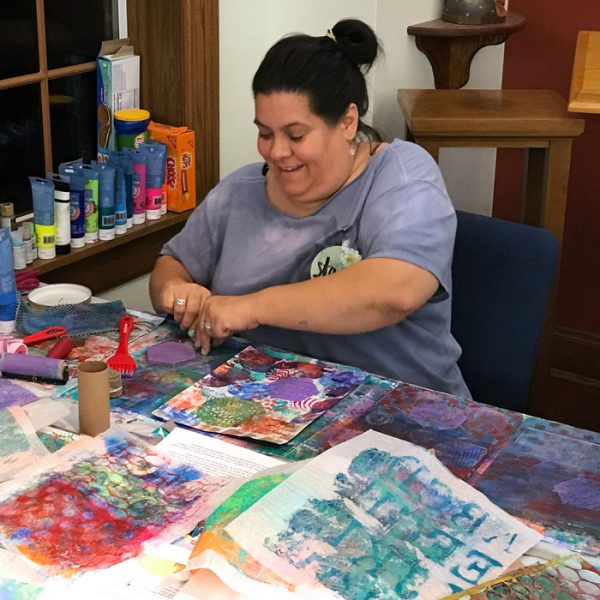 Lots of laughter, frenzied printing, and very talented dancing to the music by the instructors. Okay, Glenda and Kari had talent with that!
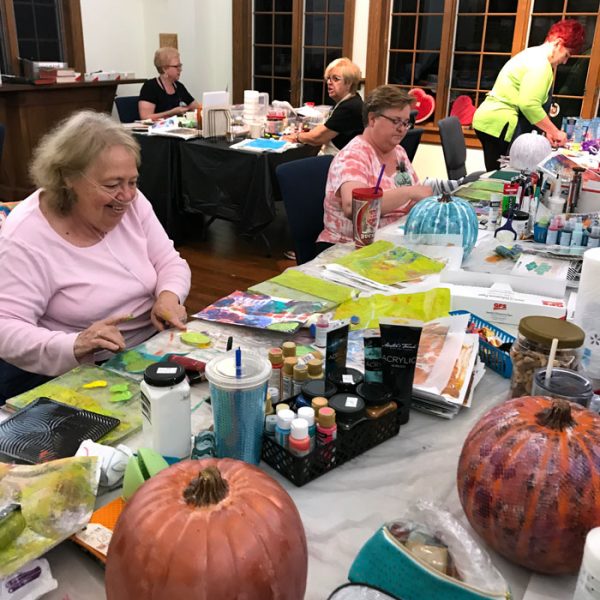

 Here are the supplies used. Some of these links are affiliate links which means I get a small percentage. It doesn’t cost you anything extra and it helps keep the free tutorials coming!