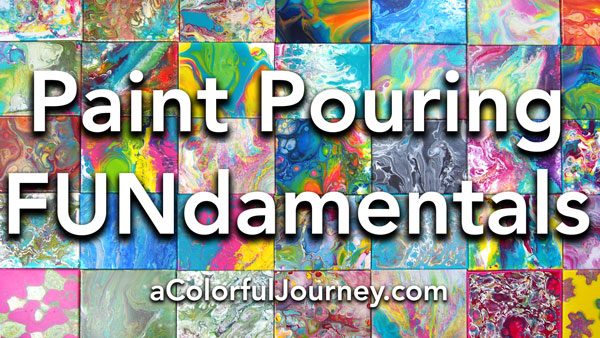
Ready to feel the excitement and freedom of paint pouring but wonder how to actually do it? That’s where my Paint Pouring FUNdamentals workshop can help you.
How much paint to use? What kind of paint? Ratios and amounts? Making cells? You’ll get all of these answers and a whole lot more in this online workshop.
“Thanks Carolyn for making something that I have always been afraid to try very approachable!” -Chris Zar
Understanding Color
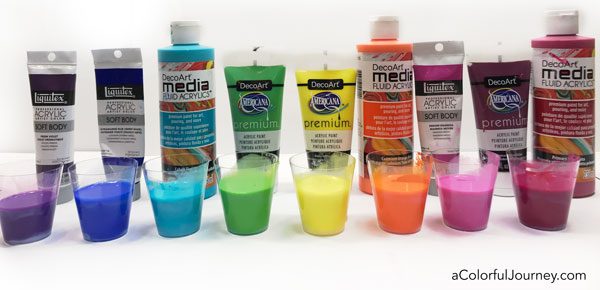
Color plays a huge role in paint pouring and when you’re using such fluid colors it’s can get muddy very quickly. There’s a little trick to keeping the paints from getting that gray, yucky mud look.
You’ll also get my practical, easy to remember and apply way of approaching color. When you understand how color works in paint pouring you can keep your bright colors bright!
How do I know all this about paint pouring?
Curiosity mixed with a lot of practice. My artistic curiosity led me to ask “Why did that happen?” and explore through trial and error. One month I went through 5 gallons of Liquitex pouring medium testing out ideas.
With all this experimentation, especially early on, there were definitely a bunch of duds. But every one of those duds added to my understanding.
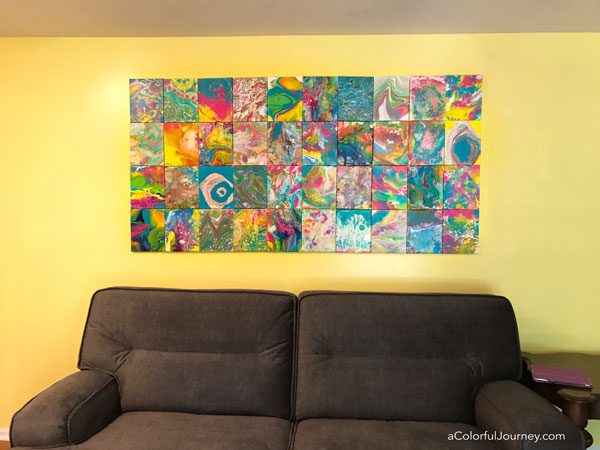
That understanding is why I can break it down step-by-step for you so you can skip all that expensive trial and error and get straight to having fun making the kinds of canvases you want on your walls!
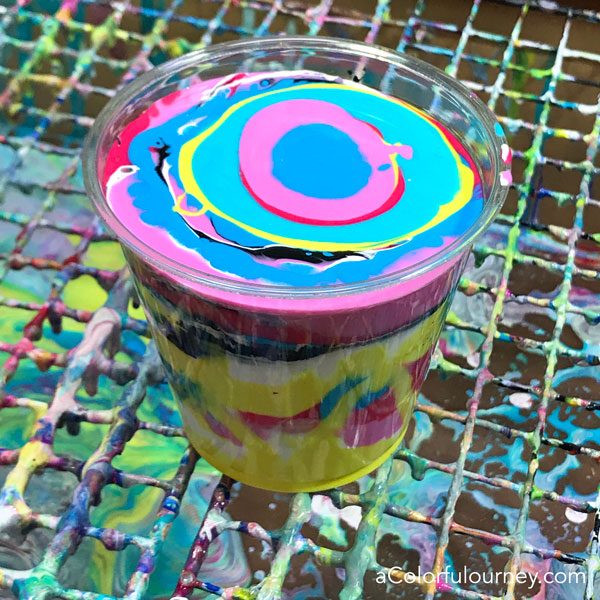
Paint Pouring can look mysterious. When someone sees your painting, they wonder how you did that! It’s like magic but it’s not supernatural forces at work. It’s actually understanding how the different materials behave. An example of this is adding paint to the cup.
When you add the colors of paint into a cup, does it matter what order you put them in?
Yes, but 2 things matter far more than that. You’ll see what these subtle things are that make a huge impact on the pour. You’ll see side-by-side comparisons so you can see the principles, or FUNdamentals in action.
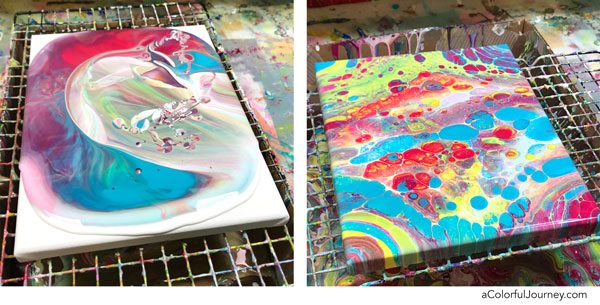
These 2 canvases below used the same colors added in the same order. And turned out dramatically different. Find out why in Paint Pouring FUNdamentals.
“I have never seen anyone explain paint like you! I never understood any of it until now. Anyone that is even thinking about paint pouring NEEDS this class.” – Joanne Howard
What about the ugly ones?
Not every pour is magical. I’ve made plenty of duds and that gave me lots of practice in how to save them. I’m sharing my go-to way to save a pour in the workshop.
There are a lot of assumptions out there about paint pouring.
One is you have to measure carefully to get the right ratio or you’re just eyeballing it and totally guessing.
There’s another way that lets you create the ratio of paint to pouring medium you need every time and without any measuring with any brand of paint.
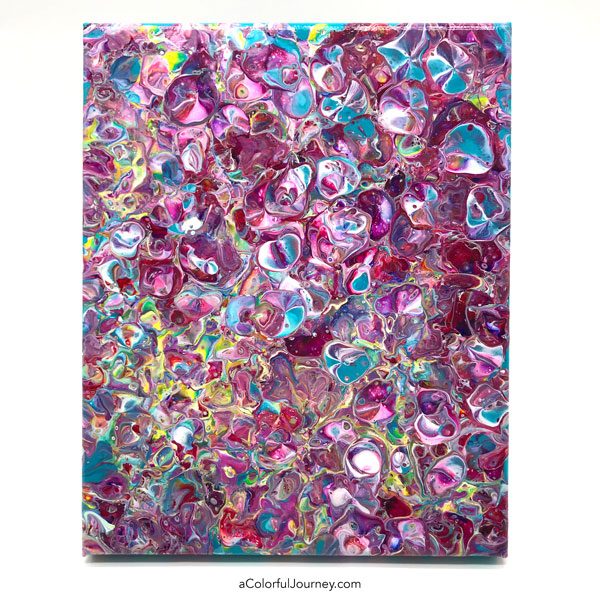
Another assumption is that it wastes paint. It doesn’t have to! Not only are there ways to use the paint caught in the drip box, you’ll also find out techniques where the paint doesn’t leave the canvas, like on the red and pink canvas below.
“I thought I knew a lot before the course, but I learned so many new ones.” – Amy Schneider
Other assumptions are that it’s messy and you need a big space for it. But none of these have to be true! It has to do with how you set up your space. I actually do all my pouring in about a 2 feet of counter space and I’ve learned how to keep things compact and colorful at the same time.
I’ve carefully chosen the techniques in this workshop so you have a strong understanding of the FUNdamentals step-by-step. Having the solid foundation means you can easily apply the knowledge as you are making your pours.
If you want a dreamy look. You’ll know how to create that.
If you want a controlled composition, you’ll know how to create that.

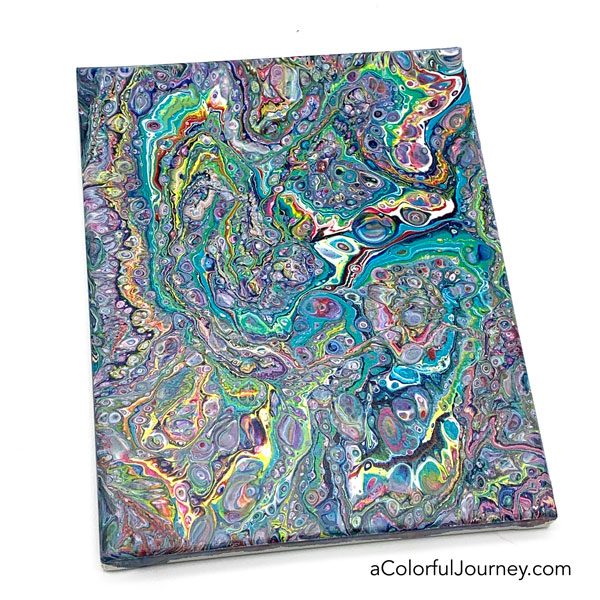
If you want cells, you’ll know how to create those.

What’s included in the workshop? LOTS!
- Immediate access to the lessons
- Downloadable videos
- Lifetime access
- 14 day money back guarantee!
- AND BONUSES!
Lessons in this workshop
- Getting started setting up your space
- Understanding Color
- Mixing Paint and Pouring Medium
- Making a Pour
- What does the oil really do and why?
- Cannonballs of Color
- Cells of Alcatraz
- Trouble Shooting Cells
- Swishing and Swiping
- Building an Intentional Composition
- A Very Hungry Caterpillar
- Topographical Pours
- The Slinky Effect
- Currents and Riptides
- Let There Be Light
- Building Dams
- Ghostbusters and Dr. Frankenstein
- Getting to the Point
- Sunny Side Up Eggs
- Playing in the Rain
- Adding a gloss finish to your canvases
- How to Get a Smooth Canvas
- Hot Mess is an Understatement
- Squids and Cells
- When You Only Love Part of It
- Rescuing an Ugly Pour
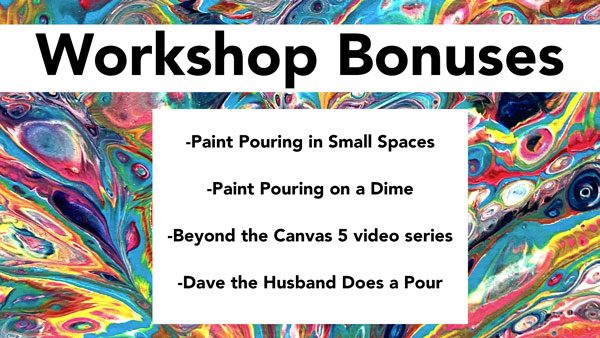
Plus 4 bonuses!
Paint Pouring in Small Spaces, Paint Pouring on a Dime, Beyond the Canvas 5 video series, and Dave the Husband Does a Pour
In total, there are more than 40 videos in the workshop waiting for you!
But more important than any video or any bonus is that you can get your questions answered. I’m an active and involved instructor who personally answers all your questions. You’ve got me right there with you.
This workshop is currently closed BUT get your email on the waitlist and you’ll be the first to know when registration opens back up!
“I really wobbled on paying for this class, wondering if I could pick up most of what I needed to know from YouTube videos. I have to say I am glad I paid for this! You make your videos with tons of info and interesting.” – Teresa Reeves
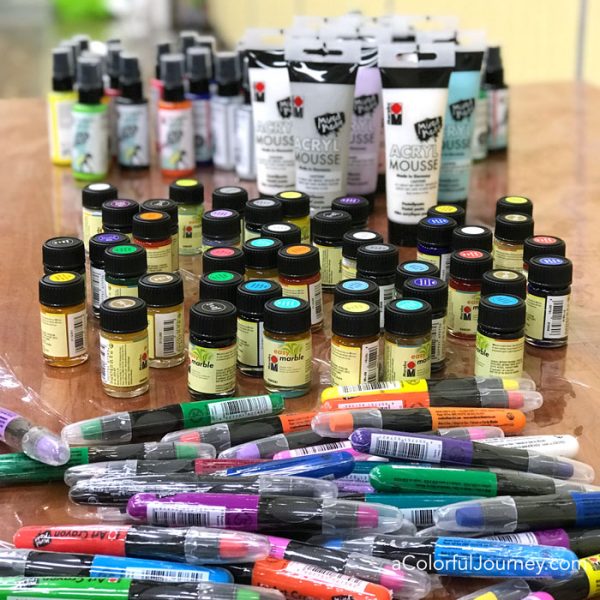
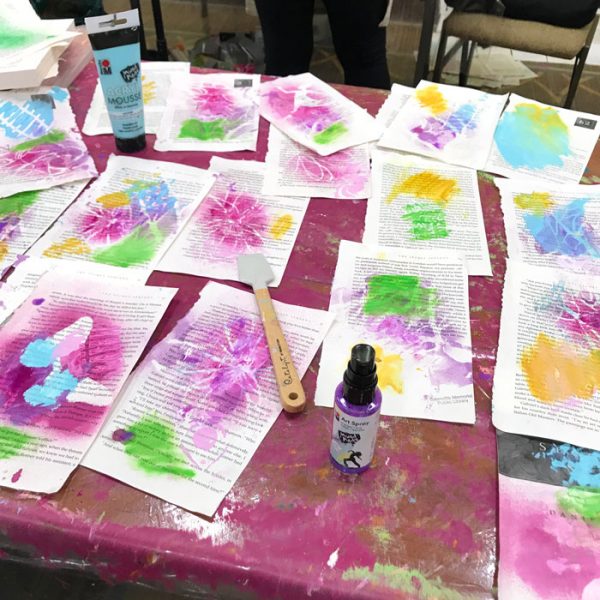
What Supplies Do You Need?
The getting started videos in the classroom walk you through setting up your space and introduces you to the supplies so you can comfortably choose which ones are right for you. Here’s a basic supply list for the workshop:
- a pouring medium -I’ll be using Floetrol, DecoArt, and Liquitex but you only need one. I recommend getting started with Floetrol – it’s the easiest to work with, makes cells, is the least expensive, and is found in hardware stores
- acrylic paint– you probably have some already
- something to mix it in– plastic cups or jars, whatever you have on hand and popsicle sticks for stirring
- canvases– any size, I’ll be using 8×10 canvases
- cardboard box to catch the drips and plastic cups to make a drying rack
- A non-stick craft mat or plastic drop cloth from the hardware store
- Disposable gloves and an apron
- Optional– oil to add to your mixture
FAQ
Will I learn every possible way to do a poured painting in this workshop? Every single possible way would make this a multi year course. Instead of showing you every possible way, I’m showing you the types of pours that illustrate the principles of pouring. That way you have a strong foundational understanding of why and how paint pouring works. This enables you to understand the forces at work no matter what technique you use.
I have never done paint pouring- will I be able to do this? Yes! No experience needed.
I already know about pouring, will I learn more in this workshop? Here’s what Amy said after completing the workshop, “I thought I knew a lot before the course, but I learned so many new ones.”
Do I need special paint? Nope. Acrylic paints, any brand. Craft paint or artist grade paint all work well for pouring. In the getting started section I show you an assortment of paints so you can pick and choose what is right for you.
Do I have to use a pouring medium? Yes, you’ll need a pouring medium. Any brand or kind of pouring medium will work.
Are you using a torch? No. I will not be using a torch in this workshop. I just don’t trust myself with fire.
How long are the lessons? The lesson videos are approx 15-25 minutes. I’ve edited them carefully so that they are direct and to the point.
How long will I have access to the workshop? Lifetime. Once you’re a member, you’ve got unlimited access to the classroom and videos.
Can I watch the videos on mobile devices? Yes. The videos are available through VImeo and their app.
Are the videos downloadable? Yes!
Is there a money back guarantee? Absolutely! Check out all the videos, the content and if what you’ve learned hasn’t helped you simply send me a one line email letting me know the workshop isn’t right for you for any reason within 30 days of purchase and you’ll get a prompt 100% refund.
Are all the lessons available now? Yes, this is a self paced workshop, so all the lessons are waiting for you right now.
Where can I get the supplies? One of the pouring mediums, Floetrol, is found in large hardware stores. The other supplies are from arts/crafts stores like AC Moore or Michaels. In the classroom, I’ll have links to each product for those who prefer to shop online.
I don’t have a lot of space. Will I be able to do paint pouring? Yes. If you have a couple of feet on a counter you’ll have plenty. I’m making all 8×10 size canvases. Why not any larger ones? Because that is what fits on my counter where the video camera is so that you get a birds eye view of the entire process.
What if I have questions as I’m pouring? Then just ask and I’ll answer. Sometimes just getting a straight answer to a small question is all you need to get over a hurdle. You can ask questions on the lesson pages and in the optional secret Facebook group.
What’s included in the workshop? 25+ lessons, lifetime access, 40+ videos you can download or stream on mobile or desktop, including the 4 bonuses! AND a 14 day no hassle money back guarantee! This is a self paced workshop so all lessons are available as soon as you’re registered.
All these bonuses included when you register
- BONUS #1: Pouring in a Small Space
- BONUS #2: Pouring on a Dime
- BONUS #3: Paint Pouring Beyond the Canvas- five video series
- BONUS #4: Dave the Husband doing a pour
This workshop is currently closed BUT get your email on the waitlist and you’ll be the first to know when registration opens back up!