≡ Menu

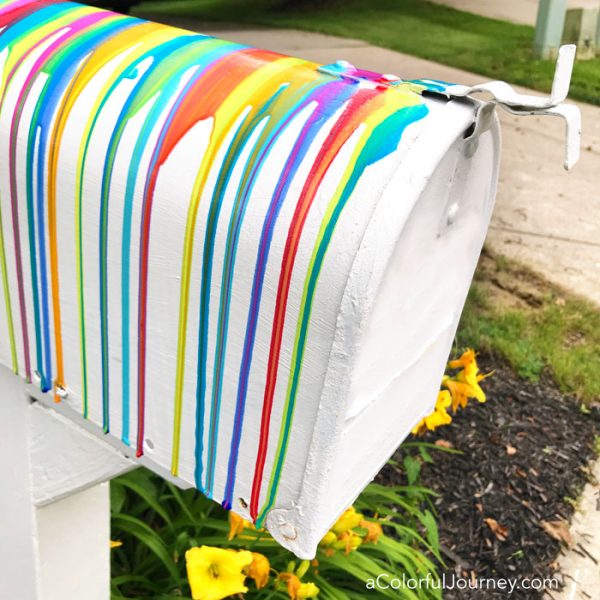
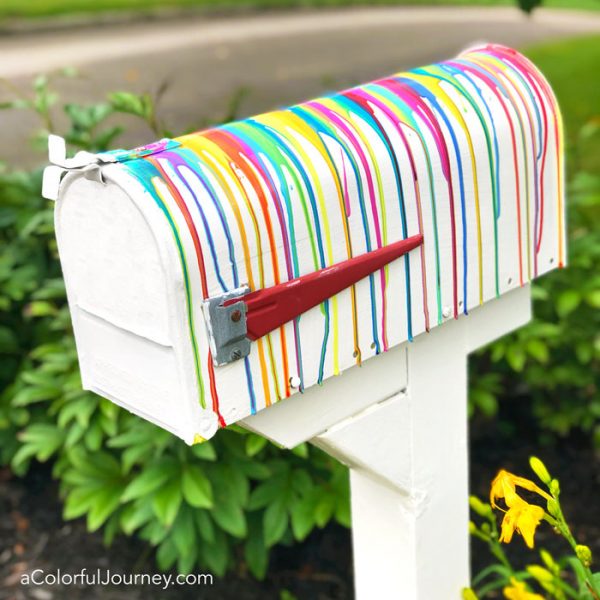
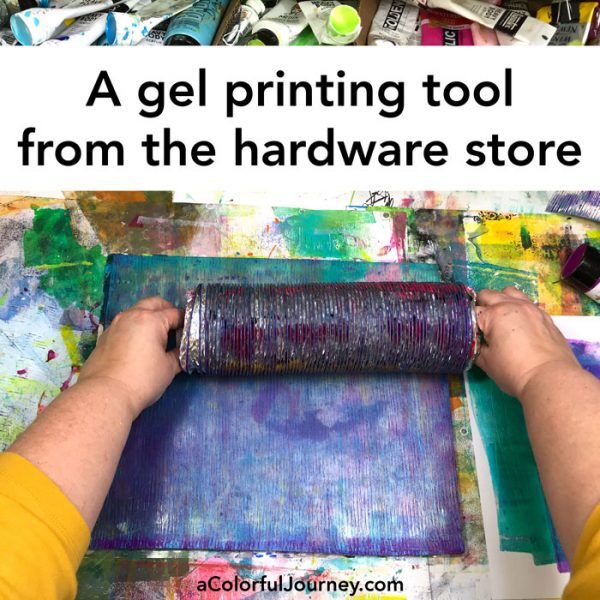
Dryer vents aren’t just for dryers!  They are for gel printing too!  This flexible tube makes the best fine lines on a gel plate!  It not only removes the paint to create the pattern, it also can be used to add paint.  Be sure to see how at the end of the video.

Watch on YouTube.

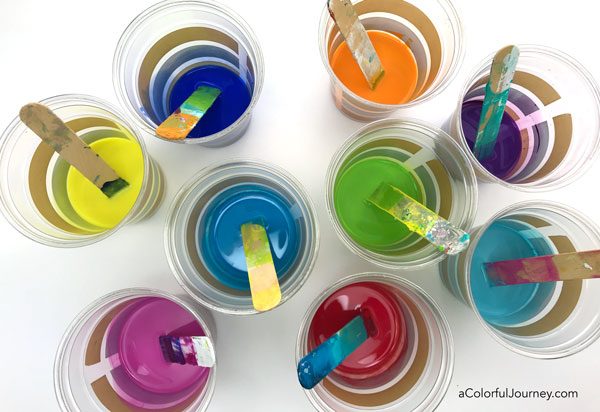
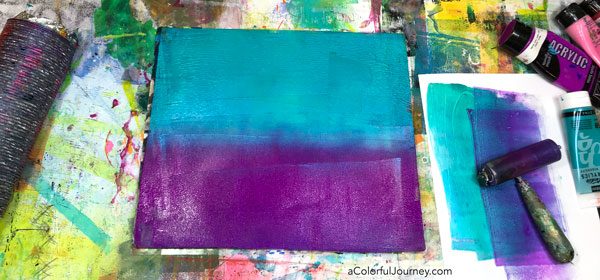
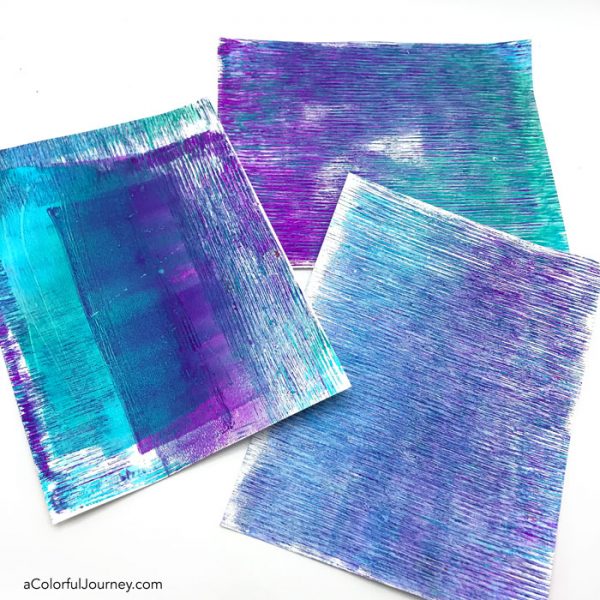
Start by putting 2 colors of paint on your gel plate.  One lighter and one darker shows the pattern best.

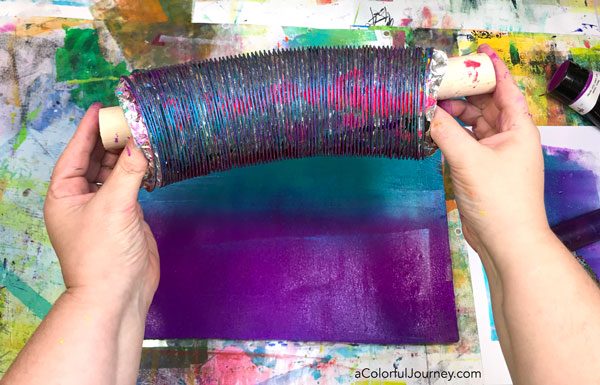
To make the dryer vent easy to roll, put a stick in it.  Or a rolling pin, or dowel rod or a heavy cardboard tube.  Whatever you have around and the roll it like a rolling pin. As you do that, the color with transfer around in thin little lines.

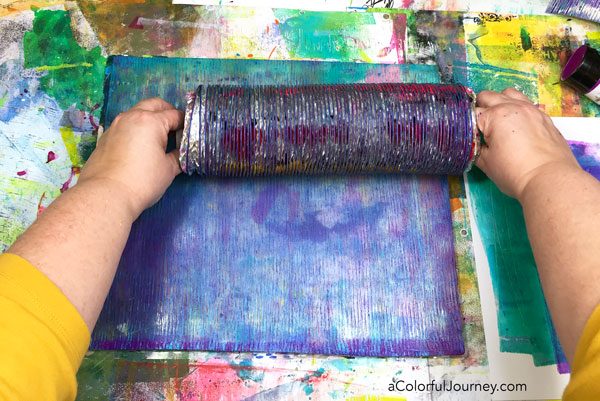
A hybrid ghost print?  Yes!  There was still some paint on the dryer vent, so I rolled it back on the plate.  That created some lines and there were a few already left on there since I never took the ghost print.

Brayer clean up sheets are for more than just cleaning a brayer.  They are great for getting up all the last bits of paint.  Since it’s the same colors, it all matches and with just a touch of pattern, that random brayered paper can look fabulous!

Here are the supplies used. Some of these links are affiliate links which means I get a small percentage. It doesn’t cost you anything extra and it helps keep the free tutorials coming!

The purple paint is by Plaza art but the color has changed so can’t find a link with the same version of color used in the video.

{ 9 comments }

The early bird discounts ends Monday for Paint Pouring FUNdamentals so jump on in now to get $25 off and get ready to have some fun in lessons like the Slinky Effect, Cells of Alcatraz, and Salt Water Taffy.

Of all the lessons in Paint Pouring FUNdamentals, which is my favorite? Hands down, it’s the Dating Game!  In this lesson, Dave is the star & we’re going to see how well he knows the 3 different contestants, the pouring mediums.
 
He’s usually very mild mannered, but when that camera starts rolling, who knows what he’ll say! And yes, he made that canvas he’s holding and since he has made all of 2 canvases, he’s darn sure he’s an expert!
 
After Monday, Nov. 5th, the price goes up so be sure to use the coupon code save25 and get lifetime access to over 15 lessons plus the bonuses.  Did I mention the bonuses? Keep reading to see what those are!

What’s included in the workshop?  15 lessons (3 weeks), lifetime access, videos you can download or stream on mobile or desktop, plus 4 bonuses! AND a 30 day money back guarantee!

  • BONUS #1: Pouring in a Small Space 
  • BONUS #2: Pouring on a Dime 
  • BONUS #3: Paint Pouring Beyond the Canvas- five video series 
  • BONUS #4: Live stream with Dave the Husband doing a pour

$199 regular price  

 Early Bird Price until  MONDAY Nov. 5th

Use discount code save25

3 weeks of lessons starting Monday, Oct. 29th

Plus all 4 bonuses 

What do students say?

I have never seen anyone explain paint like you! I never understood any of it until now. You take the time to explain and even name the consistency’s of the paint. How much to add to pouring mediums is so important.

Anyone that is even thinking about paint pouring NEEDS this class.

The best class EVER! – Joanne Howard (and this was just after seeing the getting started videos!)


{ 3 comments }

Sure, I’ve wanted to paint my mailbox for years.  It was a basic, cheap white mailbox and I knew paint could make it fabulous.  But none of the ideas I had before actually got me to paint the thing, until now!

Watch Paint Pouring a Mailbox on YouTube.

Want to know more about paint pouring? Check out the online workshop Paint Pouring FUNdamentals.

Start by mixing your paint and pouring medium.  I chose Liquitex pouring medium and Liquitex soft body paints. Since this is going to be outside, I wanted a paint that I knew was lightfast and could handle being in the sun.

When you’re mixing the paint, mix gently. You want to avoid creating air bubbles in there.

The same tongue depressors/popsicle sticks that were used to mix the paint are also what is used to put small amounts on the mailbox.

The mailbox was moved inside for painting to prevent any leaves or other outdoor stuff sticking in the paint while it dried.

This mailbox has survived 5 months out in the elements without showing any signs of wear.  The next big test for it will be winter with the freezing and thawing, but I have high hopes that it will do just fine!

Do you love watching the videos on paint pouring, but don’t know where to begin? Everything you need to know is waiting for you in Paint Pouring FUNdamentals.

{ 7 comments }