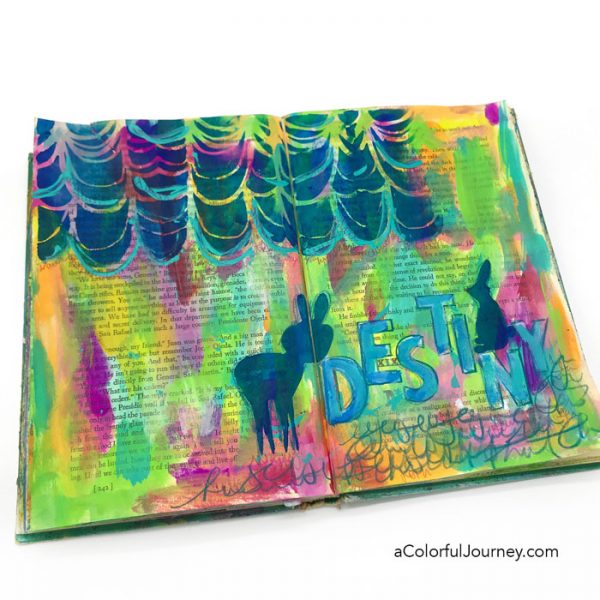
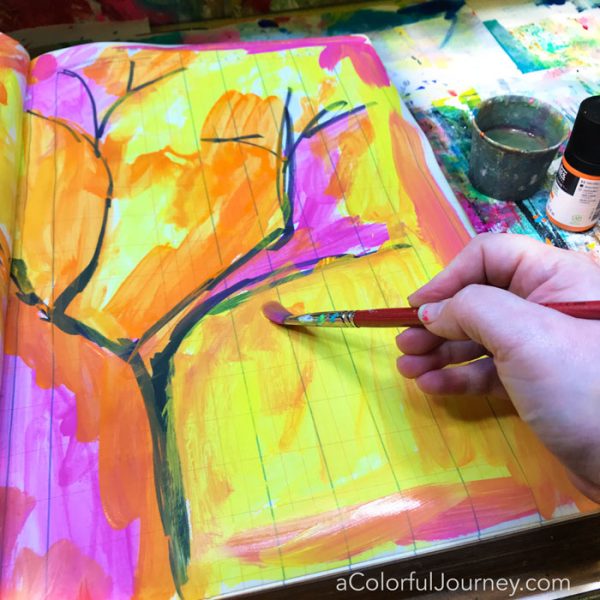
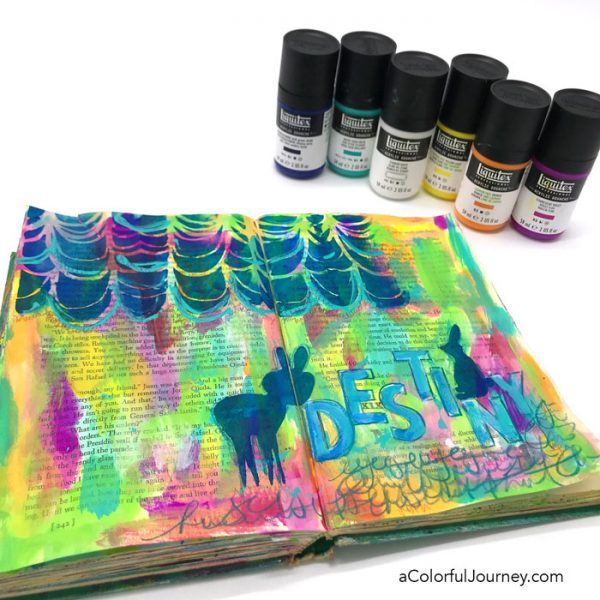
What’s the play for today? It’s art journaling in the giant, jumbo, vintage ledger- which finally has a name! As I’m painting the page and tree, you’ll see why acrylic gouache was so handy plus how the Scribble Scratch stencil made leaves on the tree too.
At the end of the video, you’ll see how to deal with a logical left brain squashes the play.
Watch Using Acrylic Gouache in an Art Journal on YouTube.
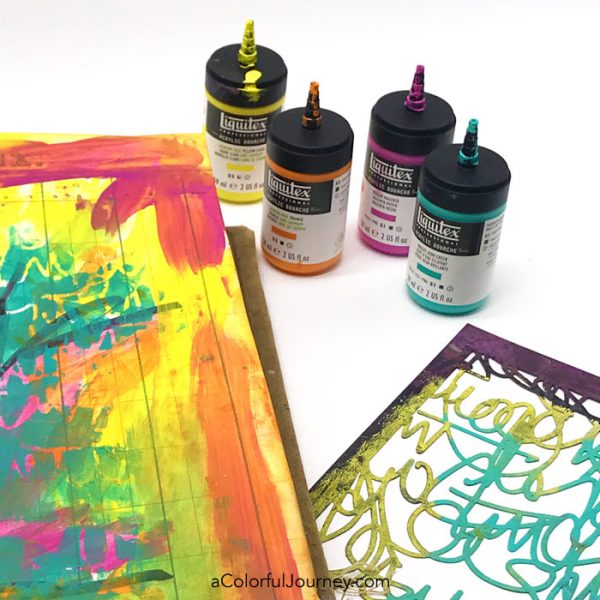
Acrylic gouache is a combination of watercolor and acrylic paint. So if you add water, it behaves like a watercolor and spreads over large areas easily. If you use it straight from the bottle, it behaves more like an acrylic paint.
Once it is dry, it is permanent so it makes it great for layering in an art journal.
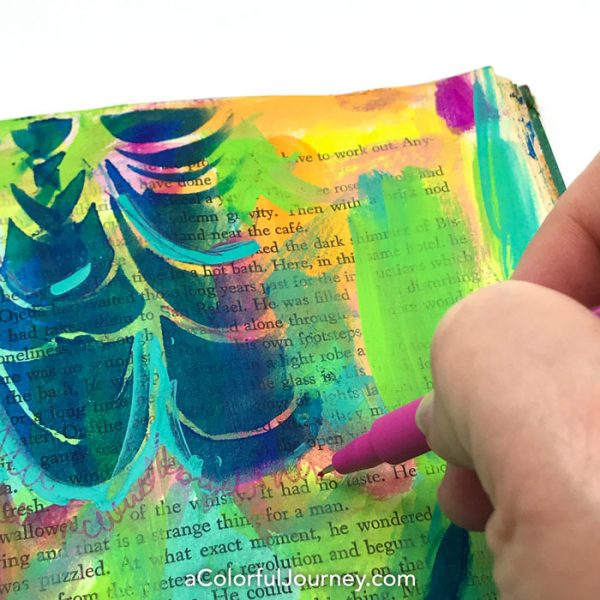
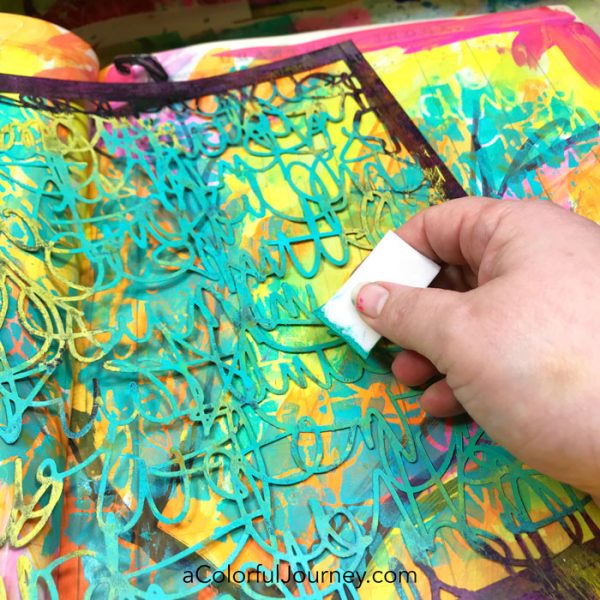
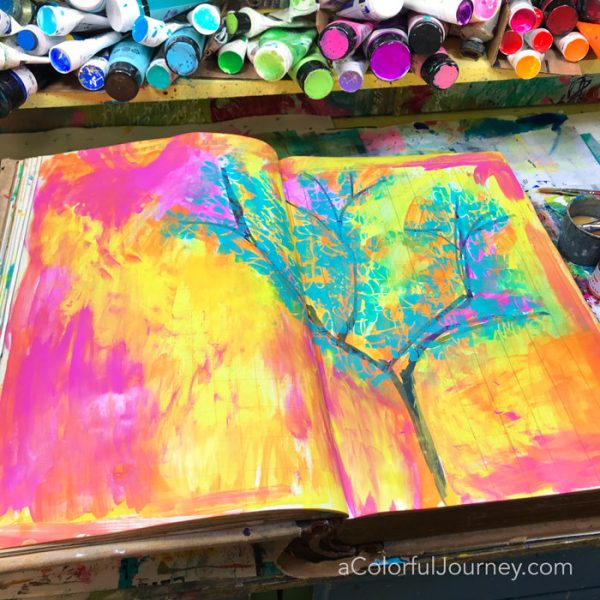
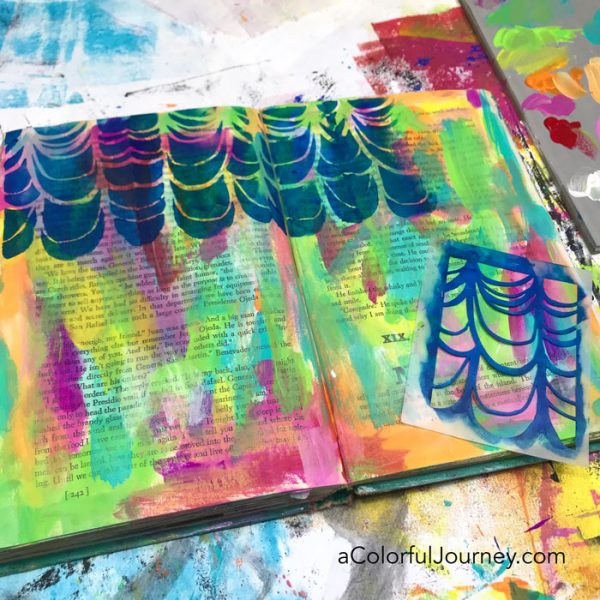
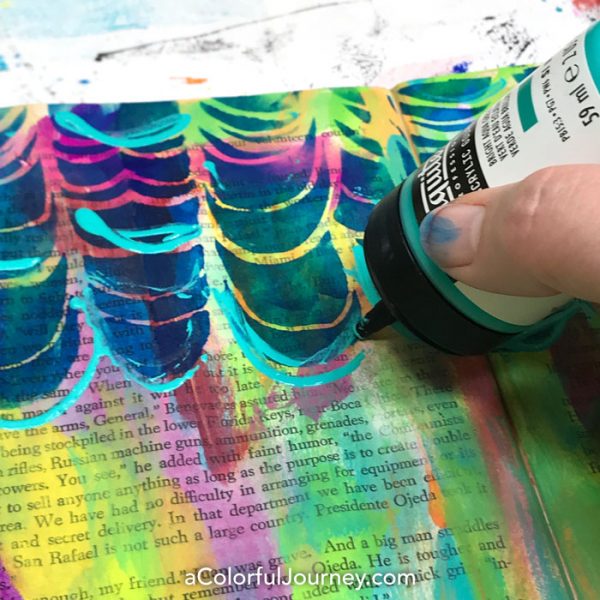
What stencil is making the leaves? That’s Scribble Scratch, one that I designed for StencilGirl. There are no leaves on it, but that doesn’t matter one bit. It’s going to make great impressionistic leaves!
The final touches to the tree came courtesy of the all-purpose studio supply, the baby wipe.
After the tree was finished, my logical left brain started to ask a lot of questions. Questions like, what will you add next? How are you going to finish it? Being pestered and hounded by these questions was taking the fun out of the play.
I not so politely reminded that logical left brain that just because I start a page does not mean that I am required to finish it that same day. And I stepped away from the page.
If you leave it be, step away, and come back with fresh eyes often it’s clear what you want to do next. What you’re doing is taking the pressure off which makes it a whole lot easier to play!
So what is the name of this big journal? It’s been a long journey to decide and I so appreciate all the help, suggestions, and ideas that have been shared with me.
It was easier for me to name my children than this book- but I finally have it. MoJo. It means 2 things to me. First, Mother of a Journal- this thing is huge. Second, it’s where I go to play when I need to get my mojo back.
Thanks again to everyone who shared their ideas for a name!
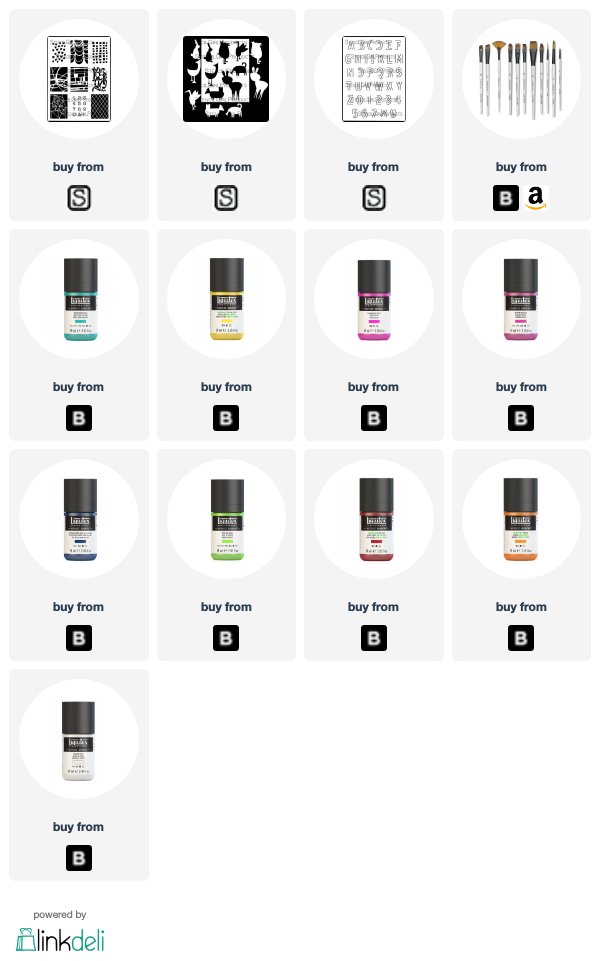
Here are the supplies used. Some of these links are affiliate links which means I get a small percentage. It doesn’t cost you anything extra and it helps keep the free tutorials coming!
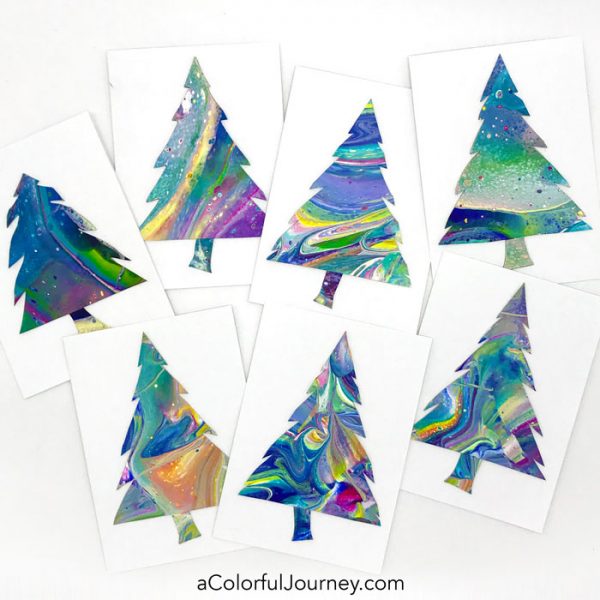
 Handmade Christmas cards. I wanted to send them this year, and I had a rock solid, easy to make, guaranteed to work plan in my head! Easy to cut, quick to make.
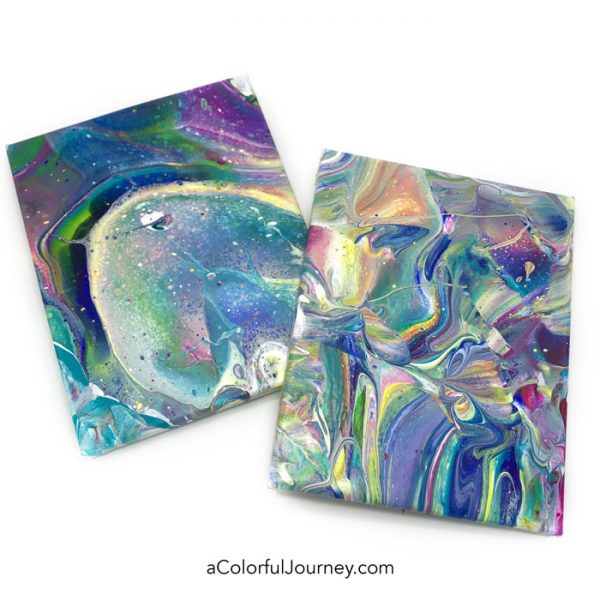

 If watercolors and acrylic paint had a love child, it would be acrylic gouache. It’s like taking the best qualities of both and then putting them in the best bottle ever for mixed media play.
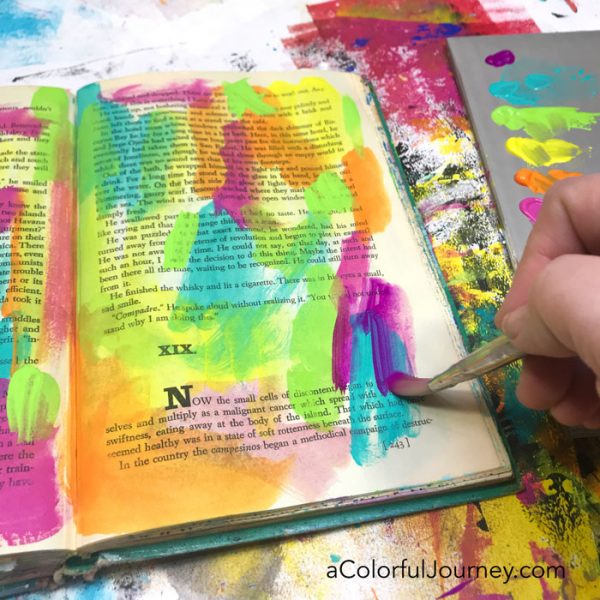
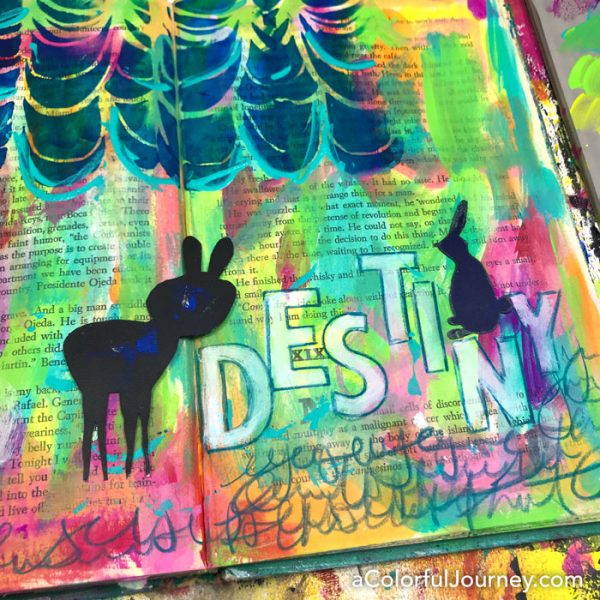
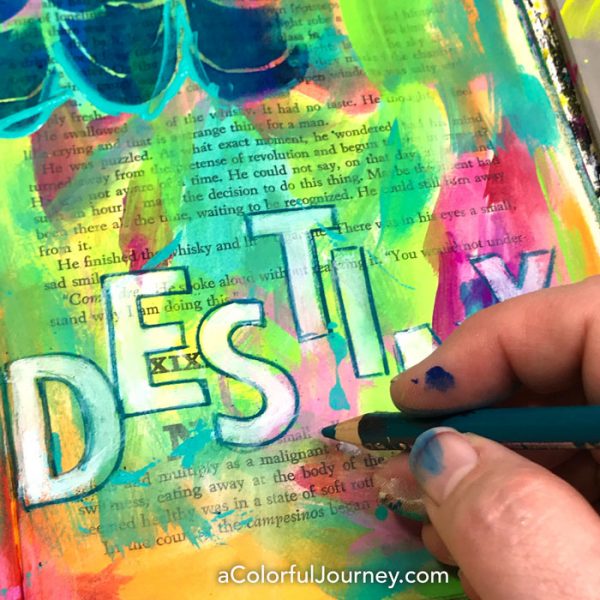 O.O.P.S. How I spaced the letters did not go as planned. I really wanted the D in Destiny to be farther to the left. End of the world? Nope. Just an Outstanding Opportunity Presenting Suddenly.