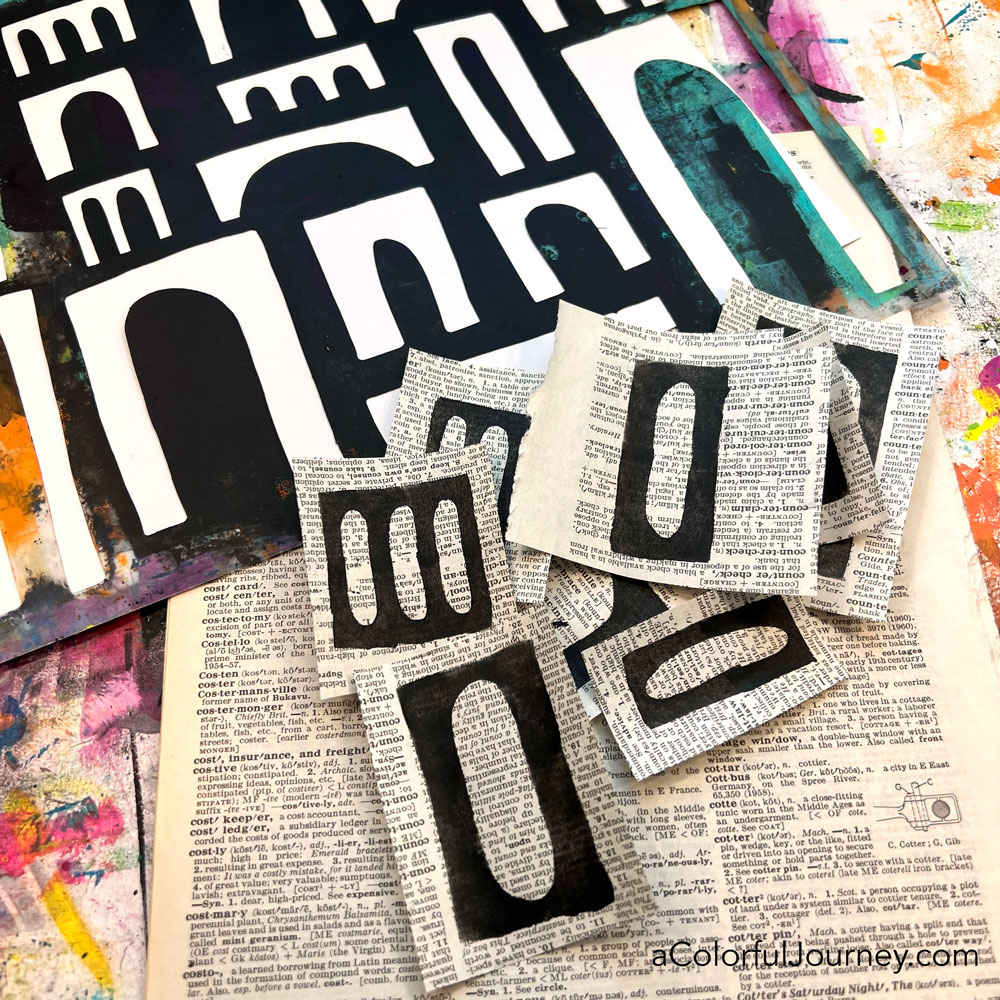
Why am I not using some of my art supplies? A big box of stickers has been on the shelf, and unused. Was it was time to donate them? I loved these stickers for their words, for their shapes, for their patterns but I had to face the hard truth that I hadn’t used them in years.
If I loved them, why hadn’t I used them? Was I hoarding? Nope. These are wonderful but not precious to me. The reason I hadn’t hadn’t used them is they don’t match the colors or the vibe of what I’m enjoying creating now.
Lightbulb moment! If that’s the reason I hadn’t used them, then I can add paint to them and then they’ll have the colors that I love! There are some practical questions about this, but I figured it out as I went!
Will the paint stick to the stickers? Most of what I used were cardstock stickers, so they were matte and took the paint well. If a sticker was very glossy, then it didn’t take the paint quite as well, but it did still take the paint! So this worked with everything I had.
Alternate idea: If you want to try this but don’t have old stickers, another option is to use blank, self adhesive address labels. They come in all sorts of sizes and shapes.
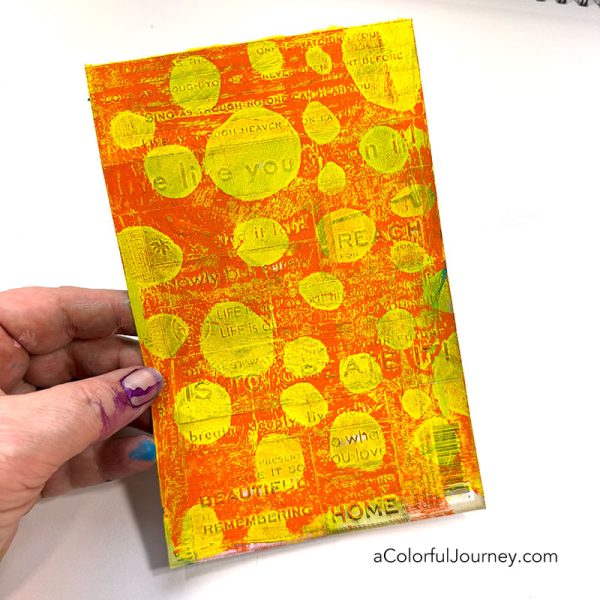
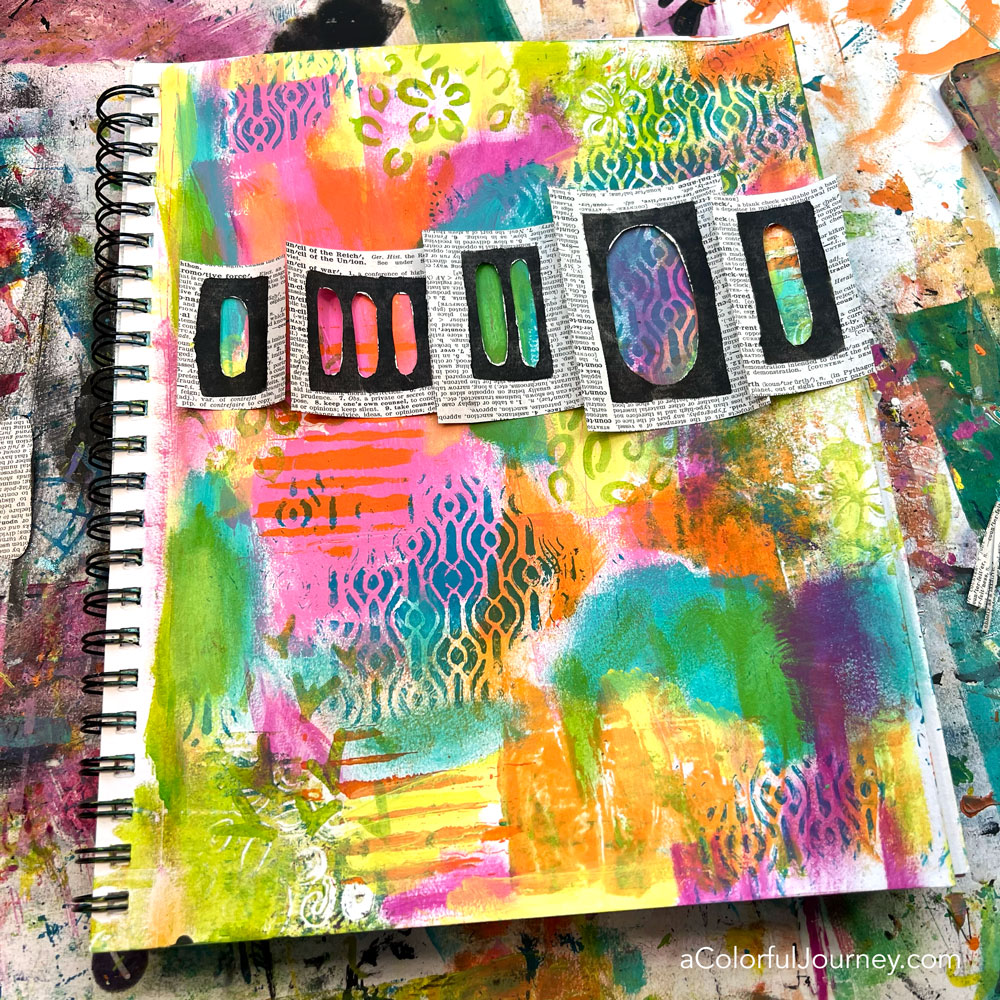
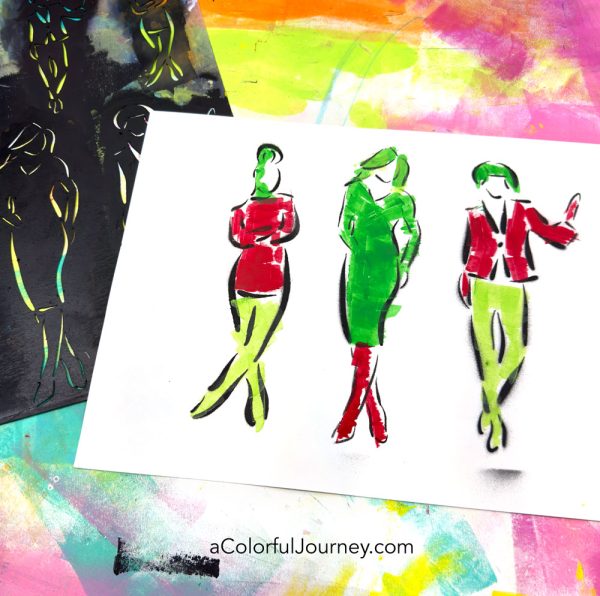
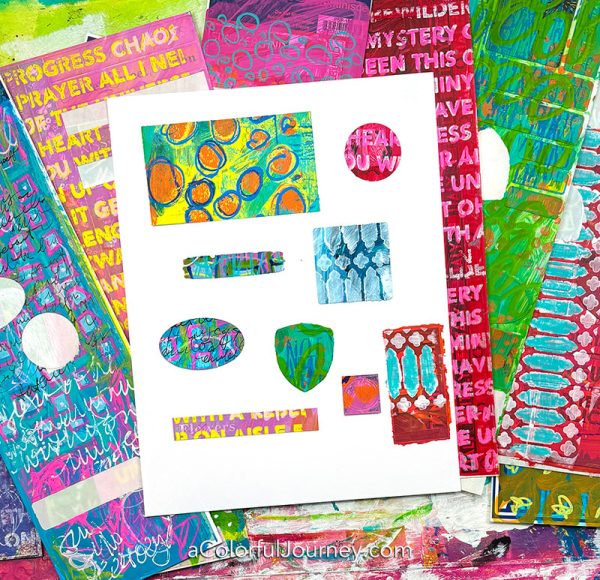
When adding the layers, there was always some of the original sticker peeking through. If I wanted to see more of it, then I used less paint. When I wanted to make the original sticker layer more subtle, all I did was add more paint or layers.
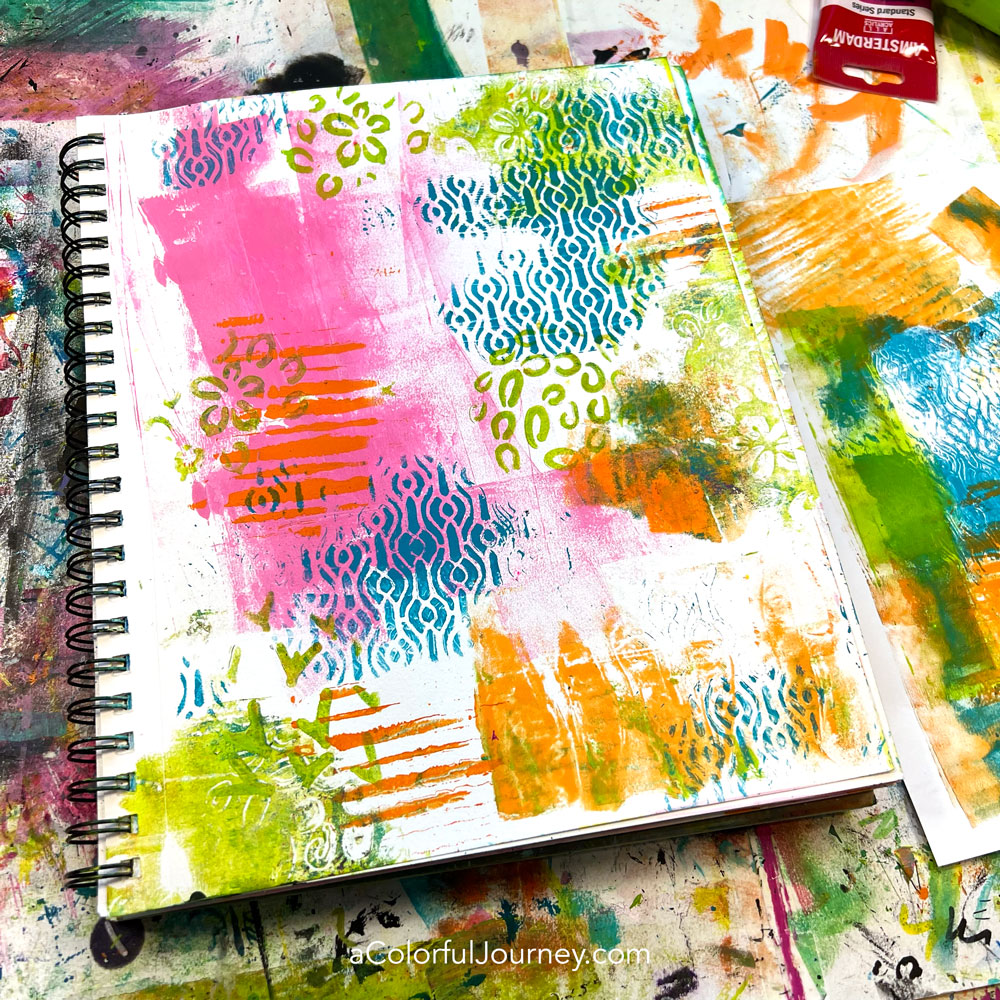
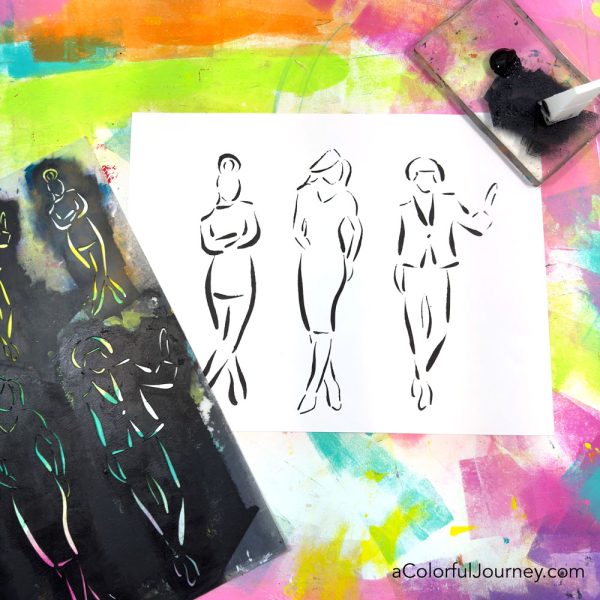
The general steps I followed were:
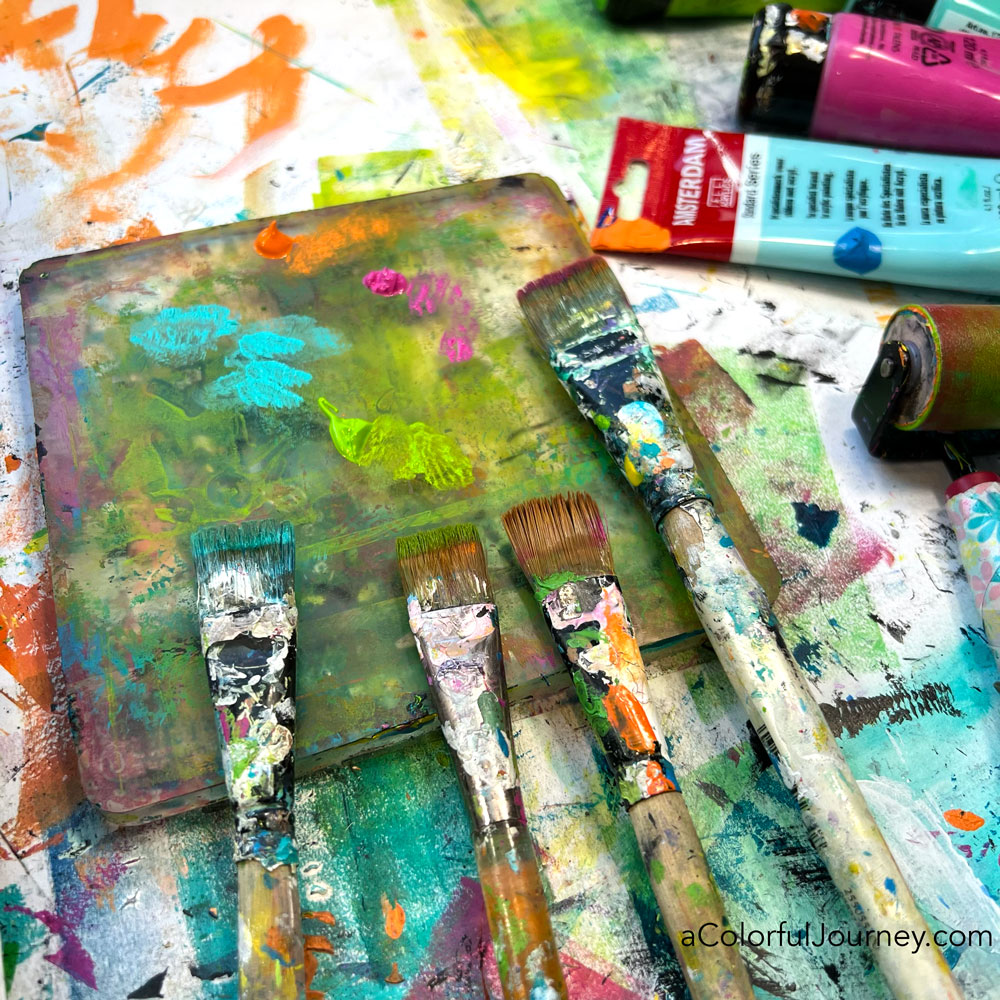
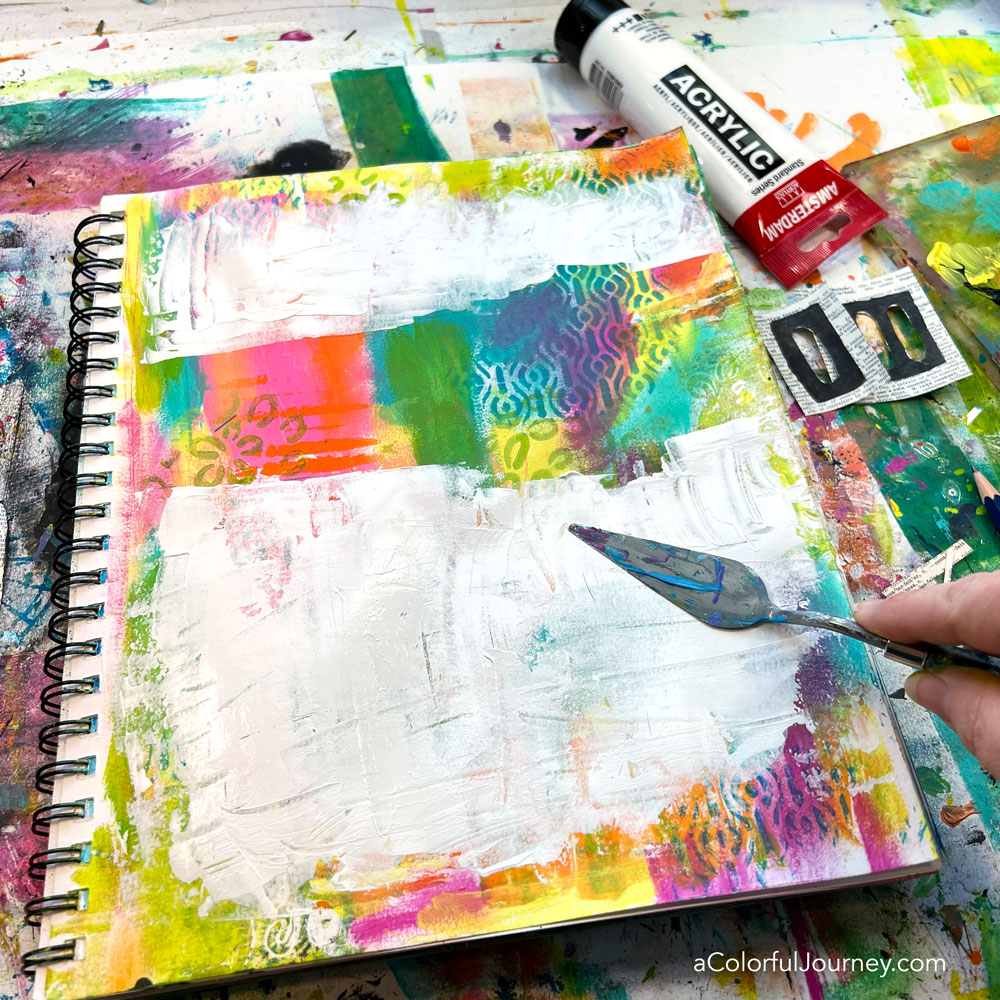
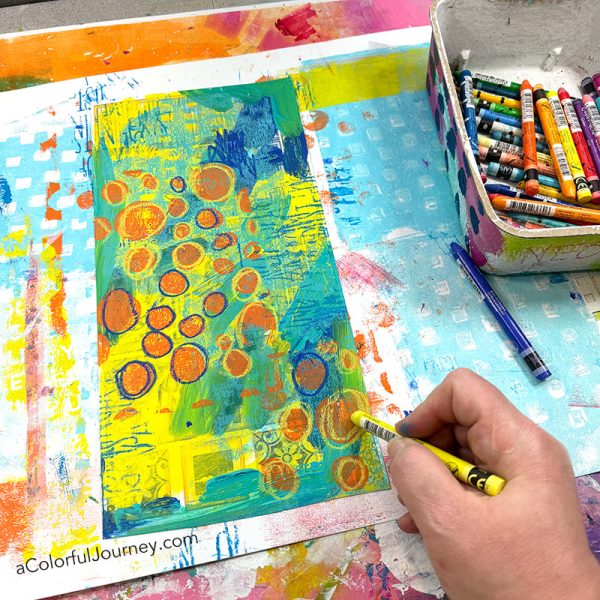
- Add a layer of paint.
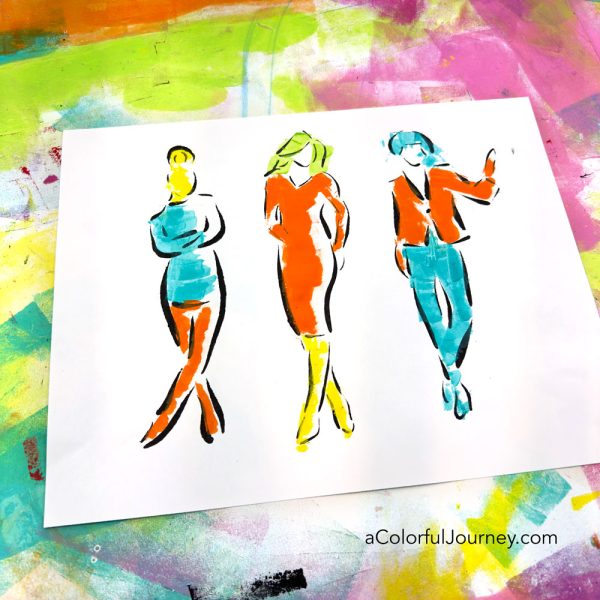
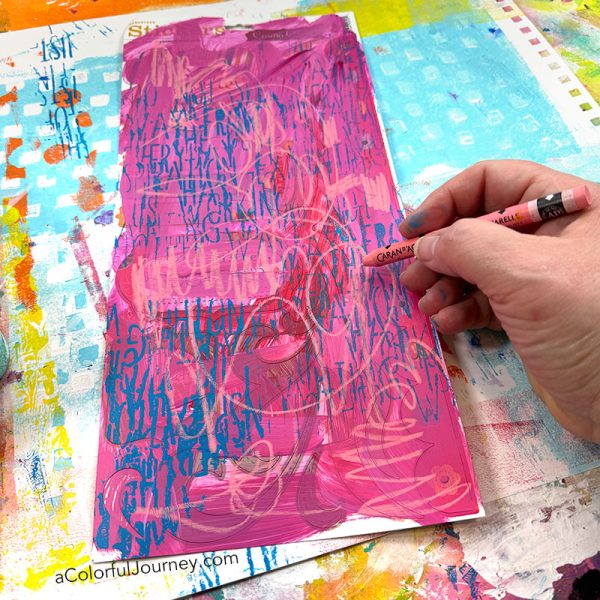
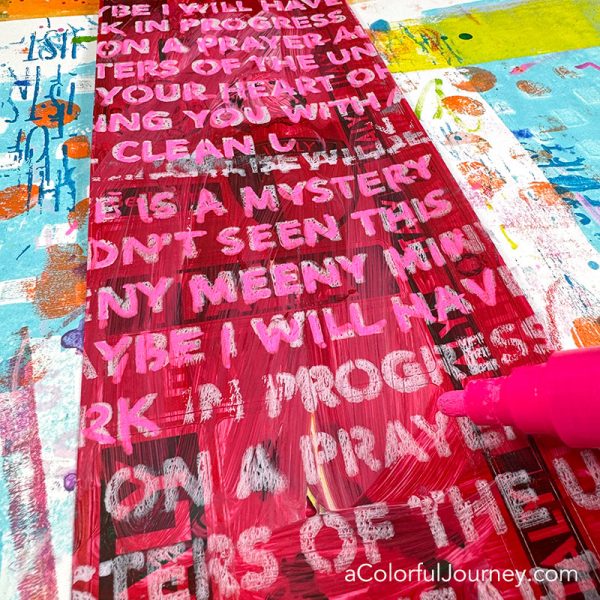
- Add some pattern with stencils.
- Use the art supplies on hand to make marks on top of and around the patterns from the stencils.
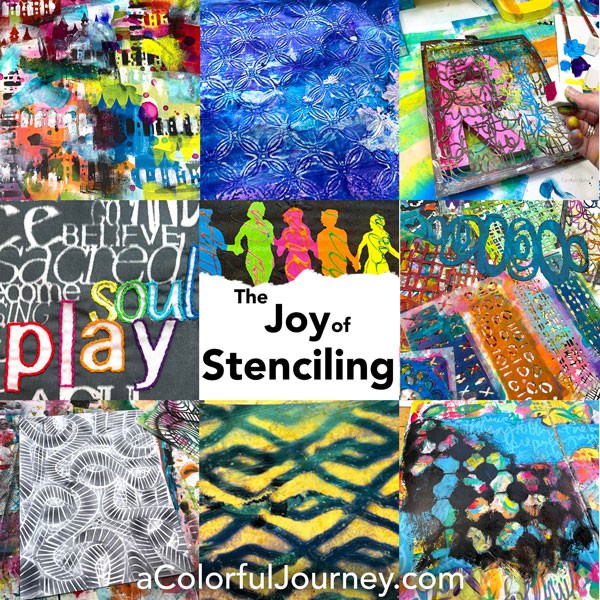
Stencils are quick way to get patterns, designs, and text into your layers but what I’ve shared here is just the tip of the iceberg of what they can do! If you’re looking for ideas, the how and the why, to get even more out of your stencils then check out my online workshop, Joy of Stenciling.
The biggest practical question I had was will the edges of the stickers peel off neatly or will it be torn and ripped bits of paint. So on some of the sticker sheets, I removed the excess paper around the stickers before adding the paint. But just on some, since I was experimenting and testing out the idea.
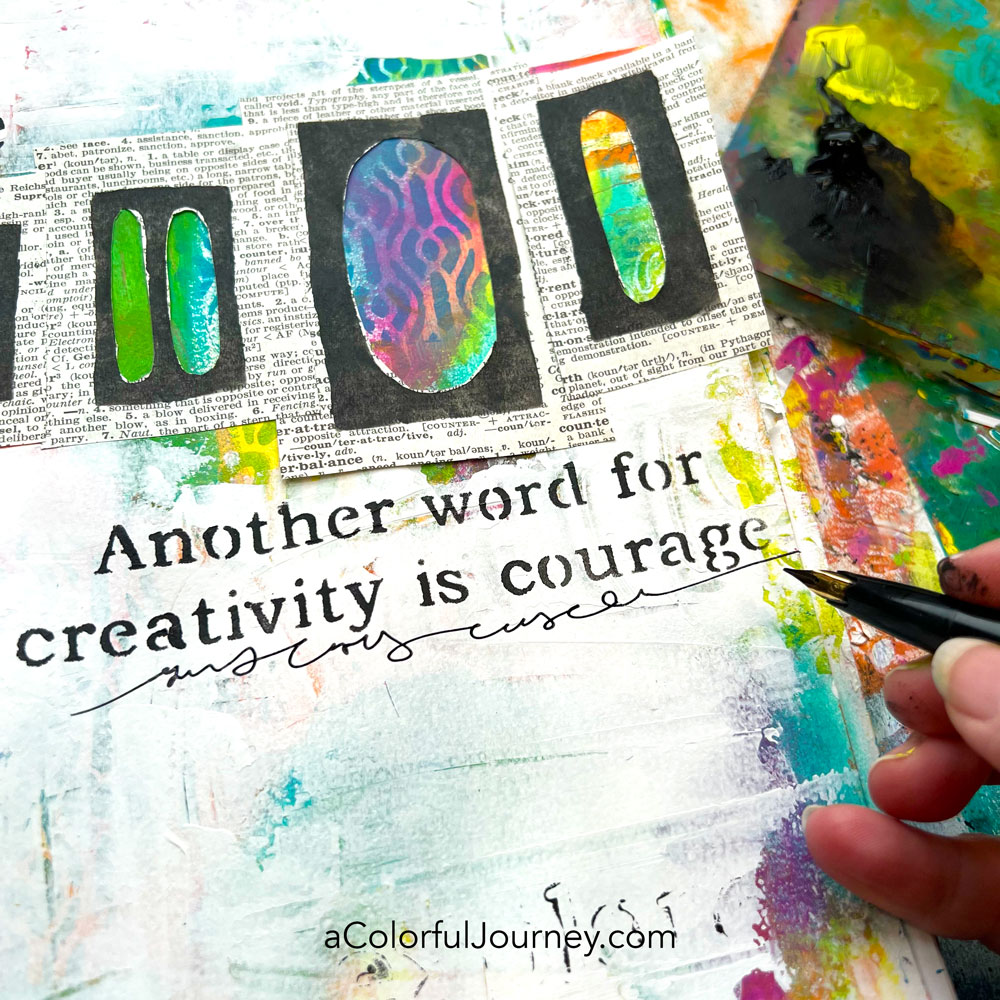
After all the layers were dry, the stickers came up easily. On the sheets of stickers that the excess paper still on there, they easily peeled off with crisp edges. On the sheets where I had removed the excess paper before painting, those had very jagged, irregular edges. But it was an easy fix with just my fingers to smooth it back out.
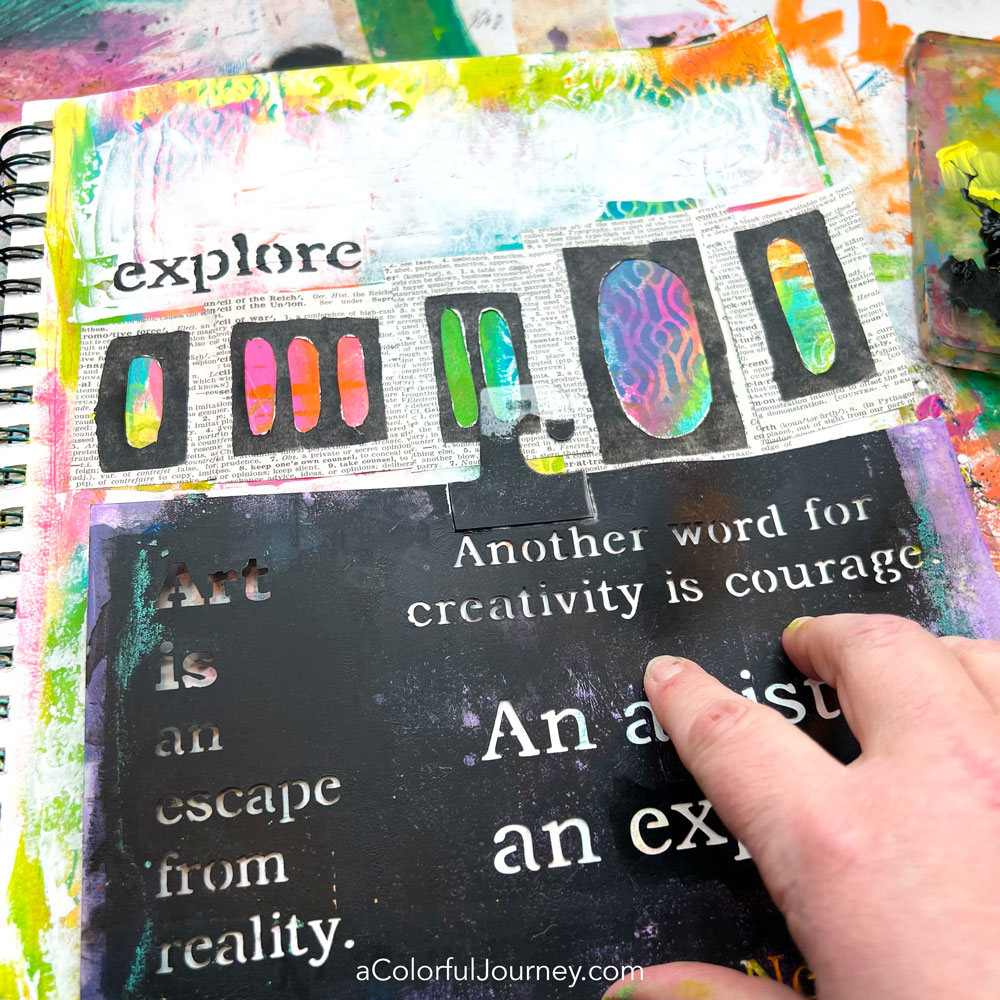
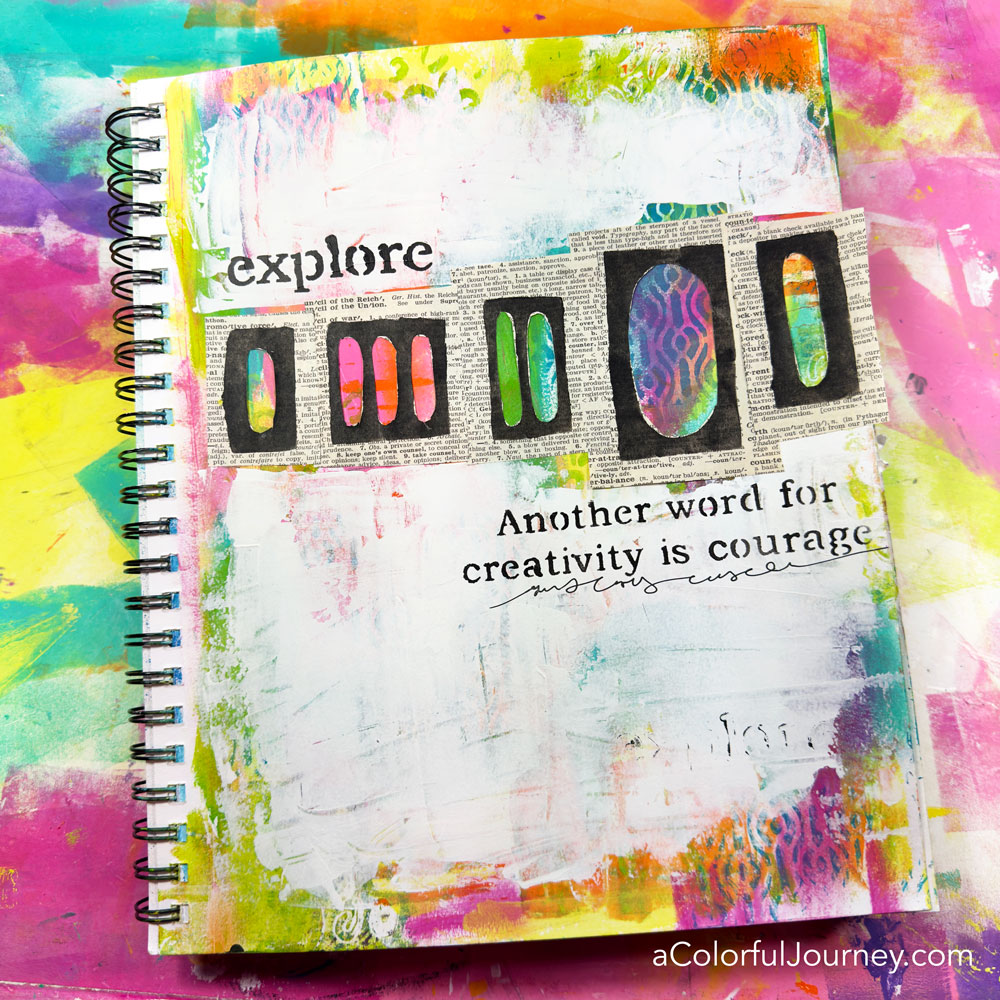
What will I do with the stickers I’m now excited to use? I’ve got an art journal page in process and you bet, I’ll be sharing it here when it’s ready! Get signed up for my newsletter to be in the know when the video is posted!
If you happen to have any old stickers around that you don’t love, try adding a layer of paint and pattern to it!
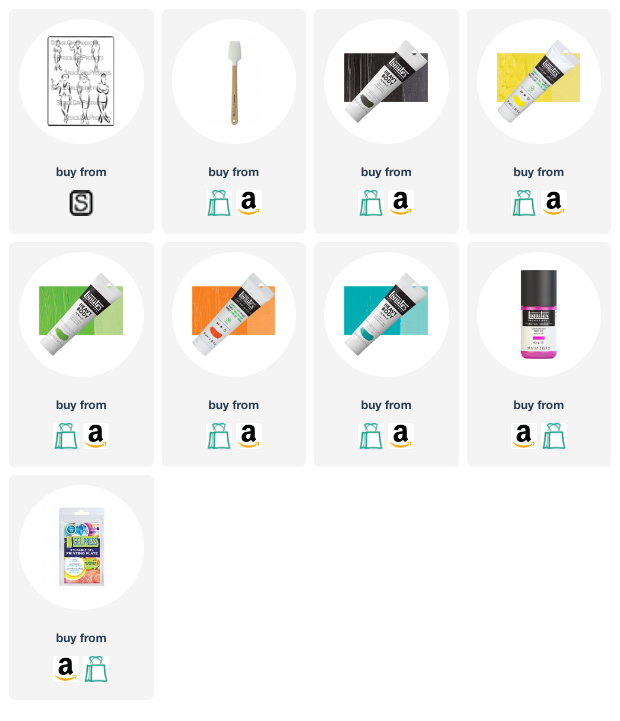
Here are the supplies used. Some of these links may be affiliate links which means I may get a small percentage and it doesn’t cost you anything extra! And you get a really good feeling knowing that you are helping keep the free tutorials coming!