This gel print becoming an art journal page had a few unexpected adventures. The little paint brushes, the book that may not have been the wisest choice to use for found poetry, and the impatience about paint drying. Okay, the impatience part that wasn’t unexpected lol!
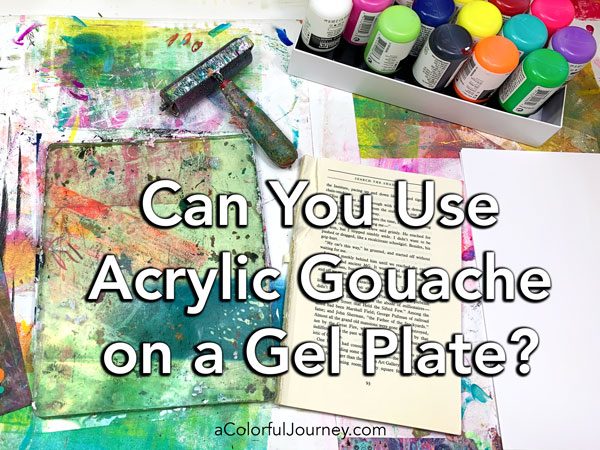
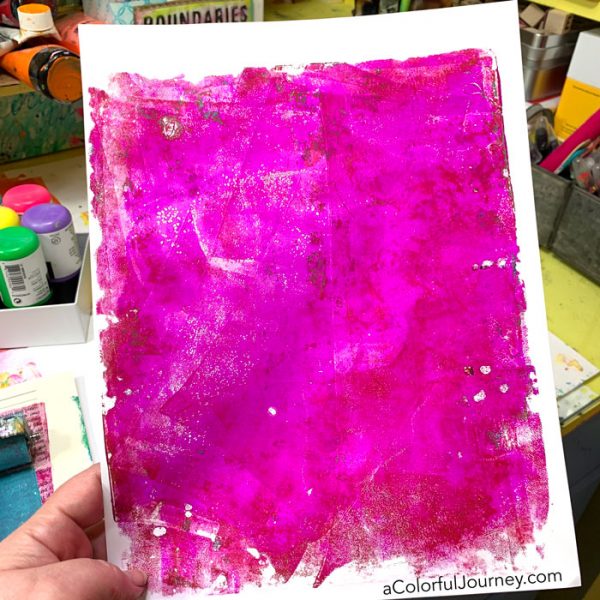
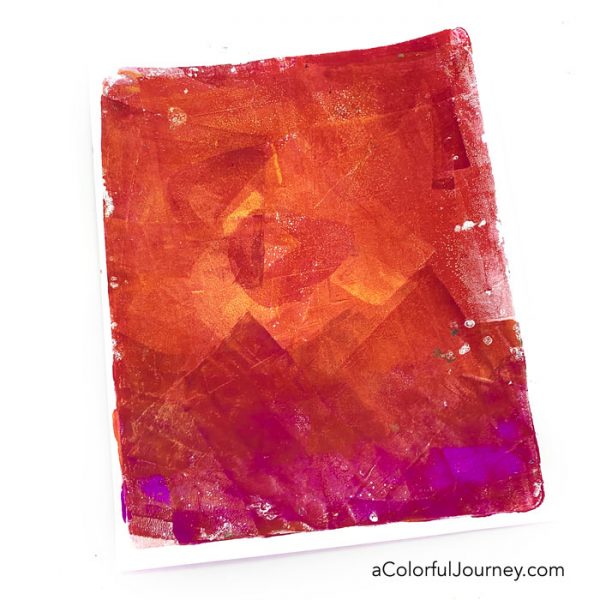
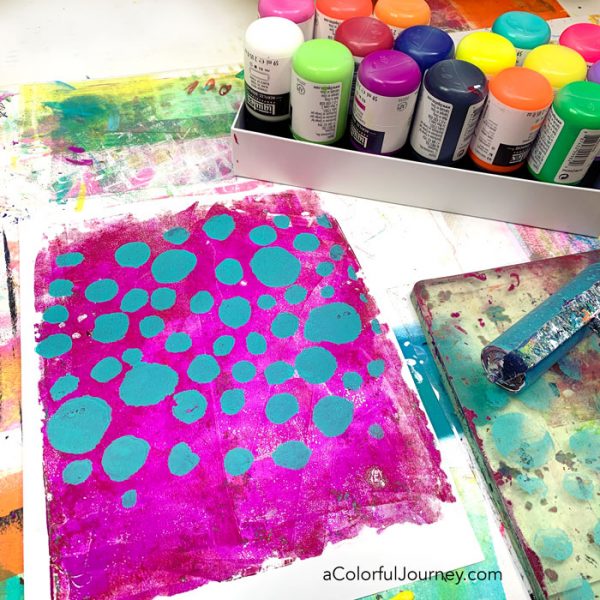
Here’s the gel print that started today’s play. You can see how it was made in this video using my Speckles and Spots stencil and acrylic gouache on the gel plate.
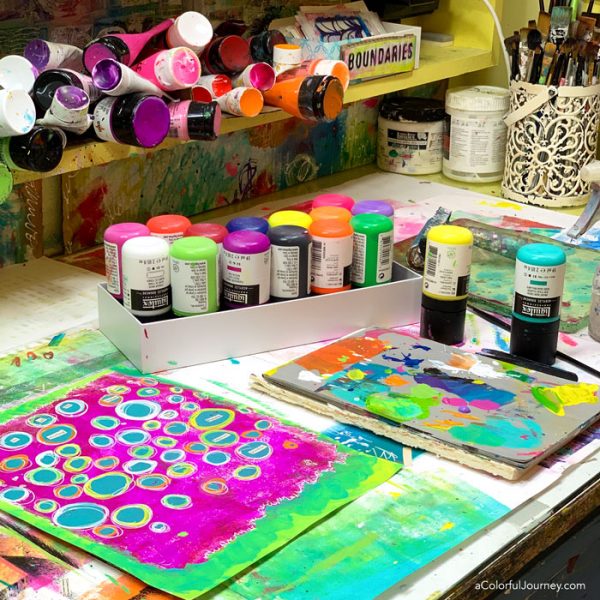
I’m using little brushes to start, not because it was a wise decision but because I have a zillion of them now thanks to O.O.P.S. when I placed an order.
Now, it felt like a mistake but it wasn’t. It was an O.O.P.S., an Outstanding Opportunity PResenting Suddenly. An opportunity for me to try using brushes I normally wouldn’t.
And by the way, I don’t know if you know this, but little brushes don’t hold as much paint as a big brush. Shocker, right? Guess what else I learned about little brushes- they dry out faster since they have a lot less paint on them.
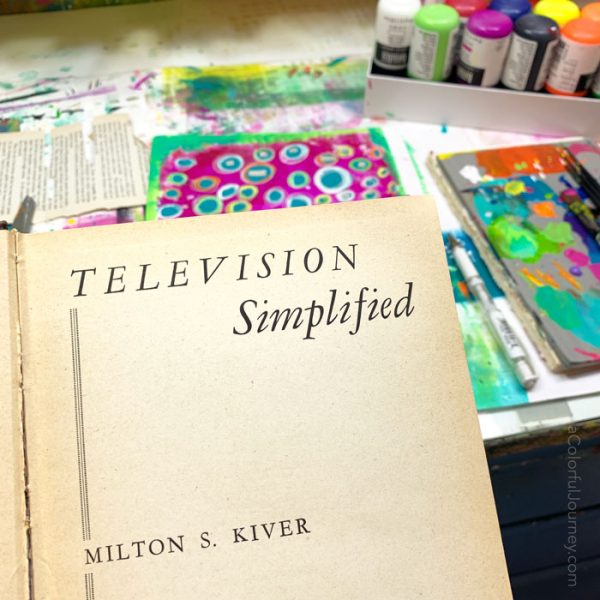
Next, it was found poetry time. The book I grabbed may not have been the best choice or I should say the easiest choice. Television Simplified was like a textbook or technical manual.
As I tried to find words on the page I selected, I began to wonder if I’d ever find words that resonated with me in there. Oh, how I wished at this point that I had grabbed the trashy novel instead.
This could have been a mistake, but instead, it was just an O.O.P.S. because in the end, I found just the right words, even in that book!
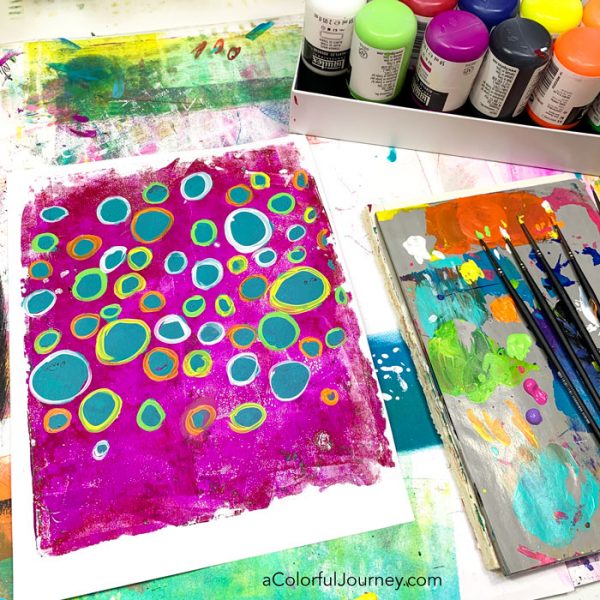
The circles called for a more layers- perhaps my way of releasing the stress of finding words in that text!
You can write on acrylic gouache with a pen but the trick is the paint actually has to be dry. And you have to be willing to wait for it to dry.
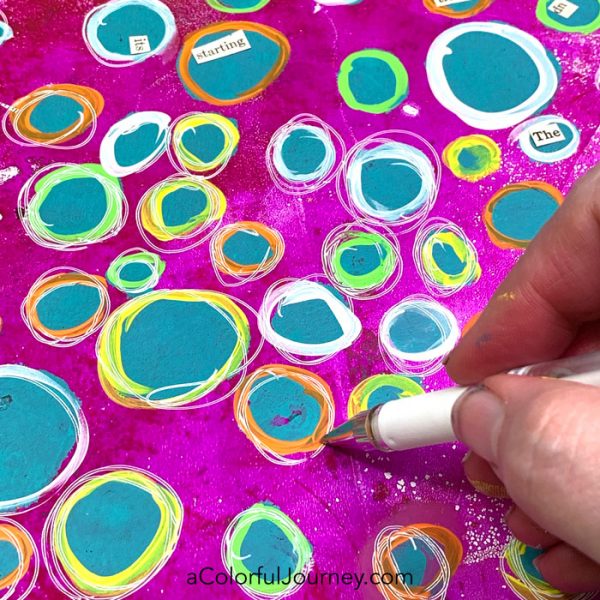
The white pen wrote easily on the purple because it was actually fully dry.
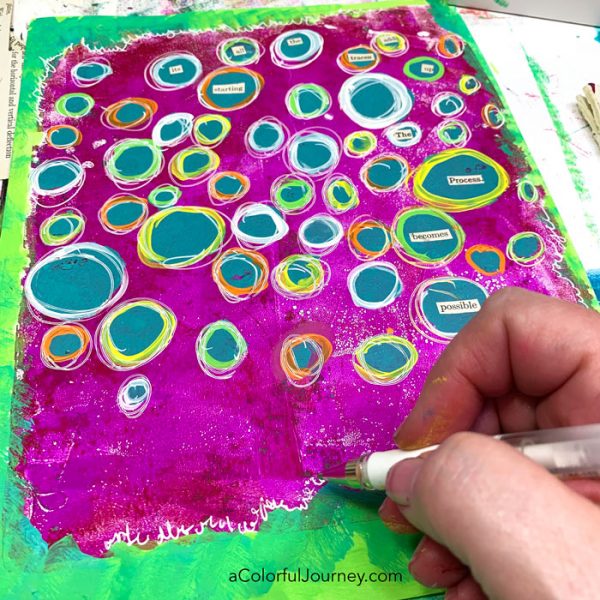
What words did I find in that very challenging book?
it’s all starting
the traces add up
the process becomes possible
A several points, it felt impossible- I wondered if I was ever going to find any words on that page that resonated.
But that’s how play works some days, when you think it just won’t come together, that it just won’t happen, it surprises you. 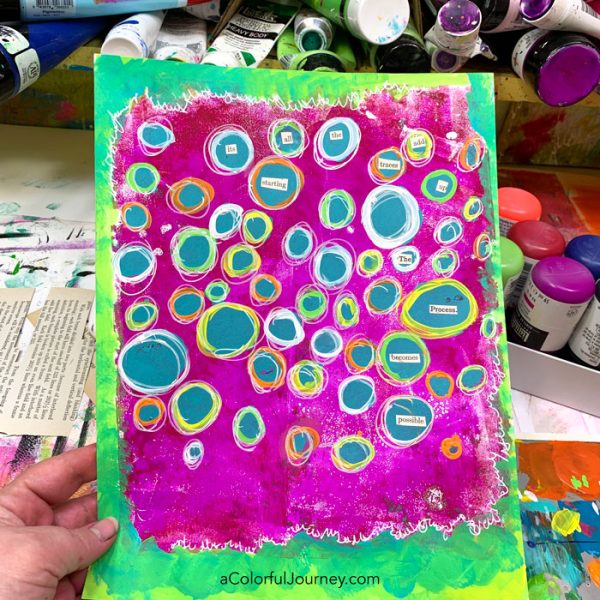
Here are the supplies used. Some of these links are affiliate links which means I get a small percentage. It doesn’t cost you anything extra and it helps keep the free tutorials coming!
The itty bitty brushes were size 2 round brushes from Jerry’s Artarma 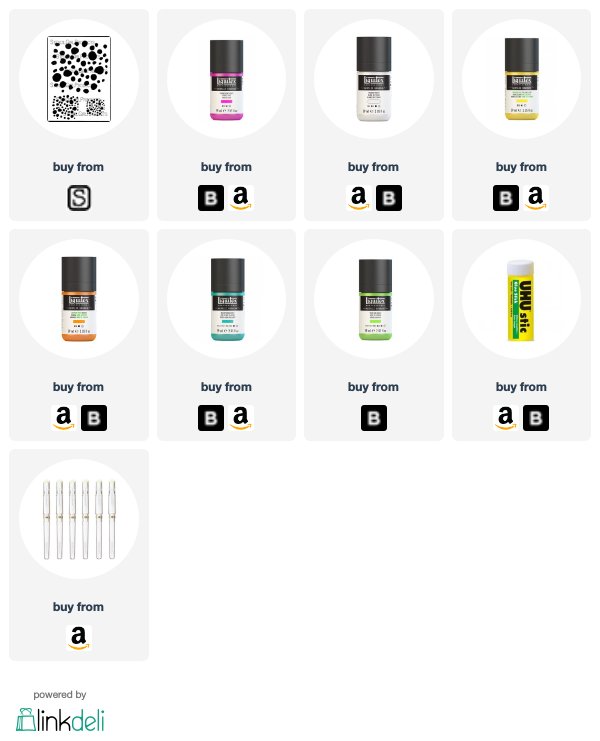
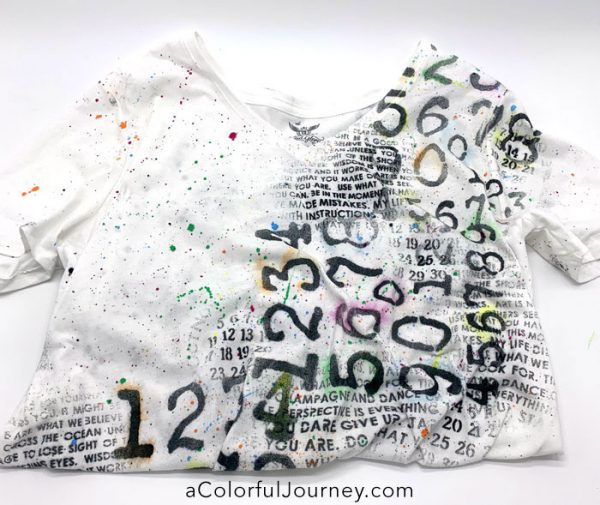
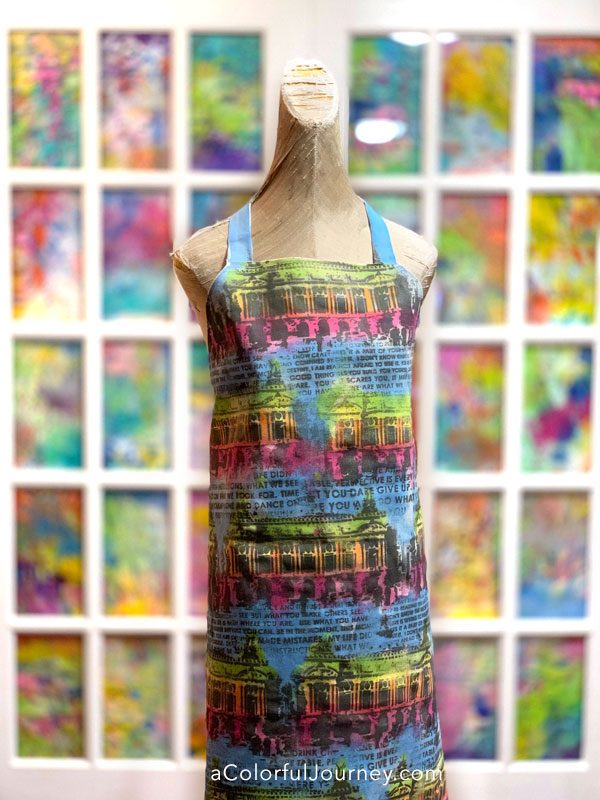 How would you like to turn a cheap plain t-shirt into something artsy & one of a kind? Join me for
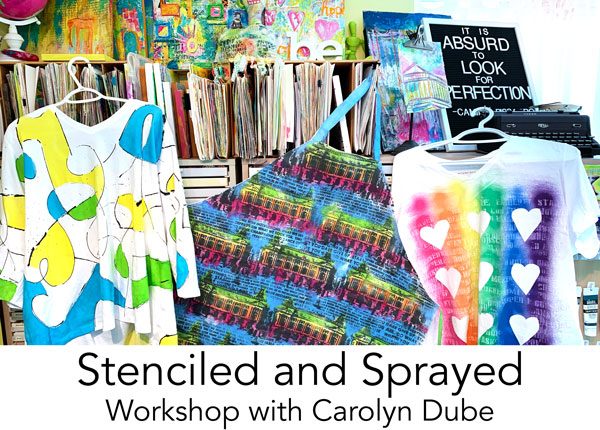
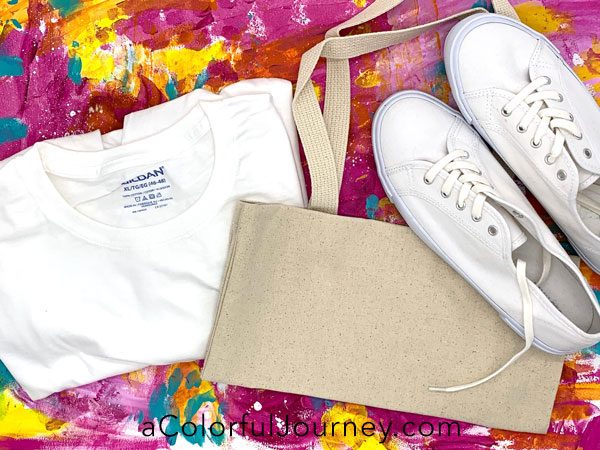 What can you art on? Anything that is white or a very light colored fabric. These items will be your blank canvas for our day of play together.