Thinking isn’t always a good thing. It led to problem after problem on this art journal page. I had thought myself into a quandary but there was a way out of it.
This art journal page has been through a lot. I loved the colorful background that I had. And then I had an idea. So I painted right on it with black paint and it went horribly wrong.
It’s a great big O.O.P.S., an Outstanding Opportunity Presenting Suddenly so I smeared a whole bunch more black paint on it. And guess what? I didn’t like it any better after that. O.O.P.S. again.

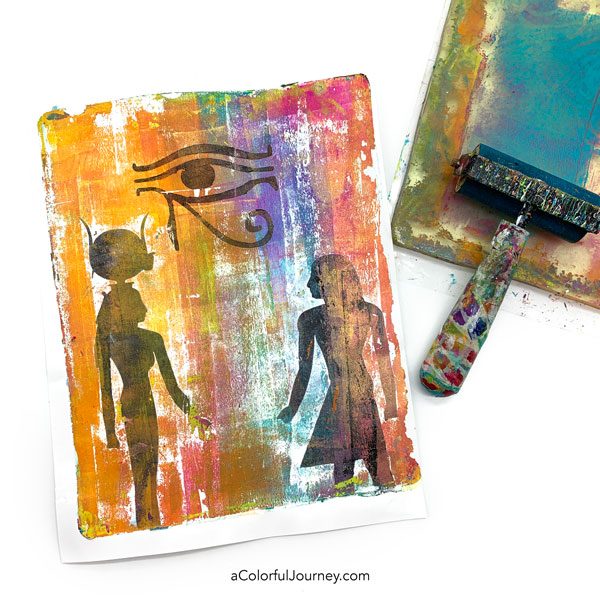
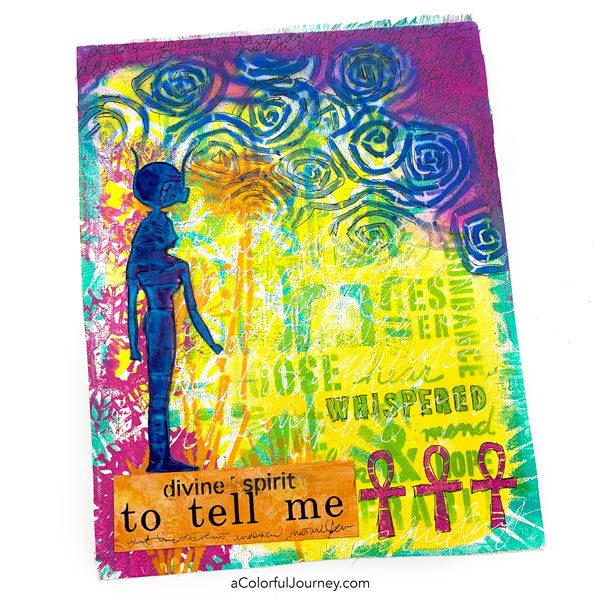
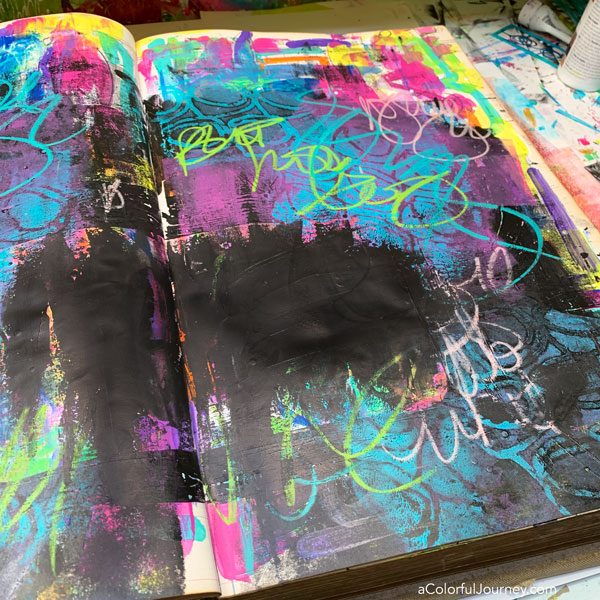
At this point, I didn’t care what happened. Thinking wasn’t working, so I quit thinking. I willy nilly slapped paint and pattern on here with a gel plate and a stencil. This is from one of StencilClub’s monthly offerings.
Still no idea where this is going and it’s not at that point where I love it yet but I am having a ton of fun now that I’m not thinking.
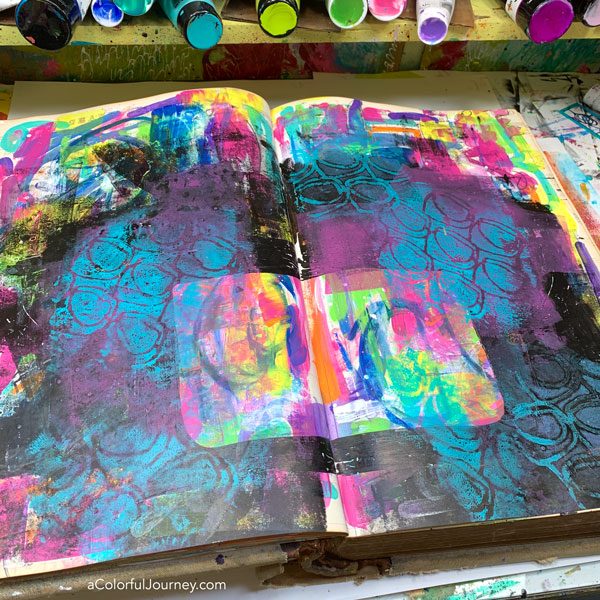
I started thinking about that wonderful color in the middle. Thinking was the problem, so I covered it up with black paint. And that curbed the thinking so the play could go back to happening.
The inspiration for this radical move to bring in more black paint was thanks to seeing a book on my shelf.
Seeing that book immediately made me think of Scott Stabile’s underwear. That sentence just sounds wrong, so let me explain before you jump to any conclusions.
Scott talks a lot about self love in his book, Big Love, and the thing that makes this book really stand out to me are the examples that he shares. These examples are memorable, down to earth, and relatable. Like the story of his underwear.
Scott very generously has this story on his website for you to read. If you ever get a chance to see him speak or take a workshop with him, he has one of the most wonderful heart. So warm and loving and giving cannot say enough good stuff about this guy.
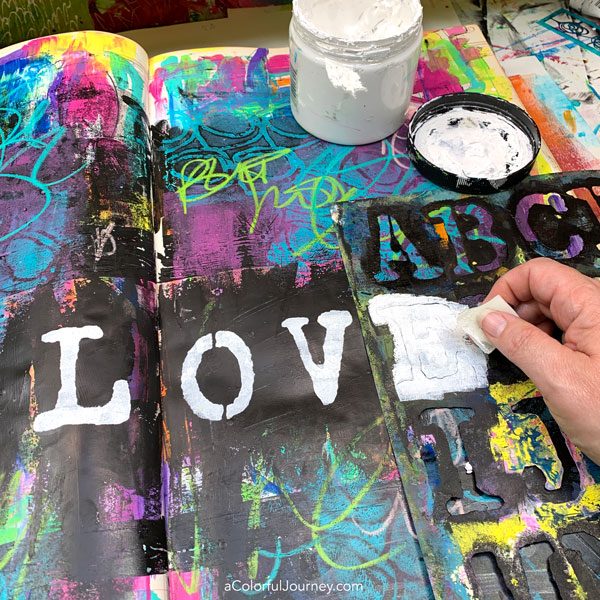
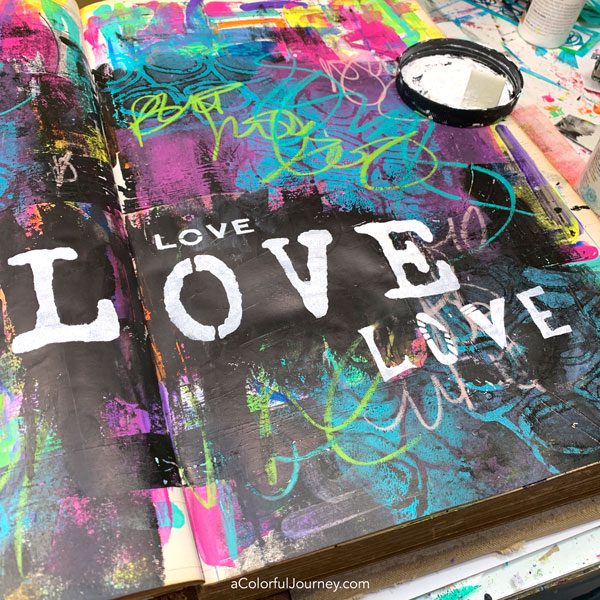
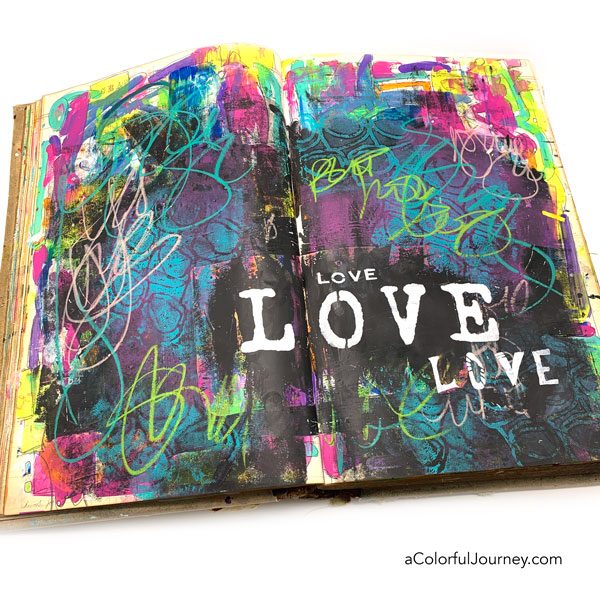
That big open black spot needed title, one that summed up what I was thinking as I made this. The word underwear would have summed it up, but that was way too long for me, so I chose love.
The stencils used are Jumbo Vintage Typewriter Alphabets A-P, Q-S, Alpha Jumble, and Ransom Alphabet.
This is a big, Harry Potter kind of big, vintage journal that I call MoJo. You can see more of the pages and oversized play here.
Some of these links are affiliate links which means I get a small percentage. It doesn’t cost you anything extra and it helps keep the free tutorials coming!
Normally, you’d see little pictures of each supply, but for some reason- the computer elves are being brats and not showing it, so I’ll just work around them! Here’s a link to all the products use- with the pictures!