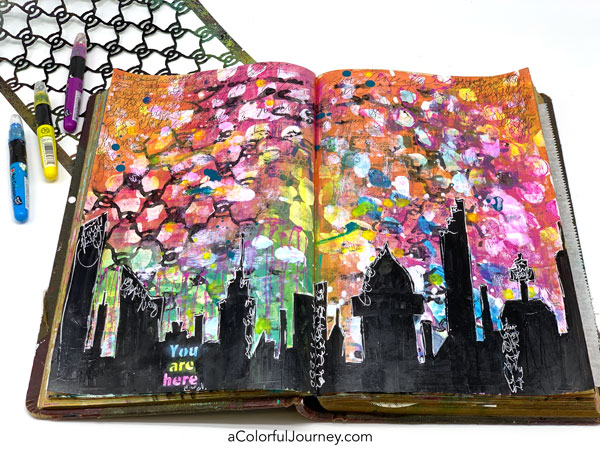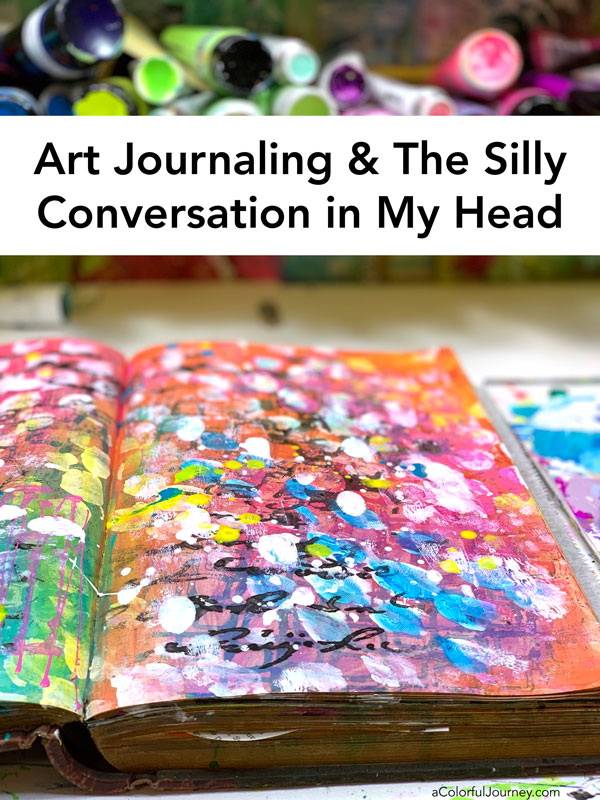
A silly conversation happened while playing in my art journal. It wasn’t about how I decide when to stop adding layers or the fancy close the page technique- although both of these are in the video.
It had to do with how I started painting the buildings on the page and why that triggered that good old perfectionistic voice in my head.
The bubble wrap isn’t just for packing, it’s for playing too.
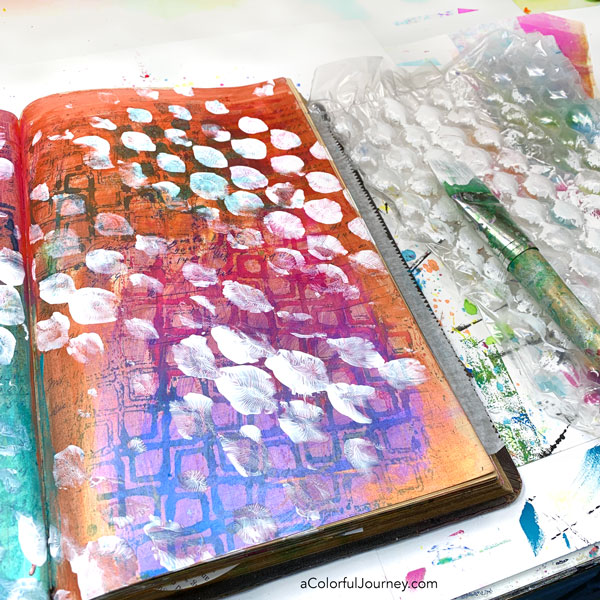
You can use stencils in more than one way. In the video, you see how I used my Linked stencil like a stamp by getting it all inky with Art Spray and then plopping it on the page.
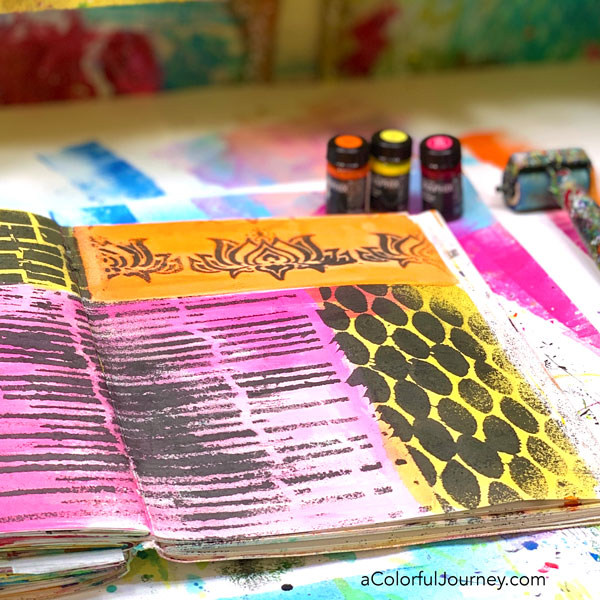
Below are the backgrounds for future play that were created getting the stencil loaded up with the black. Not a drop ever has to be wasted!
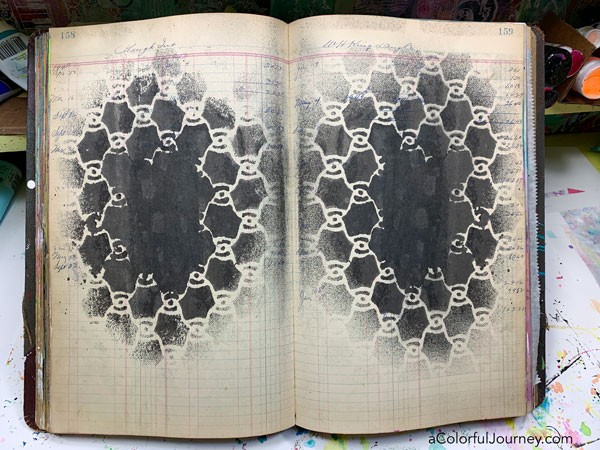
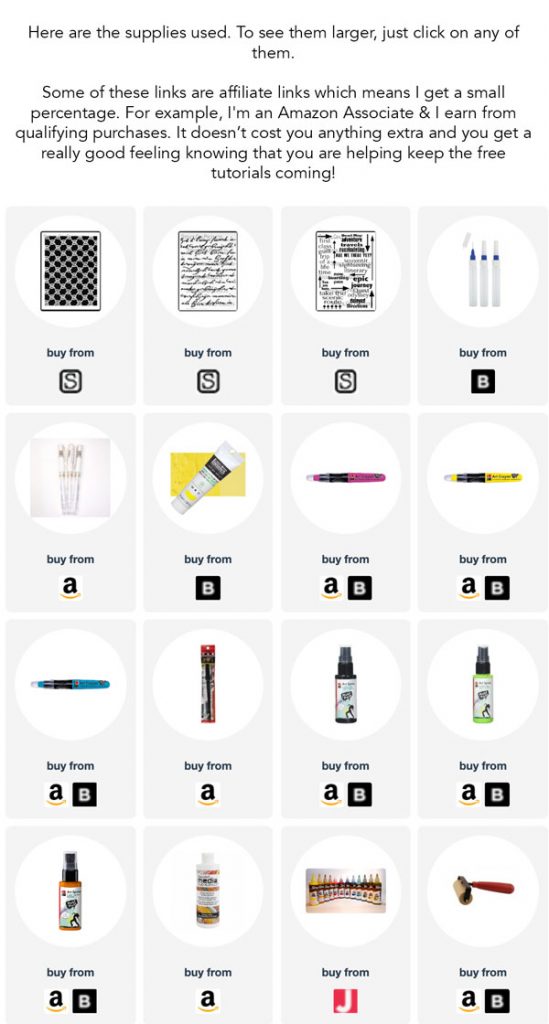
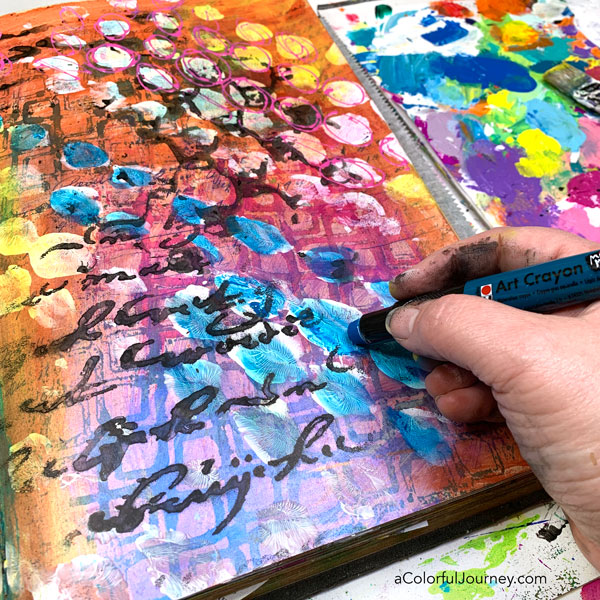
Here you can see the black lines from the Linked stencil as I’m adding some writing using a fine tipped bottle. These bottles come empty and you can fill them with any color you like. If it can squeeze out the tip, then you can put it in there! At the end of this post, I’ve got a full supply list for you too.
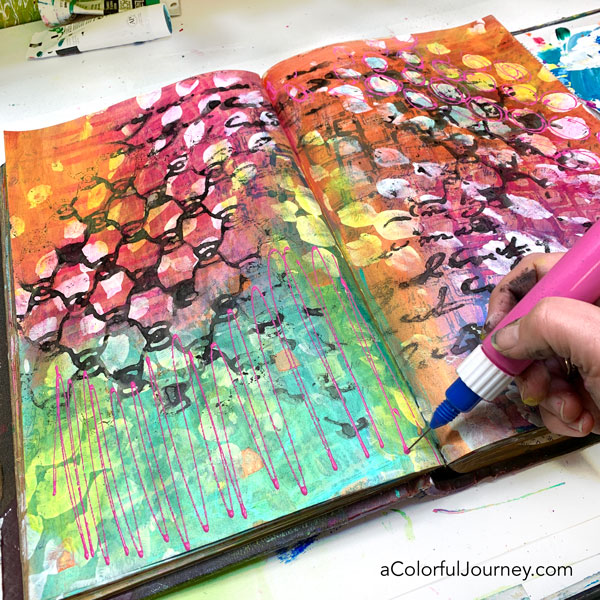
Why were so many layers added to this page? Because it was fun! That’s the number one way I decide if I should add more.
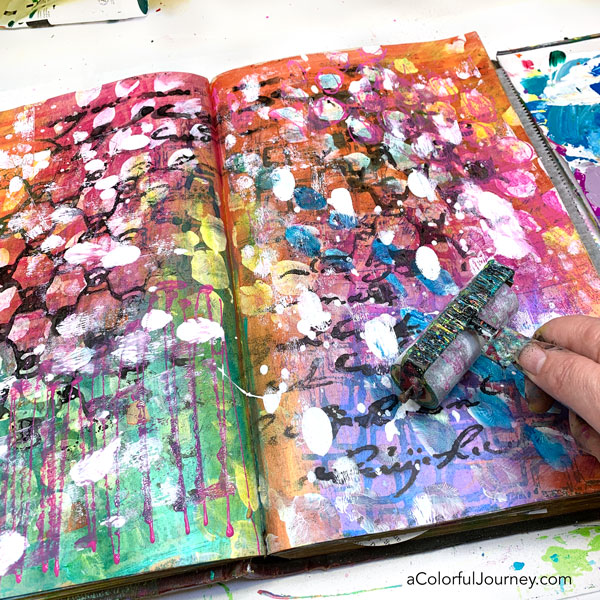
The paint was sprinkled directly onto the page and then spread around using the brayer.
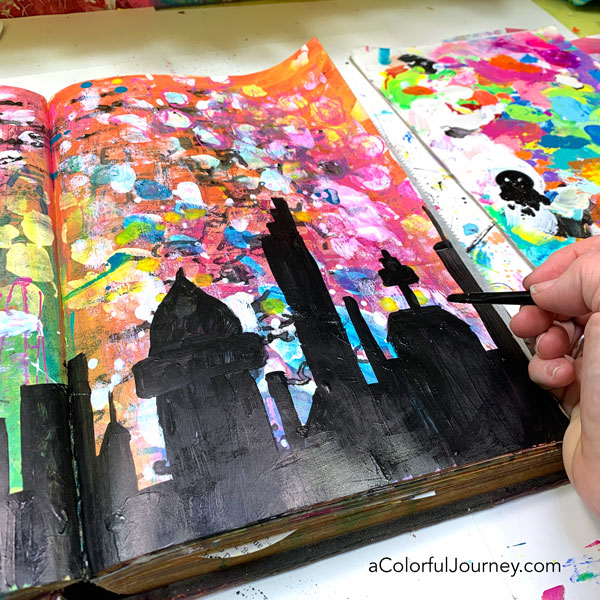
This is the point in the play when the silliness began in my head. I didn’t draw this out ahead of time and I was using black paint. That meant, if it didn’t go “right” there was no going back.
My response was a bit ornery to that voice because it seemed to want this to be architecturally accurate. I never signed a contract saying I would make my art journal page true to the zoning regulations of building codes.
So I intentionally created a weird elevator shaft and apartment balancing on top of it. That would never be approved by the building commission.
An O.O.P.S. happened here. I just didn’t like the white pen there. It was an Outstanding Opportunity Presenting Suddenly.
I just painted over it with black but I had to wait for it to dry. That gave me the time to do some scribble journaling about my impatience.
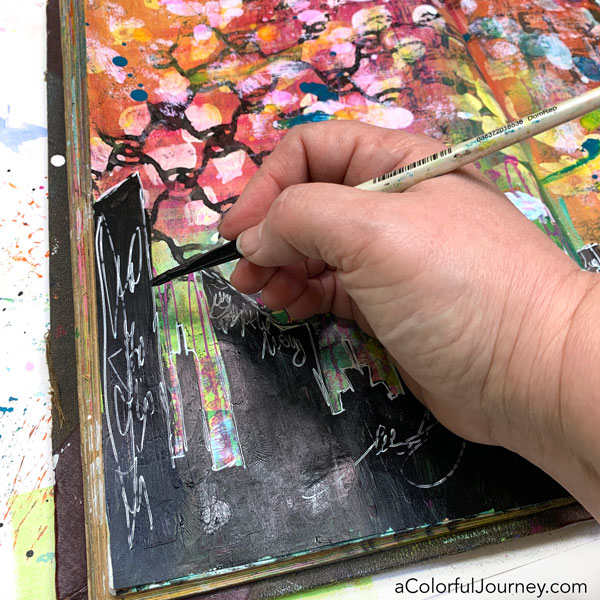
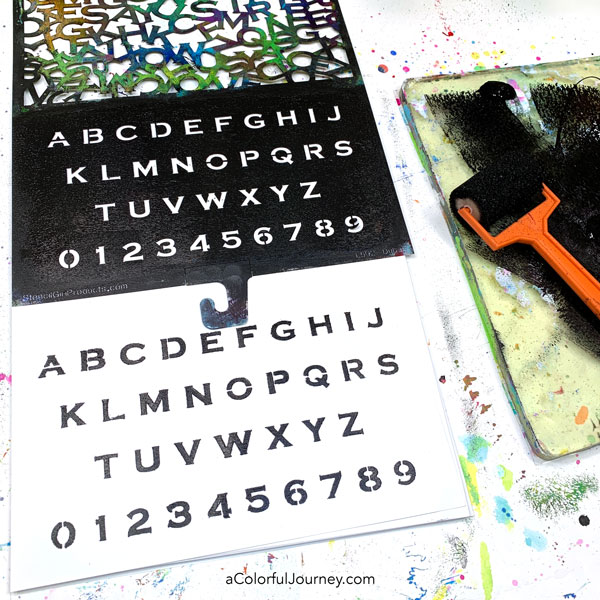
That impatience helped me decide on the 3 little words for the title from my Are We There Yet stencil.
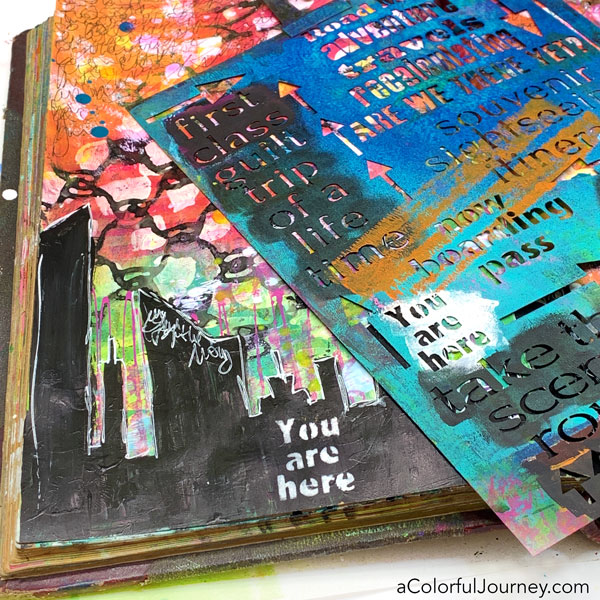
Art Crayons added some color to those words with a bit of smudging because the paint wasn’t fully dry yet. But why wait patiently when you’re an impatient person!
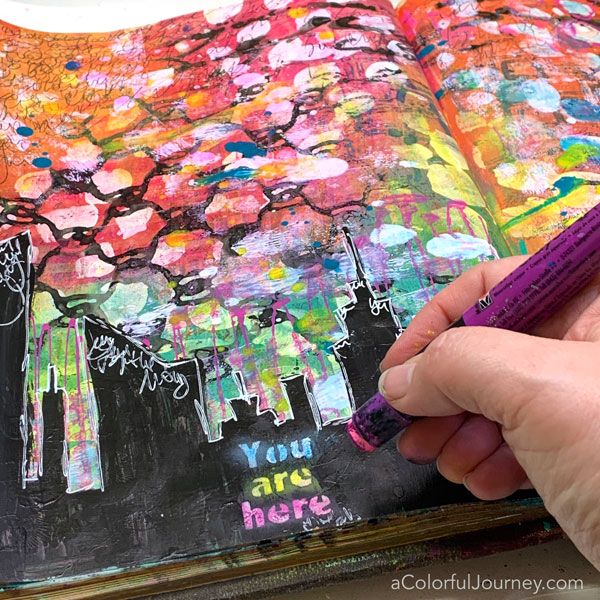
The glow of the words are almost like a neon sign in the big city. A city made of architecturally imperfect buildings!
If you’re still reading here, you’ve probably enjoy playing with your art supplies so you might want to check out my free workshop, Permission to Play where we let go and make a cardboard art journal.
