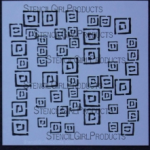
Welcome to the latest Stencil Test Drive! I’m working with Jessica Sporn’s Random Squares stencil. The first time I saw this stencil, I knew I had to have it! So many possibilities! Be sure to stop by and check out what everyone did with this stencil!
- Diana Trout
- Seth Apter
- Corrine Gillman
- Kristin Dudish
- Jessica Sporn (There’s a giveaway here…hint…hint)
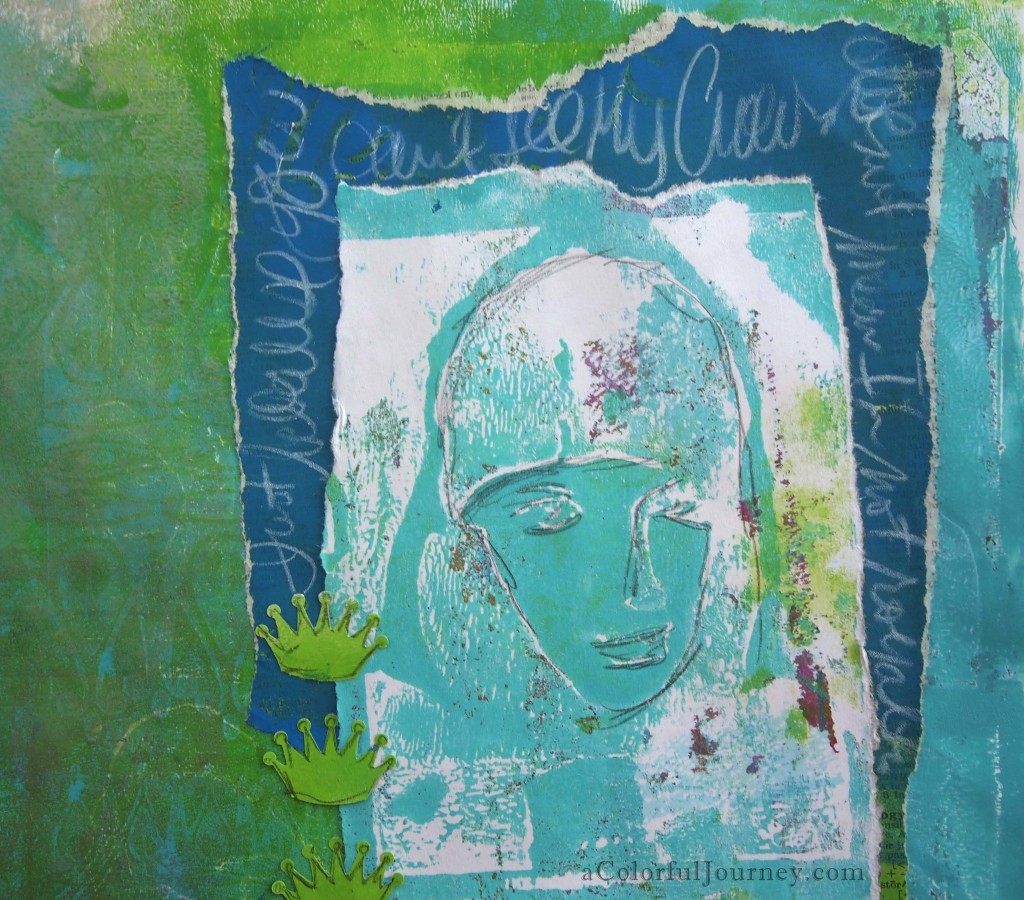
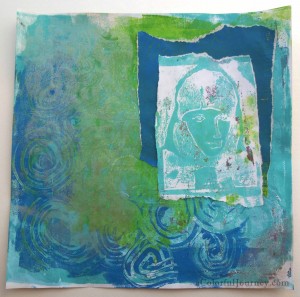
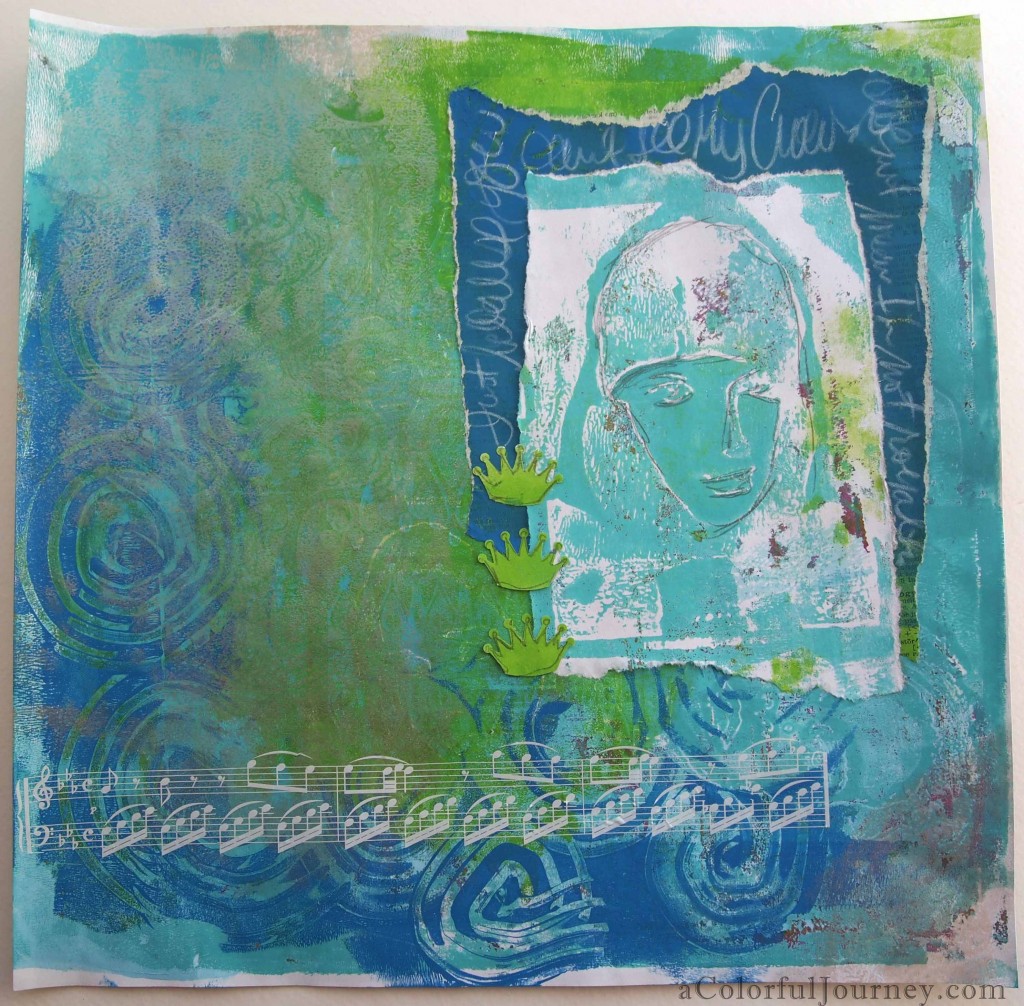
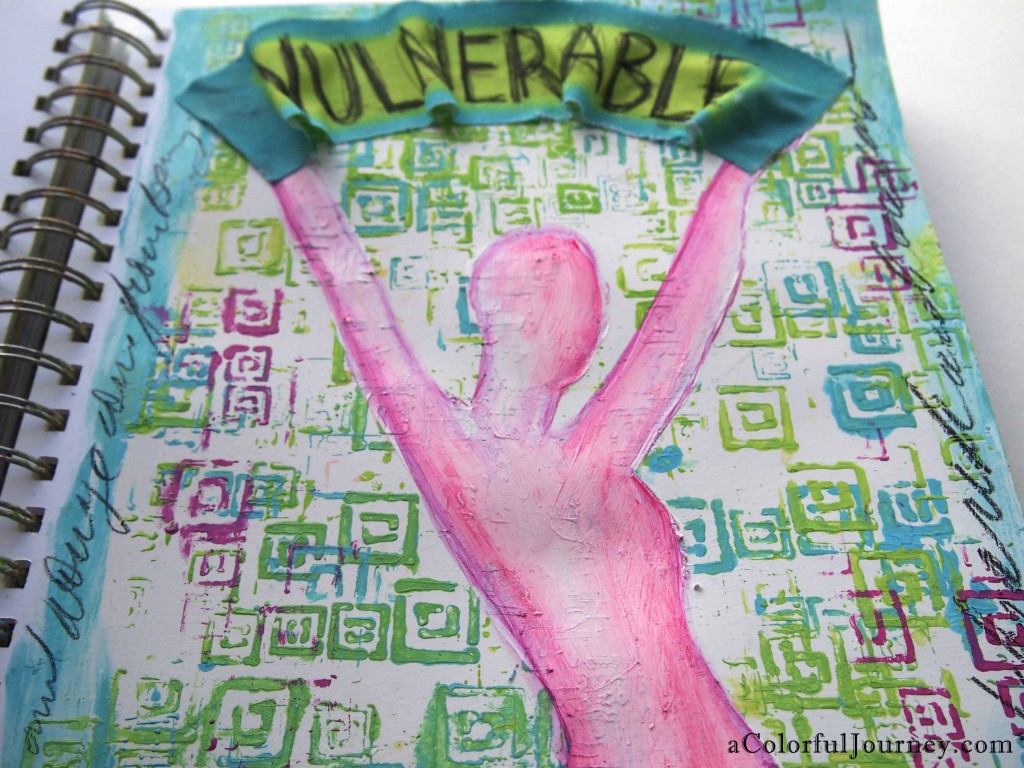
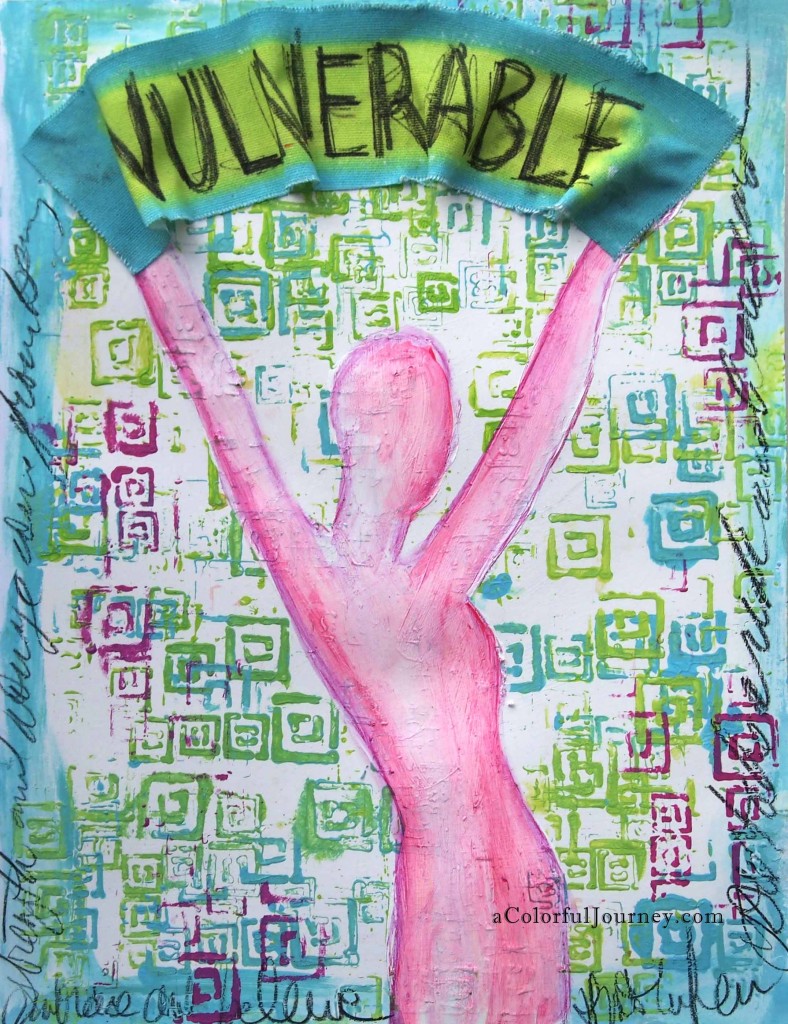
I’ve been seeing the word vulnerable in all sorts of places lately so it was no surprise to me that it ended up in my art journal. There is strength in knowing you are vulnerable and embracing all that it entails. As woman emerged, she struck me as strong and the type who embraces her vulnerabilities.
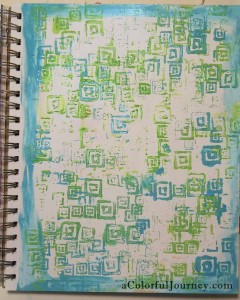
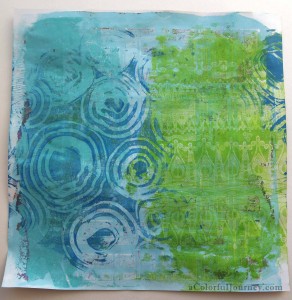
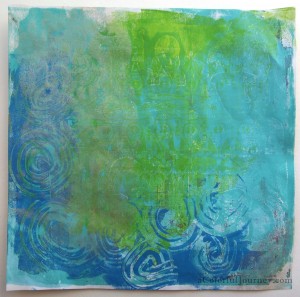
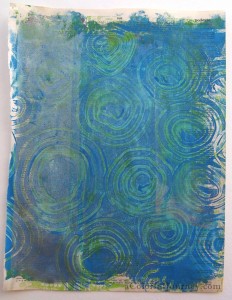
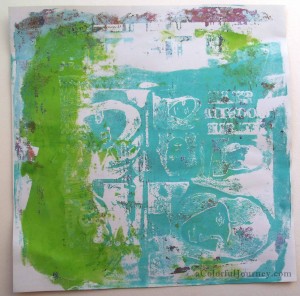
Randomly stenciling with acrylic paint.
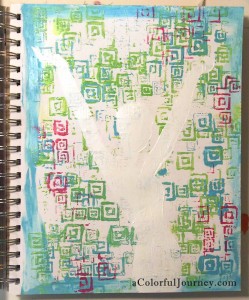
White acrylic paint and a touch of pink acrylic paint.
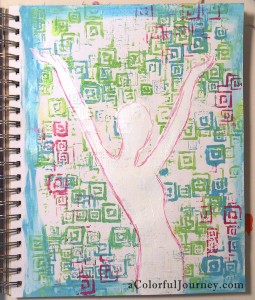
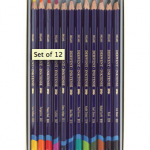
Inktense Pencils![]() to outline her.
to outline her.
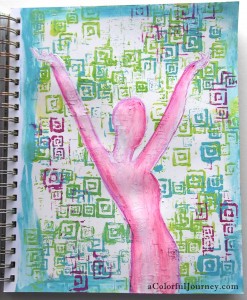
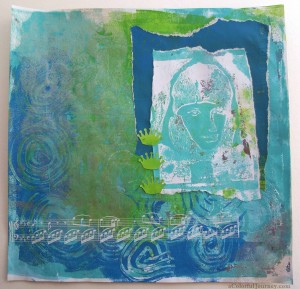
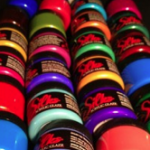
Water to spread the Inktense Pencils![]() to add some color to her. Silks to add a touch of shimmer.
to add some color to her. Silks to add a touch of shimmer.
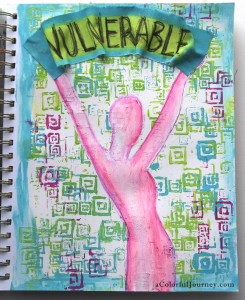
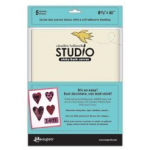
The banner was made with sticky back canvas.
Stabilo pencil![]() to add a touch of journaling. These pencils write so easily over any surface I’ve ever had in any of my art journals.
to add a touch of journaling. These pencils write so easily over any surface I’ve ever had in any of my art journals.
Products Used:
 Random Squares Inktense
In the comments, I was asked where I got the paper doll. I have all sorts of paper doll books that I have amassed over the years but no idea which one this particular lady came from… They are extremely affordable especially considering how many ways you can use them! Here are links to a few different ones.
Linking up with Creative Every Day, Paint Party Friday and Art Journal Every Day.