Welcome! I’m Carolyn Dube – This colorful journey is all about the freedom of play!
Search My Blog
Search by Category
The Fine Print
Some of the links on this blog are affiliate links and I receive a small percentage. It doesn't cost you anything extra and helps keep all the free tutorials and videos coming! It's a win-win!
The website is copyright Carolyn Dube, and that is kinda common sense since this is my site.
As an Amazon Associate I earn from qualifying purchases.
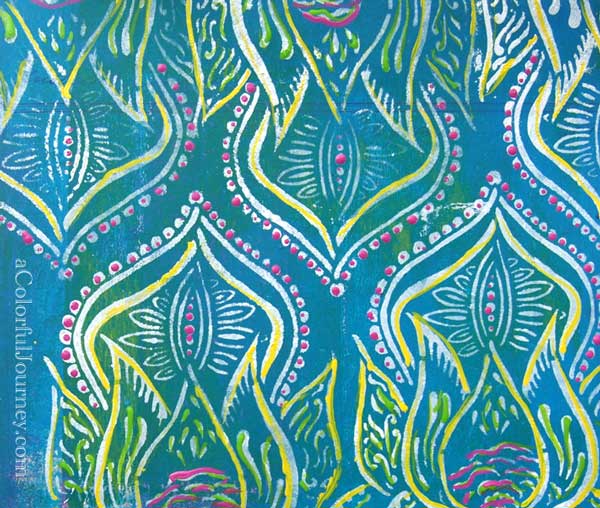
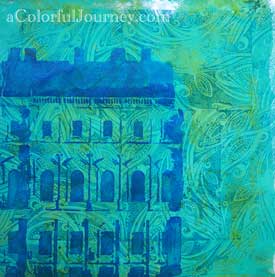
In the process of making a pattern with Thanks A Lotus I backed myself into a corner. But you’ll see that if I back myself into a corner, I can get myself back out. The tragedy was averted (pretty easily too…) as I played with Andrea Matus DeMeng’s incredible stencil for this jumbo blog hop celebrating her designs at StencilGirl!
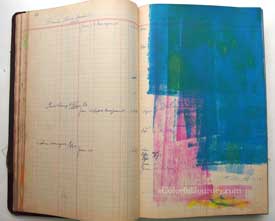
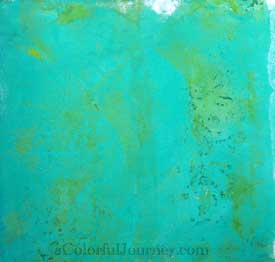
The color on this page came from cleaning my brayer while Gelli printing. I love to use every drop of paint so my journals are loaded with pages like this.
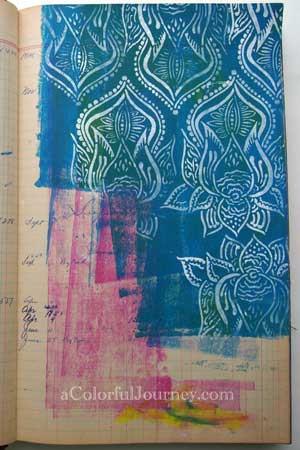
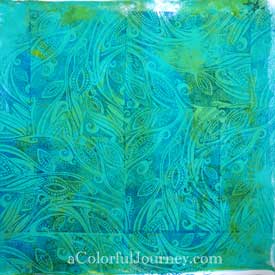
I didn’t plan how I was going to build this pattern. In the video, you’ll see that got me into a bit of a corner, but if I can get myself into a corner I can get myself out of a corner…once you see the video you can probably spot it here very quickly…
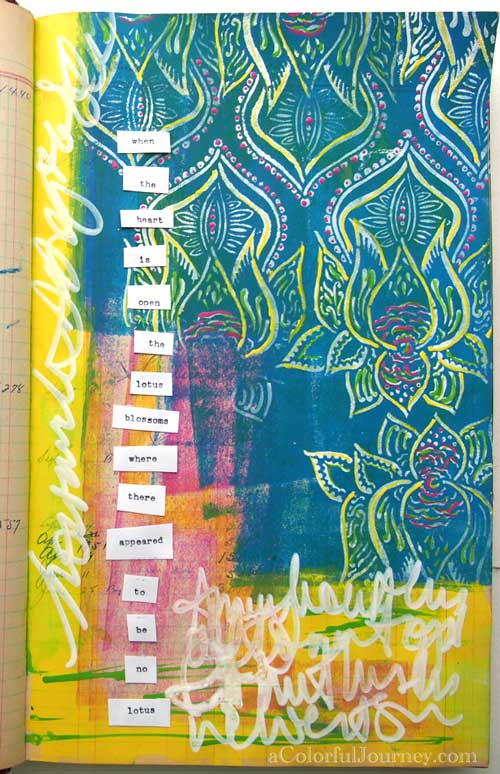
More color. That is all I kept hearing in my head as I played. More color. I hear that a lot but if you probably could have guessed that!
One winner will receive a set of all 6 of Andrea’s new 6×6 stencils and another winner will receive a set of all 6 of Andrea’s new 9×12 stencils! Wow! The giveaway will close on Sunday, April 6th at 11:59PM Central Time so get busy and leave a comment to enter! Want more chances to win? Every blog in the hop you leave a comment on will be entered to win so that is 15 chances!
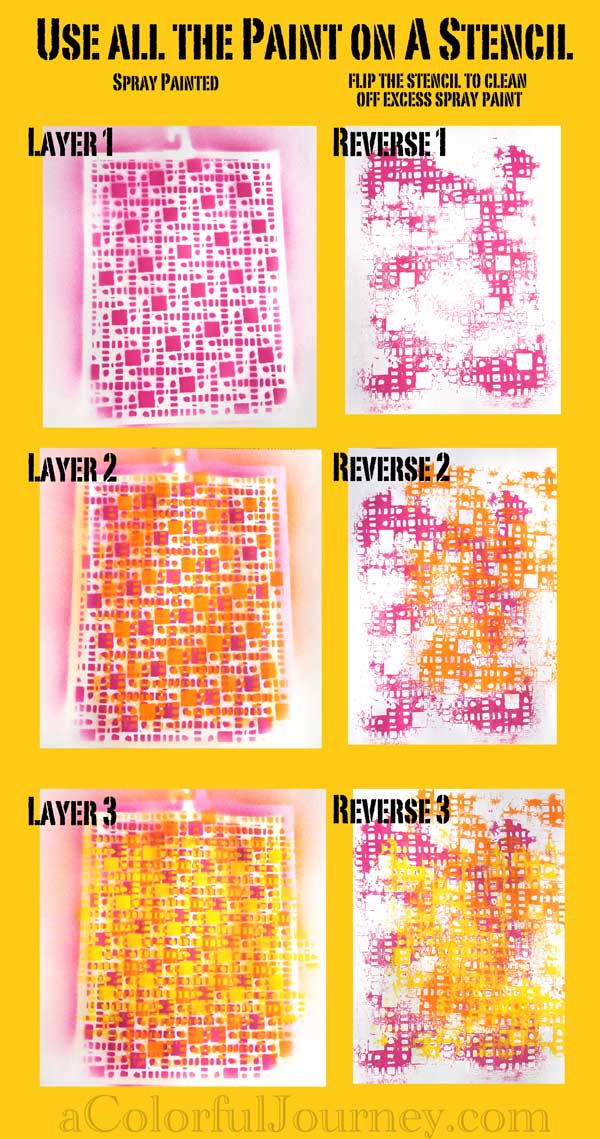
Like interesting people, interesting patterns have lots of layers. Using every drop of spray paint on the stencil gave me 2 very different looks from one stencil as the layers built up.
Immediately after generously spraying the Crossword stencil with Liquitex spray paint I picked up the stencil and flipped it over onto another piece of paper for the ghost image. I added each layer randomly so that nothing would line up.
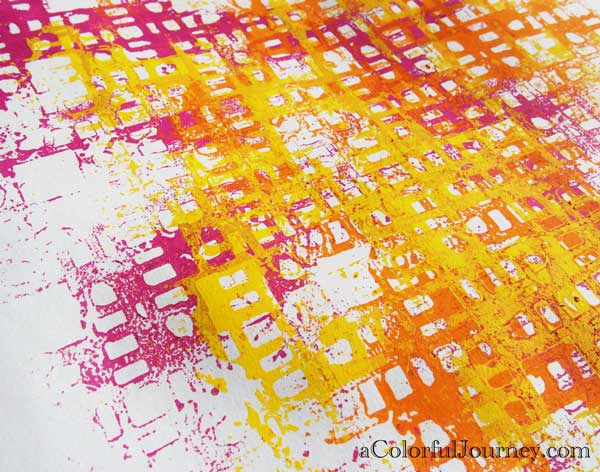
Here’s a close up of the reverse or ghost print with all 3 layers built up.
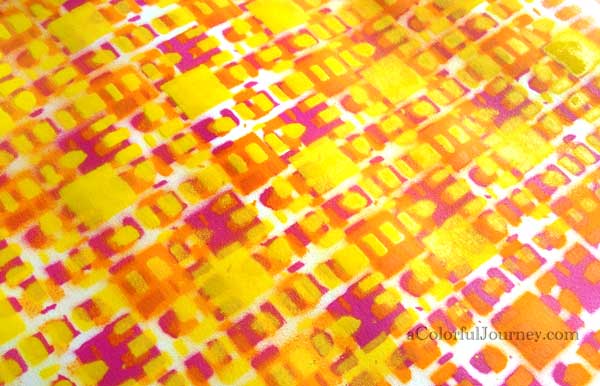
The pattern from layering the stencil with all 3 layers built up.
I spent an afternoon playing in the sun with spray paints and can’t wait to do it again! Time seemed to stand still and I let myself get lost in the color and play. I just couldn’t stop…okay…I could have but didn’t want to stop. I gave into the addiction of spray painting.
I’d love to know what supply/tools you play with that should be labeled as creatively addictive?
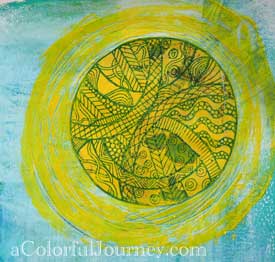
Rubber stamps with stencils bring out the best in each other. Bold lines come from the stencil contrast the fine details of a rubber stamp. Working together they created a quick art journal page.
There is lots of inspiration for using stencils with rubber stamps in this blog hop with Lost Coast Designs Rubber Stamps and StencilGirl Products! All the hop details and giveaway info are at the end of this post.
The prize is a$25 credit in the Lost Coast Designs store and two 9×12 stencils (you can see them over at StencilGirl Talk) to ONE lucky winner!
How do you win the giveaway? Just leave a comment on my blog for a chance to win! Want more chances to win? You can leave a comment on each and every blog with a total of 15 chances to win! You’ve got until Sunday, March 30th at 11:59pm CST, when the giveaway closes.
This website uses cookies to improve your experience while you navigate through the website. Out of these cookies, the cookies that are categorized as necessary are stored on your browser as they are essential for the working of basic functionalities of the website. We also use third-party cookies that help us analyze and understand how you use this website. These cookies will be stored in your browser only with your consent. You also have the option to opt-out of these cookies. But opting out of some of these cookies may have an effect on your browsing experience.
Necessary cookies are absolutely essential for the website to function properly. This category only includes cookies that ensures basic functionalities and security features of the website. These cookies do not store any personal information.
Any cookies that may not be particularly necessary for the website to function and is used specifically to collect user personal data via analytics, ads, other embedded contents are termed as non-necessary cookies. It is mandatory to procure user consent prior to running these cookies on your website.