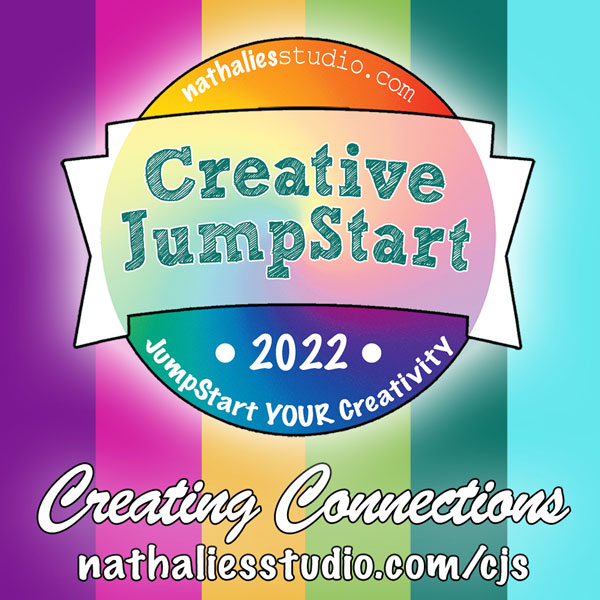
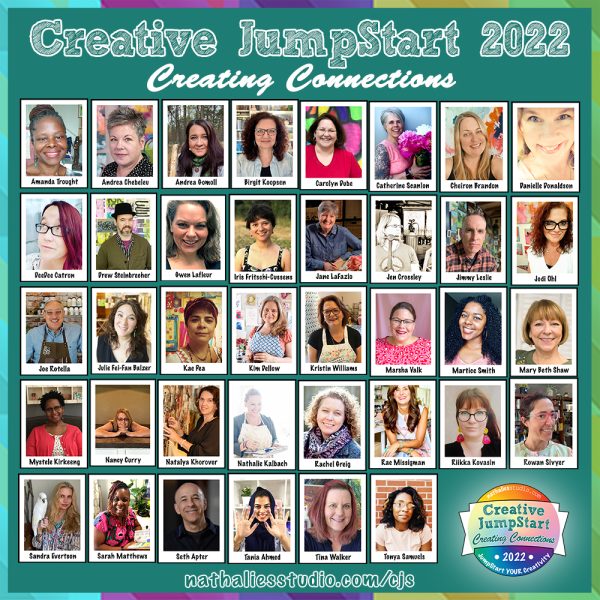
≡ Menu

Crayon rubbings aren’t just for leaves! They work with stencils too! After making the rubbings, they are great for playing with color patterns. But, you’ll see how I get myself into a bit of pattern pickle and what I do about it! O.O.P.S.!

This stencil is a part of this month’s StencilClub offering! Mary Beth Shaw, the founder of StencilGirl, and I have created a mash up set- and I can’t wait to see what you create with them! Along with the stencils, one of the other perks (and there are several of them so read about them all here) is an exclusive members only video.

On October 15th, 2021 these stencils ship and the video gets released to members! So get ready to have some fun because as I shared techniques on one side of the screen, you can see Mary Beth working in real time on the other side. She’s a brave soul because she had zero idea of what we’d be doing, just told her to have her Gel Press plate ready!

Place a thin piece of paper, like tissue paper, on top of your stencil. Then rub an unwrapped crayon on it. The hardest part of this process is the unwrapping of the crayon!

Longer crayons, as opposed to broken bits, are easier to get the crispest, finest detail. In the video, you can see the difference the pressure makes too.

Color in any area of the pattern with any colors you want! I’m using a hodge podge of colored pencils to do this. This is a great thing to do when watching videos or if you’re stuck on a long Zoom call.

By cutting apart some of the blocks, you can get a totally different look. I can’t wait to use that long skinny row of them in my play!

When you’re creating your patterns, you can leave some areas uncolored, use just two colors, use three colors, use ten colors, color the ovals half and half, and much much more! How much more? Keep reading!

How many different patterns can you create? Well, I decided I wanted to put a number on it. An actual number. So I dusted off my memory of permutations in math class and gave it a try!

The colors can repeat that means this a permutation with repetition ( nr). Since each box or oval can be colored separately, I am going to consider each of these a pattern making unit so that’s 40 for the size of the permutation (r). Then I had to figure out the number of possible outcomes or choices for each of those (n). I decided to go simple and just say 10 colors (not even taking into account the option of coloring two colors in one oval or box).

So it’s a whopping 1040 or 10,000,000,000,000,000,000,000,000,000,000,000,000,000 possible patterns. That’s a lot of possibilities! Am I sure my math is correct here? Nope, it’s been years and years since I’ve had a math class so I’m open to anyone who is more knowledgable correcting me!

I love having options and for all practical purposes, there are limitless pattern possibilities for you! And this is just one of the three stencils included in this month’s StencilClub set.

{ 3 comments }

See how the layers built up bit by bit on these prints on a Gel Press plate. How it starts out with a very loose layer of yellow all the way to the words added at the end and you’ll also see how I handle it I when there’s a layer I don’t like!

When you’re putting the paint on the gel plate, try only putting it on part of the plate. There seems to be an invisible force that pulls my brayer to cover the entire thing, so I have to remind myself to just go part of the way. That will create loose edges and layers of various shapes and sizes. Links to everything used is at the bottom of this post.

When printing words, the stencil goes on the gel plate backwards. That is, if you want the words face the legible way when you take the prints. The bonus of use a gel plate to stencil is that it’s fast and allows you to easily use full words or fragments. Love that flexibility!

Want to know more about gel printing? Then check out my page of gel printing resources, tutorials, and workshops!

Here are the supplies used. Some of these links may be affiliate links which means I get a small percentage and it doesn’t cost you anything extra! It doesn’t cost you anything extra and you get a really good feeling knowing that you are helping keep the free tutorials coming!


{ 2 comments }

Just about anything can become a gel printing tool! Including dish washing gloves! Yes, you read that right. Dishwashing gloves! These are scrubbing gloves which enables them to create a soft Impressionist style print. Probably not what the manufacturer intended but they do it well! I’ve got the supply list at the end of this post so you can check out what they look like nice and clean.

You dip your fingers into the colors from your palette and then pat it onto the gel plate! Naturally, you use anything you have for the palette from wax paper to a “proper” palette. I chose to use a 6 x 6 gel plate as my palette so that when I was done, the leftover paints would make a print.

The more you pat it around, the more the colors blend. The less you pat it around, the less they blend.To keep the colors from getting muddy, stay in cool or warm colors. Here, I’ve used blues, greens, and a touch of yellow.

Only one glove gets used at a time, so that makes it easy to keep one for cool colors and one for warm colors. That way there isn’t any time spent cleaning the gloves when changing colors. You absolutely can clean the glove, but since that doens’t bring me joy, I avoid it whenever possible.

In the photo below you can see the texture that is on the gloves, these fine little scrubbers. They don’t give me much faith for actual dish washing, but for gel printing they are amazing!

This is not the only way you can use a gel plate! There are so many more different looks you can create in your prints when you fully understand how the plate works, why it’s doing what it’s doing, if you want to be able to steer and guide your prints so it’s not random take a look at my gel printing workshops.

Here are the supplies used.

Some of these links may be affiliate links which means I get a small percentage and it doesn’t cost you anything extra! It doesn’t cost you anything extra and you get a really good feeling knowing that you are helping keep the free tutorials coming!


{ 13 comments }