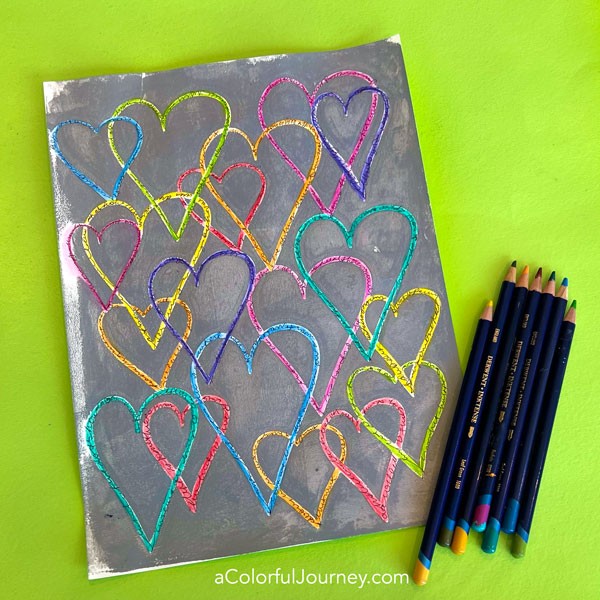
Neat and tidy coloring inside the lines isn’t something you see very often at aColorfulJourney but when I do it here, I am not really staying carefully inside the lines. But it doesn’t really show up because of what I used to add the color to this gel print!
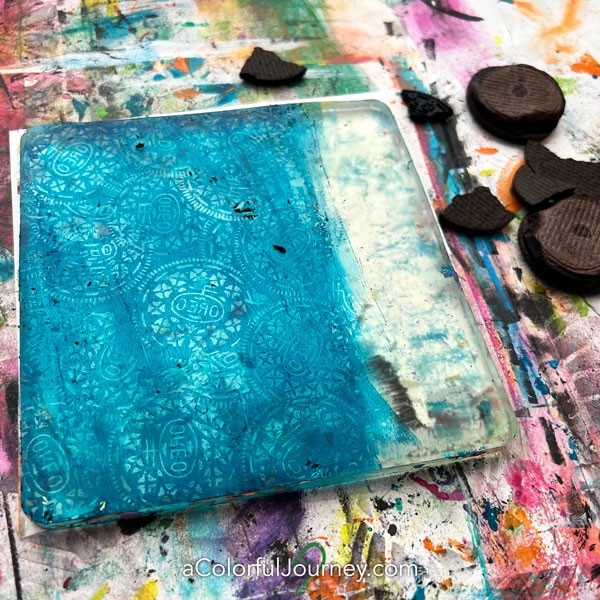
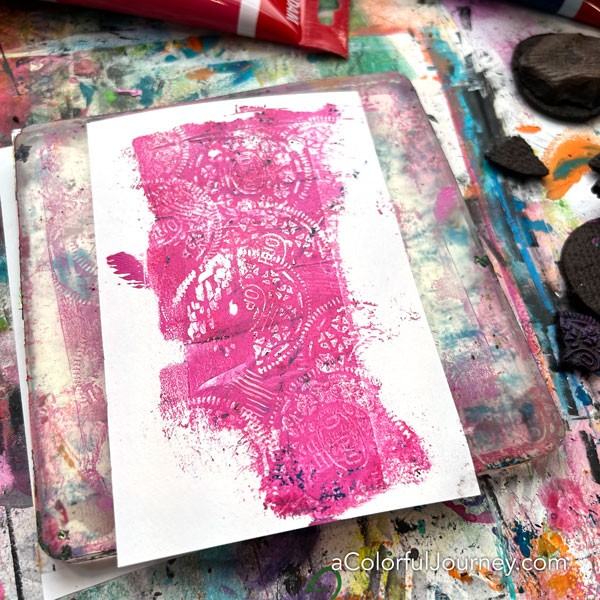
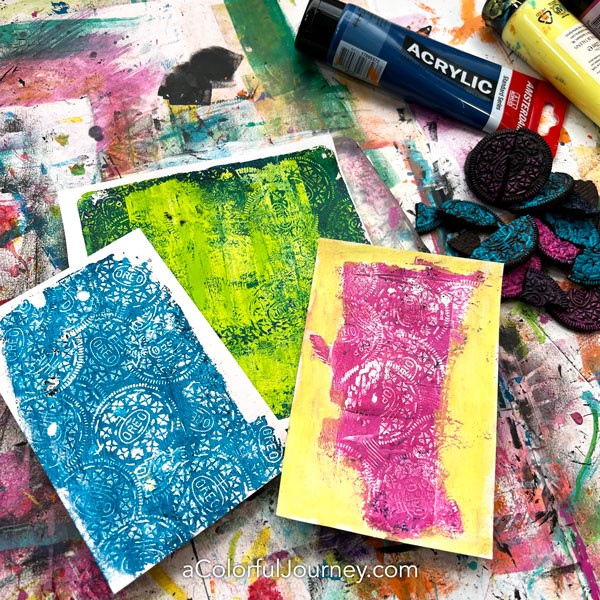
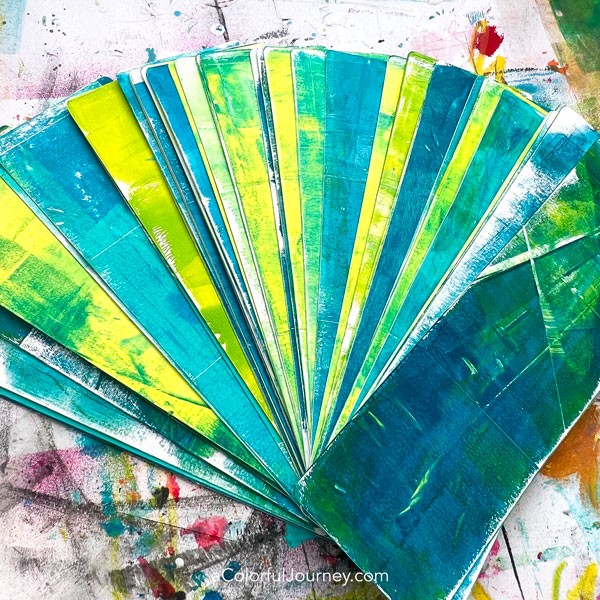
This is the print I started with made using my Overlapping Hearts stencil from StencilGirlProducts.com
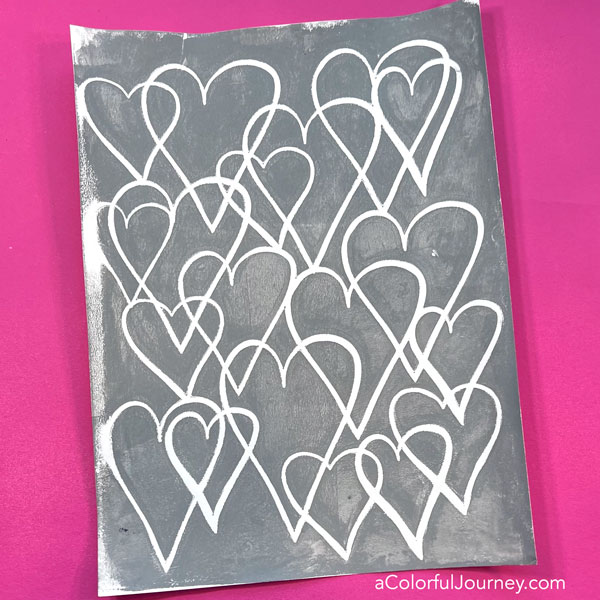
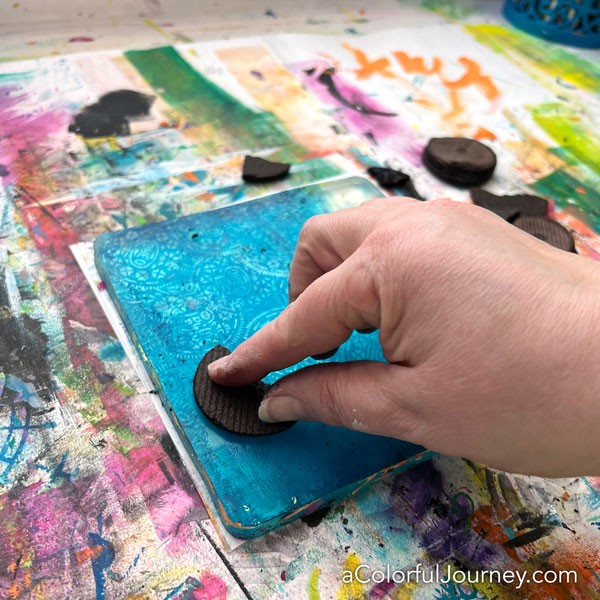
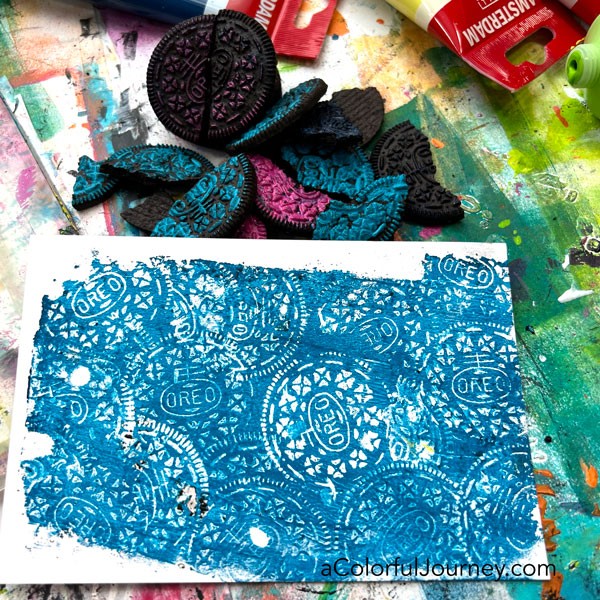
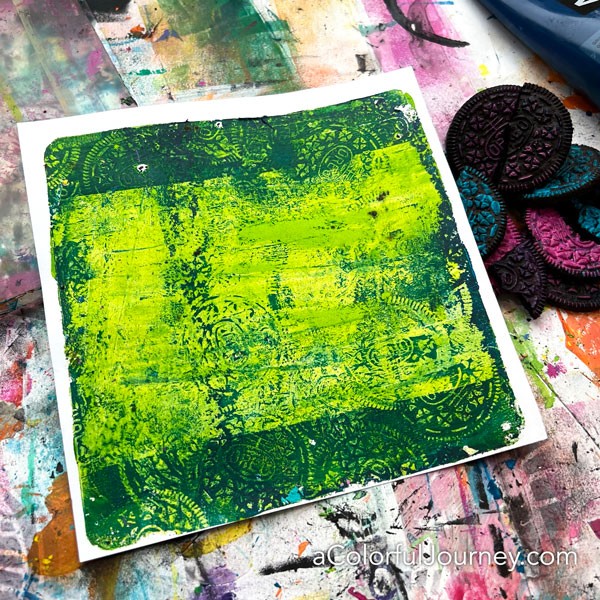
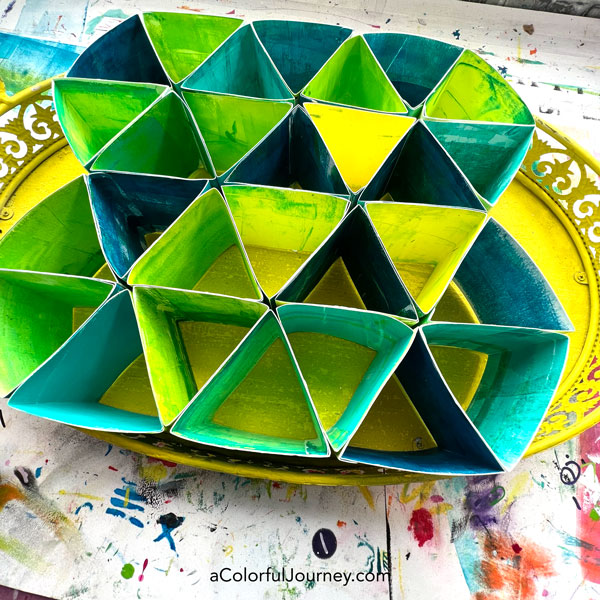
In the video below, you’ll see how I stenciled the hearts in gray, the super speedy way, using a gel plate.
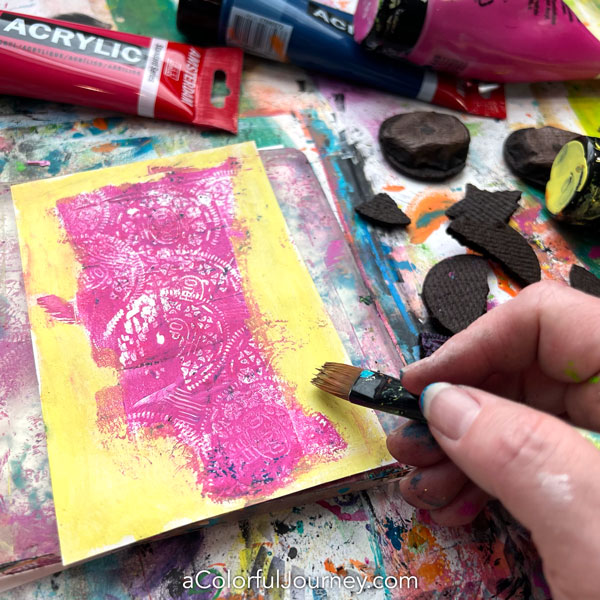
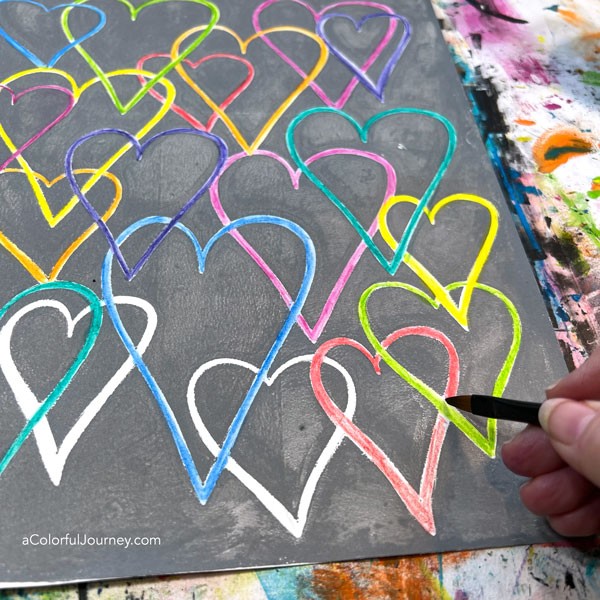
Using Inktense pencils, supply link at the end of this post for you, I loosely and imperfectly colored in the white areas.

By simply adding water to the colored pencil, the color came alive. Inktense pencils are very vibrant and intense color, hence their name.
After it was completely dry, a layer of scribble journaling was added.
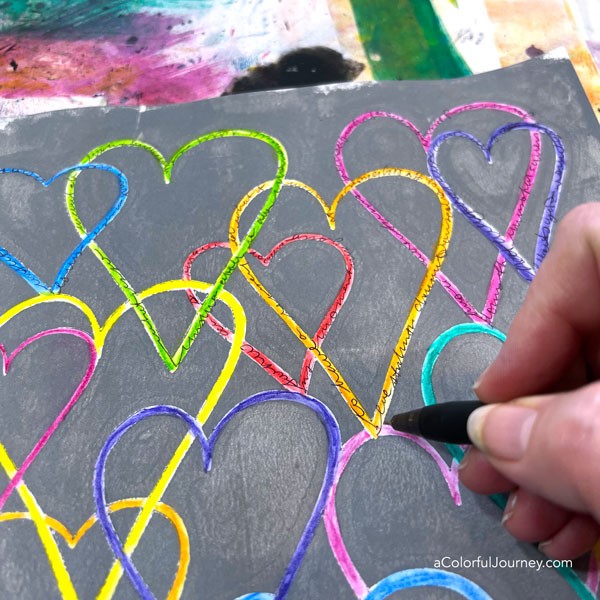
The plan for this was to create a quick card, but I unexpectedly didn’t want to cut it up, so it just might get a quick 8×10 mat around it. That way it can be sent as a gift instead of a card!
Want more ideas for ways to use your stencils? Then check out my YouTube playlist of stenciling videos!
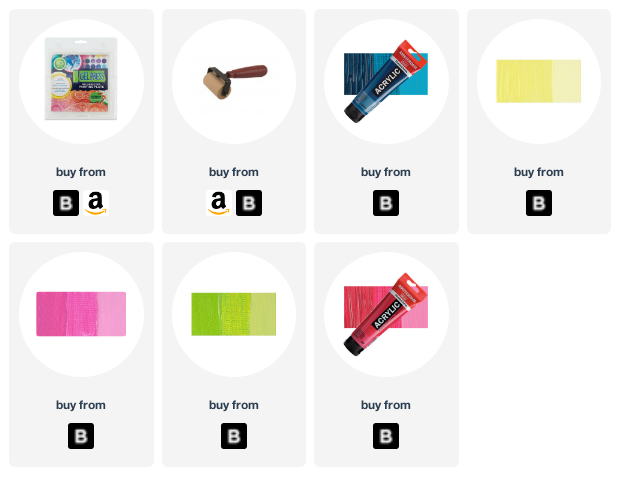
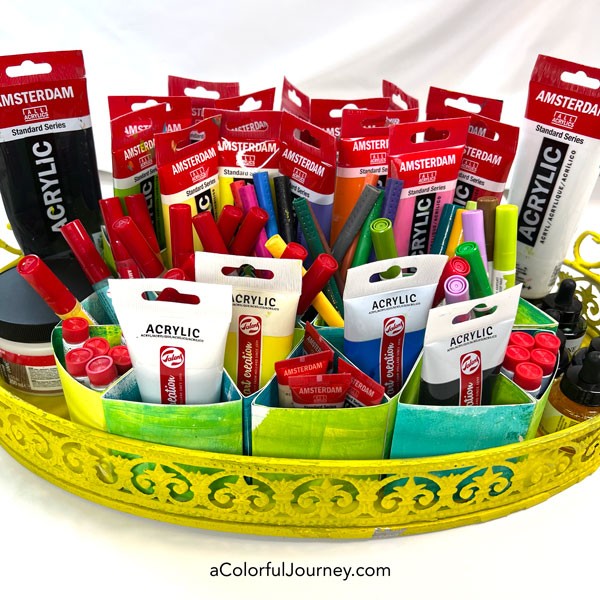
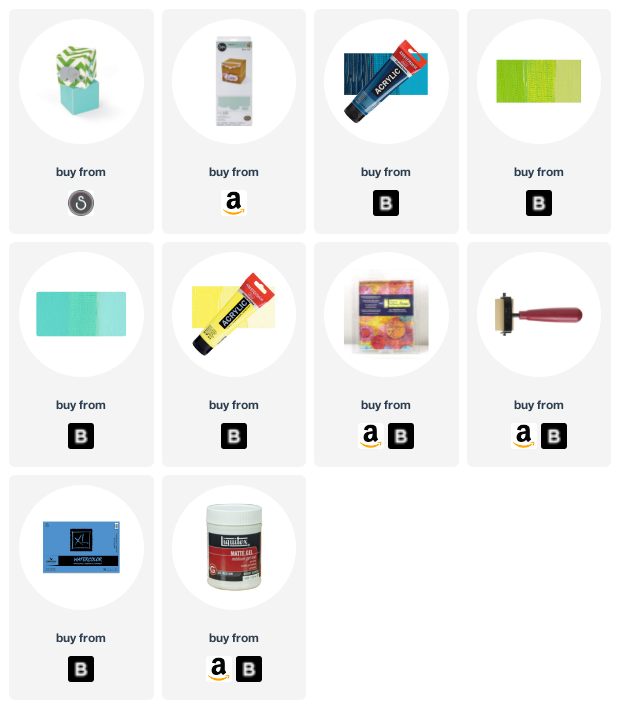
Here are the supplies used. Some of these links may be affiliate links which means I get a small percentage and it doesn’t cost you anything extra! It doesn’t cost you anything extra and you get a really good feeling knowing that you are helping keep the free tutorials coming!