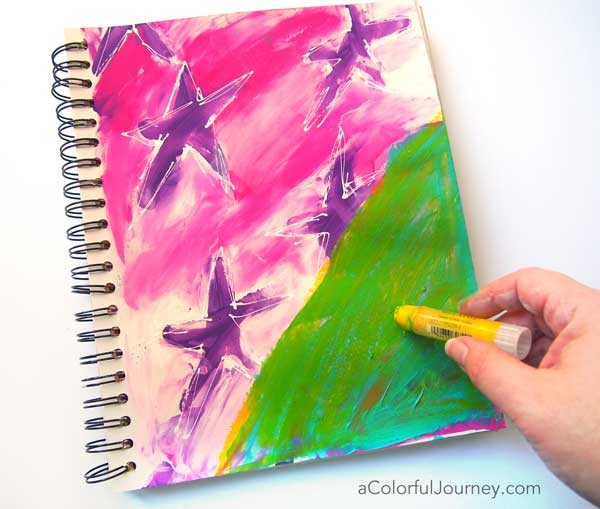
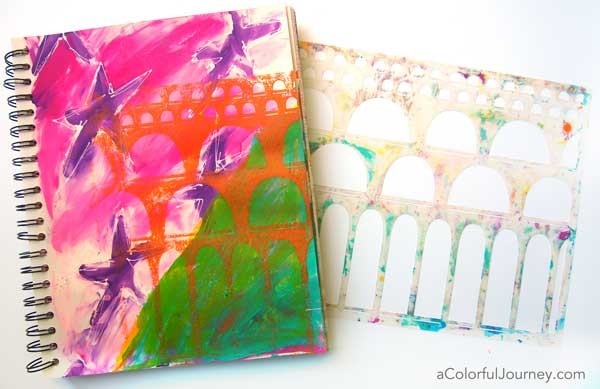
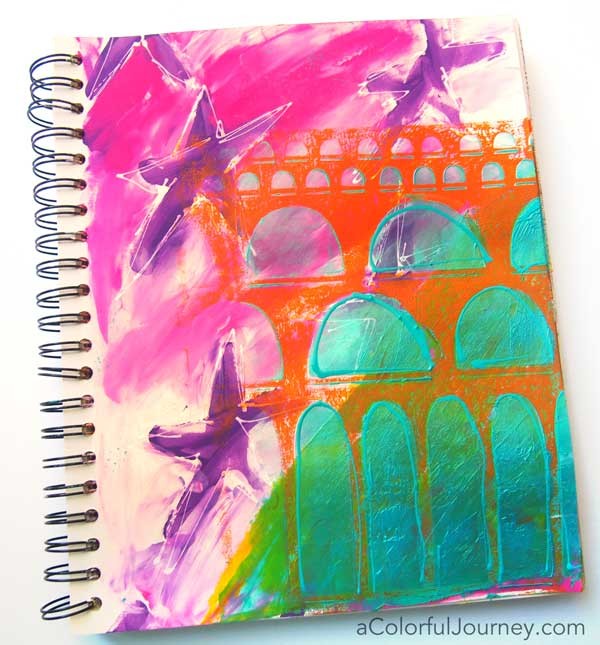
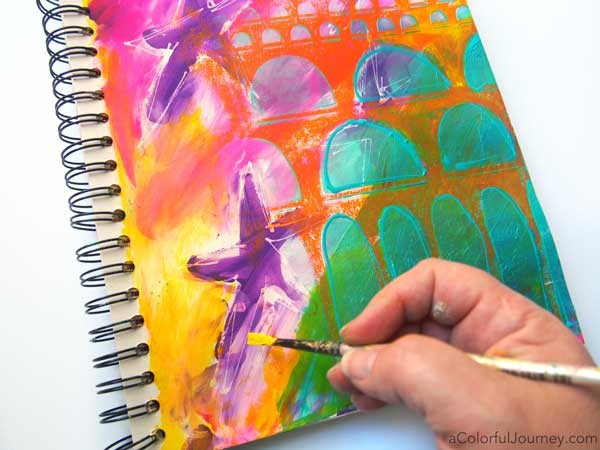
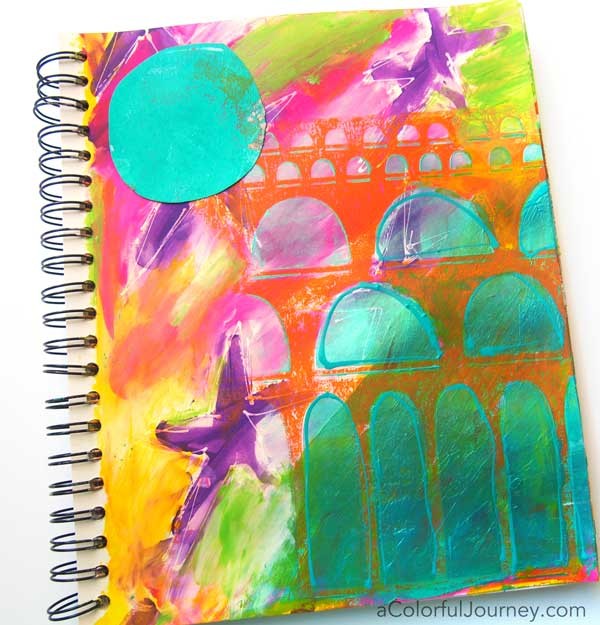
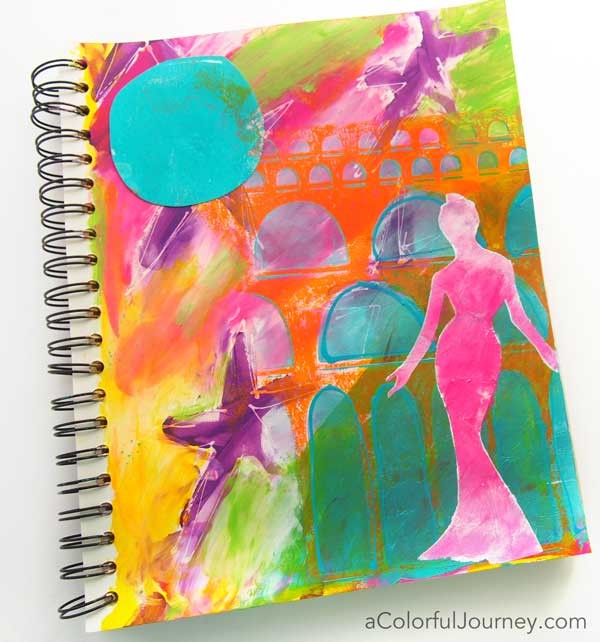
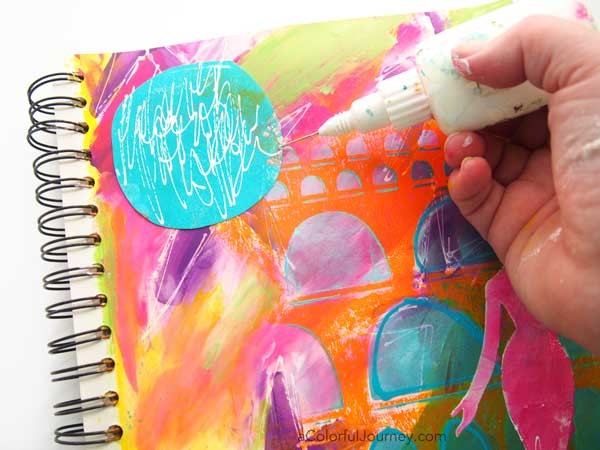
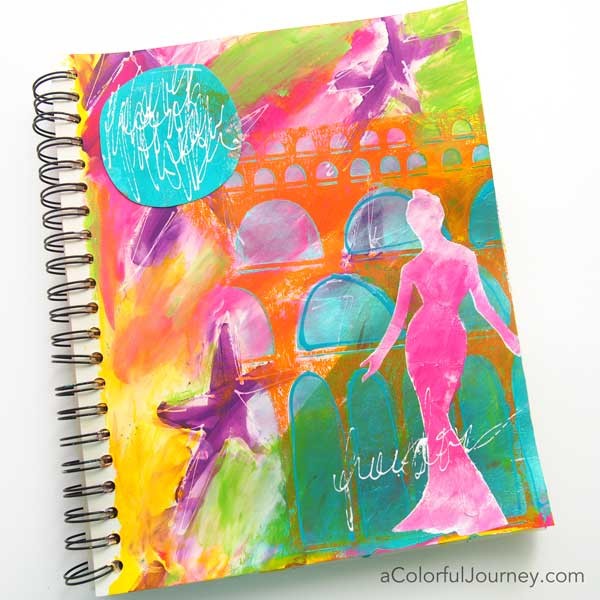
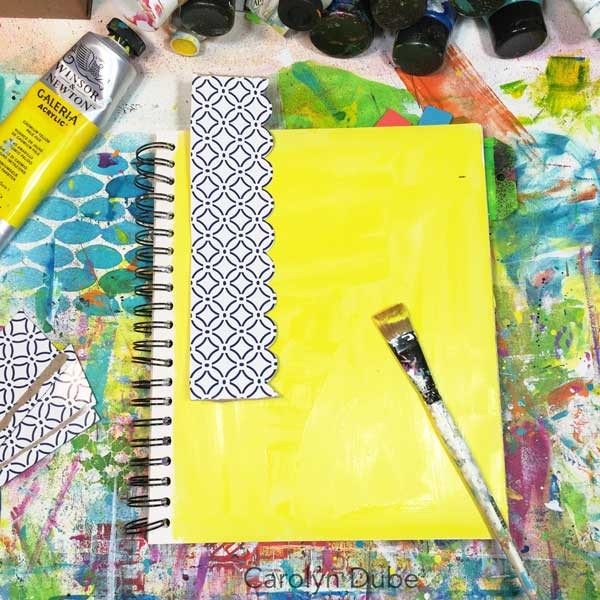
≡ Menu
Carolyn is sharing how she went step by step from loving her art journal page to hating it and back again to loving it.

I loved it…then I hated it…my mood toward this art journal page was swinging from one extreme to another with each layer.   Wild extremes that happened in a second.  I love when this happens because it was such a fun ride my muse took me on today!

It started with a layer I loved.  I loved the process of finger painting this and I loved the colors, I loved everything about it but it didn’t feel complete yet.

Carolyn is sharing how she went step by step from loving her art journal page to hating it and back again to loving it.

So I added the teal color.  Then I hated it….big time.  OOPS!  Even though I was repulsed by it, I knew there was an opportunity in it but I sure had no idea what that was…

Carolyn is sharing how she went step by step from loving her art journal page to hating it and back again to loving it.

So I added some yellow Gelato.  Then I hated it a whole lot more…OOPS!

Carolyn is sharing how she went step by step from loving her art journal page to hating it and back again to loving it.

So I grabbed a Gelli Plate® and my Arched Aqueducts stencils to make a print on it.  I loved the orange but hated the green.

Carolyn is sharing how she went step by step from loving her art journal page to hating it and back again to loving it.

So I added some metallic paint in the arches.  Couldn’t decide at this point if I loved it or hated it.  So I added another layer.

Carolyn is sharing how she went step by step from loving her art journal page to hating it and back again to loving it.

The pop of yellow was a definite LOVE!

Carolyn is sharing how she went step by step from loving her art journal page to hating it and back again to loving it.

If the yellow was a big LOVE then adding some green would add to the love.  OOPS!  I hated how I did the green.  It didn’t have the same feeling as the yellow.

Carolyn is sharing how she went step by step from loving her art journal page to hating it and back again to loving it.

Then I loved it and hated it in the same moment…I loved how it looked with the cut out circle from an old Gelli print® but HATED covering up my favorite star.

Carolyn is sharing how she went step by step from loving her art journal page to hating it and back again to loving it.

Using a hand cut stencil I added her.  Suddenly all the layers that I didn’t love before fit perfectly behind and around her and I love how they all worked together.  Even the teal.  Even the green.  Even the yellow Gelato.  Even my favorite star being covered up.

Carolyn is sharing how she went step by step from loving her art journal page to hating it and back again to loving it.

The last touch was some scribble journaling to capture my many moods while making this.

Carolyn is sharing how she went step by step from loving her art journal page to hating it and back again to loving it.

Now when I look at the finished page, all I feel is love.  But while I was so focused on this, something else happened!

Carolyn is sharing how she went step by step from loving her art journal page to hating it and back again to loving it.

The whole time I was working, my focus was on the art journal page.  The clean up page that built up as I cleaned off the Gelli plate®, used up the leftover paint on my brushes, etc. was an unexpected treat when I noticed it at the end.  Funny how that works…so now I have the start of another art journal page ready to go!

Carolyn is sharing how she went step by step from loving her art journal page to hating it and back again to loving it.

Here are the supplies I used. Some of these links are affiliate links which means I get a small percentage. It doesn’t cost you anything extra and you are helping me keep this blog and my videos ad free! Thank you- I don’t like ads any more than you do!

{ 7 comments }
It spun around so I thought the Groove Tool just might work for some easy spin art and I was right! Check out the video how to do this!

Want to feel like a kid again?  Making spin art takes me right back to when I was a kid.  After getting a spin art machine, I would get paint all over the place as the machine whirled the paper around.  Guess that is why Mom always sent me outside to do it.  Hours were spent mesmerized by the color play as I used up the paints way more quickly than Mom wanted.  Looking back that was a hint of what was to come later in life for me.

Carolyn's made a video playing with the Groove Tool in an altered book!Back to the present moment….I have been exploring The Groove Tool, which Art-C sent me to give it a try. You can see my video from an earlier post as I played in an altered book journal here.

The Groove Tool comes with 4 different tips. I thought I would try something different with one of the sanding tips to turn it into a hand held spin art machine.  It was easy and fun and doesn’t seem to have impacted the sandpaper either!

I was even well behaved in the beginning and didn’t splatter….but couldn’t help but add a lot of color and create a bit of a splattering mess on my hand by the end.  Splattering piant makes me so happy!  Join me for a little spinning fun in the video!

Watch Spin art with the Groove Tool on YouTube.

Here are the spins I made in the video.  Warning, warning, warning, this is highly addictive and can make time stand still!

It spun around so I thought the Groove Tool just might work for some easy spin art and I was right! Check out the video how to do this!

Here are the supplies I used. Some of these links are affiliate links which means I get a small percentage. It doesn’t cost you anything extra and you are helping me keep this blog and my videos ad free! Thank you- I don’t like ads any more than you do!

{ 14 comments }

5-junk-journal-tutorial-carolyn-dubeI had a big problem. I was frozen and unable to decide where to start on a pristine white page in a brand new journal.  This is a recurring problem for me so I have learned all sorts of ways to deal with it.

I’m sharing one of my go to ways in a video for my guest post at CreateMixedMedia.  You’ll be shocked to know as I made my art journal page, I just didn’t want to wait for the paint to dry -so I didn’t!  Watch the video here.

A great big thank you to Interweave for putting together a whopper of a discount on a bundle of goodies.  Regularly $150.04 but as a bundle it’s only $79.99  They’ve told me quantities are limited at this price so when the bundles are gone so is this price.  You can see all the DVD’s, the 2 stencils, and the Durlar at Interweave here.

Art journaling adventures kit with 4 DVD's, 2 stencils, and Duralar all at a huge discount!
{ 3 comments }