Welcome! I’m Carolyn Dube – This colorful journey is all about the freedom of play!
Search My Blog
Search by Category
The Fine Print
Some of the links on this blog are affiliate links and I receive a small percentage. It doesn't cost you anything extra and helps keep all the free tutorials and videos coming! It's a win-win!
The website is copyright Carolyn Dube, and that is kinda common sense since this is my site.
As an Amazon Associate I earn from qualifying purchases.
Congrats to Kristiina – the winner of the July Let’s Play $50 gift certificate to Dick Blick! Kristiina, send me your information (carolyn at acolorfuljourney dot com) and I’ll get you your gift certificate pronto!
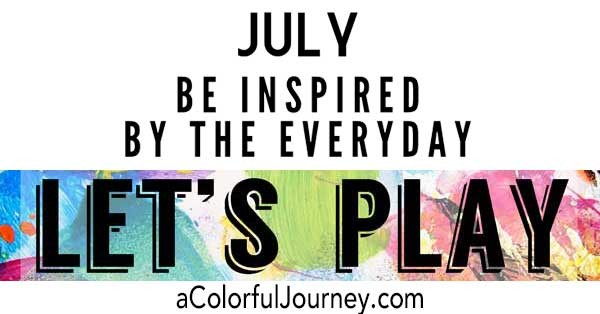
What is the theme for next month’s Play? It’s all about acting like a kid! Stop back every Tuesday, all month long, as I share how kids actually play can inspired fun with art supplies.
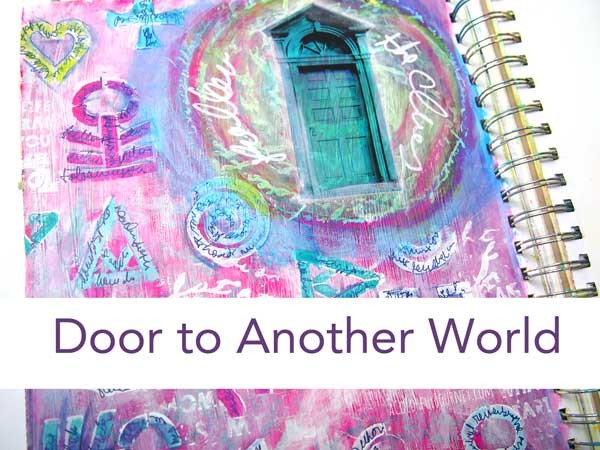
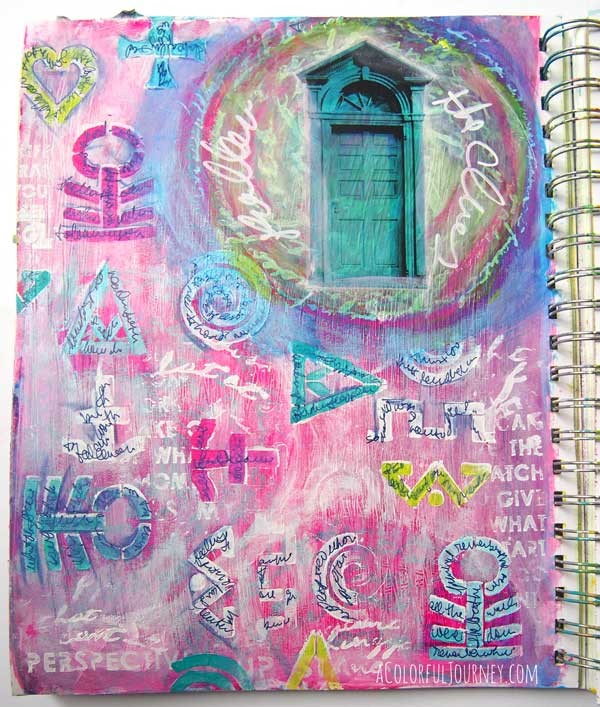
My imagination ran away with the idea of another world while I was art journaling. Perhaps all those sci-fi shows I love like Stargate, Star Trek, and Dr. Who have had a bit of an impact on this page.
But in true sci-fi fashion, I didn’t start out thinking I would find another language or a door to another world!
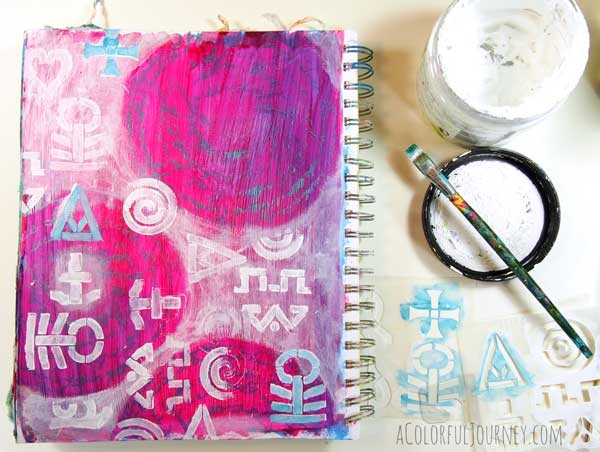
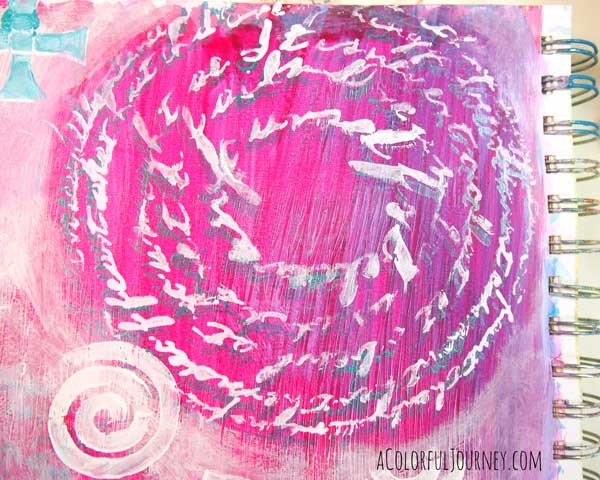
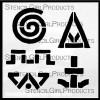
It started by randomly stenciling Encouraging Scribbles in a metallic paint. The metallic paint didn’t show up the way I hoped…Oops. Indeed, an Outstanding Opportunity Presenting Suddenly to add the white to make the circles pop.
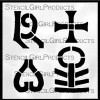
Earth Song Symbols were randomly stenciled, but somehow, none on the top circle. Not planned, but quite useful.
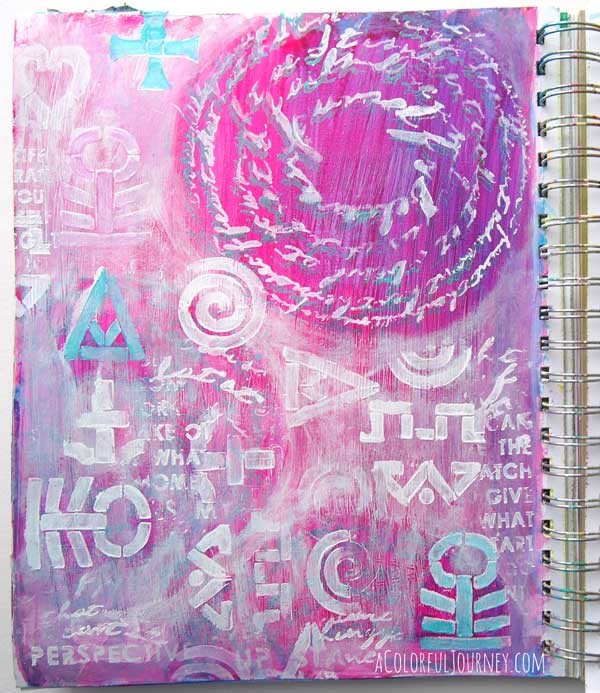
About this point, my imagination was in high gear with sci-fi themes such as portals in time, worm holes, cultures on other worlds, etc.
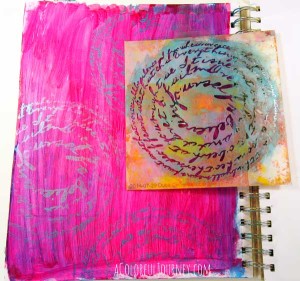
I misaligned my Encouraging Scribbles stencil back on top of previous stenciling. Now I have the whirlpool or swirling feeling of my portal.
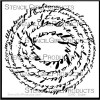
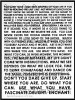
I wanted touches of book text, but not distracting paper to glue down. I wanted the words to blend with the background. Wall of Words stencil to the rescue! I just added hints of words here and there.
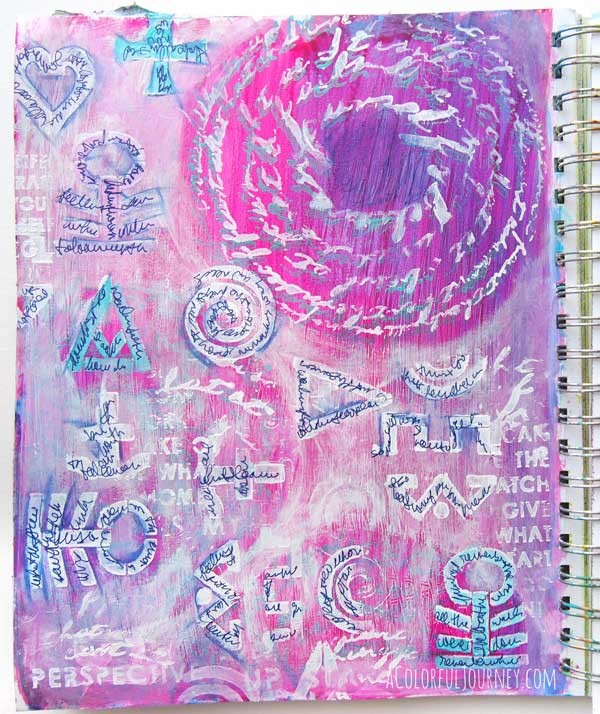
Imagination going full throttle, it was time for the messages on the ancient symbols. I used a fountain pen to do the writing. Why a fountain pen? I am finding they get ruined less often on paint for me. And these are the cutest little pens ever!
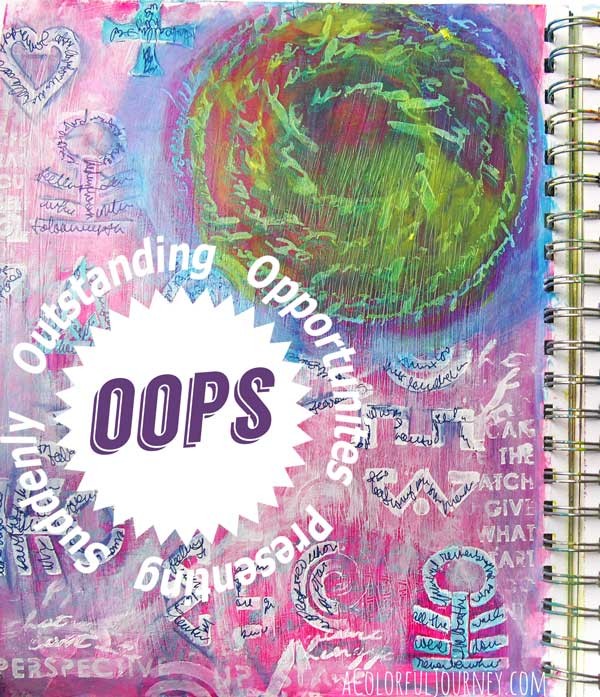
All was going well, until this OOPS! And it was a biggie! I thought a touch of yellow would pop…and it actually just went ugly. But there is an opportunity in this…
I had to work with that yellow, so I started adding more colors to the page by putting it over the stenciled symbols. And since I did not like the blotch of yellow, I felt free to do just about anything that popped into my head…or landed in my hand.
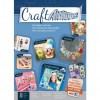
The swirling circle of words and color now had me thinking of a worm hole. That magical almost instant way to travel between galaxies but mine needed a door. I found just the door I wanted from Tumble Fish Studios at Mischief Circus, in the kit Happy Place. Printed it out on my inkjet printer on Craft Attitude and with a bit of glue stick, I have an image transfer.
Thanks for joining me for this little art journal trip to another world! Now if there was only a time portal…or worm hole…or transporter!
Here are the supplies I used. Some of these links are affiliate links which means I get a small percentage. It doesn’t cost you anything extra and you are helping me keep this blog and my videos ad free! Thank you- I don’t like ads any more than you do!
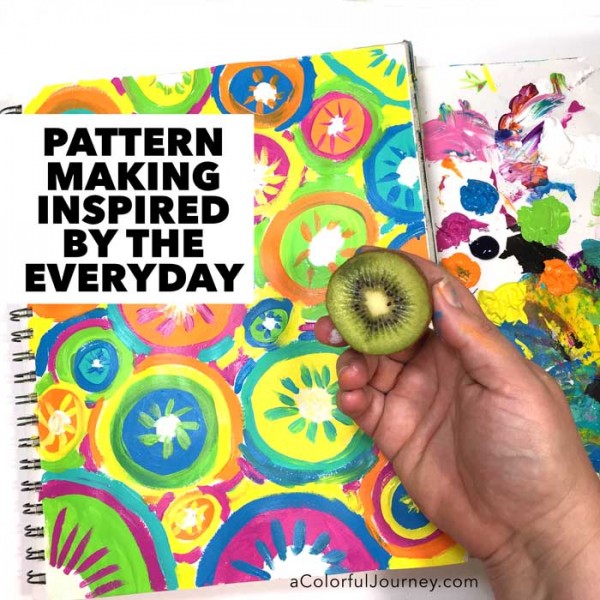
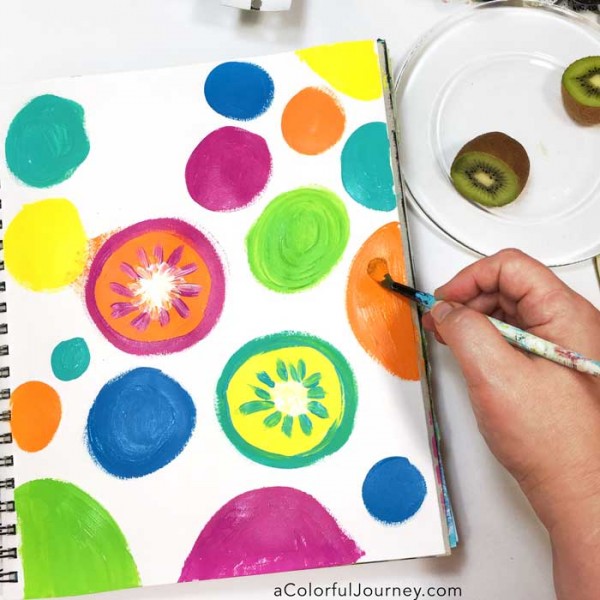
“Ordinary” things, like a kiwi, can lead to colorful play. That average kiwi was the start of this colorful pattern which clearly is not a hyper realistic pattern that I’ve made. It’s more like gum ball kiwis for this week’s Let’s Play video.
What is Let’s Play? It’s all about rediscovering the ability to play. Each month I share a specific strategy that helped me recapture the freedom and fun of play. This month’s theme is being inspired by the everyday. You can see more of the Let’s Play series here.
When I play, there tends to be an Oops or two. Can you see the O.O.P.S. (outstanding opportunity presenting suddenly) here? That Oops made it very easy to decide what to do near the end of the video.
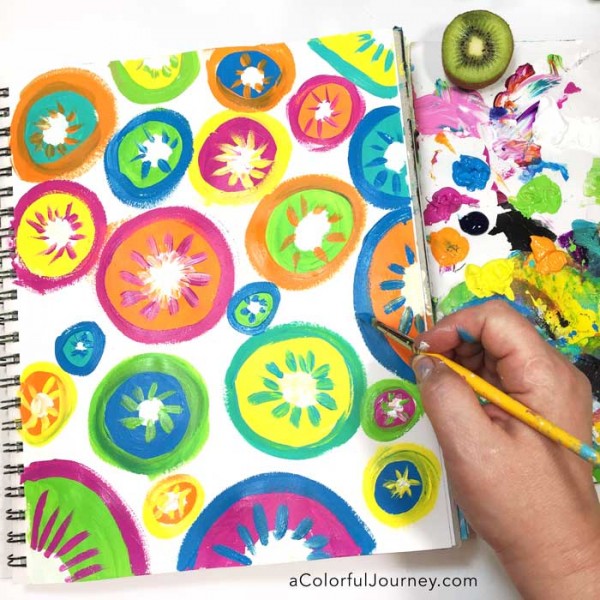
Could I have stopped here? Absolutely. I can stop anywhere I want when I am playing. After all, it is just play. But 2 things kept me painting. First, the orange Oops. Second, my desire to cover up any white space with color.
What will I be doing next with this page? I was feeling the urge to doodle on it but I had to wait for it dry completely. That gave me the time to turn this into a Spark of Art-spiration download for you. If you’d like this free download to play with as well as more Sparks delivered with in my newsletter, just click the button!
Sharing your play: I, and a whole bunch of others, would love to see what you’re creating! We’re sharing it in the Facebook group called A Colorful Place to Play. Why Facebook? I’ve listened to your feedback about how and where you’d like to share your play instead of the link parties.
Monthly giveaways: Leave comment on any (and all for more chances) of the weekly Let’s Play blog posts to be entered and one winner each month will be chosen by random.org. Want more chances to win a $50 gift certificate to DickBlick.com? Pin any of the images from the page or share about it on Facebook- then come back and leave a comment telling me what you did and you can have more chances to win! Giveaway closes the Sunday, July 31st at 11 pm EST and the winner will announced on the blog the following Monday.
This website uses cookies to improve your experience while you navigate through the website. Out of these cookies, the cookies that are categorized as necessary are stored on your browser as they are essential for the working of basic functionalities of the website. We also use third-party cookies that help us analyze and understand how you use this website. These cookies will be stored in your browser only with your consent. You also have the option to opt-out of these cookies. But opting out of some of these cookies may have an effect on your browsing experience.
Necessary cookies are absolutely essential for the website to function properly. This category only includes cookies that ensures basic functionalities and security features of the website. These cookies do not store any personal information.
Any cookies that may not be particularly necessary for the website to function and is used specifically to collect user personal data via analytics, ads, other embedded contents are termed as non-necessary cookies. It is mandatory to procure user consent prior to running these cookies on your website.


 Want to see more Let’s Play videos?