Welcome! I’m Carolyn Dube – This colorful journey is all about the freedom of play!
Search My Blog
Search by Category
The Fine Print
Some of the links on this blog are affiliate links and I receive a small percentage. It doesn't cost you anything extra and helps keep all the free tutorials and videos coming! It's a win-win!
The website is copyright Carolyn Dube, and that is kinda common sense since this is my site.
As an Amazon Associate I earn from qualifying purchases.
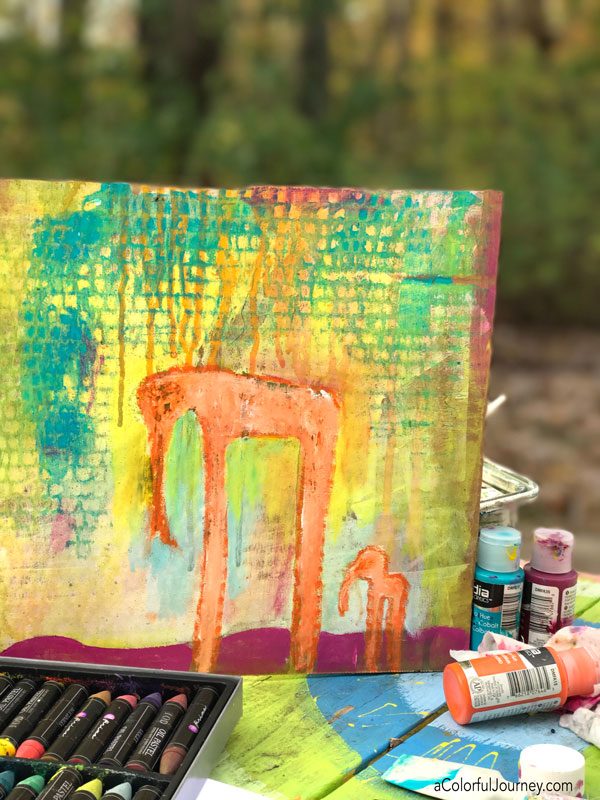
What happens when I start with an old dried up paint palette, then start thinking about high school lit class, then make a series of OOPSies? An art journal page!
You can find the video of the play in my guest post at StencilGirl Talk!
Be sure to check out the end of video where I analyze the symbolism on this page…and spoiler alert, my English teacher probably wouldn’t have liked my attitude about it!
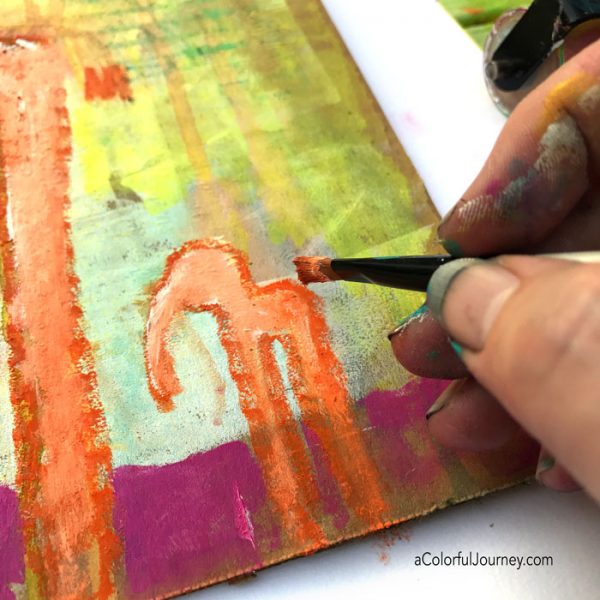
When the play started, it was just goofing around on cardboard. Just a bunch of dried up drips on some imperfectly applied gesso. It was so blah, I didn’t even take a photo. Then, I saw legs in the green drips, so I drew the creature. Part giraffe, the legs, and part elephant, the trunk. A gir-fel-ephant.
Then there was the window. You might be wondering why on earth I drew a yellow window below the belly of the gir-fel-ephant. I had the impulse, so I followed it. No logic. Just an impulse.
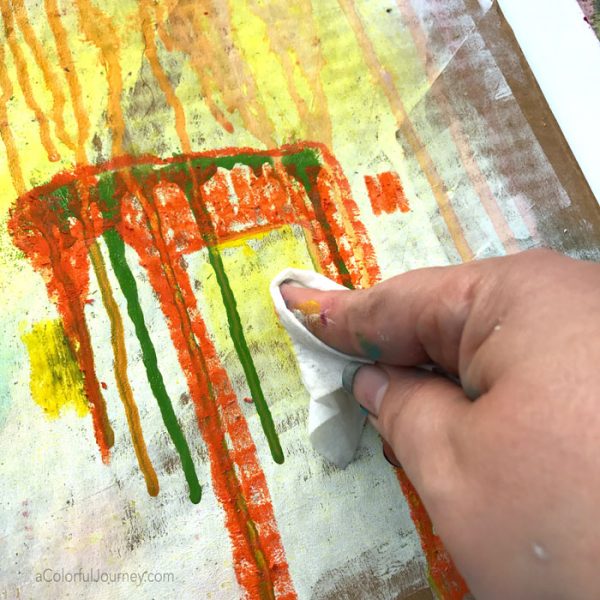
Then I said O.O.P.S. and promptly removed said window with a baby wipe. If MacGyver was an artist, I think he’d use baby wipes as much as he used paper clips. Here, the baby wipe was a not only a quick way to deal with an O.O.P.S., but it became a color applicator at the same time.
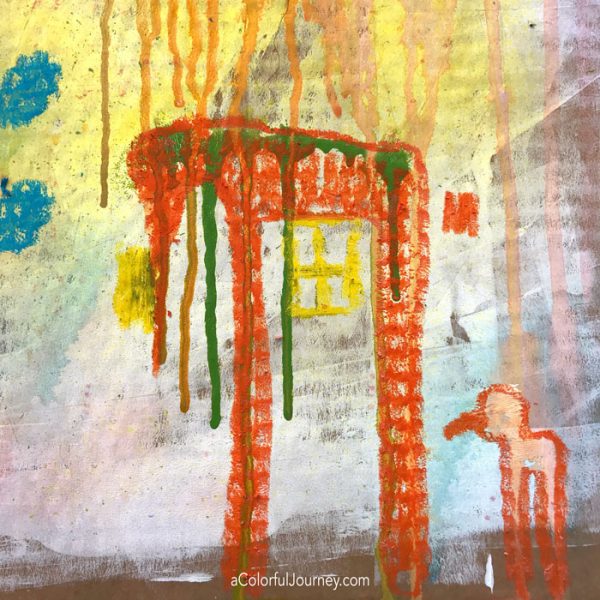
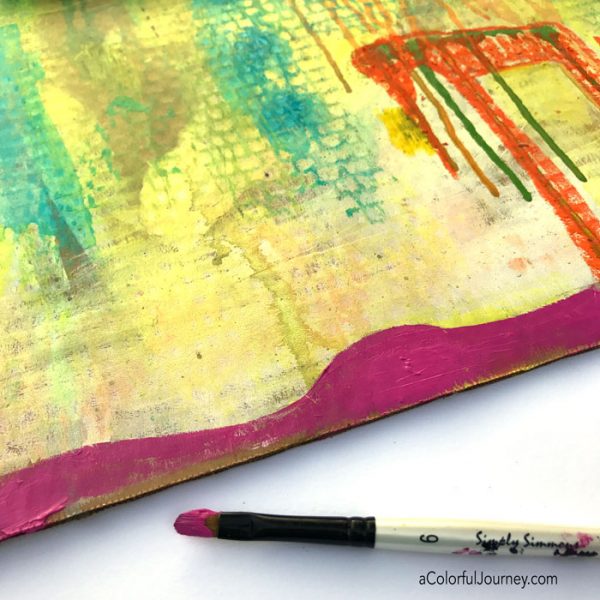
Of course, these imaginary elephants can’t fly, after all their ears are just way too small for that. The gentle hills that they walk upon, well, they aren’t green but magenta. After all, if I am making it up, I’m going to make it up rainbow.
This little guy, ended up an elephant not because he was born that way but because of an O.O.P.S. So his nose was considerably shorter earlier, but now has been influenced a bit by Pinocchio it seems, and became a full snout.
These two creatures are taking some time to look around the rolling magenta hills of their world and when they are ready they will let me know where they want to go next. After all, there is no deadline to art play!
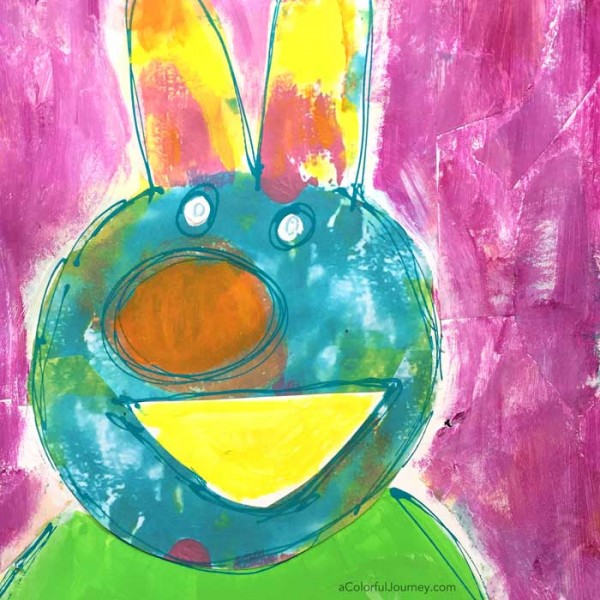
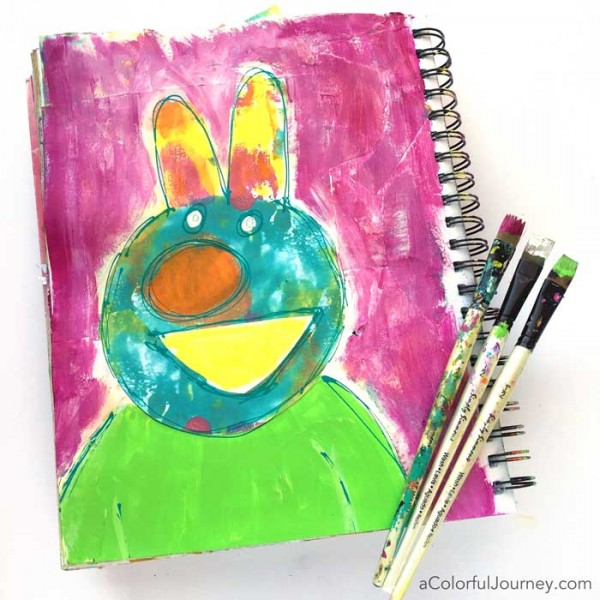
It’s always fun to have visitors in the studio, especially if they are as silly and happy as this guy! He’s Norbert and just popped out of the Spark of Art-spiration I used to start playing in my art journal. Originally, I saw 3 people on a hill in the Spark, but you can tell I didn’t stick with that plan.
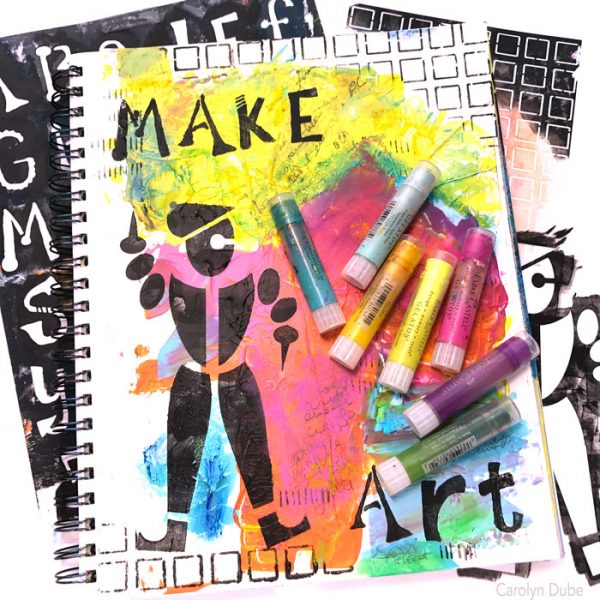
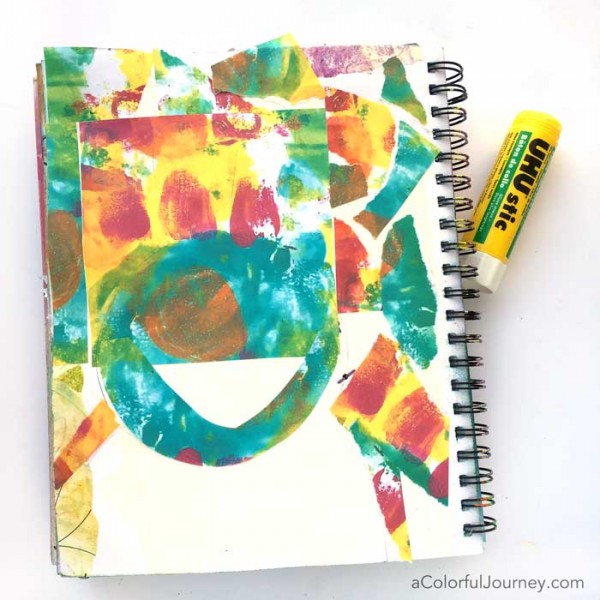
What is one way I start playing in an art journal? A Spark of Art-spiration because it help me deal with the dreaded blank page. My newsletter readers know that I love these Sparks, since I share a new one in every newsletter. Get signed up with the button below and you’ll get this exact Spark in your inbox.
This Spark was printed on my ink jet printer using cheap copy paper. Nothing fancy at all!
A perk of using Sparks is that you can print as many as you need for your personal projects. Instead of leaving all that white space on the page, it was easy to print out more and collage around. It’s very freeing to use a supply that never ends!
Thanks to not wanting dear Norbert here to have 2 noses (and imagine the hayfever if he had 2 noses), I ended up with a very comical smile! Would like to say I planned it but you know better.
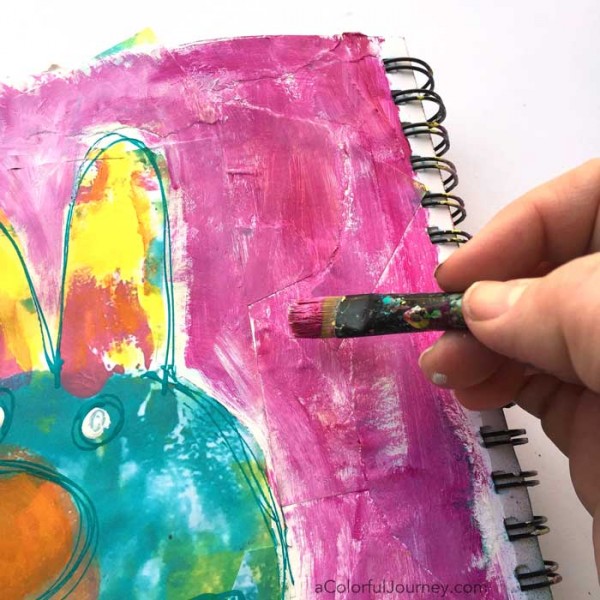
A layer of white outlined Norbert and allowed the background to peek through. I thought that was what I wanted…but nope.
All that almost white space was more than my rainbow brain could take. The texture of the bits of the torn paper peeked out from under the bright purple.
His eyes were an O.O.P.S.-an Outstanding Opportunity Presenting Suddenly. The intention wasn’t for them to be quite as uneven as they are, but these eyes fit him better than what was expected.
Thanks neon nerdy Norbert for coming to play in my art journal today!
Here are the supplies I used. Some of these links are affiliate links which means I get a small percentage. It doesn’t cost you anything extra and it helps keep the free tutorials coming!
This website uses cookies to improve your experience while you navigate through the website. Out of these cookies, the cookies that are categorized as necessary are stored on your browser as they are essential for the working of basic functionalities of the website. We also use third-party cookies that help us analyze and understand how you use this website. These cookies will be stored in your browser only with your consent. You also have the option to opt-out of these cookies. But opting out of some of these cookies may have an effect on your browsing experience.
Necessary cookies are absolutely essential for the website to function properly. This category only includes cookies that ensures basic functionalities and security features of the website. These cookies do not store any personal information.
Any cookies that may not be particularly necessary for the website to function and is used specifically to collect user personal data via analytics, ads, other embedded contents are termed as non-necessary cookies. It is mandatory to procure user consent prior to running these cookies on your website.


 It’s always fun to have visitors in the studio, especially if they are as silly and happy as this guy! He’s Norbert and just popped out of the Spark of Art-spiration I used to start playing in my art journal. Originally, I saw 3 people on a hill in the Spark, but you can tell I didn’t stick with that plan.
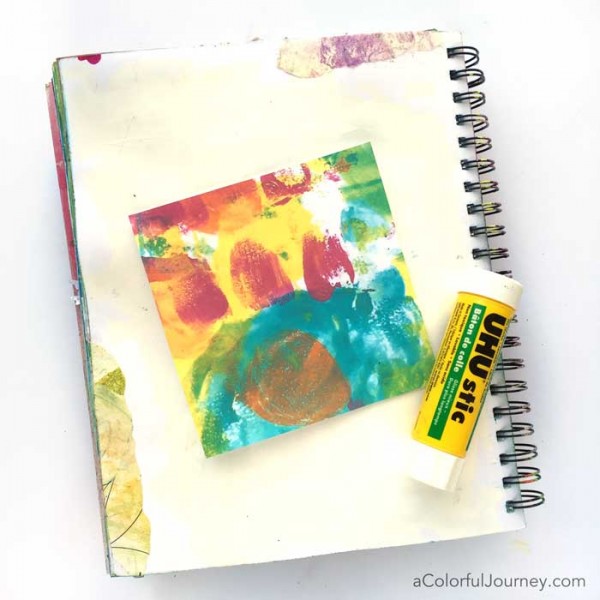

 Here are the supplies I used. Some of these links are affiliate links which means I get a small percentage. It doesn’t cost you anything extra and it helps keep the free tutorials coming!