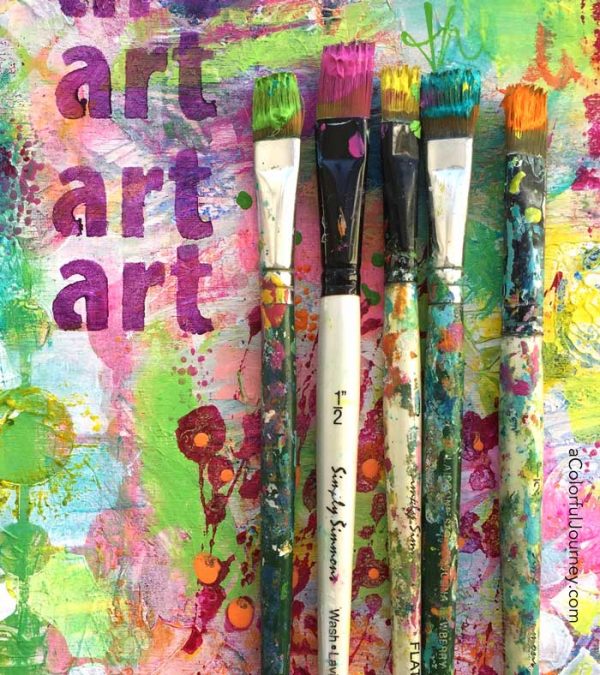
What is art? A simple question that has many many answers. It can be a wide variety of things, but for me, it is a journey of expression, connection and an adventure.
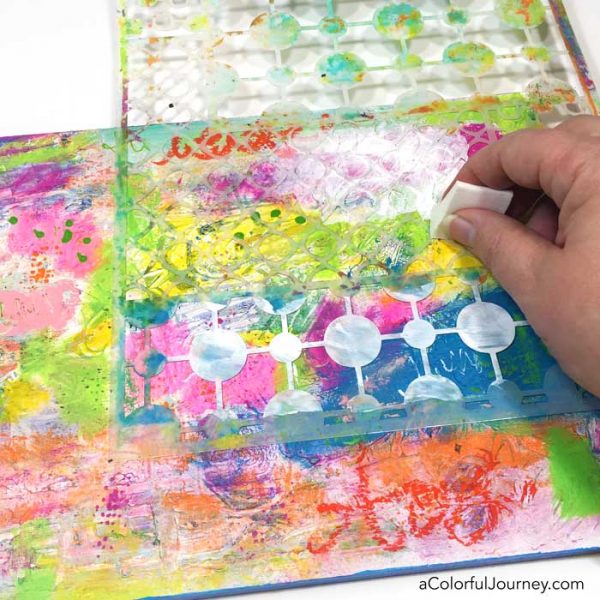
It’s an exhilarating adventure to see what will happen when I add patterns or colors. A place to ask what if and get lost in the building up of layers.
Art is a way to express myself, my feelings, my moods, and my thoughts. Seeing what pops up in my play is like having a conversation with my subconscious.

Art is a way to connect with myself and others. On those difficult, stress filled days, art lets me reconnect with myself. Through art in my life, I have gotten to know so many kind and generous and caring people that I otherwise never would have met.
Art is magical because it is personal and different for every person. How it impacts the heart is unique to each one of us. What is art to you?
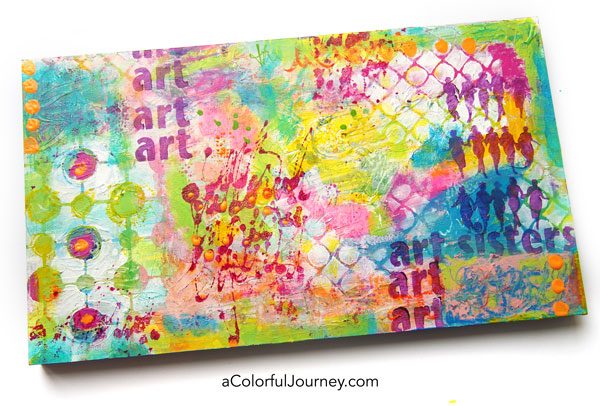
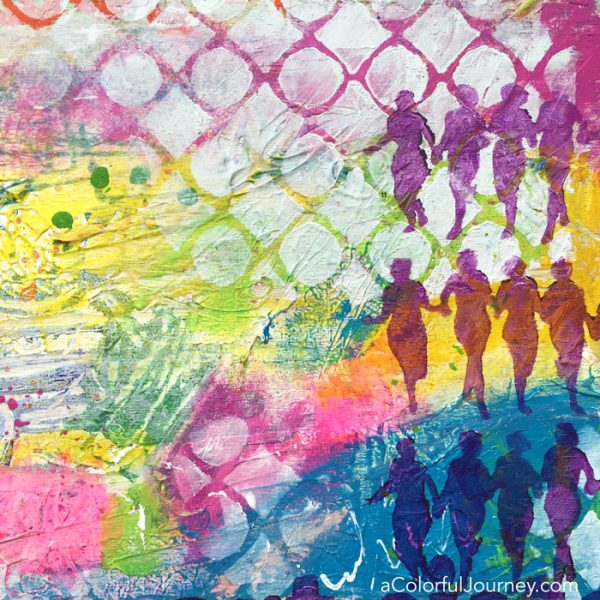
Stencils used in this piece are Finding Your Tribe and Circular Patterns for Play. Other supplies used: A plethora of paints and anything else in arm’s reach.