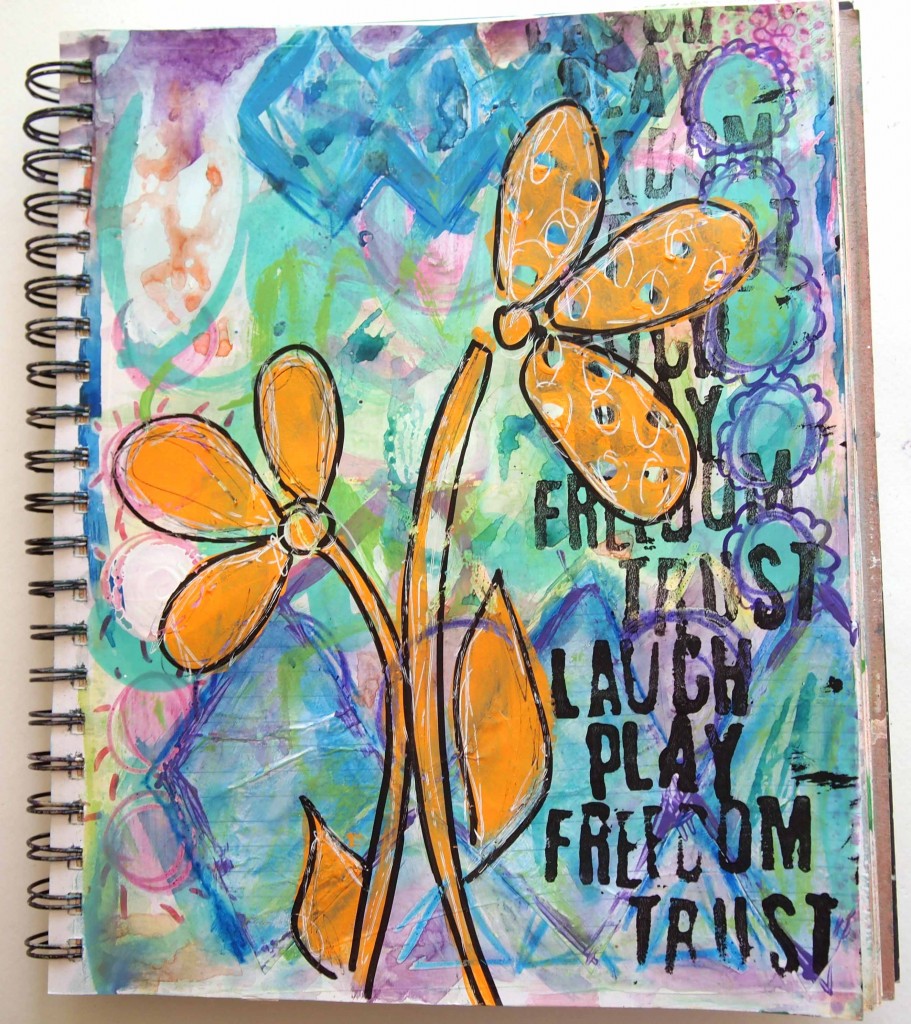
 I was hearing voices today- the paint was calling to me- beckoning me to get my fingers messy. Perhaps that was because I was toying around with the idea of a manicure- not anymore. I get way too much gesso on my fingers to invest in my nails…
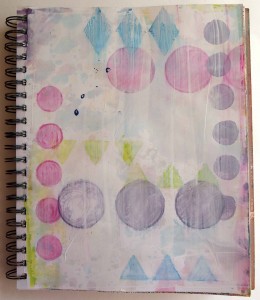
I started with this background made who knows how long ago. It is spray ink and gesso layers. It has been around a while but today it sparked my interest.
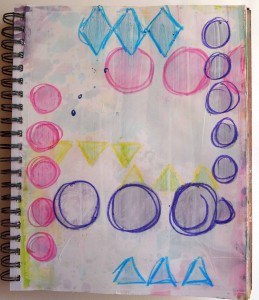
A bit of colored pencils to define the shapes.
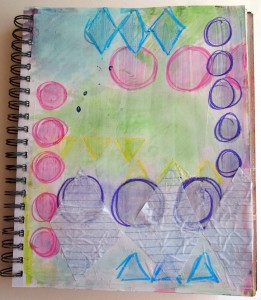
Added a bit of color and glued down some triangles cut from notebook paper. I chose the diamond shape since I only had 1 area of diamonds on the page- the larger size let me play around with scale and proportion a bit. Man do I love cheap notebook paper!
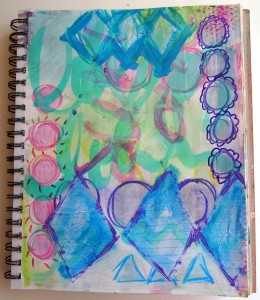
Added paint and markers.
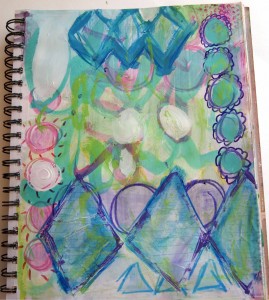
I need more white space, so gesso to the rescue!
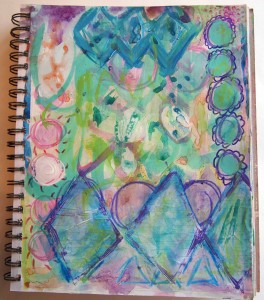
Lost all the white space to watercolors. Really have a tough time leaving white space in my art…
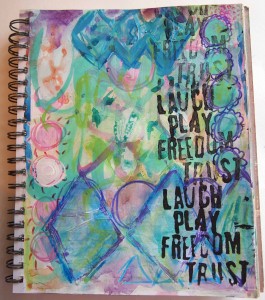
I made a roller stamp based on a tutorial by Alisa Burke and rolled my words on with black paint.
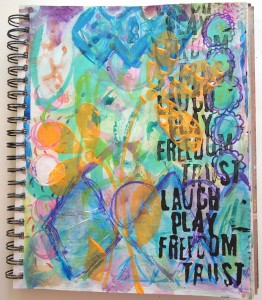
I have this great huge foam flower stamp by Donna Downey. When I lifted the stamp the paint barely showed the image. Not what I expected.
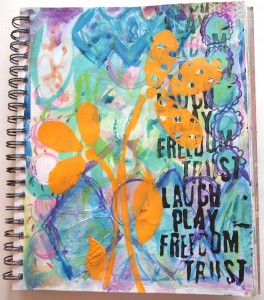
With a paintbrush and more orange paint I filled in the image so it would stand out more.
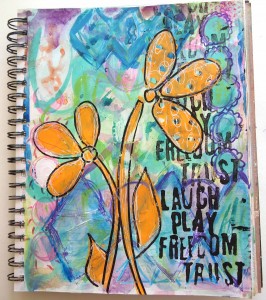
A quick black outline to define the flowers. A sloppy messy white pen added a touch of white to the flowers. Still not much white…maybe in my next project…


Love the orange flowers. . . especially where they overstamp the words.
Rinda
Wonderful page! And I love how you used Alisa’s rolling stamp idea but took it to the whole next level.
FANTASTIC! I think I need to try making a roller stamp 🙂 Every layer is a project in itself!
I saw your art on Julie Balzer blog with the poppys and was wondering how you did the type on the bottom. It looks like it was done on the computer and then stuck on but I didn’t know how you did it. Would love to do something on my art too. Enjoyed looking at your art too and signed up too.
Thank you for your time and love your website. You are a teacher for sure!
So glad you liked it!! I used an old typewriter to type the words and then just cut them out and glued them on. You could just as easily use any font on the computer to do the same thing- I have done that too when I wanted a different size or font.
How fun! Totally love your style and it’s always a pleasure coming to your blog.
Love the colors! They’re so HAPPY! I gotta go check out Alisa’s tutorial–thanks for the link!
The orange flowers are the icing on the cake! 🙂 🙂
Nice art. I love your background. What a cool technique the rolling pin is. Will definitely give that a go. Thanks for sharing.
I really like how you outlined the flowers and added the white accent lines :).
Stay inspired!
your quest for white space cracks me up. and the words on the rolling pin? blows my mind. fantastic idea. love the way this page came together.
The freedom and freeform looseness of this page is pretty great. Keep being messy. xox
Gorgeous! Such beauty and bright color! I do hope you’ll consider joining in on the Summer of Color event this Summer – it would be an honor to have you playing along! AND I almost used a piece of tape ala you in the last page, but it didn’t make the cut. I will soon, and credit you of course.
Happy weekend, xoxo
love the messy inspiration! Loose and free, that’s how I want to create too! The focal flower is the perfect touch.
Thank you for taking the time to document your process – it gives me IDEAS, lol!!!!
This is so much fun… thanks for taking us along the journey & posting so many wonderful pics of the steps you take to get there. Great work. xoxo
LOVE THIS!!! Your messy flowers really pop off the page. I’m learning just how much fun “messy” can be!
What a happy piece, and it’s clear you had a lot of fun making it! nancy
This is lovely! What beautiful art you make. Thanks so much for visiting my blog.
love this page, great background!!