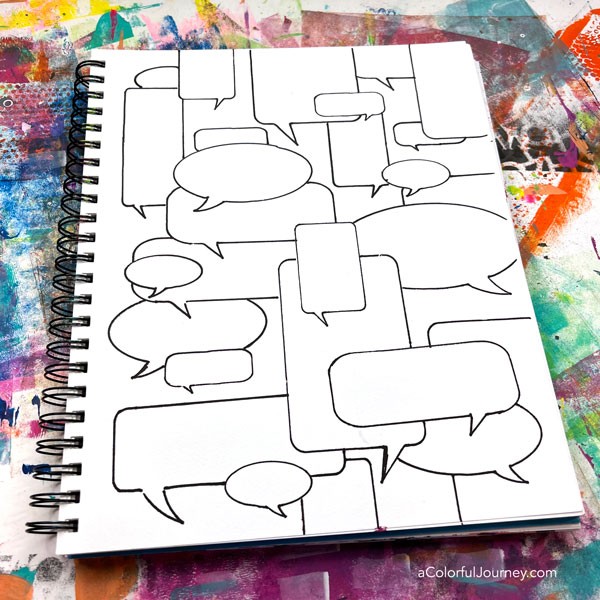
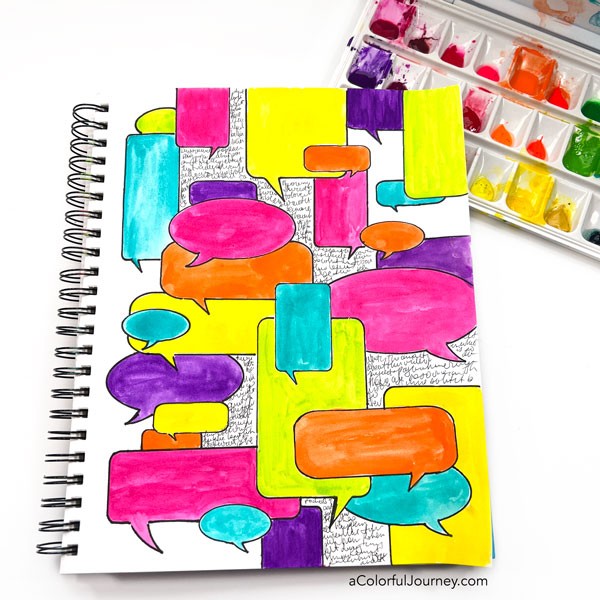
This is a quick and easy way to create the layered look of stacked speech bubbles. The trick is the first layer, and after that, it’s just filling in the space! The stencil I’m using is Speech Bubbles that I designed for StencilGirl Products, and yup, you get the masks (the cutout areas of the speech bubbles) with that set too!
Colors are added randomly and not randomly. The first colors are randomly placed, then as I add more, I’m consciously making sure that a color isn’t next to itself.
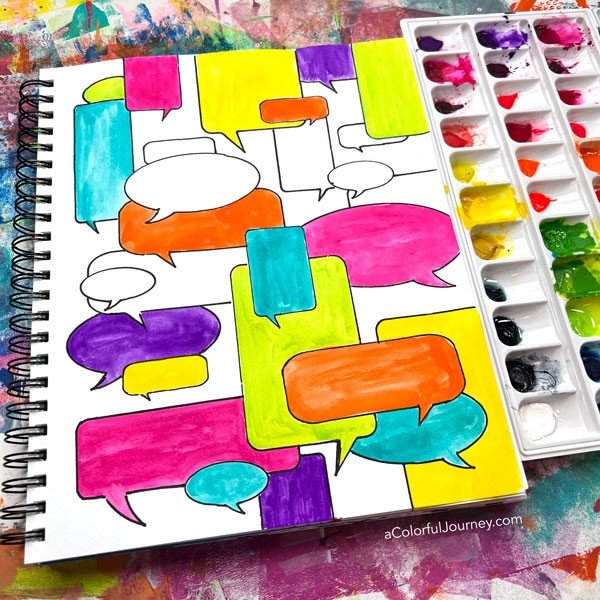
The plan for this colorful conversation was to have the words inside the speech bubbles, but plans change. Why? Because there was a different message or meaning that revealed itself during the play. In the video, I share why I chose to put the words in the white space.
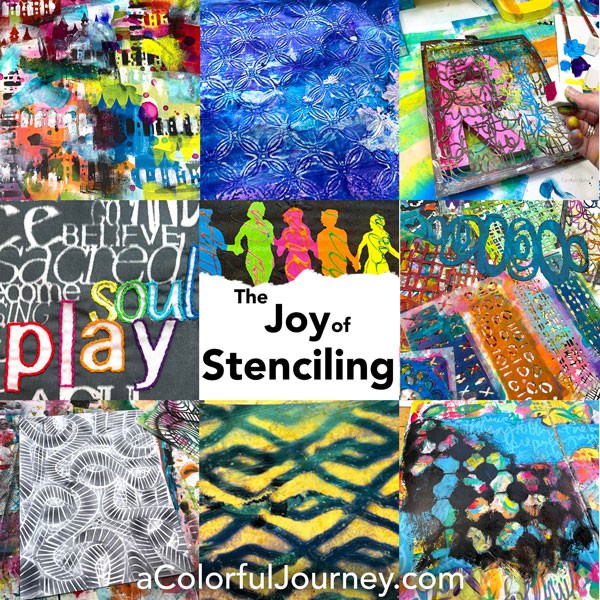
This is just one way to use a stencil, there are a gaboodle of other ways you can use them. If you’re looking to go in depth on stencils, check out The Joy of Stenciling.
Here are the supplies used. Some of these links may be affiliate links which means I get a small percentage and it doesn’t cost you anything extra! And you get a really good feeling knowing that you are helping keep the free tutorials coming!
*****The yellow watercolor that I used has been discontinued- it was QoR hansa yellow medium. The bright purple that I used is one of the colors in the set of neon paints listed below. All other colors are individually listed below.*****
