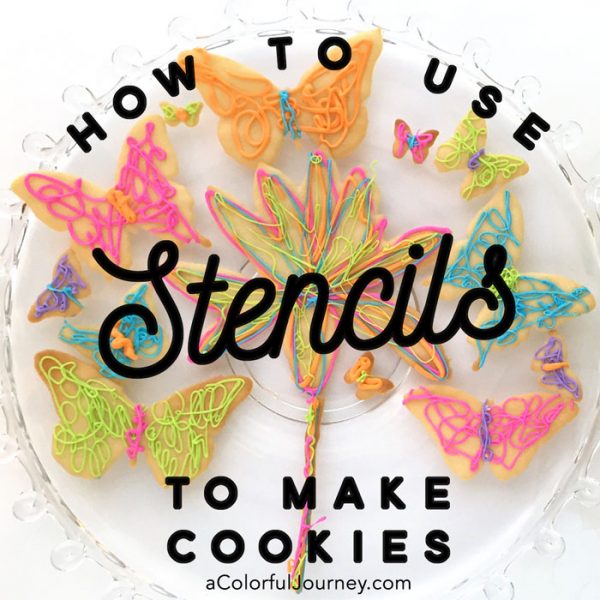
What if you could have butterfly and flower shaped cookies without having to use a cookie cutter? You can when you use stencils and the right kind of cookie recipe!
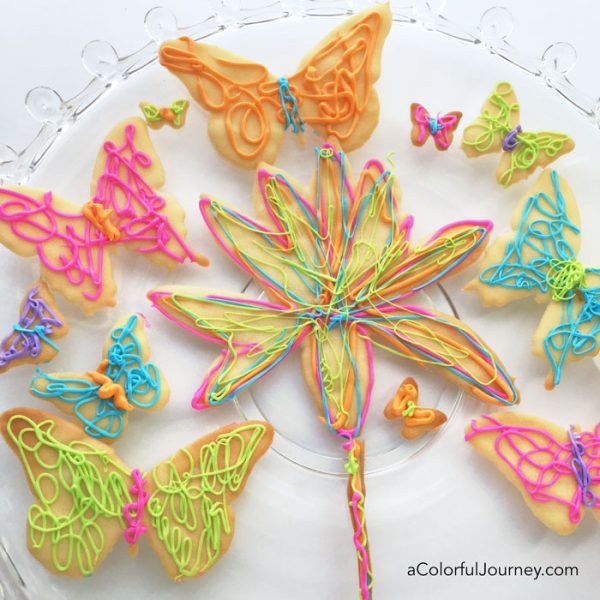
Using my Butterfly Journeys stencil and Flora Bowley’s Bloom True stencil I created a fun platter of colorful cookies. I’m not a big fan of spending hours doing anything, so this is a fast and easy way to make cookies that wow every time I bring them to a party!
Watch How to Use Stencils to Make Butterfly Cookies on YouTube.
The recipe I am using came from the Mindful Eating Miraval cook book- a great big thank you to the amazing Miraval resort and chefs for giving me permission to share this with you! You can find the recipe at the end of this blog post.
StencilGirl Products stencils are food safe. Be sure that you are using a food safe stencil and of course, once a stencil has been used with art supplies or non-food items, it is no longer safe to use with food. That’s why the stencils look so clean in the video- they’ve never been used in my art studio.
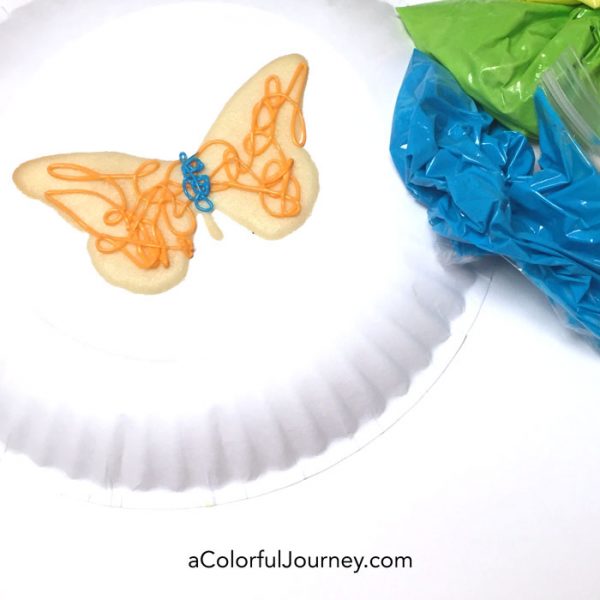
All that squiggly color came out of a make shift pastry bag created with common sandwich bags and a pair of scissors. The colors were mixed up using gel food coloring and ready made white frosting.
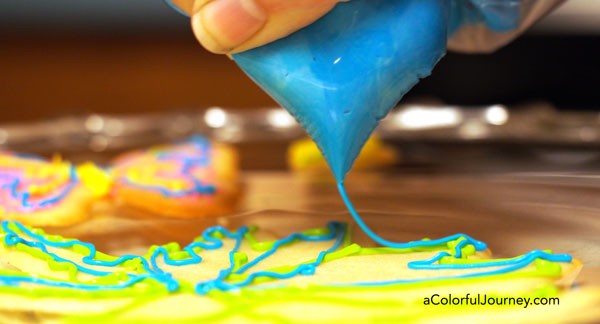
But why the upside down paper plate? It creates a raised surface so it is easier to work on and move the cookie when finished.
Here’s the platter of cookies all ready to bring a touch of sweetness and color to the party! Could you use other shapes of stencils with this technique? Absolutely! If you’re looking for silhouettes to use, try a stencil with dancers, a trio of women, or an alphabet to spell anything you wish!
Here are the supplies I used. Some of these links are affiliate links which means I get a small percentage. It doesn’t cost you anything extra and you are helping me keep this blog and my videos ad free! Thank you- I don’t like ads any more than you do!
HONEY TUILE COOKIES
Recipe from Mindful Eating Miraval
1/2 c. confectioners’ sugar
4 Tbsp. unsalted butter, softened (I substituted soy butter in the video)
2 Tbsp. honey
1 large egg white
1/2 c. all-purpose flour
PREHEAT the oven to 350 F. Line each of two large baking sheets with a silicone cooking mat.
IN the bowl of a standing mixer fitted with a paddle attachment or with an electric mixer, cream together the sugar and butter on low speed until starting to become fluffy, 1 minute. Increase the speed to medium and mix for an additional minute.
ADD the honey and mix on medium speed until well blended. Add the egg white and mix on medium speed for 30 seconds. (The mixture will separate and look curdled, this is fine.) Scrape down the sides of the bowl and add the flour. Blend on low speed to incorporate, scraping the sides as needed to incorporate all the ingredients. Blend on medium speed until well combined, 1 minute.
(The batter can be refrigerated, tightly covered, for up to five days, and frozen for up to one month.)
SPOON the batter through the template (I used a stencil in the video) spreading the batter to the edges of the template with a small offset spatula. Bake until just golden brown around the edges but still soft to the touch, 5 to 6 minutes. Allow the cookies to cool completely on the baking sheet.
CAREFULLY slide a very thin spatula under each cookie to remove the cookies to an airtight container until ready to serve.





Thanks Caroline for a wonderful idea. I will be doing this for my grandchildren. I know they will love it
Edible and colourful fun, what more could a girl want! xx
Lovely Idea, but I think I would make a shaped cookie and then us the stencil to paint on the icing instead.
Nice crossover from arting to cooking to arting . . . basically, everything can be an art project if you put your mind to it!
It looks like you had fun making edible food…cookies. Never thought to use stencils in baking