
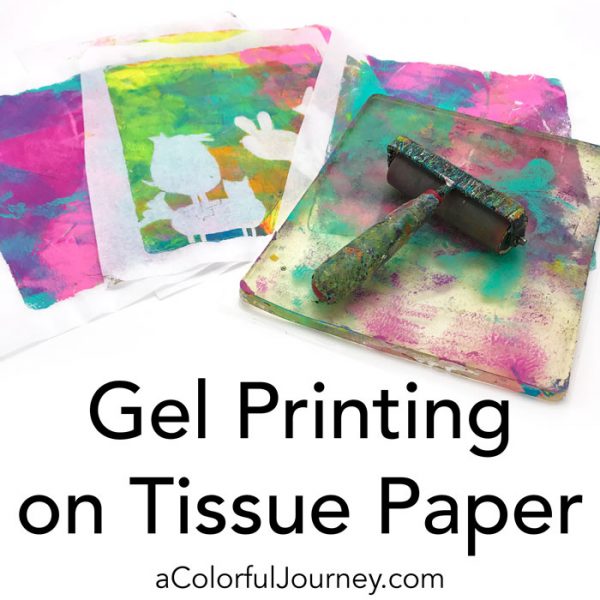
 Can you use tissue paper to make gel prints? Absolutely! It’s paper and paper works on a gel plate! There is one important thing that if you know it, even when you have a juicy wet gel plate it is easy to print away on tissue. In the video, you’ll see when it ripped for me, and it wasn’t when you’d expect it to rip!
Watch How to Gel Print with Tissue Paper on YouTube.
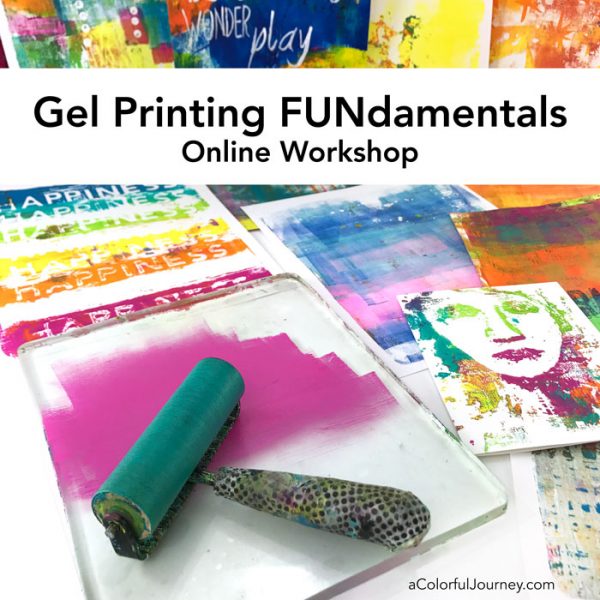
Find out more about Gel Printing FUNdamentals mentioned in the video.
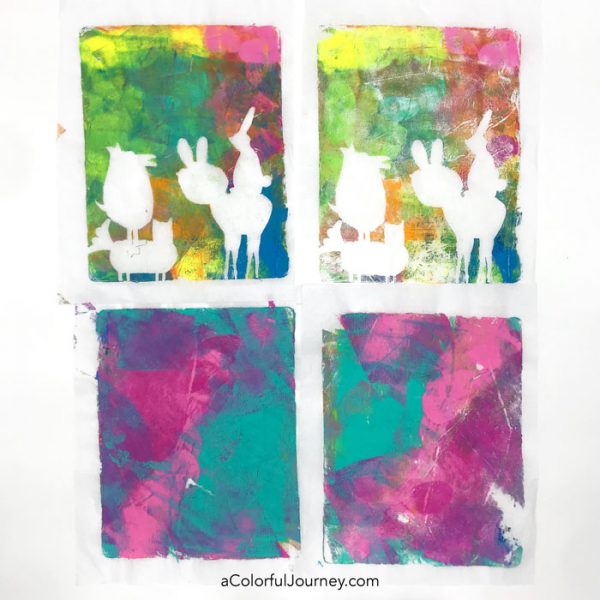
Why use tissue paper? It’s super thin and if you leave bare spots, it can make for fun layers in an art journal. That’s what I’m using my Figments masks for, to leave a portion without any paint. I’ve got an idea for how I’ll be using it in my art journal and you bet I’ll have a video of it. Be sure to be subscribed to my newsletter so you’ll know when it’s posted.
How did I choose what tissue paper to use? It’s not because it has special qualities, it’s a practical reason. I wanted tissue paper I could have in sheets without the folds in it. This comes in 12 x 18 sheets that are completely flat so I just cut them in half and voila! They are ready for printing. And I think it’s funny that the image on their site has colored tissue but it really is all white, just be sure that the description when you order says white.
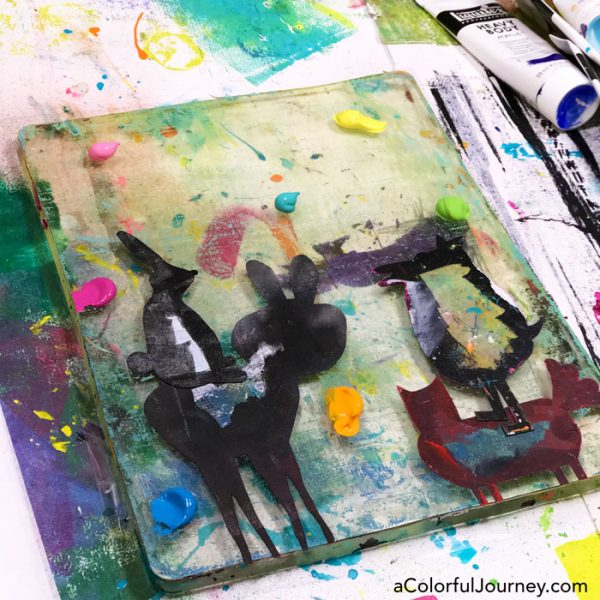
Brayer the paint around the gel plate and then lift up the Figments masks. These masks are included with the stencil, so you get 7 masks and the stencil in the set.
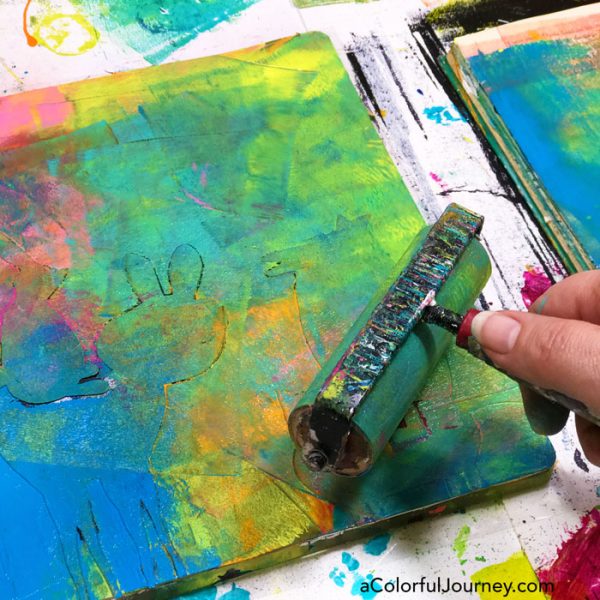
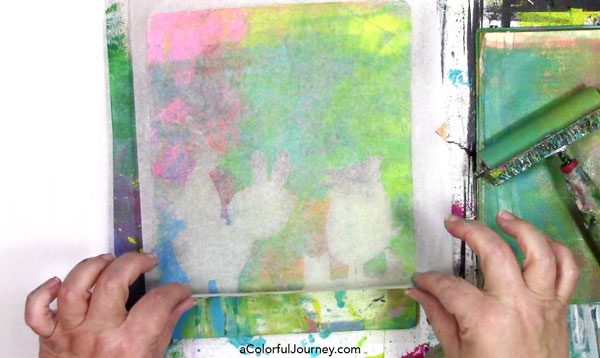
Gently place the tissue paper on the paint. Lightly smooth it out to be sure the tissue paper is touching the paint. After all, if it doesn’t touch the paint it won’t pull up the paint there.
Grab the tissue paper with both hands. Lift with both hands. This will allow it to lift and not rip. You can use just one hand, but that makes the paper harder to handle once it is off the plate.
No matter how much paint I used, and some of them were super juicy, the tissue paper didn’t rip when I pulled it off the plate. I did however manage to rip the paper bumping into a box with it as I was trying to find a place to set it dry.
The secret to delicate tissue paper coming off the plate? Leaving a dry edge around it, so that when you are picking it up, you are holding on to dry tissue paper.
Now that you know what the fundamentals are about tissue paper and gel printing, it’s much easier to print with it. Understanding the fundamentals makes things easier.
If you’d like to know more fundamentals about the gel plate, check out my self paced online workshop that is all about understanding the how the magic happens when printing so you can make prints you love.
Here are the supplies used. Some of these links are affiliate links which means I get a small percentage. It doesn’t cost you anything extra and it helps keep the free tutorials coming!

Hi Carolyn, love your videos & I’m working my way through Gel Printing FUNdamentals. I really like the color combination of the second print (about 4 min in). Can you tell me which colors you’re using? Thanks 🙂
I love watching your videos because you’re so real and also because you don’t talk so fast that I can’t keep up. Oh yea, I’m a senior!! 🙂
I’m crazy to start using a Gel plate but I’ve got soooo many half finished projects going this summer that I must finish them before starting on something new. So I’m thinking the autumn will be a great time to start printing with a gel plate.
Thanks so much for all your tips and tricks and for taking the time to make videos for us to watch. It sure helps to see something rather than just reading.
Take care,
Lis
Nicely done, as always. I appreciate your teaching style. -Annette