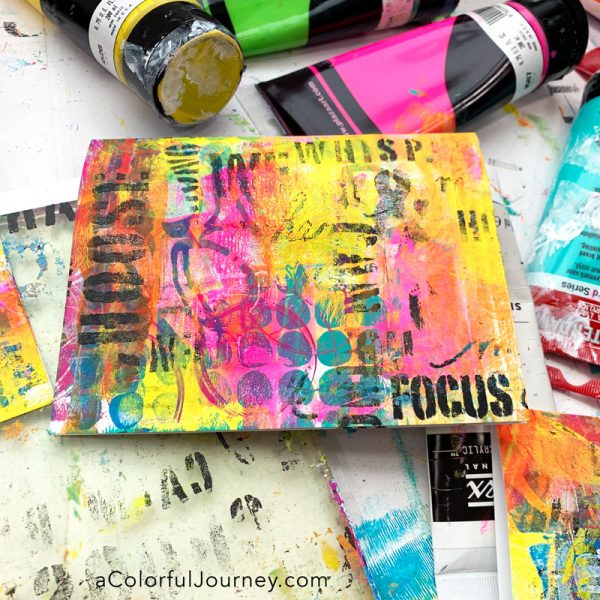
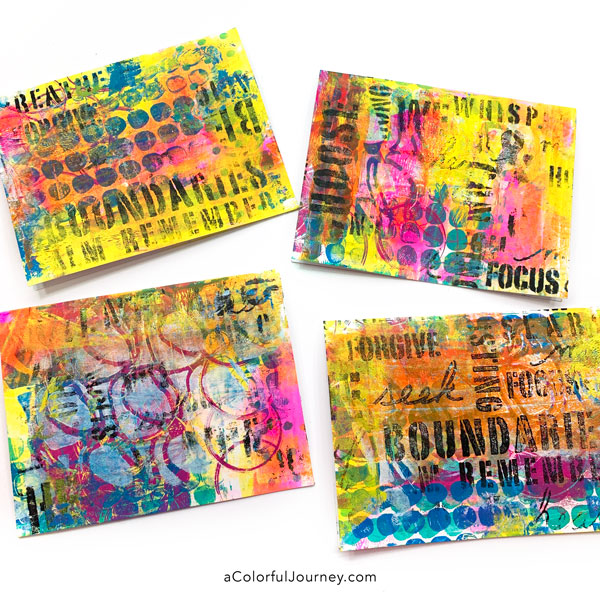
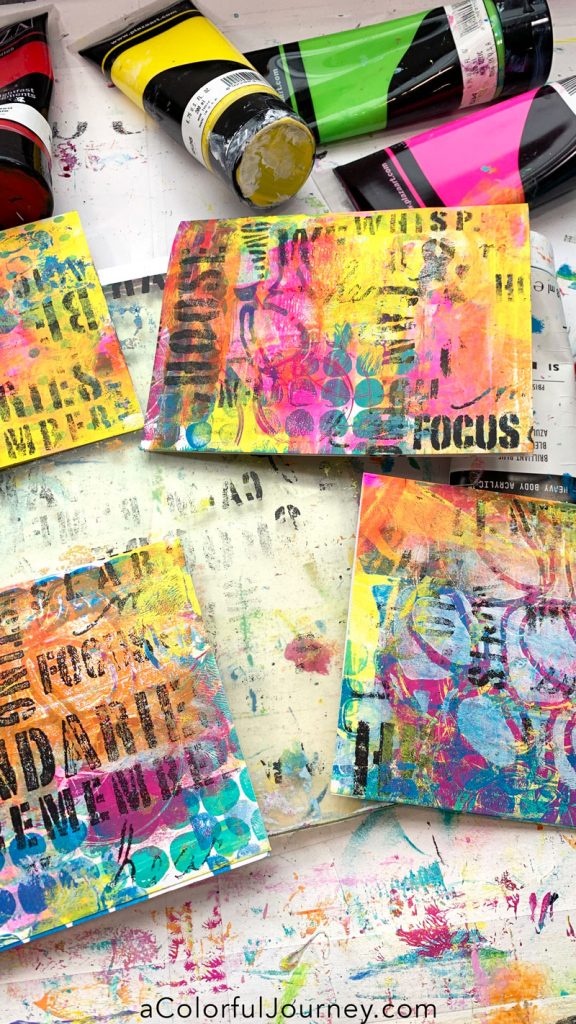
See how the layers built up bit by bit on these prints on a Gel Press plate. How it starts out with a very loose layer of yellow all the way to the words added at the end and you’ll also see how I handle it I when there’s a layer I don’t like!

When you’re putting the paint on the gel plate, try only putting it on part of the plate. There seems to be an invisible force that pulls my brayer to cover the entire thing, so I have to remind myself to just go part of the way. That will create loose edges and layers of various shapes and sizes. Links to everything used is at the bottom of this post.

When printing words, the stencil goes on the gel plate backwards. That is, if you want the words face the legible way when you take the prints. The bonus of use a gel plate to stencil is that it’s fast and allows you to easily use full words or fragments. Love that flexibility!

Want to know more about gel printing? Then check out my page of gel printing resources, tutorials, and workshops!
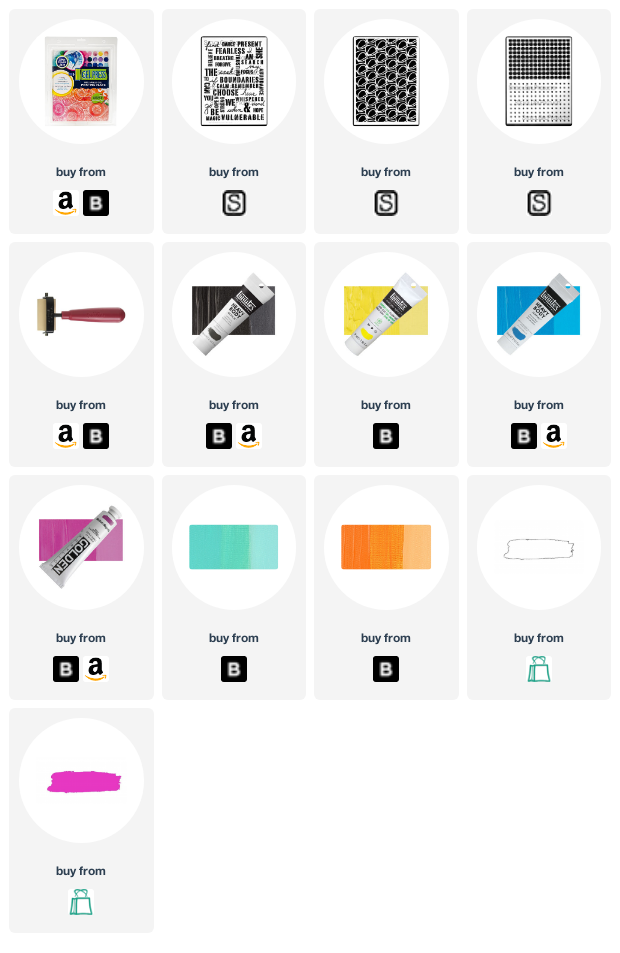
Here are the supplies used. Some of these links may be affiliate links which means I get a small percentage and it doesn’t cost you anything extra! It doesn’t cost you anything extra and you get a really good feeling knowing that you are helping keep the free tutorials coming!


Awesome as always thank you, you lift my day watching your videos.
Love this. Great ideas. Must try myself. Thank you.