What is Powerwax? It’s a cold wax that is water based from Powertex. That water based part is huge to me. The whole reason I haven’t even tried cold wax before this was simply because it required oil paints.
But Powerwax plays with acrylics! So I turned on the camera and jumped in. During the play there were 9 things I learned.
Oh and Powerwax is non-toxic and no VOCs! So no smell! Since it is a cold wax, all you have to do is open the jar and you’re ready to get started!
9 things I learned playing with PowerWax
1. No exact ratio needed. Just mix some of the PowerWax with some acrylic paint.
The more paint you use, the stronger the color will be. Want just a whisper of color, a hint, a trace of it? Then add just a wee bit of paint to the Powerwax. Want full color intensity like what comes out of the paint tube? Then add more paint to the PowerWax. It’s really that simple.
Powerwax looks white in the jar, but it dries clear so when you mix it with paint it won’t change the color the way white paint does.
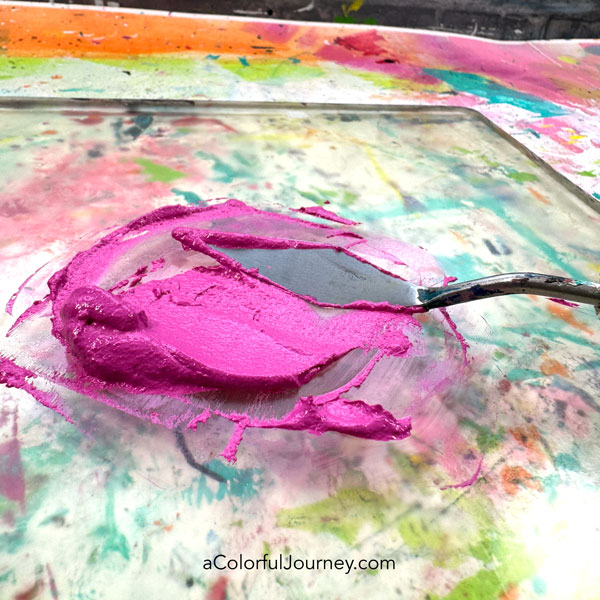
2. Easy to alter the opacity two ways. First is by how much paint you mix with the PowerWax and the other is how much of the mixure you apply. A thicker layer will be more opaque and a thinner layer will be more translucent. You can see this in action at 4:48 in the video.
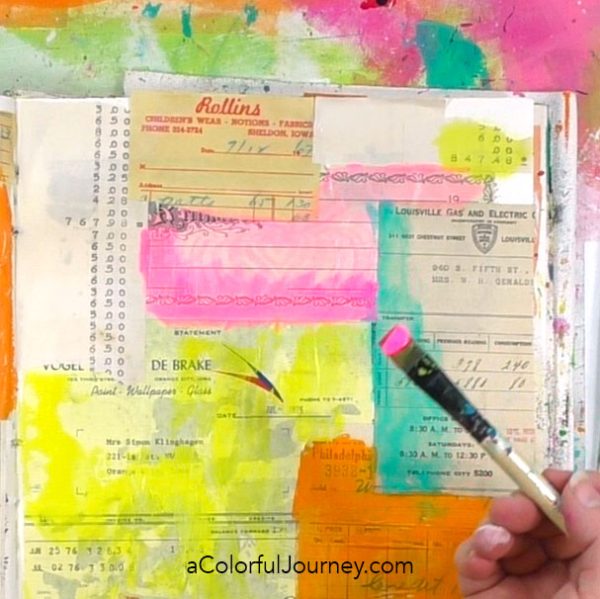
3. It’s forgiving. Wipe up what you don’t want while it’s creamy and after it dries, you can simply scratch off what you don’t want! Great for when I change my mind!
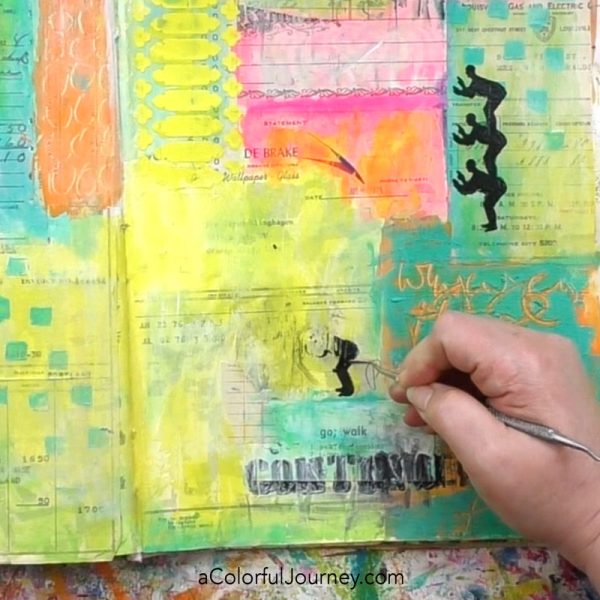
4. The tactile impact of Powerwax. It feels waxy, which is reasonable since it is a wax. That’s hard to capture in a photo since we don’t have touchable images on our computers yet!
5. PowerWax plays well with other supplies I already have like acrylic paints and stencils. The more an art supply works with other supplies I already have on hand, the more use I’ll get out of them all!
By using Powerwax with a stencil it gives a different look than what I could get with paint alone. The raised design created with the Cathedral Wrought Iron stencil is scrumptious touchable texture and that leads us right into #6.
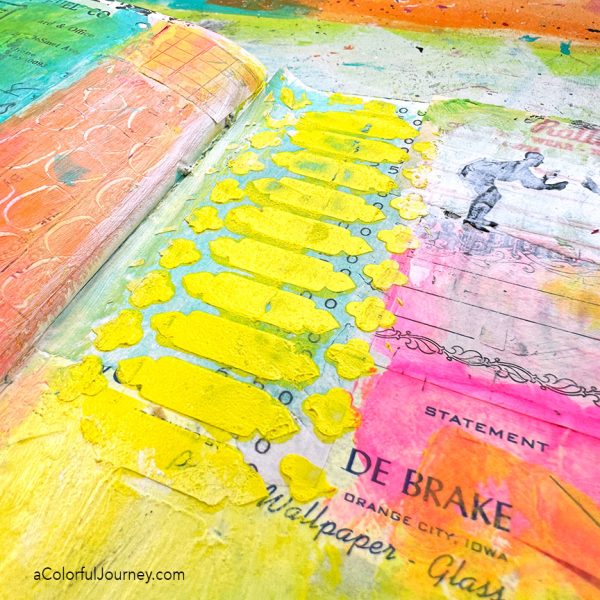
6. It’s fantastic for creating textures. PowerWax will hold a shape, mark, or design. I found both scratching into it and using stencils created touchable texture. The more PowerWax you use, the more pronounced your textures will be.
The scribble writing below had lots of PowerWax so it’s a more noticeable texture. Such a simple way to control the look, use more or less Powerwax!
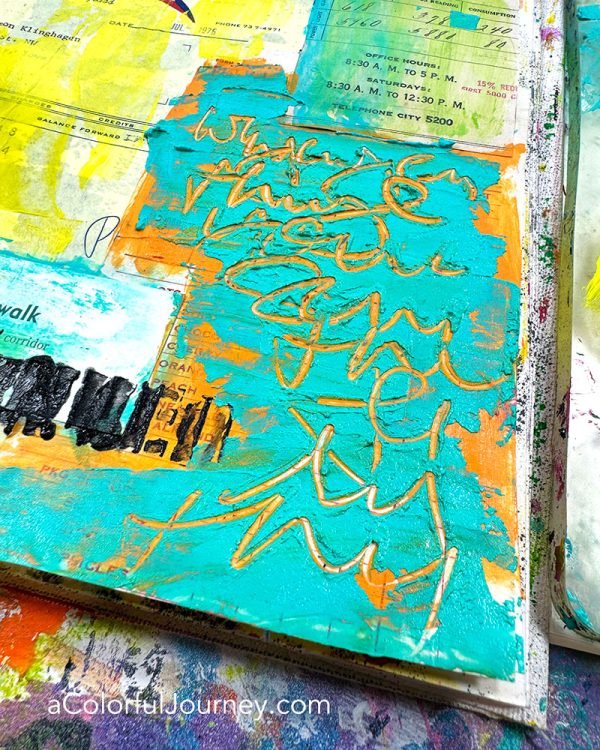
If you’ve got a thin layer of PowerWax, the marks and texture are more subtle. When stenciling with Squares Layer Me, I used a small amount of the Powerwax and paint mixture. That’s why the little inner squares I scratched into it are very subtle. That wax holds even fine details!
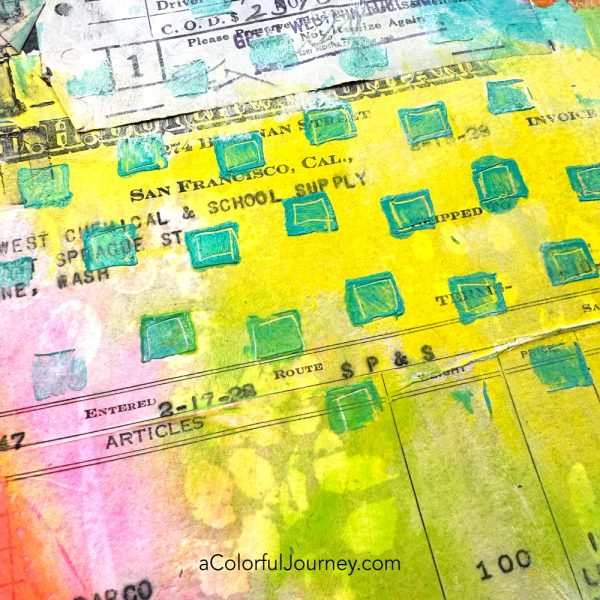
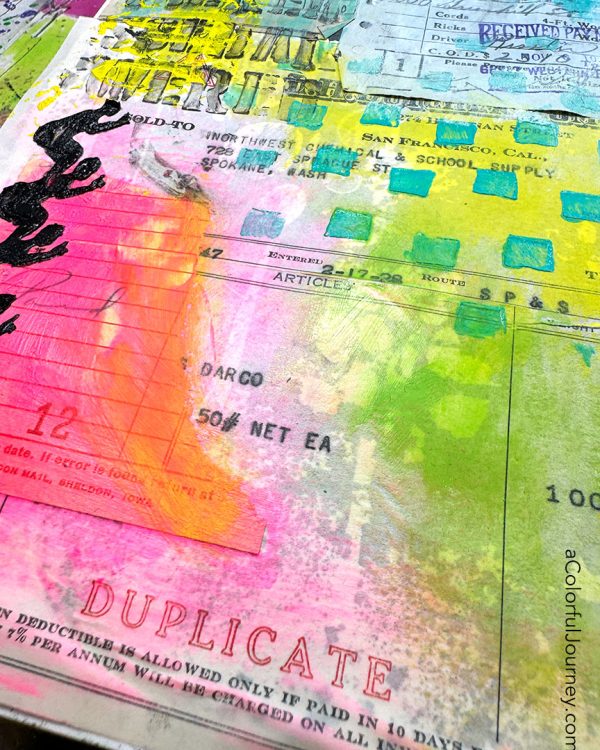
7. You’ve got easy color blending options. Layer the colors on top of each other and buff it with a paper towel, blend it with a paintbrush, use your finger or any other way that calls to you! That swipe of yellow on the pink made the most luminous orange!
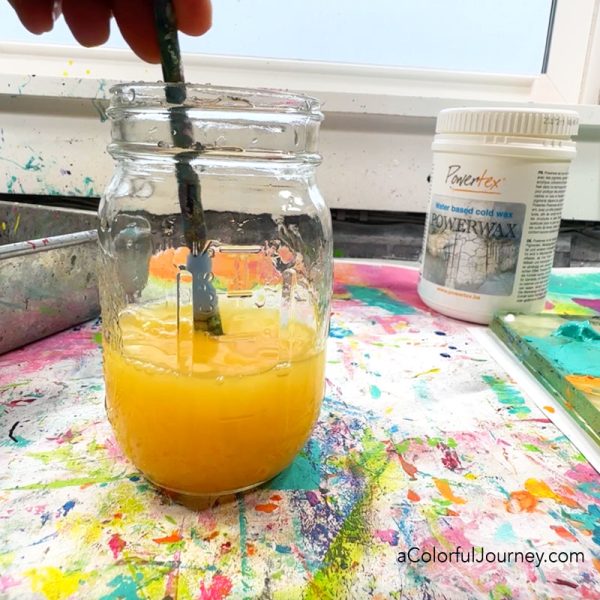
8. Cleaning is easy. The label said it was water clean up, but it’s hard for my brain to process that it’s wax but cleans up with water. It really does! This is a huge deal to me and why I steer clear of most oil based art supplies and anything that requires a solvent based cleaner.
9. It kept pages from sticking together. I did a little experiement to see if Powerwax would keep pages from sticking and it does! You can see the experiment at 18:33 in the video.
What I’m curious about next
This is just the beginning for my play with Powerwax. I’ve just been using it with paint here, but the label says it works with pigment powders, metallic pigments, sand, colored sand, dyes, and more. So the possibilities are wide open on what else in my stash they work with!
Of course I’ll be sharing what I learn through the play and if you want to be in the know, get signed up for my weekly newsletter. That way you won’t miss a moment of the fun!
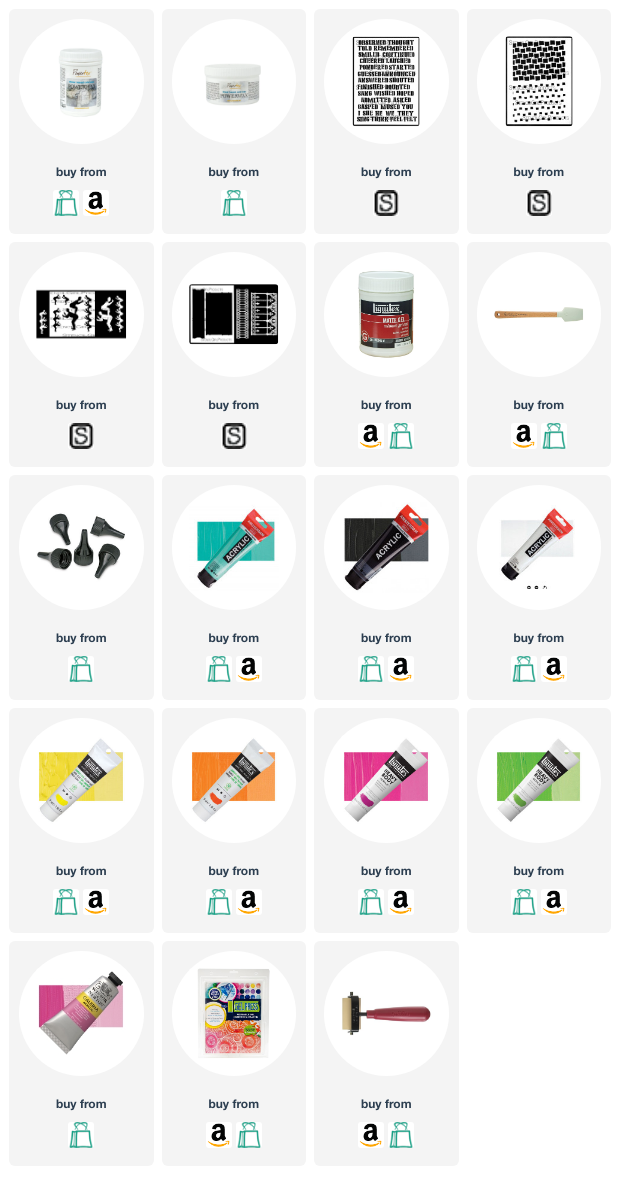
Here are the supplies used. Some of these links may be affiliate links which means I may get a small percentage and it doesn’t cost you anything extra! And you get a really good feeling knowing that you are helping keep the free tutorials coming!
Powerwax comes in two sizes and in the video I’ve got the larger one (700g)


I’m so excited you tried this!! Very cool! Question for you on scratching into it after it’s dry. I especially loved the marks you can make into it! But I am wondering if that means it’s fragile after its dry? Is that a concern if using it in work you are selling, etc. Do you need to seal it?
Great questions Vonadla! I don’t think of it as fragile as it dries but am not putting it in a high traffic area. The thin layers are definitely not fragile to me but I suspect there is a bit of personal preference regarding this. As for sealing the label says, “Powerwax is an artist quality, satin finish protective coating for use over paintings”. Hope that helps!
Wow! What a great product. Have to try it!What a great way to add texture, etc. to journal pages, etc. And the fact that the pages won’t stick together….that is a godsend! Thanks for enlightening us!
Glad it was helpful Deanna! The texture just makes me so happy and it’s water clean up!!!
Once you are done with painting, is there anything that needs sealing or a protective coat to prevent further scratches from gouging into the painting? Thanks
Sorry, I should have read some comments 1st; However, can the painting be framed under glass?
Love this! Looks like so much fun!
Have been following you forever! I am definitely an art supply geek. I love using anything that creates impasto/texture- modeling paste, texture paste, plaster, putty, heavy body paint, etc. How is PowerWax different? Clean up sounds much easier. I feel a shopping trip coming on. Thank you!
THANK YOU -VERY SINCERELY THANK YOU!
S V
This was fun and the clean up?!?! Wow, love the gel plate clean up the best! Enjoy your weekend Carolyn! Happy Easter
This looks really fun to use, and I especially appreciated that you showed your clean up processes. Encaustic collage is one of my passions, so I’m eager to try Powerwax!
Must admit was skeptical at first. But, after watching you mix in white paint…I’m hooked! Time to go shopping!
Why do you need the collage background? Couldn’t you work on the spray-painted background alone?
It’s personal preference. You can do it any way that you want Terry!