
I had a bunch of requests for how I made the ransom style lettering using gel prints and stencils from my last blog post. You asked, and I listened! Here’s the video showing you all the techniques I used. In there you’ll see how to stencil the speedy way if you’re doing a lot of it, how to use a pen to customize your letters, how to get texture into a letter, and more!
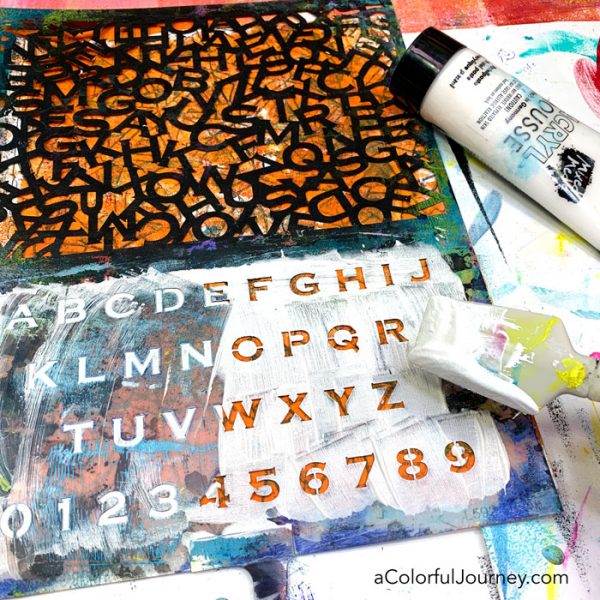
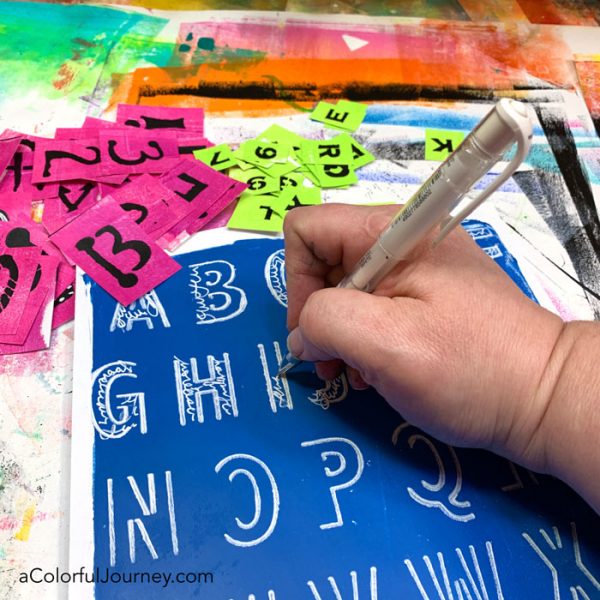
To get texture in a stenciled image or letter, try using Mousse. It is thick so it makes it possible to get a crisp image. Be sure to watch in the video how I clean up the stencil so that nothing gets wasted- and you’ll want to clean your stencil off promptly so the Mousse doesn’t dry on it.
When you’re doing a lot of stenciling, using a roller makes it go quickly. These rollers that I used are on the pricey side and I’ve been looking for a less expensive alternative. In the supplies at the end of this post, you’ll see a black handled set of rollers. They are WAY cheaper but I haven’t tested them out yet. When I do, I’ll let you know.
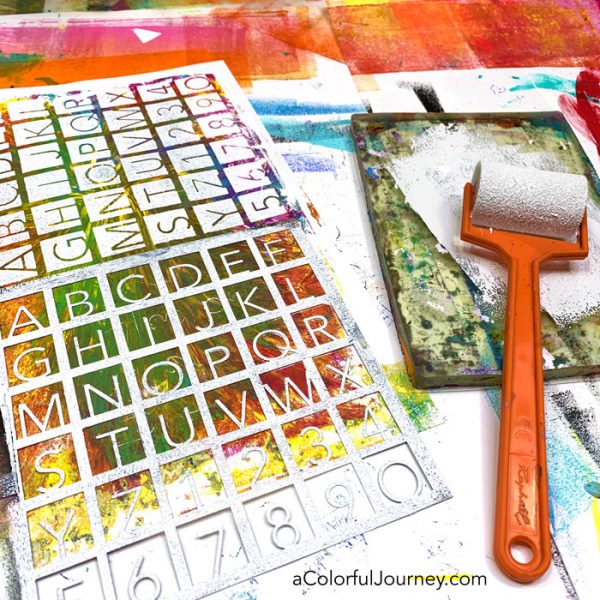
Why did I use a gel plate as my palette for the paint? Because that reduces waste. Once I’m done rolling on the paint, then I can take prints with the leftover paint on the gel plate.
The Open Ended stencil is different from the other alphabet stencils. It has big open spaces that I designed to be filled in by you. You can journal in them, you can doodle in them, you can do whatever your heart desires in there.
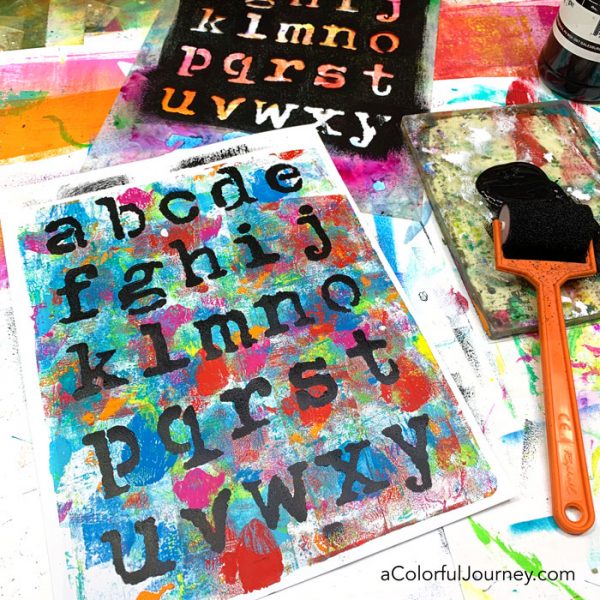
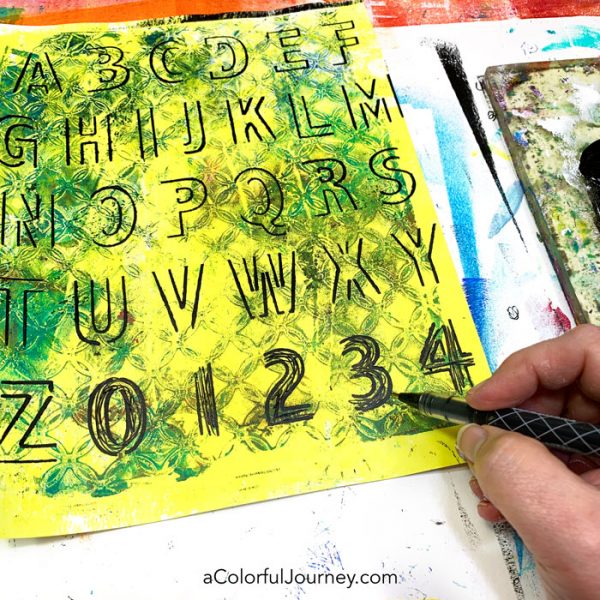
This stencil can straight and formal or loose and free. Notice how different it looks when I draw loose lines in the numbers? It’s darker, stands out even on a busy background, and has a very different vibe than the letters above. That means you can customize it to just what you need!
The rollers do make things go faster, but they hold a lot of paint. If you wrap them in a plastic bag and make sure it’s airtight (I used a rubber band) then they stay wet and juicy for several days. That means you can come back and use them tomorrow without having to rinse them out.

Once you have your papers, then it’s time cut them up. You can cut out only the letters you need or you can cut them all at once. I opted for doing it all at once just so it was done so the letters would be ready for lots of art journaling and mixed media play.

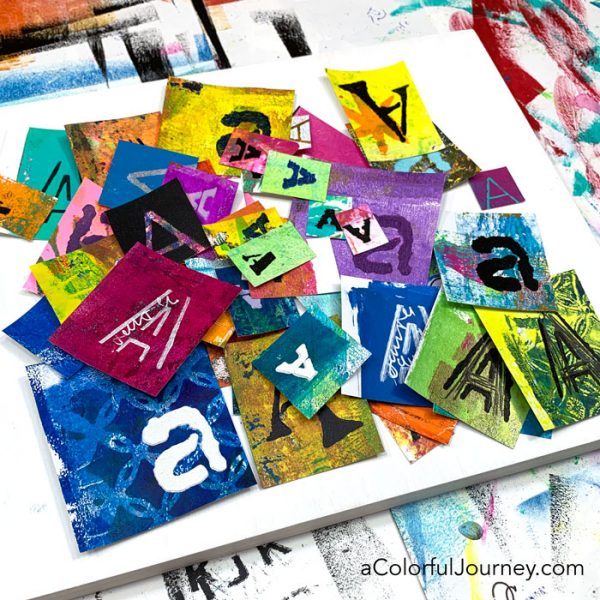
Here are all the As in one pile. Lots of color and size choices.
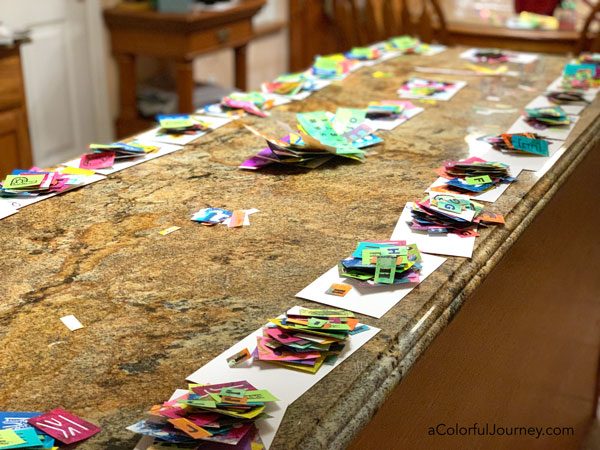
But how did I easily get them all sorted? It could have been a nightmare but sorting as I cut the pages of letters I kept each page in alphabetical order.
Then I found a few “volunteers” to help me put all the cut in piles by letter by taking a stack and walking around the counter placing each letter on its proper pile. Notice the little envelopes under each one? Placing a single letter in each envelope keeps them organized for future use.
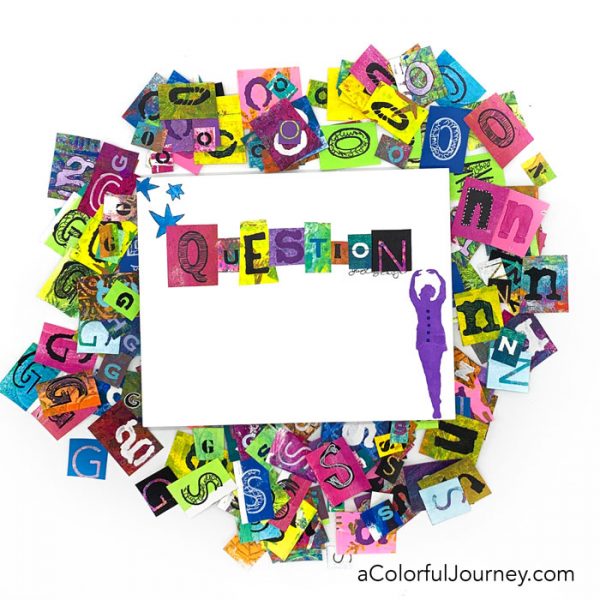
What did I do with the letters? I made a piece of art with my word for the year. You can see that process here. What I didn’t use is now a stash of easy to get letters since they’re already made and sorted!
I have listed 2 types of rollers here in the supplies. The black handled ones look very similar to the orange ones I used, but a whole lot cheaper. I’ve ordered some of the black handled ones to try out- will update this post when they arrive.
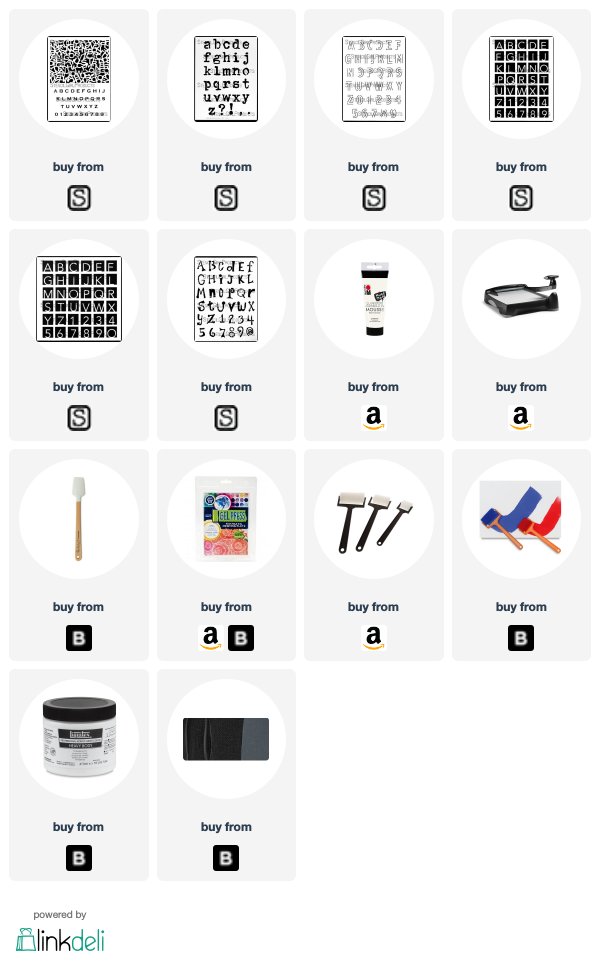
Here are the supplies used. Some of these links are affiliate links which means I get a small percentage. It doesn’t cost you anything extra and it helps keep the free tutorials coming!

Omg. Can’t I just buy them from you??? For bring “impatient “, you sure accomplish a lot!!
Carolyn, love all your ideas. This is especially fun. Thank you for sharing your wonderful ideas here with us.
❤️Dee
Love your work and ideas !!???