
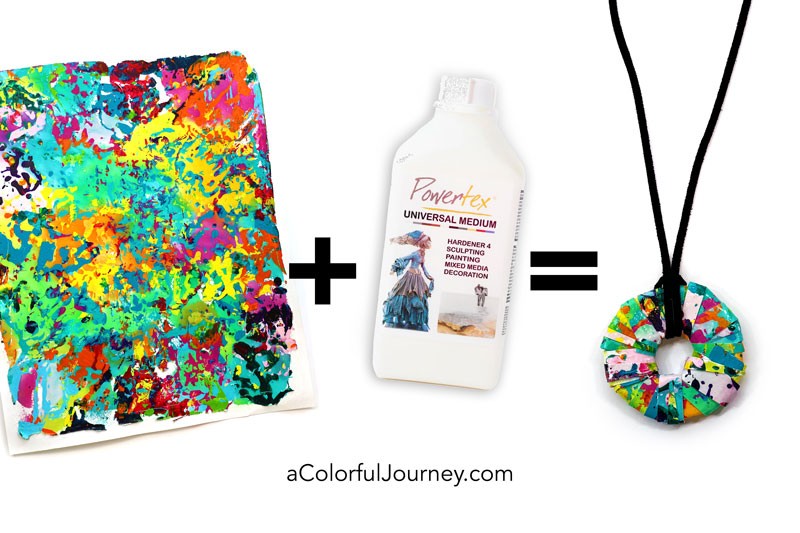
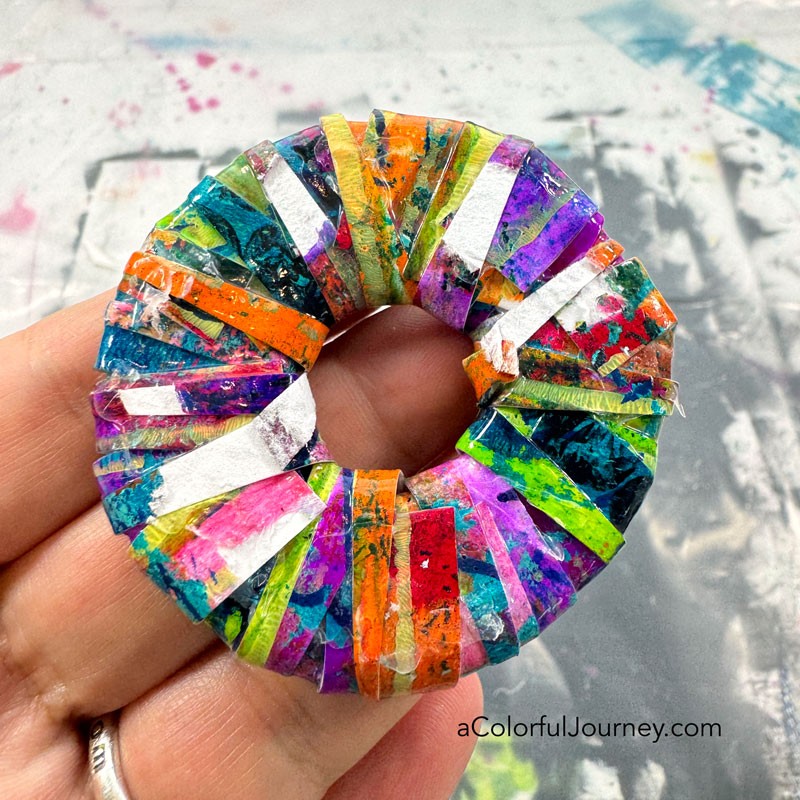
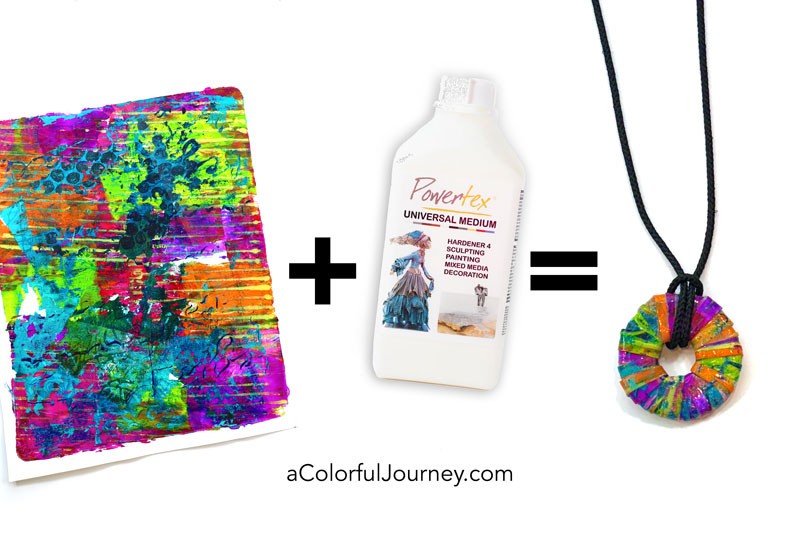
Pool noodles are for more than just fun in the pool. They’re great for making necklaces with gel prints! The necklace will be glued, sealed with a glossy finish, waterproof, and hardened all thanks to transparent Universal Medium by Powertex. On top of one supply doing all that, it’s also very forgiving. That’s important for an imperfect person like me.
If you’re new to Universal Medium it’s water based and environmentally friendly and sticks to just about anything other than plastic. That’s why my counter is covered in a piece of a plastic drop cloth in the video.
When choosing your paper there are two important things to keep in mind.
- While experimenting around, I found that a slightly heavier paper, a light weight cardstock or heavier, works best. Thinner papers can do it, but I don’t have the patience for them.
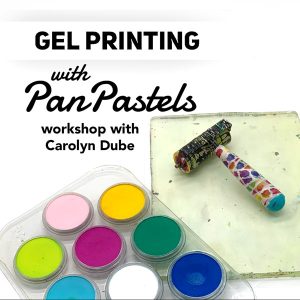
- I’ve found prints with a variety of colors in them, bold or subtle, make the best necklaces. The gel print I’m using in the video was created using a technique from one of the bonus lessons inside the workshop, Gel Printing with PanPastels.
Creating the base
Slice off a piece of pool noodle. Mine are about 1/4″ thick, but no need for precision, this is very forgiving. Make it as thin or wide as you want.
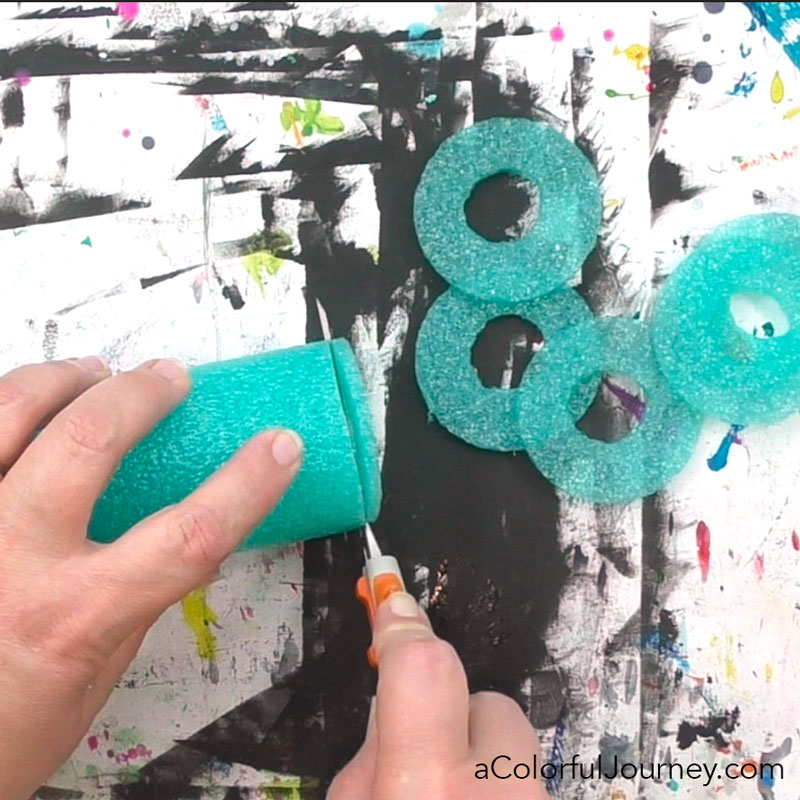
The utility knife I’m using to cut was not meant to be used this way. So why did I use it? It was what I had nearby. So I’m doing it gently.
The blade is made up of sections that are scored so you when the tip is dull, you can break it off and have a fresh, sharp edge. But I needed a long blade to cut smoothly through so I extended the blade fully. This means it’s weaker and prone to snapping if I use too much force. Good thing it’s a pool noodle because very little force is needed to slice through it.
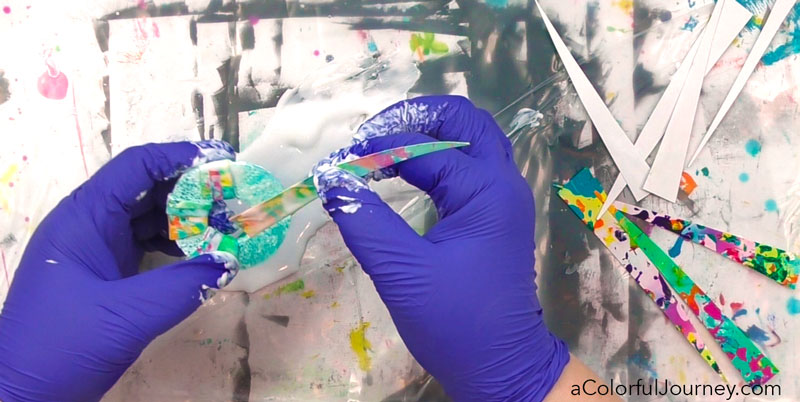
Cut your gel print into skinny triangles. It takes about a fourth of sheet of paper to make one necklace.
To adhere the paper to the pool noodle slice, coat the paper fully in transparent Universal Medium. Then wrap the triangular pieces around the pool noodle until it’s covered.
Universal Medium is a harder that will also seal the paper and give it a glossy finish.
***Universal Medium comes in colors as well as transparent. If you want to see the paper, then be sure to use the translucent Universal Medium. ***
Drying Times
Once the pool noodle is completely covered, set it on a plastic surface to dry. I have a piece of plastic drop cloth from the hardware store protecting my counter so I just set it on there to dry overnight.
BUT I DIDN’T ALWAYS WAIT OVERNIGHT…so this happened to another one I made. The top was dry to the touch so I pulled it off the plastic. But the bottom wasn’t dry yet, so bits of the paper tore. If I’d waited overnight this wouldn’t have happened.
It’s an easy fix! I can just add another layer of triangular papers covered in transparent Universal Medium over it. This is also handy if there are ever any papers you don’t love the positioning of or if some of the pool noodle is still visible. And yes, I’ve done both of those.
Curing vs. Drying
As the Universal Medium dries, you can pick it up or add more layers to it. But it will take a couple of weeks for it to fully harden or cure. So for these necklaces, that means they can have the cord on it, worn and enjoyed before they fully harden. After a day, they’ll feel a bit squishy on the inside from the pool noodle but after a few weeks, they will be completely hard.
Here’s the paper that was used to make the OOPS necklace above.
Use any kind of cord, rope, yarn, string, you like to finish off your necklace. Or turn it into whatever else calls to you!
I’m just getting to know Universal Medium and there are so many possibilities. If you’d like to stay in the know when I’ve got a new video out, get signed up for my newsletter. Not only do you get weekly creative encouragement but there’s also a free download in there too!

How cool! Such a fun project!
This looks like it is for me! Thanks for sharing with us.
Love the necklace. Missed other workshops. Will go back and look at them. Thanks for sharing!
Maggie Genius
I’m a fiber arts person and I immediately thought of fabric and fiber scraps I have that would be interesting for this project. I’m guessing “Universal Medium” can be used with fiber, too.
Oh it absolutely can be used with fibers! Have fun with it Sylvia!