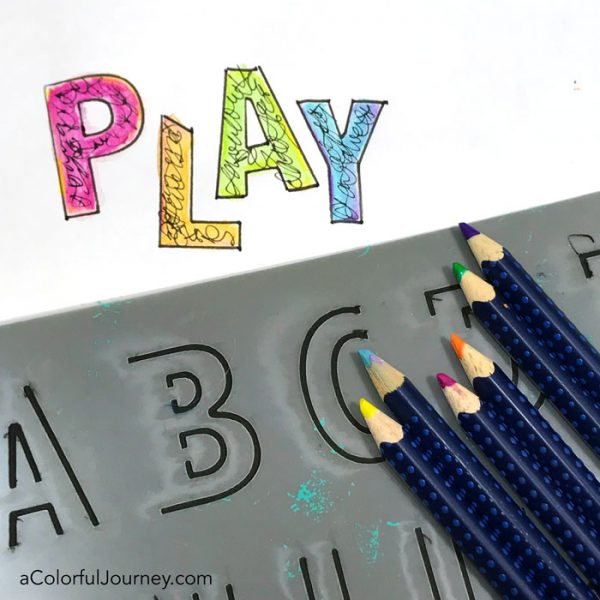
Excited to be guest posting at StencilGirl Talk. I’ve got a quick video for you there using watercolor pencils and a stencil. While you’re there, check out all the other posts they have for more stencil inspiration!


Welcome! I’m Carolyn Dube – This colorful journey is all about the freedom of play!
Excited to be guest posting at StencilGirl Talk. I’ve got a quick video for you there using watercolor pencils and a stencil. While you’re there, check out all the other posts they have for more stencil inspiration!
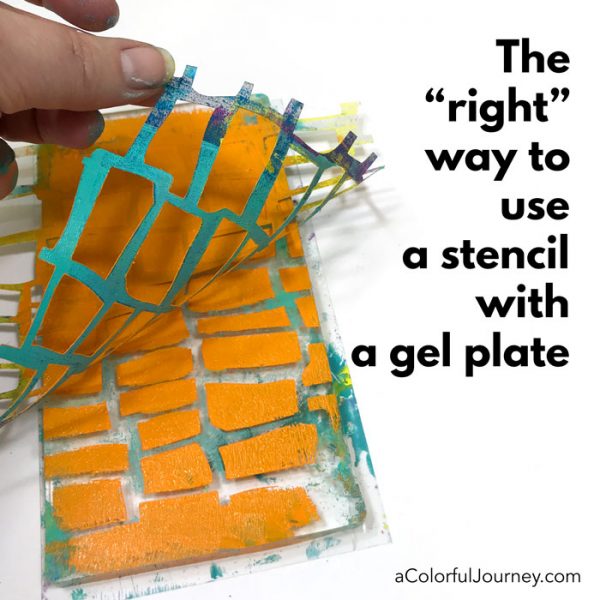
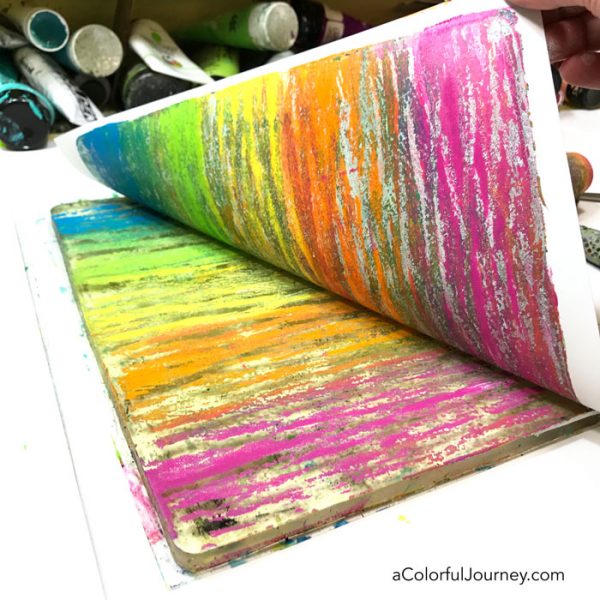
What is the “right” way to monoprint with a stencil? Do you put the paint on the gel plate first or do you put the stencil on first? Both ways work wonderfully which means however you want to print with a stencil is the right way!
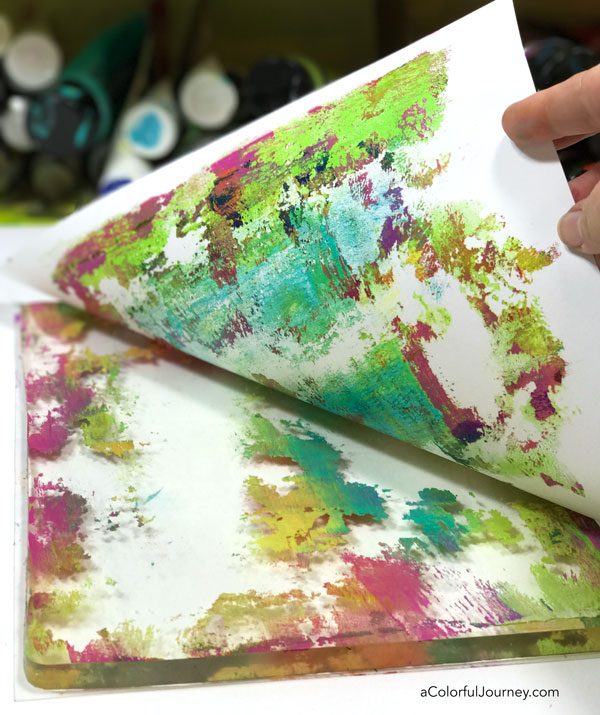
What about the size of the stencil and gel plate? Does it matter? Nope. Both the stencil and the plate used are smaller than the art journal and it didn’t matter one bit. But it did lead to a good problem that I had at the end of the video.
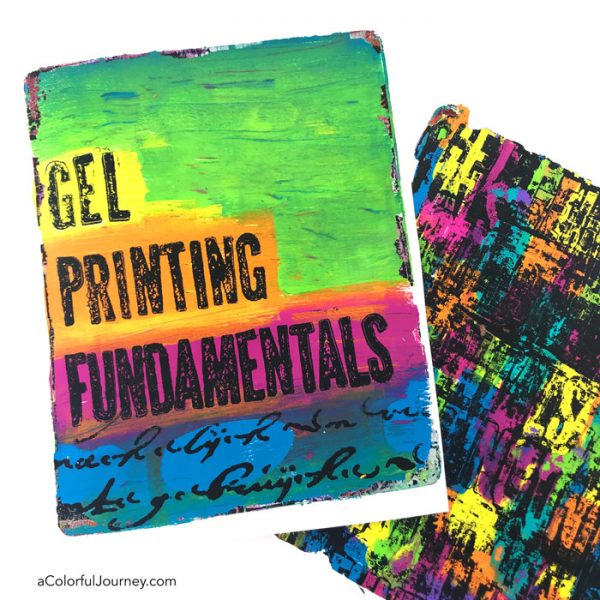
Here are the details for Gel Printing FUNdamentals mentioned in the video.
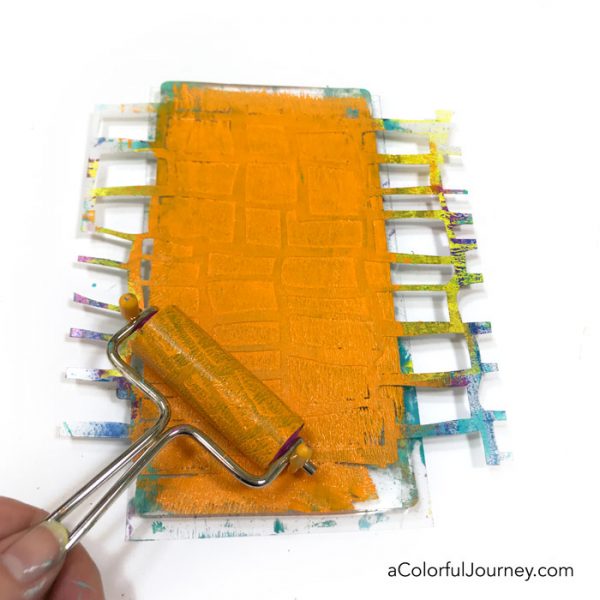
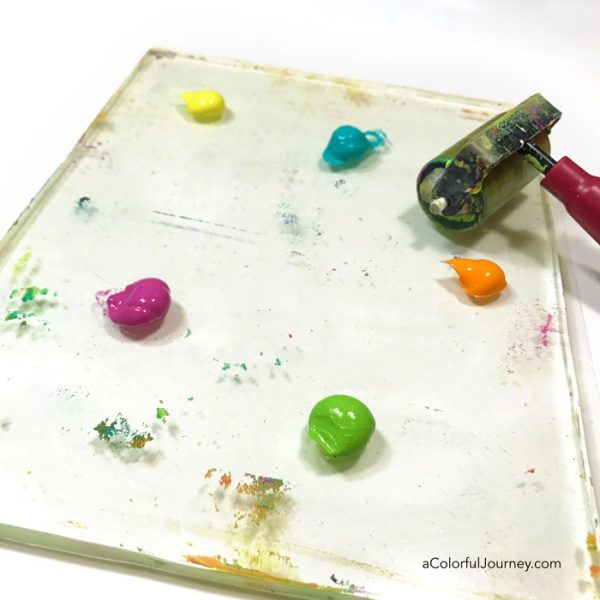
Technique #1 You can put the paint on the plate and then put the stencil on top. Leave the stencil on it and make a print. The stencil I am using was designed by Mary Beth Shaw and the plate is the middle size from the multi plate set by Ranger.
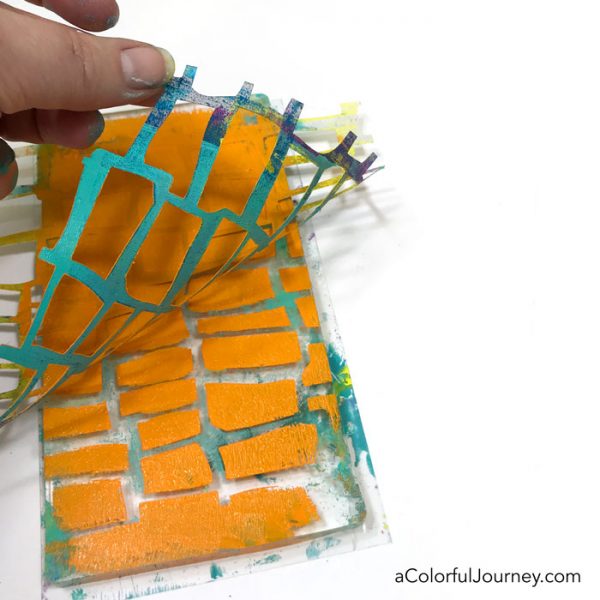
Technique #2 Put the stencil on the plate first, then brayer paint over it. Yup, just roll that paint over the stencil.
This time, lift off the stencil before you make a print. Do you have to take the stencil off? There aren’t any rules, nobody will report you to the authorities. You can do it any way you want!
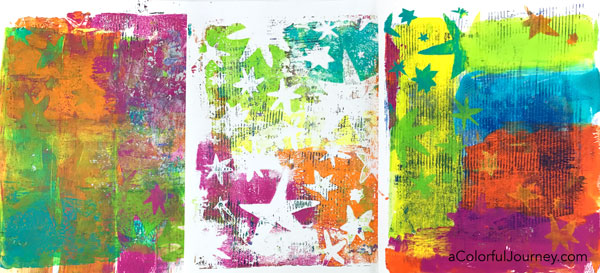
The layers built up until I was in love. When I get to that point where I just want to look at the print, I know to stop and enjoy it just as it is until the muse directs me to the next layer.

There’s no wrong way for how to make prints with a gel plate, but there are things if you know them, it makes it a lot easier to make prints you love. I call those the FUNdamentals – the foundational things that help you understand how and why the plate works the way it does.
How can you figure out the FUNdamentals? Trial and error and lots of time OR check out my workshop to skip all that frustration.
Here are the supplies used. Some of these links are affiliate links which means I get a small percentage and it doesn’t cost you anything extra and it helps keep the free tutorials coming! 

“You make it look so easy.” Gel printing looks like you just roll on some paint and effortlessly you have an amazingly colorful print. But there’s actaully a lot of thought that goes into it. It’s not just random luck getting great prints. There are principles, what I can the FUNdamentals, that guide the decision making process.
Rolling the brayer isn’t the tough part, it’s deciding how much to roll it to create the look you want. Adding paint isn’t the hard part, it’s knowing which color and where to use it that makes a difference. Once you understand the FUNdamentals, then a whole new world of printing opens up to you! No more guessing and hoping for a great print.
“The color wheel and how to use the brayer and not mix paint immediately helped me improve right away.” -Marjorie S.
Once you understand why your gel plate does what it does, you’ll know what to do to create the looks you want. Want to avoid mud while using the entire rainbow? You’ll know how after Gel Printing FUNdamentals. Want to make a complete print in one single pull? You’ll know that and a lot more! But most of all, you’ll be comfortable using your plate getting prints you love.
“This class is giving me a much needed confidence boost when it comes to my art.” -Janet K.
Gel Printing FUNdamentals is a self paced on-line workshop that takes you through the whys and hows of using a gel plate. Throughout our 15 lessons together, you’ll see step-by-step how to use the FUNdamentals with techniques using trash, a common kitchen supply, fibers, pencils, cosmetic sponges, stencils, rubber stamps and more!
“This was an amazing class. I learned so much! Your informal and friendly teaching style was perfect and I absolutely LOVED that you did not waste my time babbling on and on by repeating useless stuff. (I’ve watched a lot of videos and probably seen it all). I will absolutely purchase more classes from you in the future because they’re packed with info and I know I’ll get more than my money’s worth. Thanks Carolyn!” -Maggie Hanus
You’ll get a technique video in every lesson, plus bonuses, like recorded live streams with a very special guest, Dave the Husband. He joined me live and you can see how he goes from being very hesitant to confident as he makes prints. He doesn’t make gel prints often so he is the ultimate beginner.
Life’s busy. This is a self paced workshop and each carefully edited video lesson is 10-20 minutes long so you can watch and then jump into the play. With forever access, you can work at whatever pace fits your schedule. Once you’re registered you have access to all the lessons.
Plus, the videos are all downloadable so you can watch them off line or stream them. It’s all about you getting the workshop the way that best fits you.
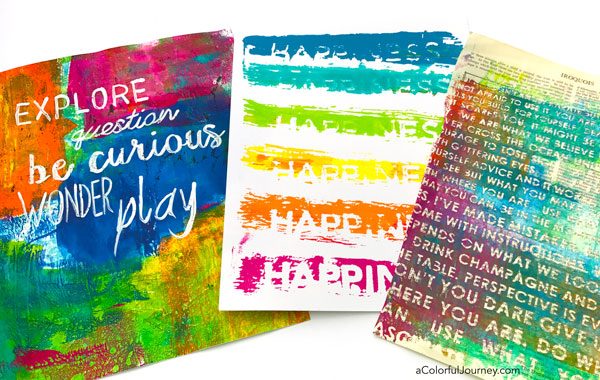
The thought of having to use my own handwriting makes me very very uncomfortable which is what led me to find a shortcut by applying one of the FUNdamentals. Even though I don’t have pretty handwriting, I could hand write the words on the print below on the left. As long as I use this trick, I don’t mind writing on prints at all!
Ever made a print you didn’t like? These kinds of prints happen to everyone including me and some of my favorite prints started out avert your eyes ugly. Truly ugly but they didn’t stay that way because of the FUNdamentals. That understanding guides the process of turning the blah, ho-hum, ugly prints into ones you’re proud of! That’s the power of understanding.
What Students Are Saying About Gel Printing FUNdamentals
What’s included in the self paced Gel Printing FUNdamentals
$99

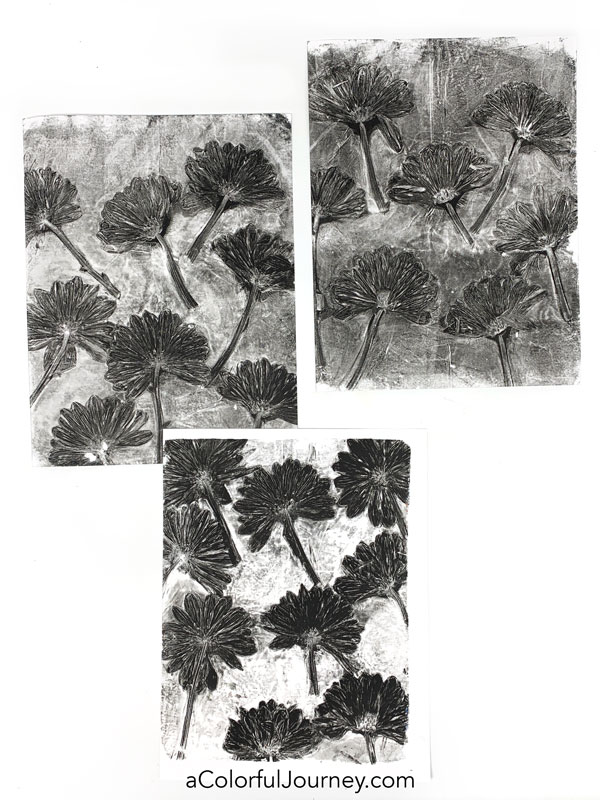
Also included for a limited time is the bonus lesson that shows the tricks and shortcuts to making detailed gel prints with flowers. And doing it in just one single pull!
Included In the Workshop
The Getting Started Videos:
Lessons:
What are the basic supplies that you need? In the getting started videos in the classroom, I go in detail about the sizes and types of products to guide you to finding the supplies that give you the looks you want in your prints.
What else will I be using? I am a big believer in use what you have on hand and substituting with what you like. In the classroom is a detailed list of every little thing I am using, but you don’t need to have all of that. If you have a gel plate, a brayer, paint, and paper you can start printing.
Are you ready to really understand your gel plate and make amazing gel prints? Then jump on in to the workshop.
$99