 Ever get excited when you make a mistake? I mean excited in a good way. That’s what happened as I made this art journal page. It took a few OOPSies for me to catch on to what the muse was telling me, but eventually I did as I played with the gel plate goodies Ranger sent me.
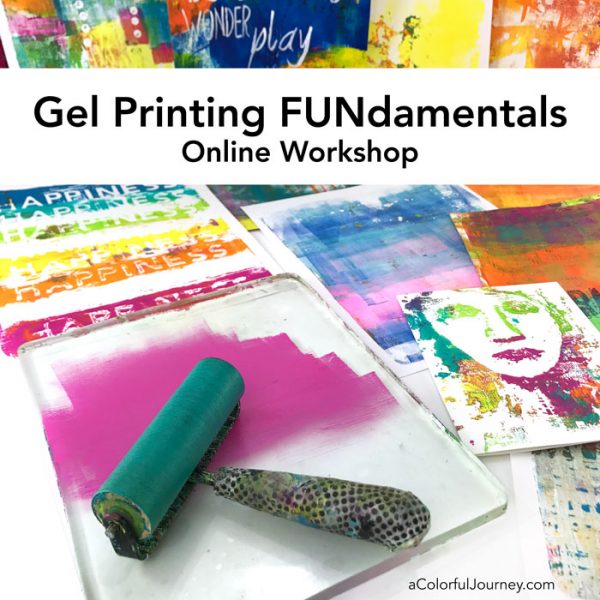
I’ve been doing lots of gel printing to keep me busy as for my upcoming workshop, Gel Printing FUNdamentals.
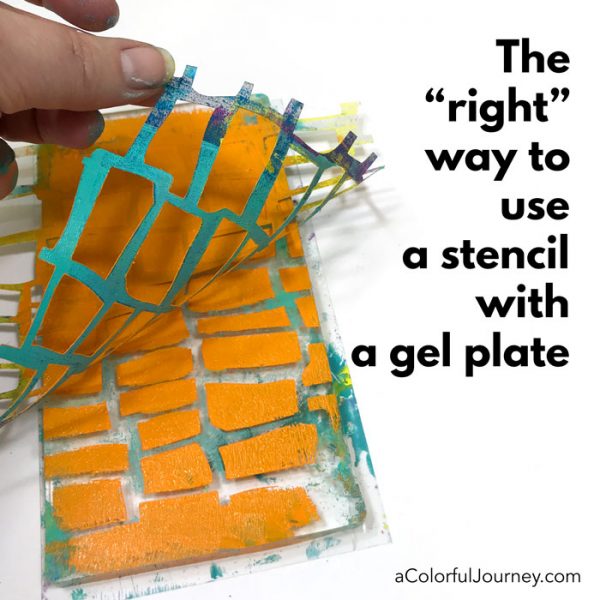
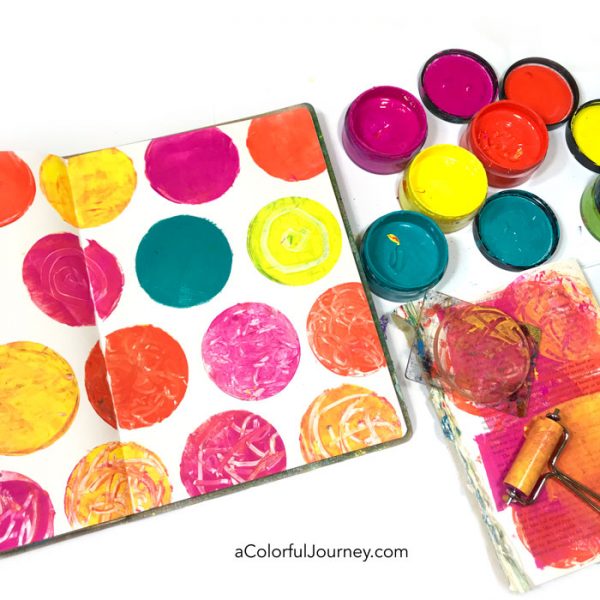
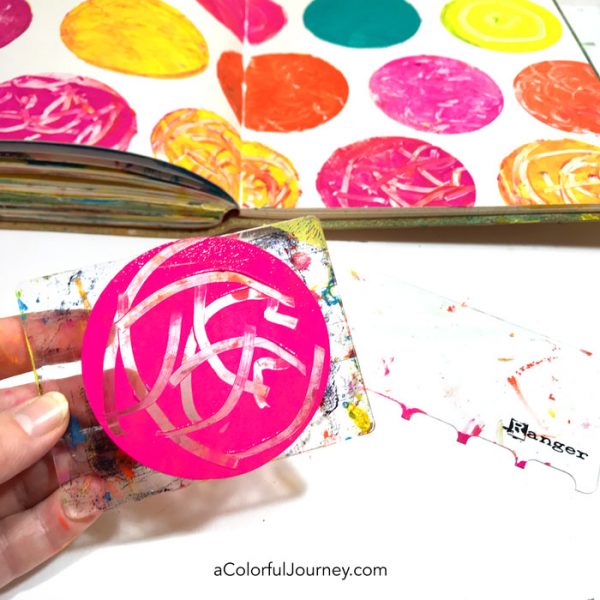
The Ranger gel plates are manufactured by Gel Press, which is why they have all that wonderful squish. Having 3 plates in a set means you have choices. Use one or all or some. I had expected to play with all 3 of the sizes of plates, but the little round one just called to me.
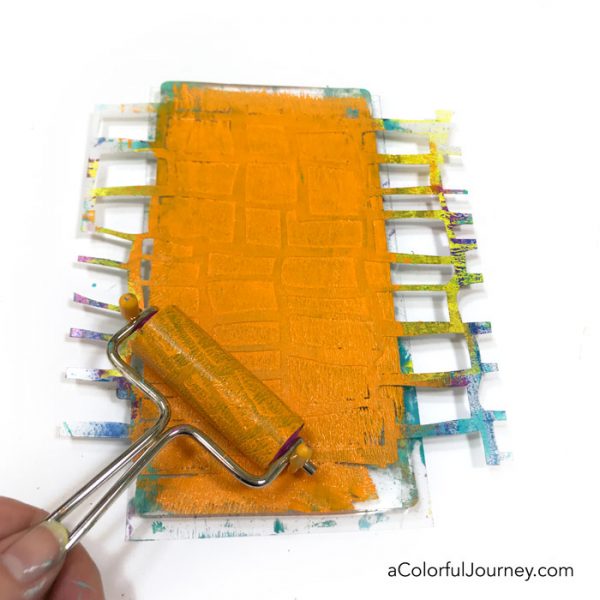
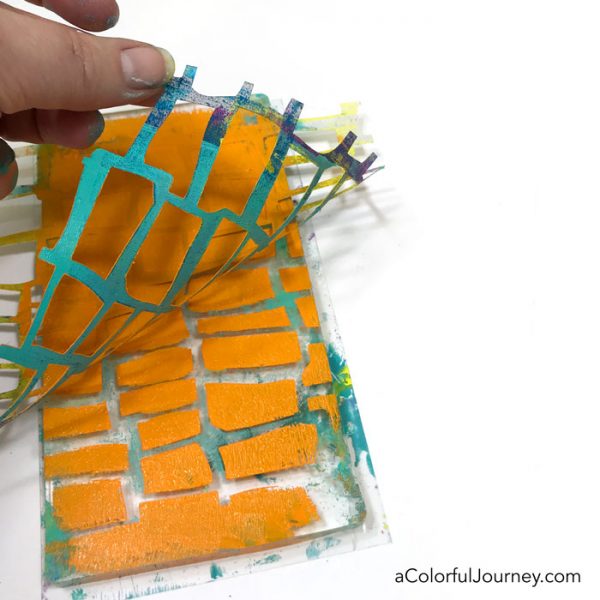
There was a pattern that I was using. Pink. Orange. Yellow. And then I broke it. I committed the heinous crime of using orange instead of pink. The pattern was broken. O.O.P.S.! But it was a magnificent Outstanding Opportunity Presenting Suddenly. I decided to make the next color teal. Pattern obliterated.

Do you ever listen to the voice in your head? I find it so entertaining what it says to me. That very ominous and serious voice warning me to not ruin it. What will happen if I do? Am I going for Olympic gold here and will not get another chance for 4 years? Um. No. This is an art journal and all it would need is another layer.
The texture combs with the Dylusions paints created the texture in the circles.
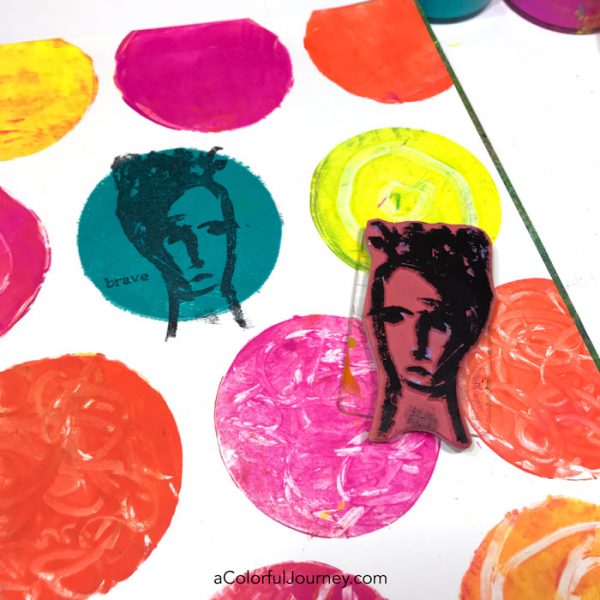
That single teal circle needed something. But what? Dina Wakley’s woman fit just perfectly. It’s like my muse had a plan but just didn’t tell me.
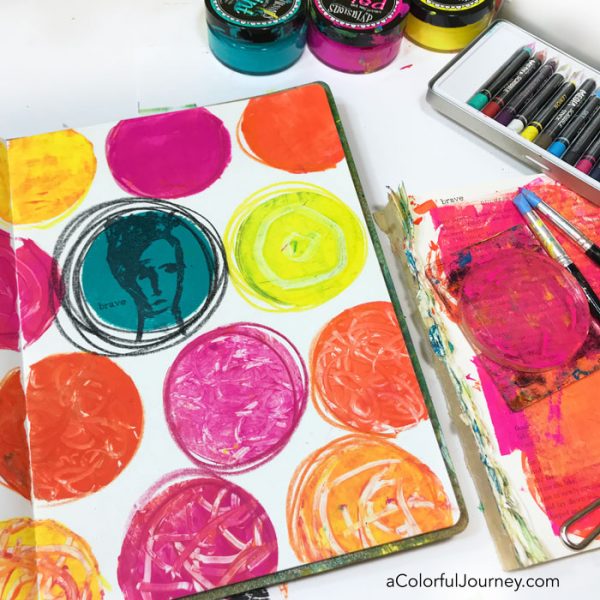
The final touch was some Scriblbe sticks around her and all the other circles. All the other circles have scribbling around them in the color than matches the paint so it blends and is hard to see. But hers, the black, it stands out. So the word brave fit her, after all, being yourself can be an act of bravery at times.
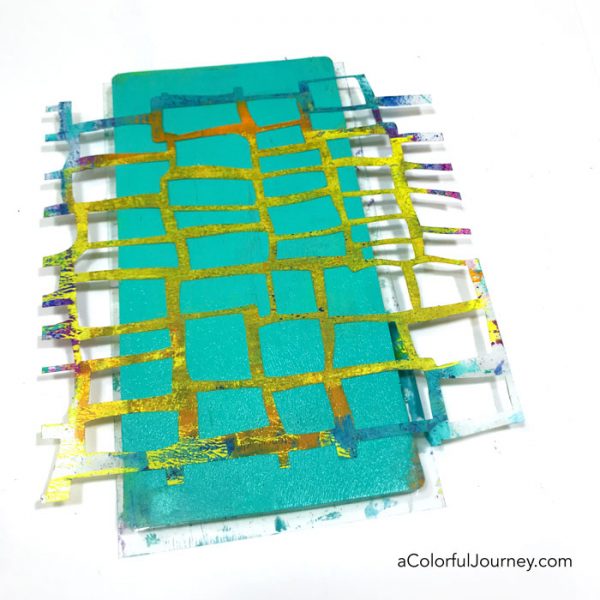
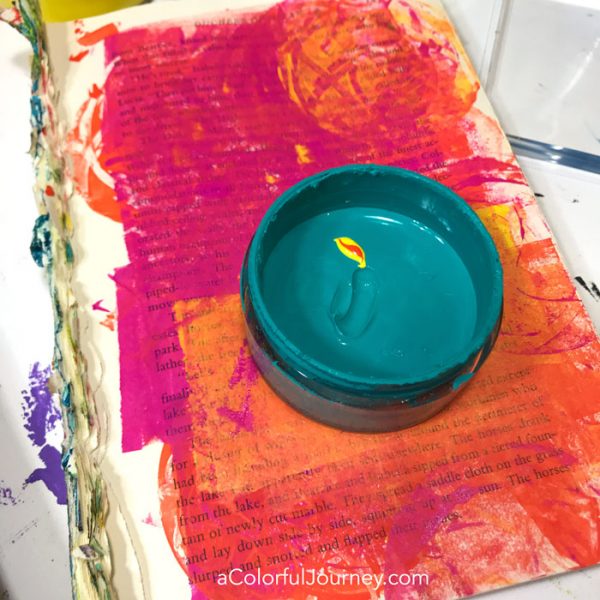
In all the excitement of the printing, I got yellow in my turquoise. O.O.P.S. again. Wonder where my muse will take me with that.
If you’d like see more of my OOPSies and adventures, get signed up for my newsletter for weekly play and inspiration.
Here are the supplies used. Some of these links are affiliate links which means I get a small percentage. It doesn’t cost you anything extra and it helps keep the free tutorials coming!