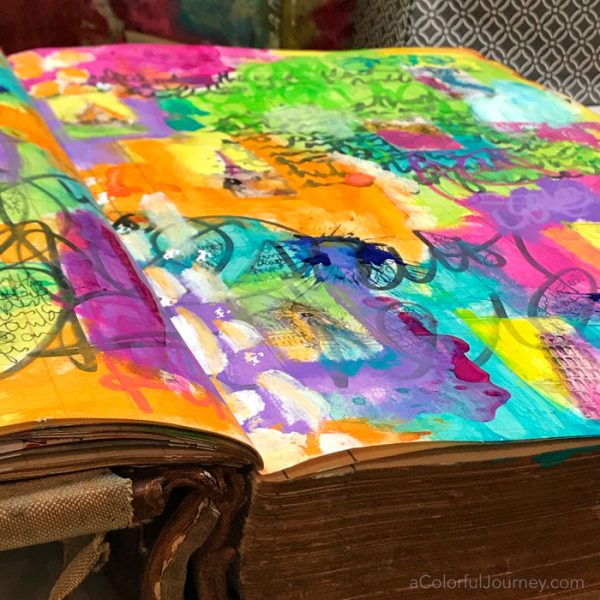
Washi tape is a great element to add to an art journal page, especially when you do it as one of the early layers. Why? Because then the color go right over it and make it fit right in with your style of journaling. In the video, notice how much the tape stands out as tape at the start but as they layers are added to it, the washi tape becomes embedded in the page.
Watch Embedding Washi Tape in the Layers of an Art Journal on YouTube.
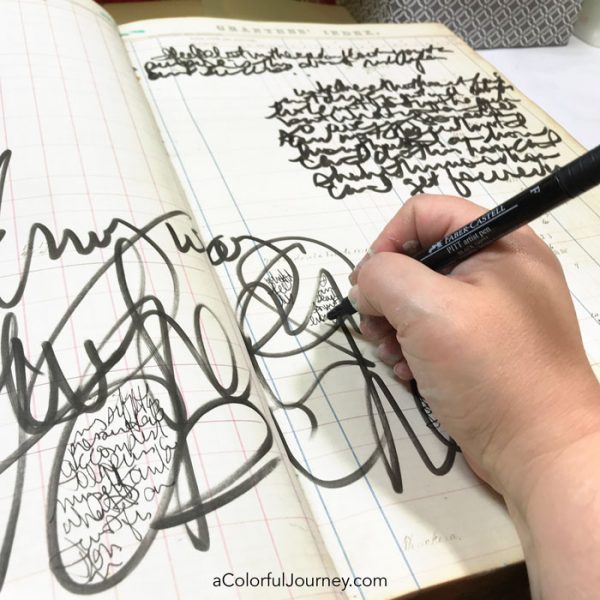
Starting an art journal page with journaling not only clears you head it also creates a great starting layer.
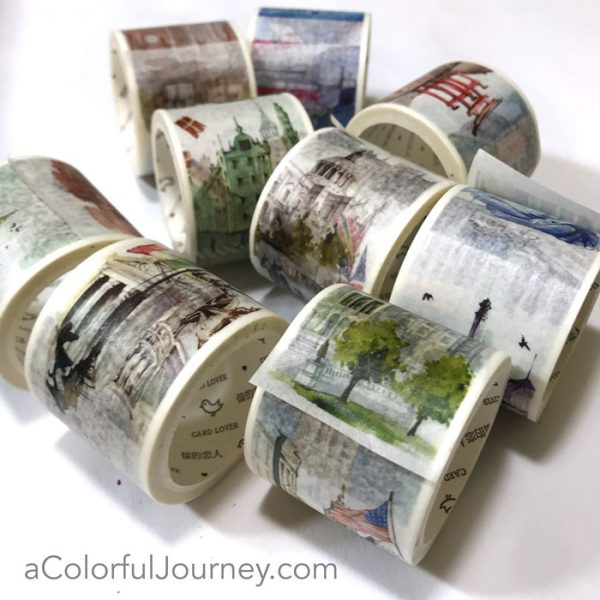
Place bits of the washi tape randomly around the page. Each roll of the travel themed washi tape has images representing a different country, and it is the images I adore. The colors are bit subdued for my taste, but that doesn’t matter one bit since I am about to add ample color to them.
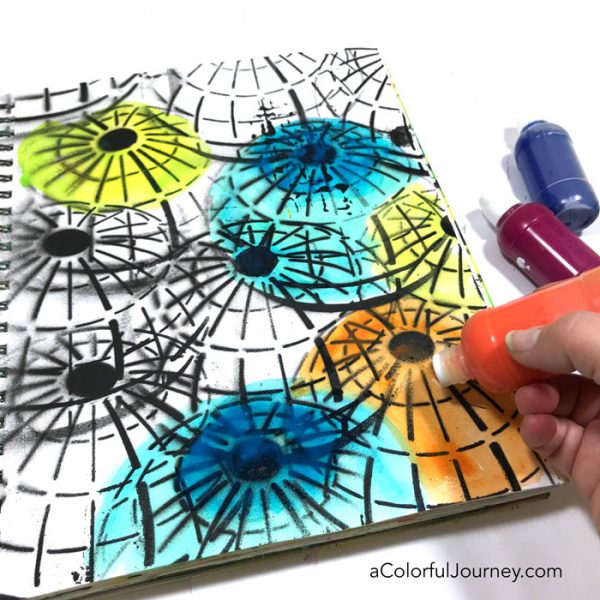
The rainbow filled the page as acrylic paint was brushed around the washi tapes, mostly around them. Every now and then, I’d paint right on top of parts of the tape. As long as it isn’t a super thick amount of paint, it will work to add color to the tape.
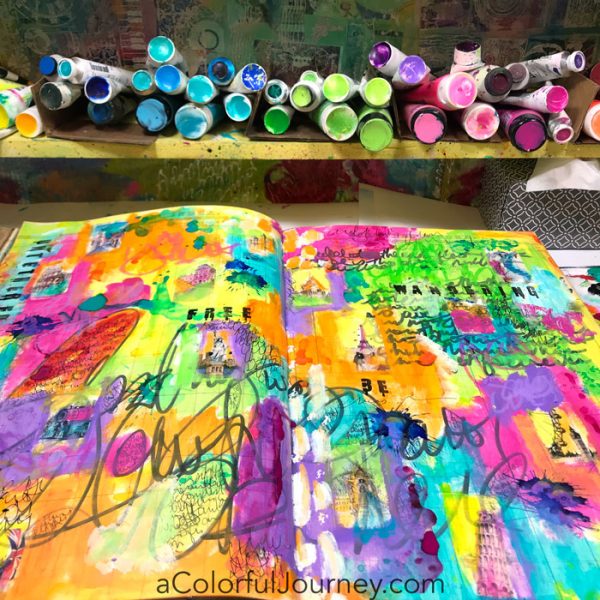
Naturally, you can use the ideas here on any size journal. This is a huge, giant, oversized journal that is 24″ across when open. One perk of that is the paint is almost dry by the time you get the page finished.
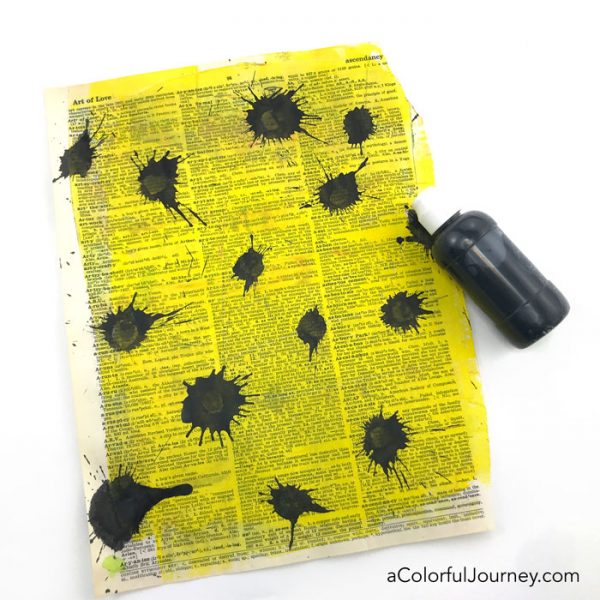
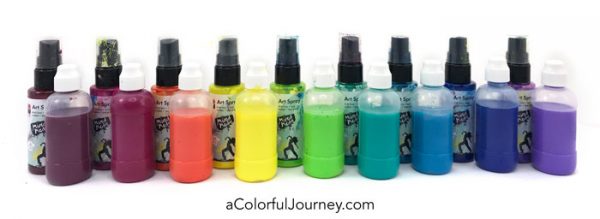
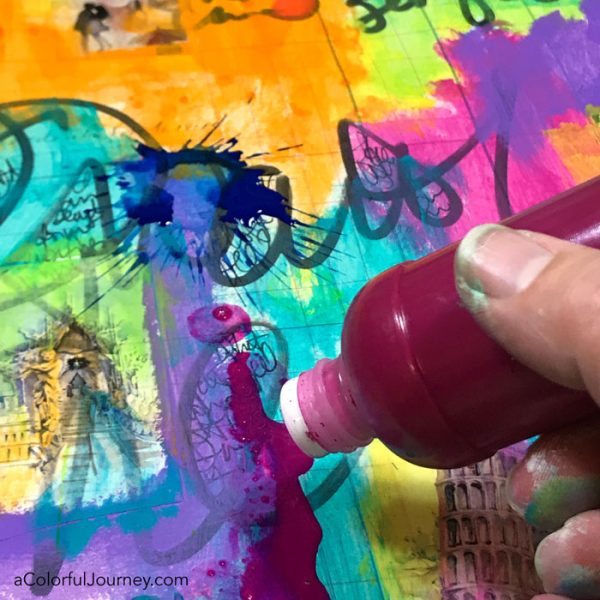
Those ink splots were created with what I call Splotters. You can see how the empty tubes were filled with Art Spray and turned into graffiti style markers here.
These allowed me to get splots, swipes of color, and puddles of color on the page. Love that I can get 3 different looks with one bottle.
The puddles of Art Spray color don’t dry as quickly as paint. Is that a problem? Not at all because the color smearing in a step or two just adds to the vibe of the page. Why didn’t I use a heat gun to speed it up? That’s a reasonable question, and the answer’s coming up.
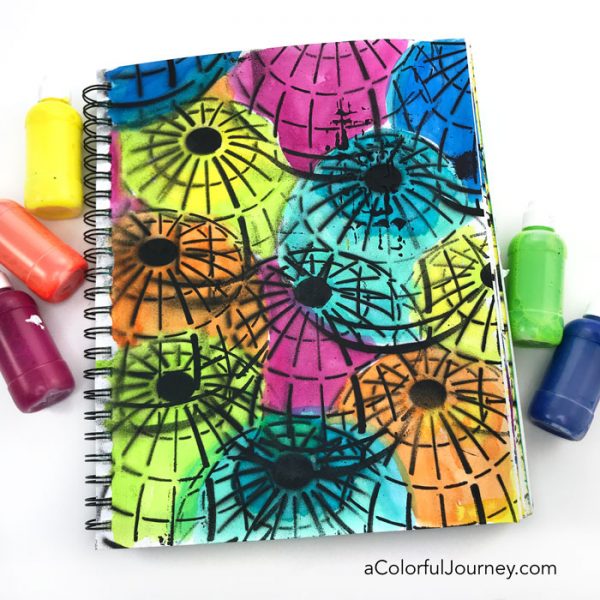
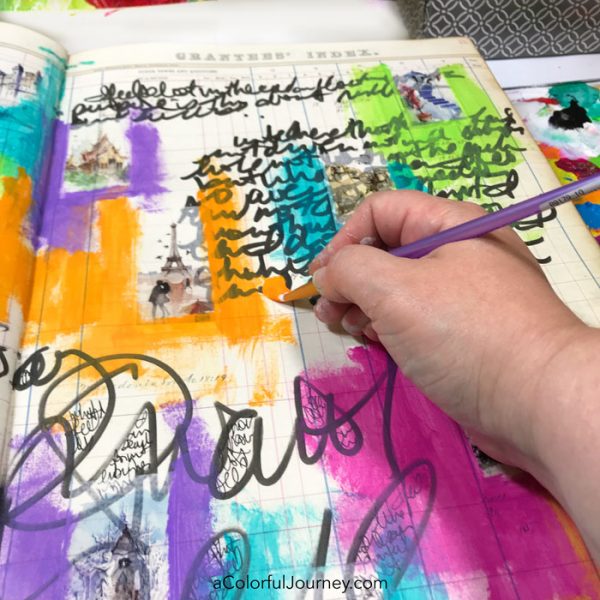
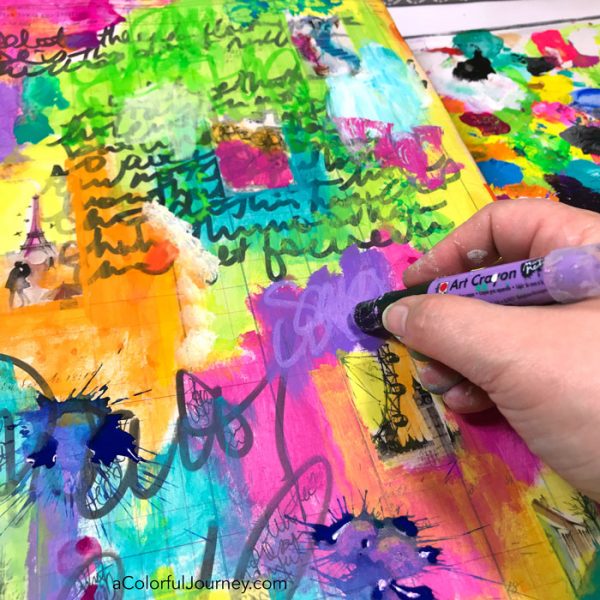
Art journal pages can always use more color. Art Crayons from Marabu added more color with some loose scribble journaling plus they are an easy way to add color to the washi tapes.
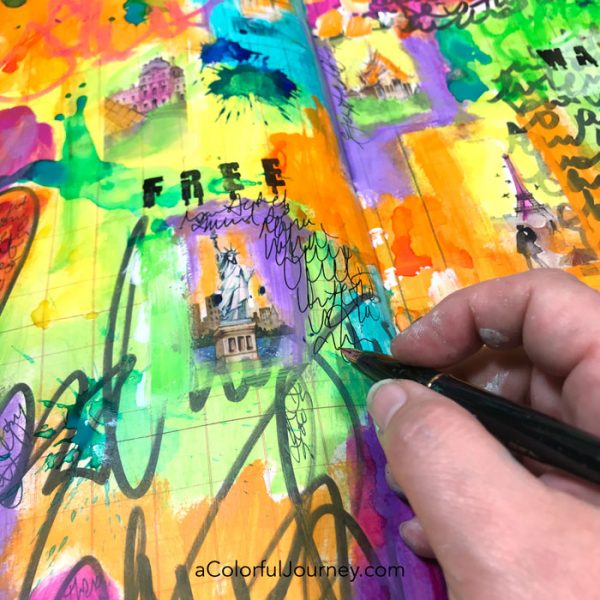
Celebrate with me, I spelled every word correctly with out a post it note cheat sheet as I stenciled the words that captured the feelings with Seth Apter’s Alpha Drips stencil! This is huge for me, since I am known to misspell my own name.
In the video, you can see how some of the still wet puddles of color get moved around just by the stencil touching it. The big reason for me not using a heat gun to speed the drying? I have an illogical aversion to them so I avoid them as much as possible. No big reason, no horrible story about them. Just don’t like using them.

Here’s a close up of how the paint and Art Crayons colored one of the washi tapes. No longer does it look like tape just stuck on a page, the tape is a part of the page.
If you’d like to know more about art journaling, join my free workshop Permission to Play. In this free workshop, you’ll build a cardboard journal and get introduced to mixed media but most importantly, you’ll get specific things you can do to embrace the freedom of play.
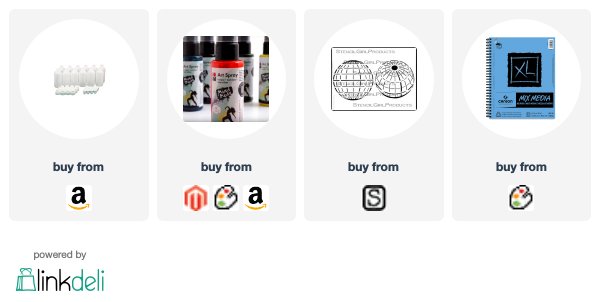
Here are the supplies used. Some of these links are affiliate links which means I get a small percentage. It doesn’t cost you anything extra and it helps keep the free tutorials coming!