Is it good or bad to be impatient? Back before I had gray hair, I used to think it was a bad thing to be impatient. But my impatience about waiting for a background to dry led to an even better than what I had planned. In this video, I’m also sharing what I’m doing now with my spray bottles to prevent any clogging. Hint, it involves water.
Watch Impatient Art Journaling and How I Keep Spray Ink from Clogging on YouTube.
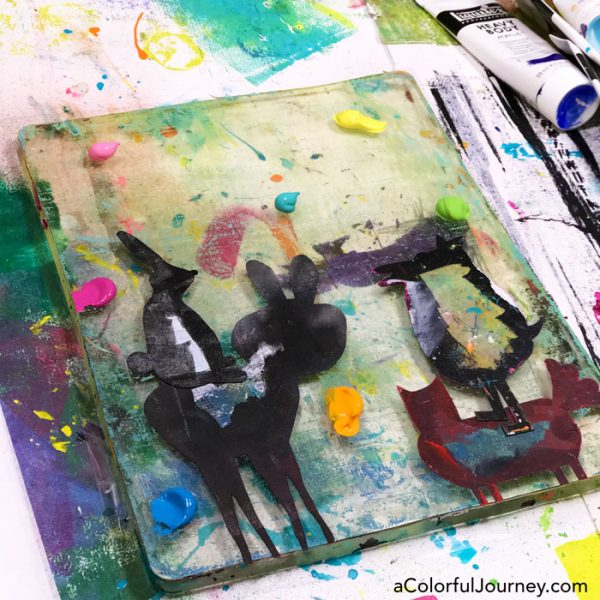
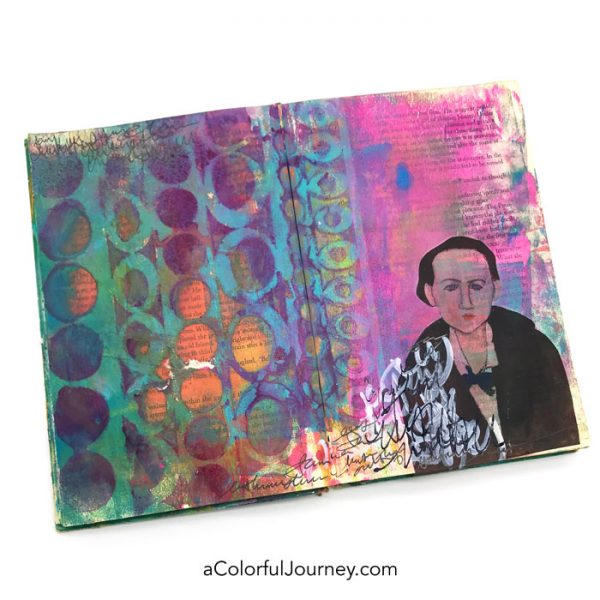
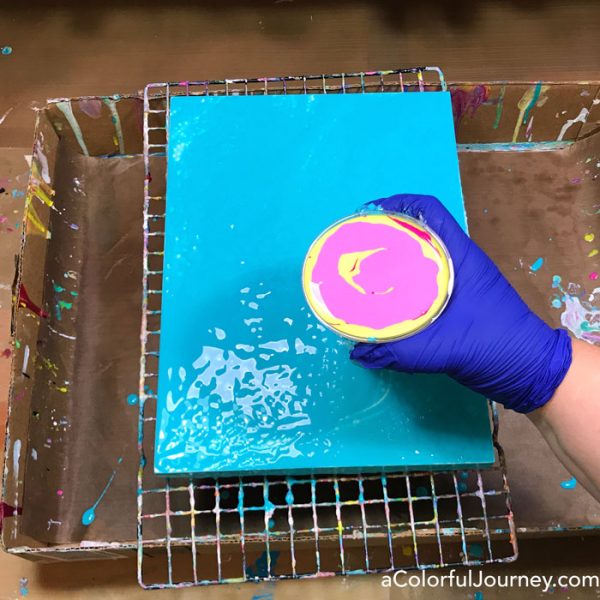
When you have to clean off a tool, say like a brayer while gel printing, clean it off on an art journal page. This way not a drop of paint is wasted and you’re getting a start on your next project. That’s how the background happened in an altered book journal.
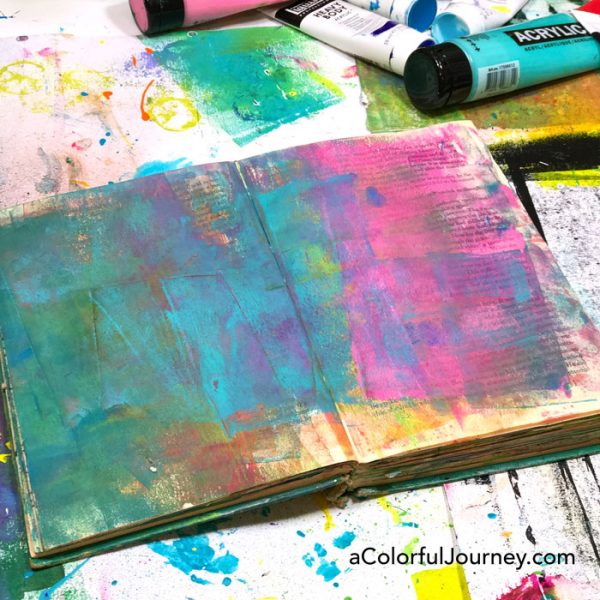
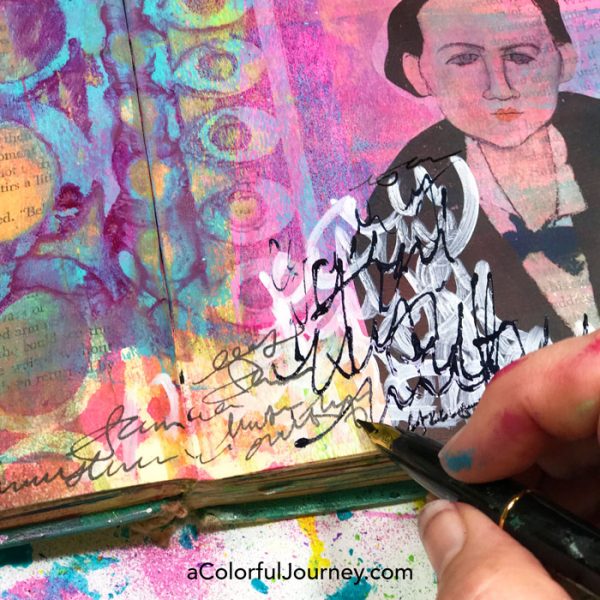
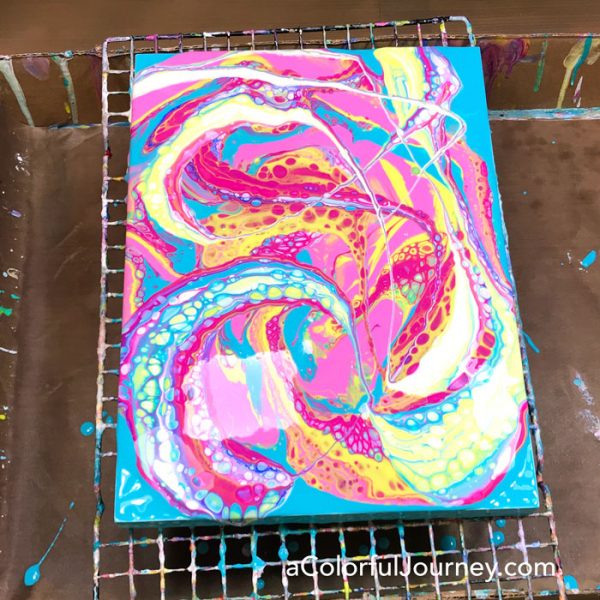
The Mod Ovals and Circles stencil was calling to me, and yes, I really heard it beckoning me to use it on this page! The Art Spray was extra wet and juicy since I went a bit heavy handed with it and sprayed generously.
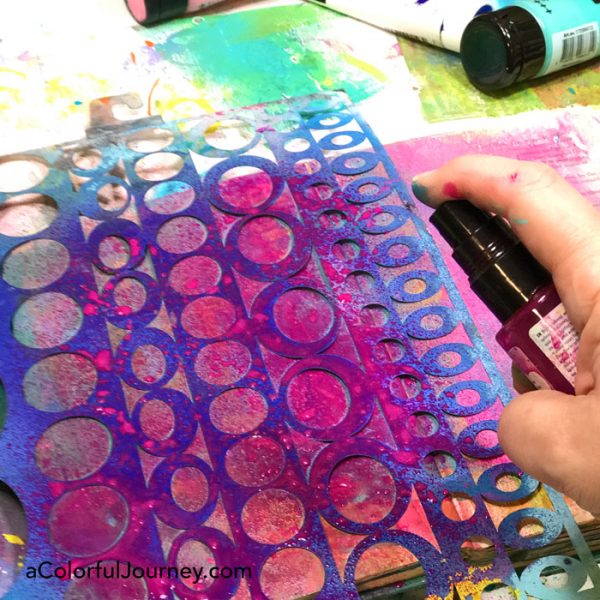 Because so much Art Spray was sprayed, some ran under the stencil. I love when those random things happen in a mixed media journal! The only catch was, it was going to take it a while to dry. And I wasn’t feeling patient.
Be sure to check out the video, a couple of minutes in where I share how to keep the caps from clogging on your spray inks by recycling an empty one filled with water.
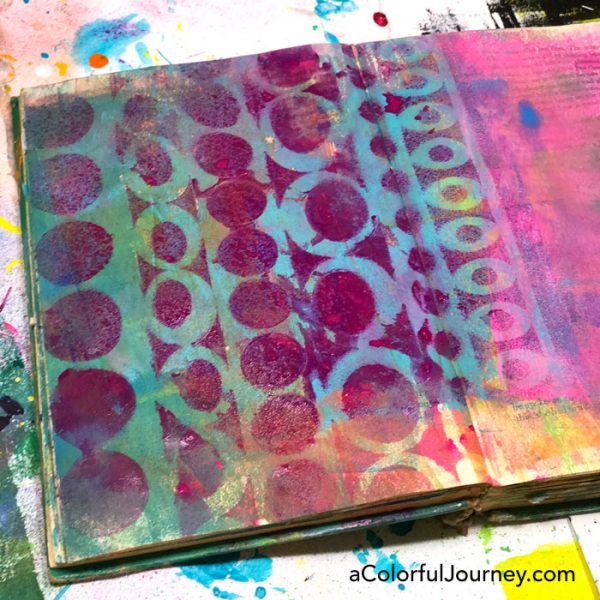
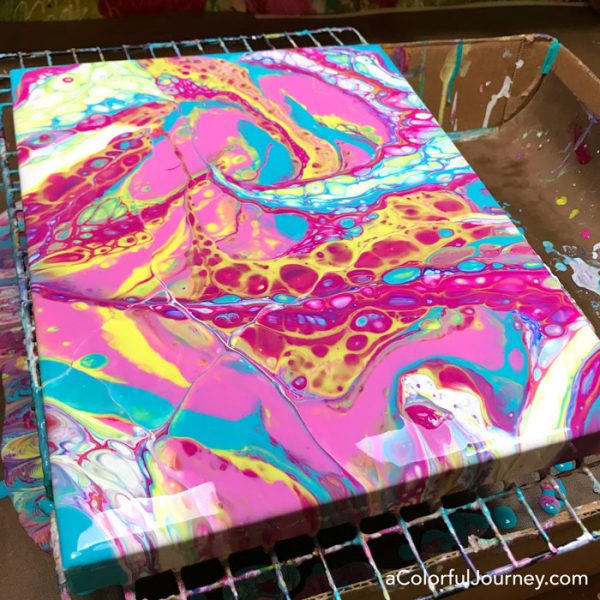
There were zero paper towels around to blot it off. Not even a tissue. O.O.P.S.! This was an Outstanding Opportunity Presenting Suddenly. The opportunity was to use what was on my counter, a baby wipe. That led to a whole bunch of color being pulled off creating a background far better than my original plan. O.O.P.S.ies having a way of working this way, leading to something even better than planned.
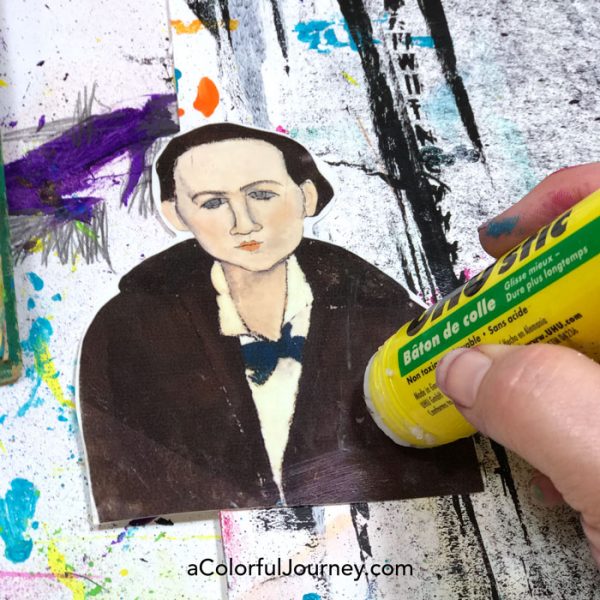
The look of image transfers is amazing to me but I am never patient enough to do them “well”, so I take a short cut. I use Craft Attitude and just print whatever image I want to use on it with an ink jet printer. Then add that glue and it has the feel of image transfer without all the work.
This image is from a kit by itKuPiLLi – I’ve tried to find the exact kit but it seems to be retired. But check out her store, it’s loaded with all sorts of fun images.
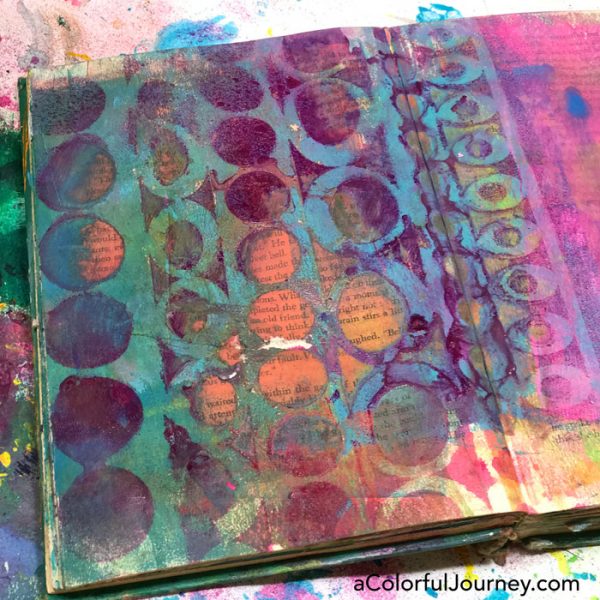
More impatience at work here as the journaling is added. Since the Art Spray area is still wet, I kept my journaling to the dry areas.
When making an art journal page, how do I know what to do next? There are 3 questions I ask myself and the answers to those questions guides the next step.
Knowing how to use those 3 questions means never being stuck again. These questions are the the foundation of my online workshop, Art Journaling FUNdamentals.
Along with how to make decisions, the workshop also covers how to get the most out of your supplies, practical color theory, magic number for building up layers, how to deal with ugly pages, and more.
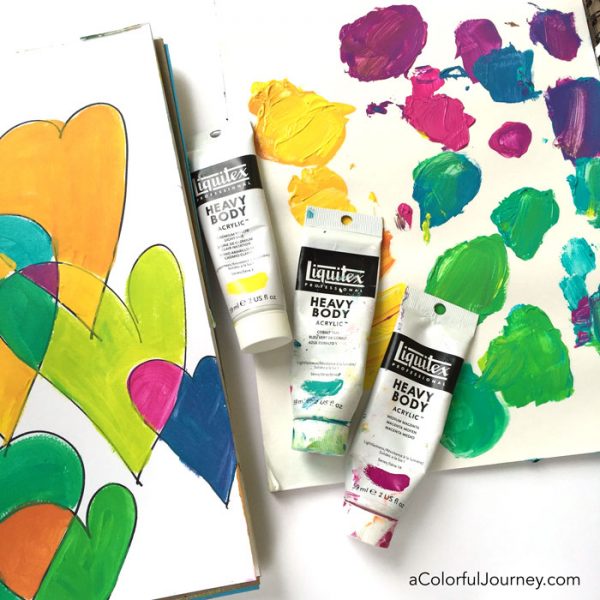
Here are the supplies used. Some of these links are affiliate links which means I get a small percentage. It doesn’t cost you anything extra and it helps keep the free tutorials coming!
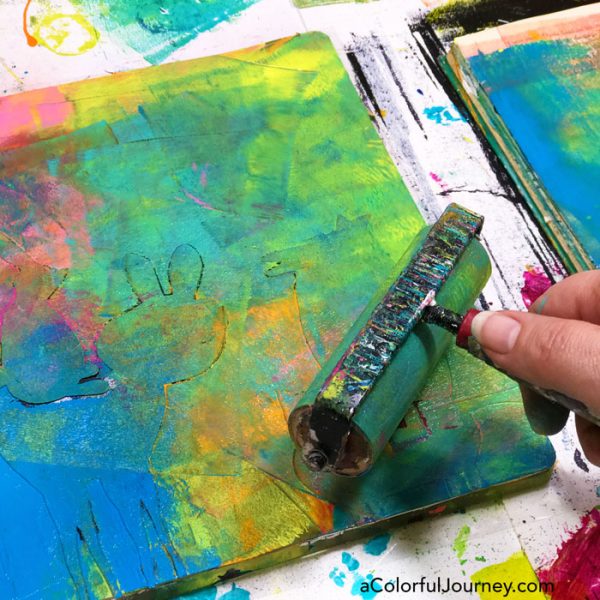
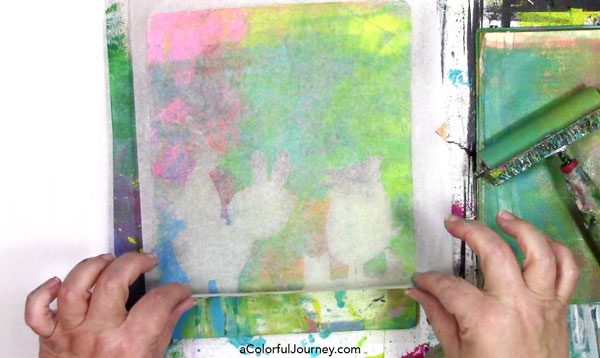
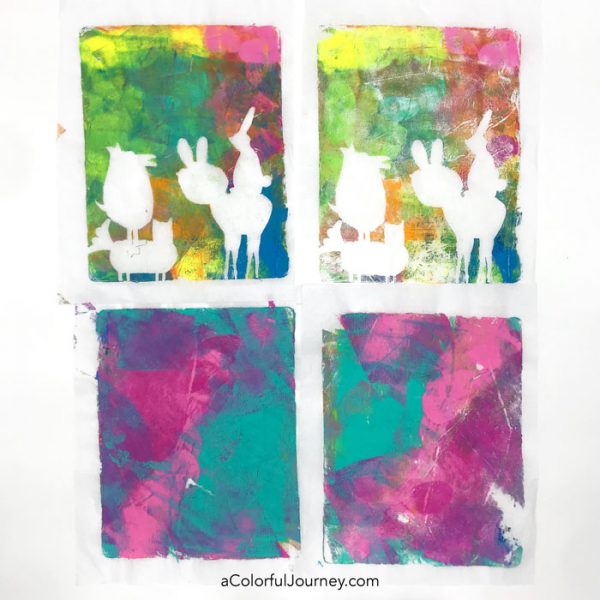
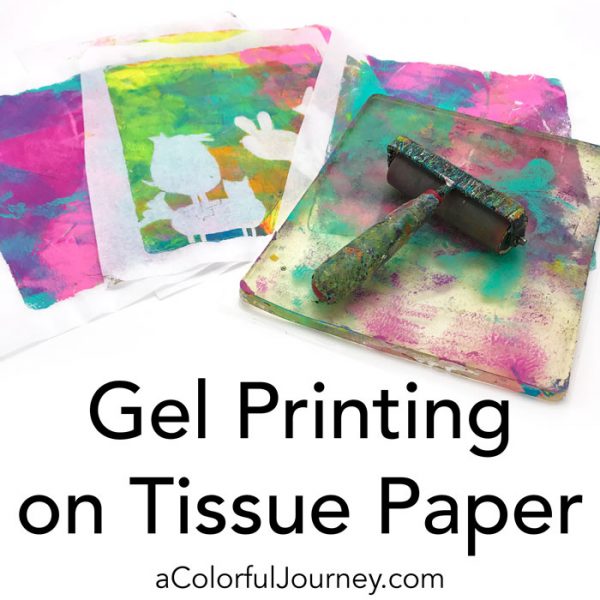 Can you use tissue paper to make gel prints? Absolutely! It’s paper and paper works on a gel plate! There is one important thing that if you know it, even when you have a juicy wet gel plate it is easy to print away on tissue. In the video, you’ll see when it ripped for me, and it wasn’t when you’d expect it to rip!