Welcome! I’m Carolyn Dube – This colorful journey is all about the freedom of play!
Search My Blog
Search by Category
The Fine Print
Some of the links on this blog are affiliate links and I receive a small percentage. It doesn't cost you anything extra and helps keep all the free tutorials and videos coming! It's a win-win!
The website is copyright Carolyn Dube, and that is kinda common sense since this is my site.
As an Amazon Associate I earn from qualifying purchases.
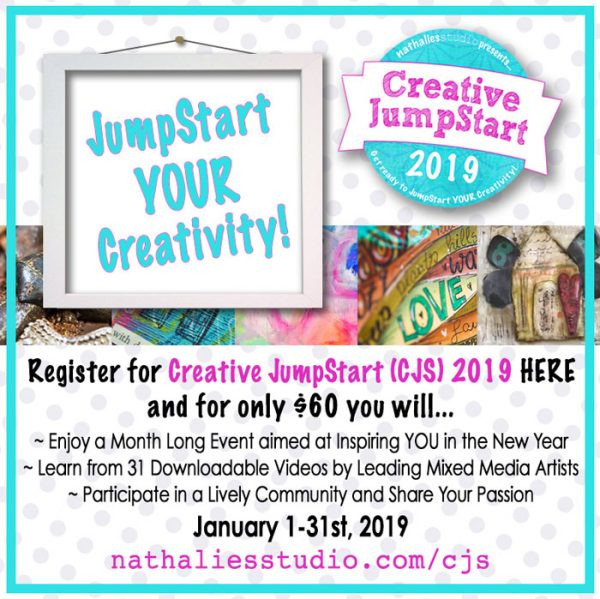
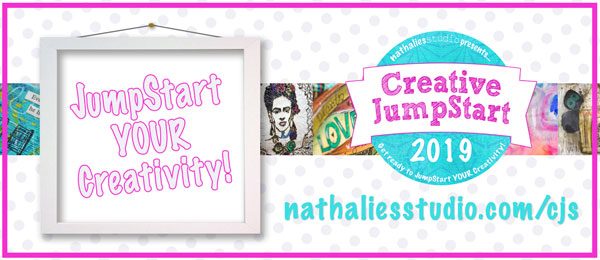
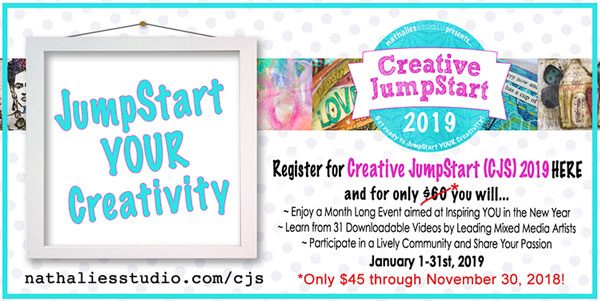
What is Creative JumpStart? It’s a one of kind online event that is all about jump starting your creativity that Nat Kalbach puts together and I’m honored to be one of the artists!
It’s 31 downloadable videos, each from a different artist, in January. It’s like a creative buffet of different styles, approaches and fun! Each video is about 10 minutes long, so creativity and play can fit into even your busy schedule!
It’s on sale for $45 (regularly $60) so if you’d like a new video every day in January, this is the best price! What a steal for inspiration from so many different artists! Head on over to Nat’s to get signed up.
What will my day include? A fancy tool – the popsicle stick that we’re going to make an alteration, a customization, so that it can do something very textural for us!
Creative JumpStart is regularly $60 but the earlier you join the better your discount!
Best price of the year on stencils at StencilGirl is happening right now! Plus you get to choose free 9×12 stencils – 1 for every $100 you spend! All 80 of my stencil designs are on sale – in fact, every artist’s stencils are sale! Get the discount code below!
And the sale prices is on top of their everyday, 10% discount when you buy 6 stencils of the same size!
But there is a catch. To get the1 FREE large stencil for every $100 spent (after discounts are applied). You MUST specify your choice(s) by L### (such as L048) in the comments section of the cart when you check out or it will be StencilGirl’s choice. Sorry, no exceptions.
Below are the details, times, & codes for you and then head on over to StencilGirl!
Save 25% off all* stencils Use code: cyber25
Monday, November 26, 2018
from midnight until 11:59 p.m. CST (Central Standard Time) USA
Tuesday & Wednesday
Save 20% off all* stencils Use code: cyber20
Tuesday, November 27, 2017, & Wednesday, November 28, 2018
Sale ends at 11:59 p.m. CST (Central Standard Time) USA
10% off 6 stencils of the same size discount, FREE stencil(s), and Bonus still apply.
*Stencils only. Does not apply to DVDs, books, tools, wholesale orders, StencilClub, or gift certificates. The StencilClub exclusive monthly member discount does not apply.
Maybe I went too far with a 6 cup dirty pour. But it was so much fun to just let that paint pour out! I’d been experimenting with some new ideas and had mixed up a ton of paint when my inner teenager showed up.
One of these cups would have been enough. 2 is ample but 6 made that attitude filled inner teenager happy beyond words.
Do you need this many colors? Nope! Then why do I have so many? I was driven by curiosity to understand the why the paint did what it did.
That led to a lot of experiments with different pouring medium recipes. What did I learn from all my colorful explorations? The FUNdamentals of the science behind why the paint does what it does. I’ve taken what I learned and broken it all down step-by-step so you can get all the fun of pouring and really understand what’s happening in Paint Pouring FUNdamentals.
The paint was mixed in jars so that I could put a lid on it and keep it ready to go anytime I wanted to play. Cuts down on the prep time which makes the impatient part of me very happy.
With this much paint mixed up, it meant I could go all in on a 6 cup dirty pour.
In these cups are 3 different pouring mediums. Some have Floetrol, some have DecoArt Pouring Medium and some have Liquitex pouring medium. I found it fascinating that the ratio of paint to pouring medium that worked best for me was the same for all three.
Seeing the color move is like having a living Impressionist painting, alive right before my eyes. With this much paint involved, the canvas will do a lot of moving before it dries.
Even though a level was used to be sure it was level, the paint is running over one side more than another. That fancy tool, the popsicle stick, raised up one side and slowed the river of paint.
Why did the paint move so much while it dried? Why isn’t the canvas smooth now- it was when it was wet? Where did that brown come from- I never added that color? You know exactly why that all happened when you know the Paint Pouring FUNdamentals.
So did I go too far with a 6 cup dirty pour? My logical side says that was way more paint than I needed. The teenager in me said, maybe try even more paint next time!
This website uses cookies to improve your experience while you navigate through the website. Out of these cookies, the cookies that are categorized as necessary are stored on your browser as they are essential for the working of basic functionalities of the website. We also use third-party cookies that help us analyze and understand how you use this website. These cookies will be stored in your browser only with your consent. You also have the option to opt-out of these cookies. But opting out of some of these cookies may have an effect on your browsing experience.
Necessary cookies are absolutely essential for the website to function properly. This category only includes cookies that ensures basic functionalities and security features of the website. These cookies do not store any personal information.
Any cookies that may not be particularly necessary for the website to function and is used specifically to collect user personal data via analytics, ads, other embedded contents are termed as non-necessary cookies. It is mandatory to procure user consent prior to running these cookies on your website.