Welcome! I’m Carolyn Dube – This colorful journey is all about the freedom of play!
Search My Blog
Search by Category
The Fine Print
Some of the links on this blog are affiliate links and I receive a small percentage. It doesn't cost you anything extra and helps keep all the free tutorials and videos coming! It's a win-win!
The website is copyright Carolyn Dube, and that is kinda common sense since this is my site.
As an Amazon Associate I earn from qualifying purchases.
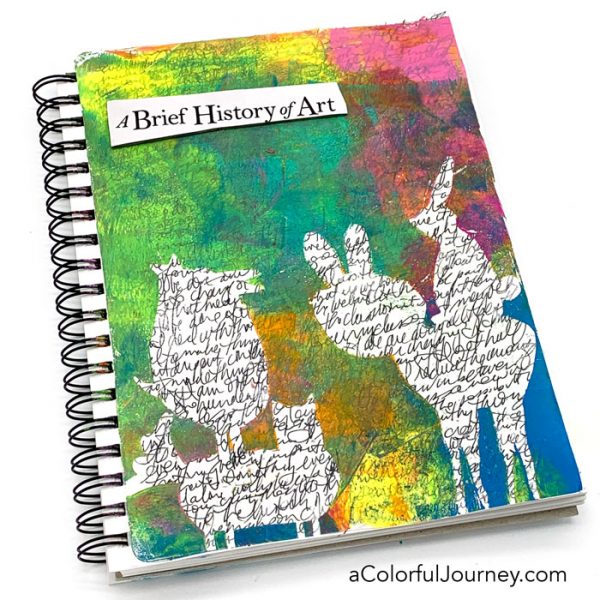
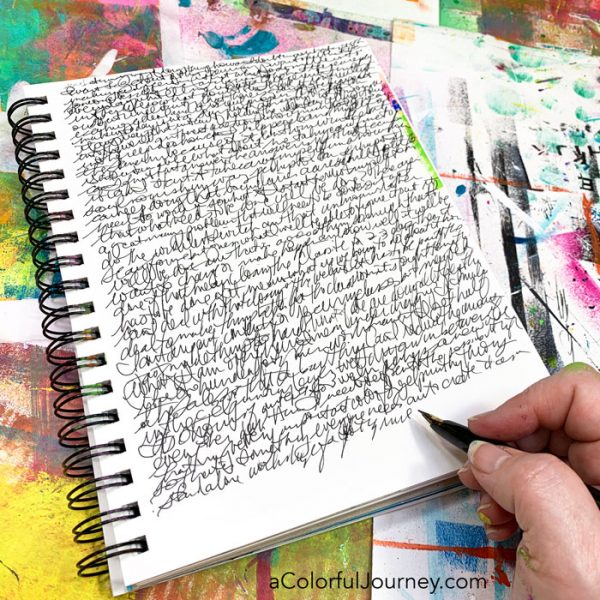
Ever get an idea and then halfway through then realize what you’ve gotten yourself into? That was what happened with the journaling on this page. It takes a lot of writing to fill a page lol! But it did create the look I
When you’re doing the journaling, you can use any pen or pencil you want. I chose a fine tipped fountain pen because it is waterproof. Why? Because wet stuff is going to be put on this on the next layer.
In case you weren’t sure, this was a lot of journaling. My hand let me know that this was more handwriting than I usually do but I did get a whole lot of thoughts out!
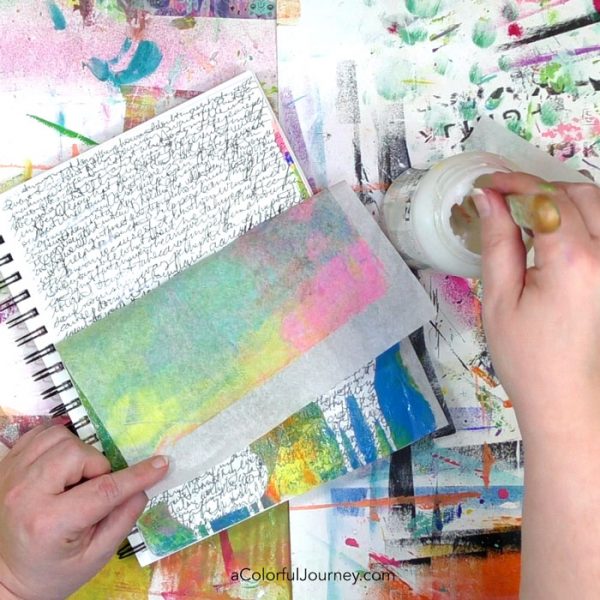
To glue the tissue paper down, use a runny glue. It is important that it is a runny glue if you want the tissue paper to disappear once it’s glued down.
You’ll need to be generous with the glue. If you use too little glue, the tissue paper won’t disappear as much.
But using all that runny glue on paper means it is at great risk of buckling. To prevent that, put a piece of wax paper or other non-stick surface on it.
Then weight it down with anything you have nearby so that the pressure of the objects on it will keep it very flat while it dries. It usually takes overnight to dry, but that varies depending on how much glue you used and how dry or humid it is.
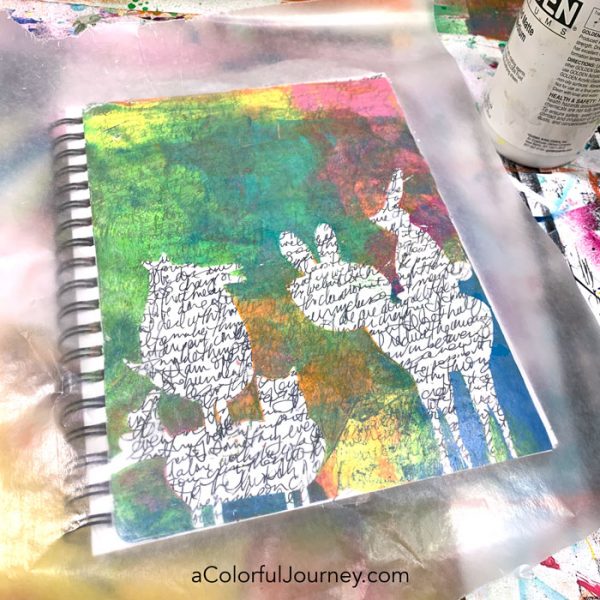
Just a quick title glued on, and this art journal was done! Want more gel printing fun? I’ve got a page of gel printing resources for you here including the Dos and Don’ts of Gel Printing.
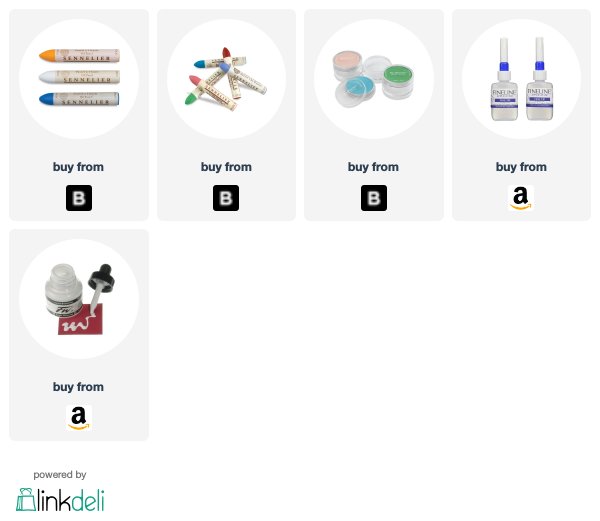
Here are the supplies used. Some of these links are affiliate links which means I get a small percentage. It doesn’t cost you anything extra and it helps keep the free tutorials coming!
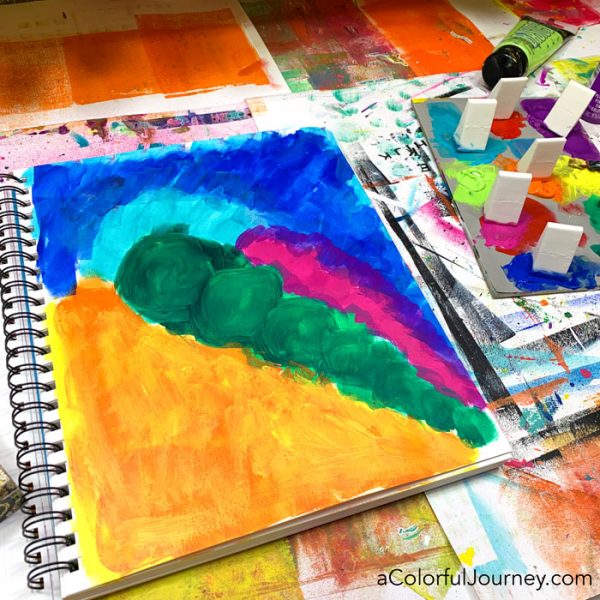
What can you do when you have no idea where an art journal page is going? Enjoy the adventure! When this page was started, there was no hint of where it was going. Who would have guessed a caterpillar with a mohawk and more than one O.O.P.S.would lead to the end result!
This page is brought to you by O.O.P.S.- because it was one big O.O.P.S. after another. The caterpillar’s blue mohawk was not exactly intentional but it led to the pink.
The orange was an O.O.P.S. choice of color but that led to me seeing the heart shape instead of a green carrot. You see, an O.O.P.S. isn’t a mistake, it’s an Outstanding Opportunity Presenting Suddenly.
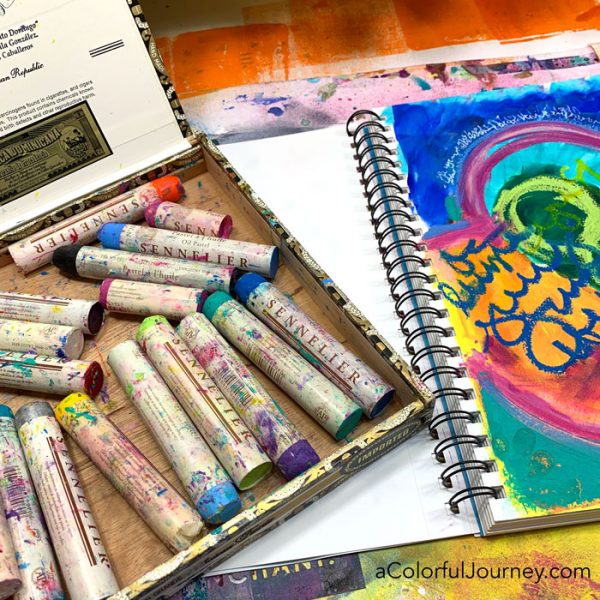
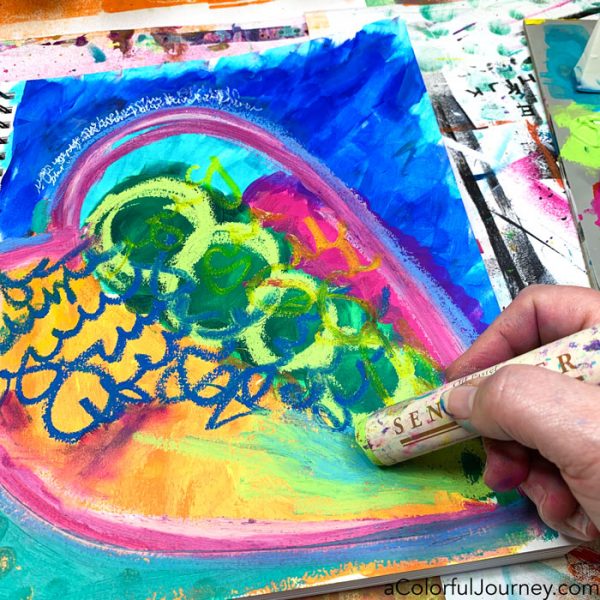
Outlining the heart with big oil pastels shifted the entire look of the art journal page in a direction I wasn’t expecting at all.
The oil pastels are creamy and smooth but that is a challenge for pens. It is hard on pens to write over oil pastels and it can ruin them. So what could I do? Write next to the oil pastel and avoid writing ON the oil pastel.
It was a good plan, but not so careful execution. That’s why the pen struggled to give a solid white line.
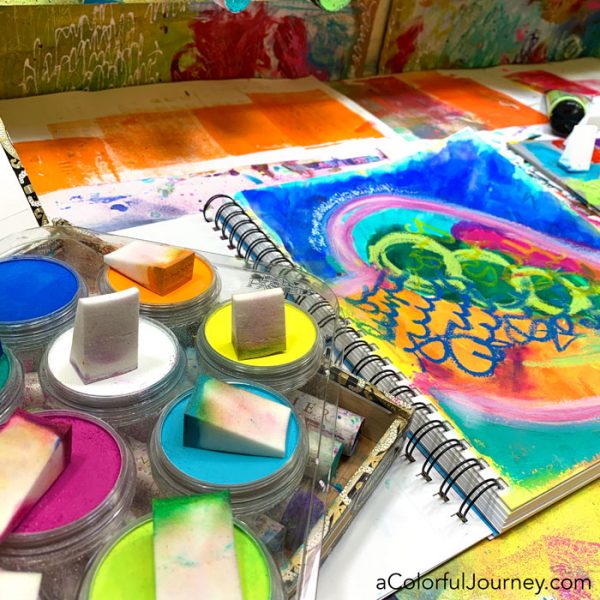
What are the best supplies to use for art journaling? The ones within arm’s reach. That’s why I used the PanPastels. Just a touch of color that added a softness to the page.
What supplies do you have out and ready to use? Bet those would be great in your art journal!
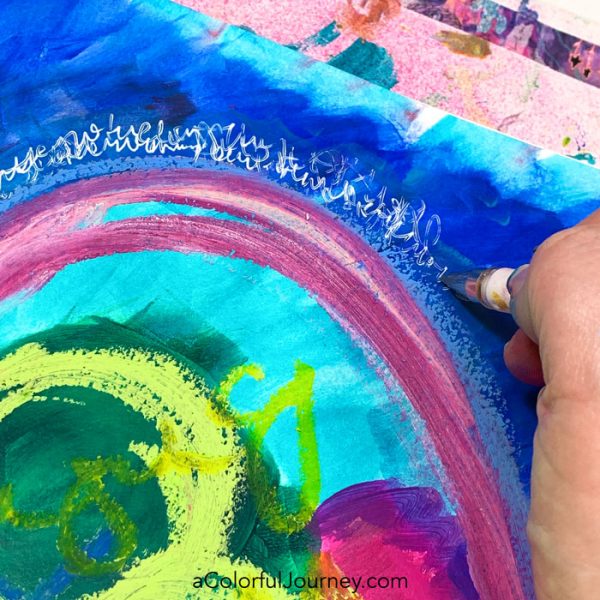
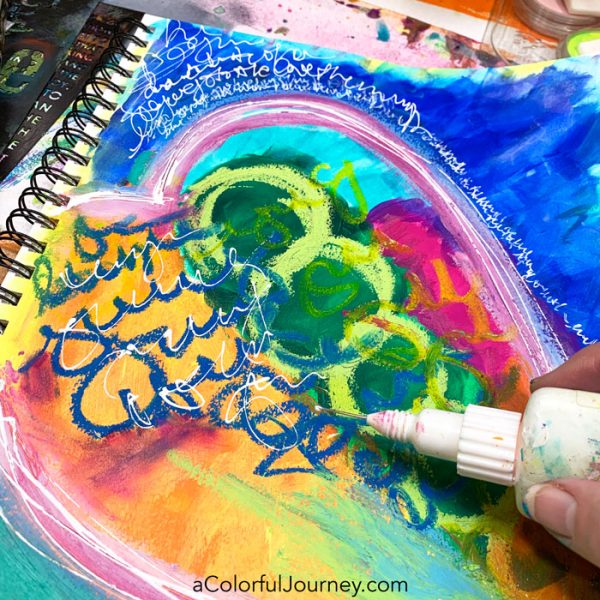
O.O.P.S. again! I thought a little oil pastel here would be wonderful. As soon as I did it, nope. Knew instantly it was not “right”. But since I said O.O.P.S., I knew it wasn’t a mistake or an end of the world event. It was an opportunity.
That O.O.P.S. led me to get more white on the page, which I hadn’t even been thinking about. To write on top of oil pastels you need something that writes but isn’t a pen – like a fineliner filled with ink.
This is my go-to way to write on things that you can’t write on and you can see more about it in this video.
I often get asked how I seal my art journal pages. Usually, I don’t. That’s a personal preference so if you feel more comfortable sealing yours- go for it!
Next time you’re art journaling and you have no idea where your page is going, enjoy the ride! You might be surprised where it takes you!
Here are the supplies used. Some of these links are affiliate links which means I get a small percentage. It doesn’t cost you anything extra and it helps keep the free tutorials coming!
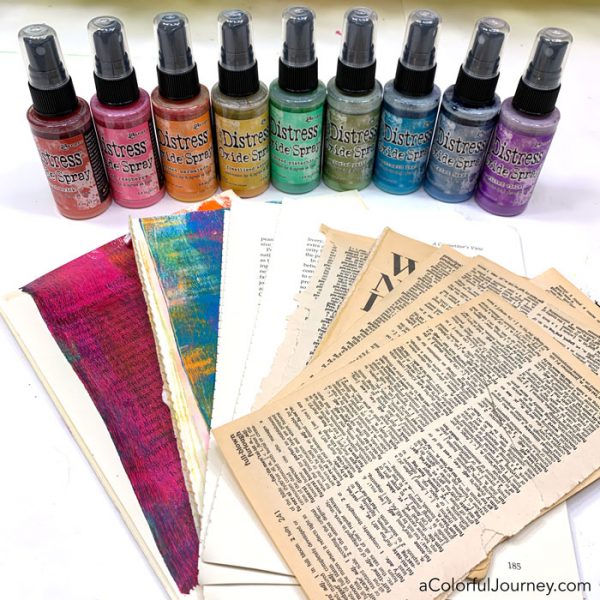
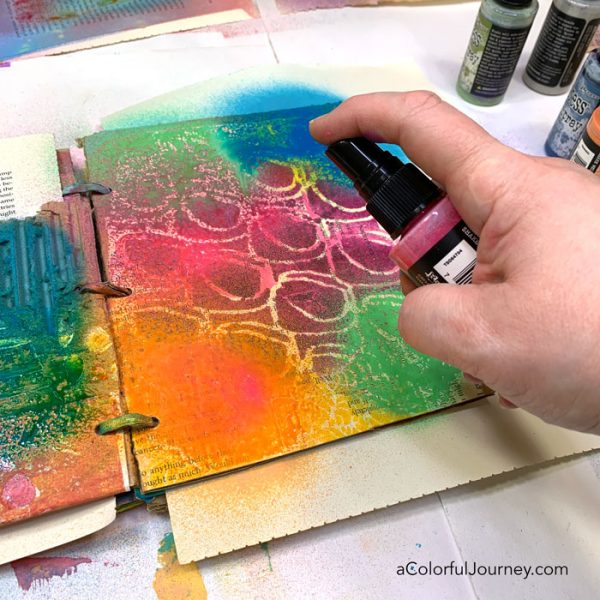
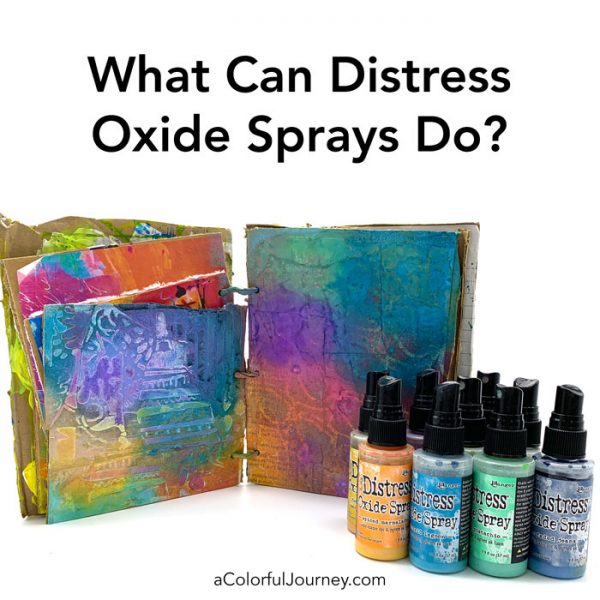
What can Distress Oxide Spray do? That was my question as I opened the box and took these out for a spin. What you’re seeing in the video is my very first time playing with the Tim Holtz Distress Oxide Sprays.
There are 3 things that really stood out to me:
Absorbent and non-absorbent surfaces give you wonderfully different results- beading vs. resisting vs. absorbing
How much Distress Oxide Spray you use impacts the opacity-and it can be very opaque
It starts out bright and shiny then dries to a chalky finish
There’s lots in this video, including if it bleeds through paint and tips for how to shake it and more!
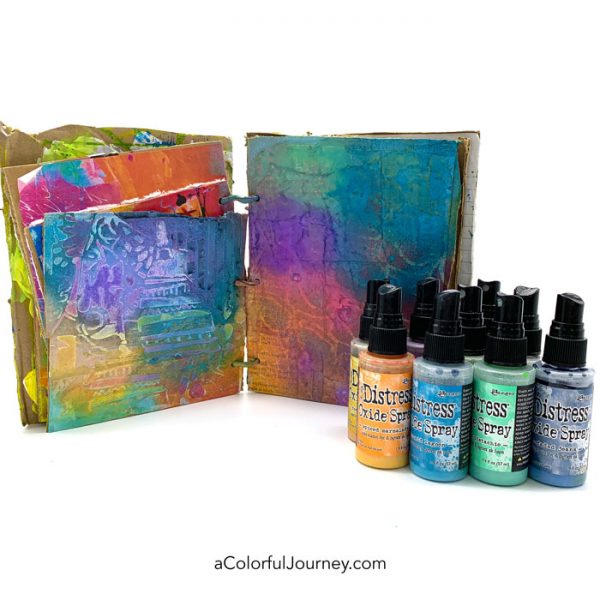
Make the cardboard journal you saw in the video in the free workshop – Permission to Play
How you shake these is important so that it doesn’t clog. Shake it side to side, like you’re ringing the bell for the butler. Every time I shake it, I think of Downton Abbey. Dang, I miss that show!
You’ll need to shake it frequently as you’re playing because the ingredients separate relatively quickly. The good news is that it only takes a quick shake to mix it back up.
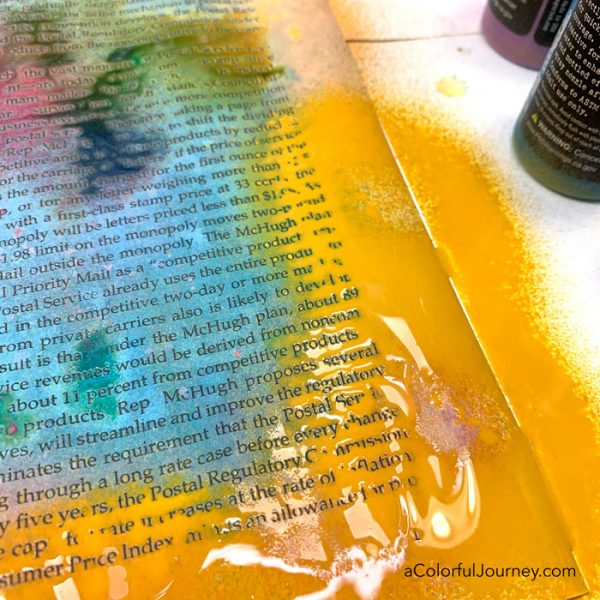
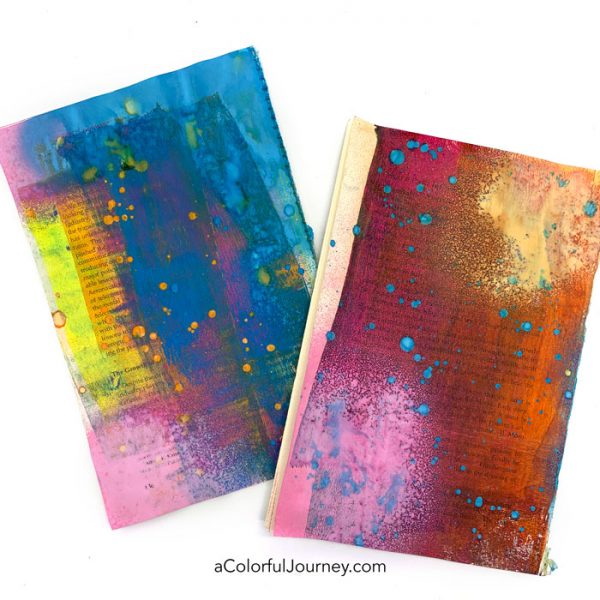
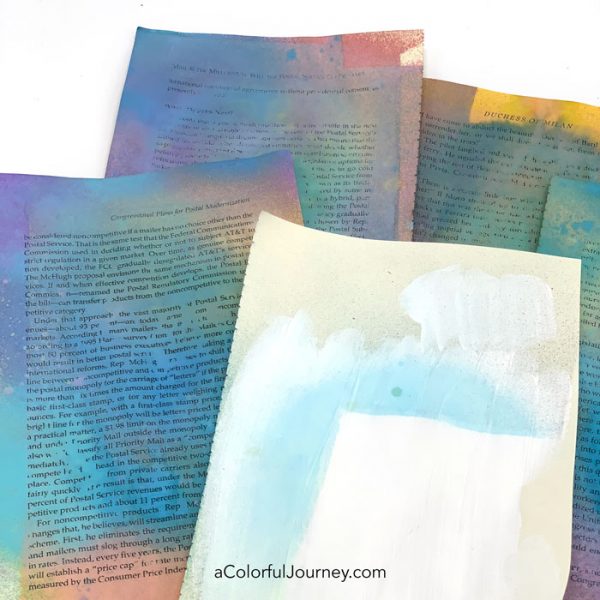
A happy surprise was how the type resisted the spray. But when I tried it with a different piece of book text, it didn’t resist. The paper you use makes a difference.
The newer smoother paper seemed to be better for the letters resisting the spray. Older or more absorbent papers did not do the resist thing.
I was using generous amounts and the papers were soaking wet. Took them forever to dry, or at least that is how it felt.
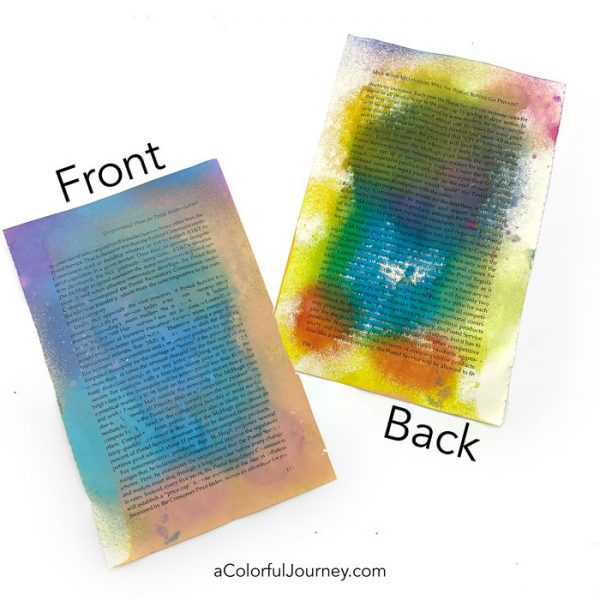
When I turned the papers over the back side looked very different from the front. Thanks to the miracle of photoshop, what you see below is the same paper, the front has the dusty chalky look and the back has a very vibrant look.
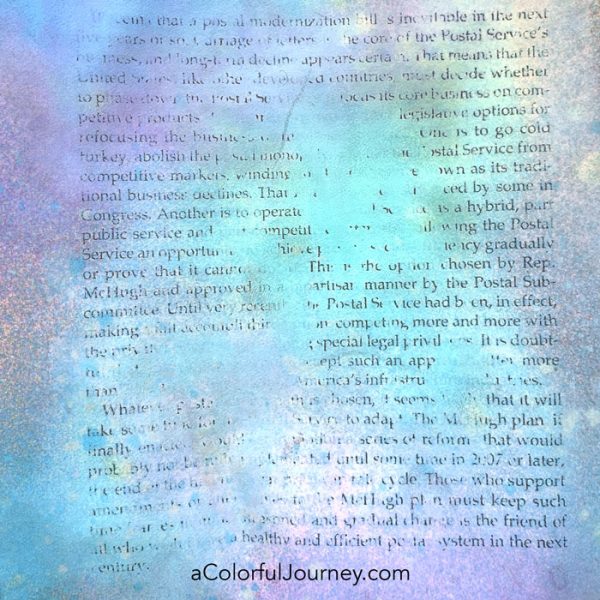
How much you use makes a difference. When it was all dry, the areas that had a lot more spray were so opaque that you could not see the type.
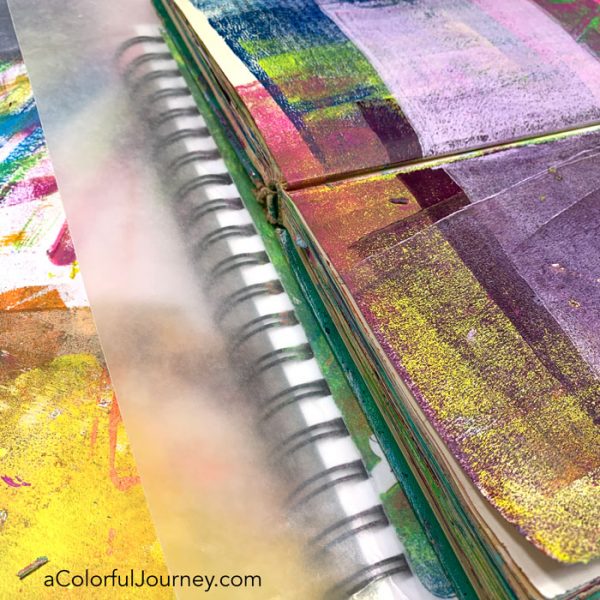
Since this is an opaque spray, it is great for building up layers in an art journal. This videos for how to build this journal are in my free workshop, Permission to Play– you can get signed up here. In this workshop, you’ll also get specific ways to let yourself play.
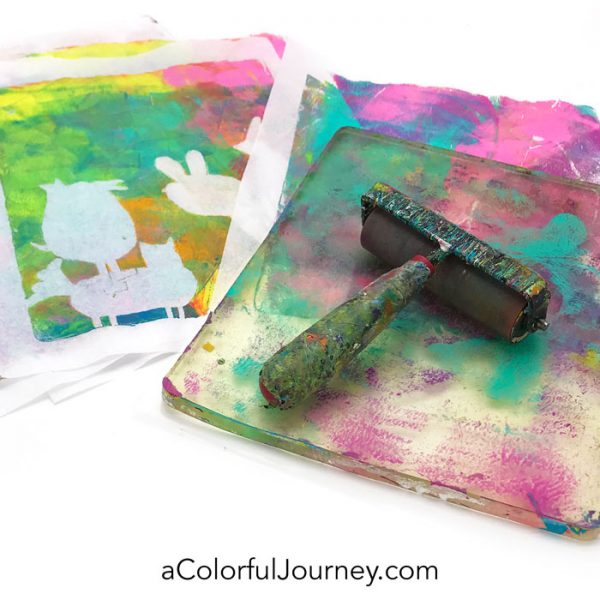
Notice how the spray behaved differently on the areas that had paint on them and the areas that didn’t. Some of this was absorbent, the paper and cardboard and some wasn’t, the painted areas. The surface you’re using changes the look of the spray.
These papers had a layer of paint on them, from cleaning off a brayer while gel printing. Since there was paint on it, that meant the paper was no longer very absorbent, so the Distress Oxide Spray behaved differently on it.
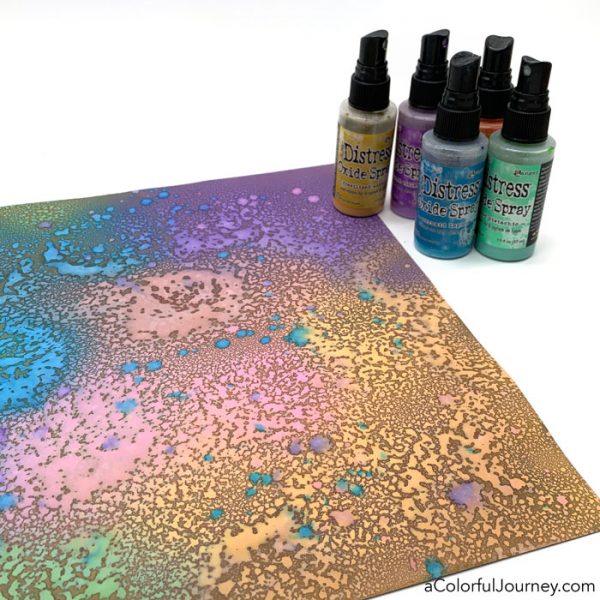
You can see a little of the beading on the upper right and lower left. But let’s push that to an extreme.
This paper was a coated cardstock, so it was not very absorbent at all. That meant it beaded up with the generous amount I sprayed on there.
Be sure to watch in the video where I have a fast forward of this drying- you’ll see how it goes from glossy to the chalky dry.
With sprays, the big question is will it reactivate, or smear if wet stuff is added on top. The good news, the white paint stayed white when brushed on, so it didn’t reactivate.
But as you can see, it did bleed through the white as it dried.
On the bottle, the manufacturer, Ranger Ink recommends that you clean the spray nozzle after each use.
Now that I’ve had one play session with these sprays, I’m excited to see what else I can do with them. If you don’t want to miss it, get signed up for my weekly newsletter and you’ll get both creative encouragement and know when I post another Distress Oxide Spray tutorial!
This website uses cookies to improve your experience while you navigate through the website. Out of these cookies, the cookies that are categorized as necessary are stored on your browser as they are essential for the working of basic functionalities of the website. We also use third-party cookies that help us analyze and understand how you use this website. These cookies will be stored in your browser only with your consent. You also have the option to opt-out of these cookies. But opting out of some of these cookies may have an effect on your browsing experience.
Necessary cookies are absolutely essential for the website to function properly. This category only includes cookies that ensures basic functionalities and security features of the website. These cookies do not store any personal information.
Any cookies that may not be particularly necessary for the website to function and is used specifically to collect user personal data via analytics, ads, other embedded contents are termed as non-necessary cookies. It is mandatory to procure user consent prior to running these cookies on your website.


 What can Distress Oxide Spray do? That was my question as I opened the box and took these out for a spin. What you’re seeing in the video is my very first time playing with the Tim Holtz Distress Oxide Sprays.