It’s a change my mind kind of a day here. Whatever I think the plan is, it’s going to change as I make a piece of art to remember my word for the year. Unless I put my word on the wall where I’ll see it, I forget it before February. This year, I couldn’t choose just one, so I went for four of them. Which made it a bit challenging to fit them all on one canvas.
While making this there was a big O.O.P.S. and evidence of why I should never be your neurosurgeon. As if you really needed any help coming to that conclusion.
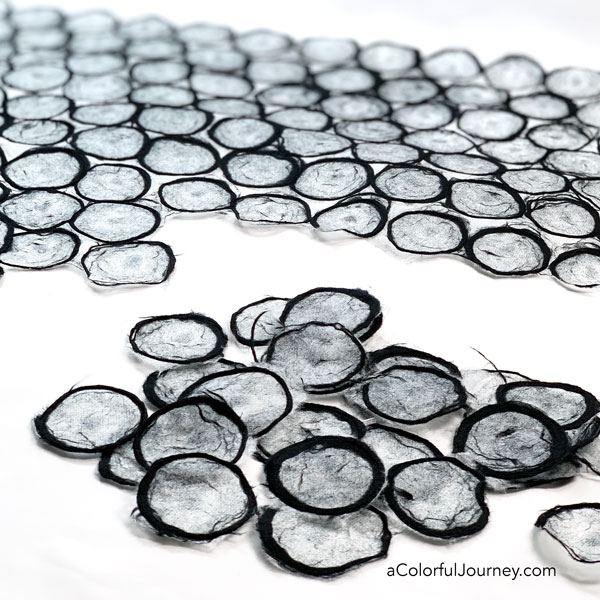
It began with this mulberry paper that I tore into it’s circles. Not all of them ripped perfectly, but one of them lingering on the counter top gave me an unexpected idea later in the play.
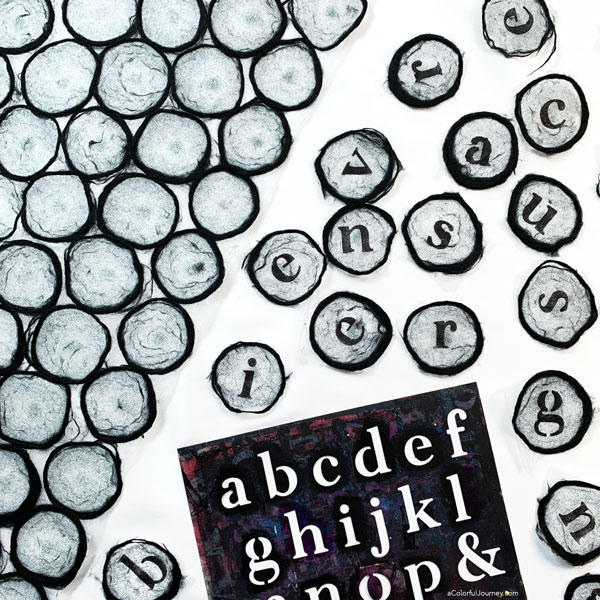
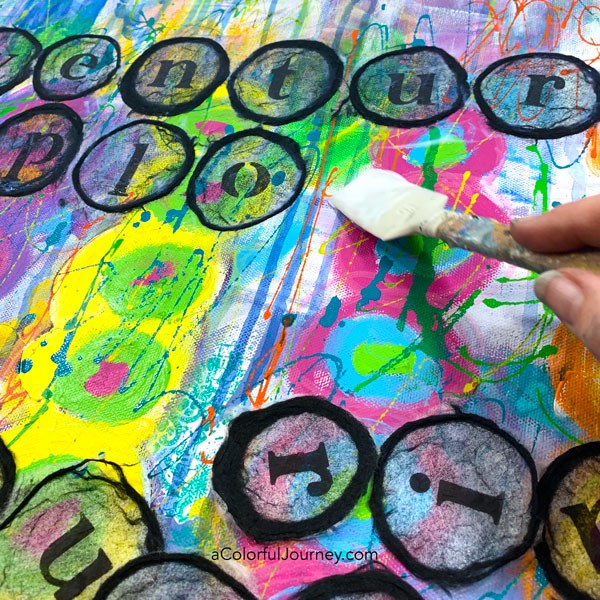
The plan was to put one word in each circle. But that changed when I decided to go with one letter in each circle using my Feelings and Emotions Alphabet stencil from StencilGirl.
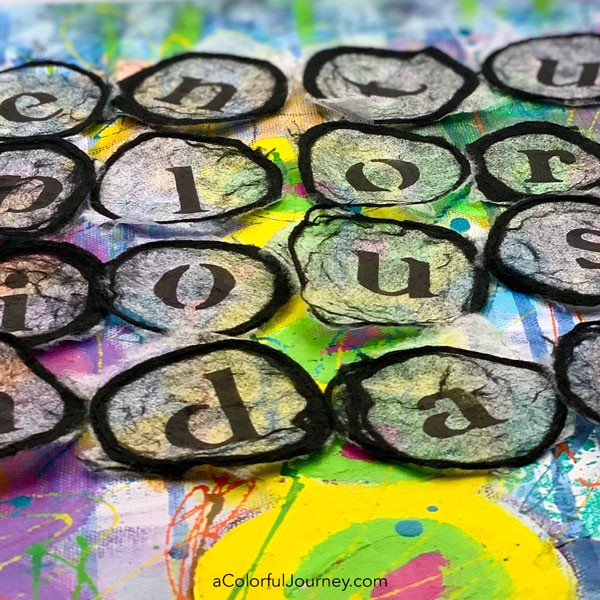
The four words for the year that I chose are Adventures Exploring Curious Boundaries. Why those? What does it mean exactly? I really don’t know. There are several ways I could interpret it, so for now, I’ll let 2021 unfold and reveal how it fits with these words.
But now it’s not going to neatly fit on a smaller canvas. It’s a lot of letters in those four words. Now the canvas has to be bigger than I planned.
While hunting for a big blank canvas, I saw a colorful one hanging up that I thought was finished long ago. Nope, changed my mind, and suddenly it needs another layer. That lead to a big O.O.P.S., an Outstanding Opportunity Presenting Suddenly.
To glue these down, it is just a matter of using lots of a fluid, or really runny, glue. But if it’s going to be very fluid it is going to be rather wet. And that was the problem.
Long ago, I used a Stabilo pencil as the top layer for some scribbly mark making. Since those pencils react quickly and strongly to water, they tend to be on the last layer or so. Even years later, they’ll react to water.
As soon as I started moving the glue around for the first letter it became very dark. Then I realized it was the Stabilo smearing. End of the world? Nope. I just wiped it all off quickly. And all the other Stabilo on the canvas. Once again a baby wipe or two saved the day.
What was the opportunity in this O.O.P.S.? There were two: I get to show you what to do if it happens to you and that letter that turned a dark gray, it is in my pile of scraps and will be just what I need for something in the future. No idea what yet, but the bowl of remnants is often a gold mine of ideas.
The final circles were torn from the mulberry paper. A rather easy process and strangely satisfying. That is until I started gluing them. Words can not do just to the fumbling – you’ll just have to see it in the video.
Now on my wall, I have subtle reminder of the words that will guide me through the year.